
Prevent water damage to vinyl floors in a entryway by controlling moisture at the door—starting with a high-performance doormat and a strict wipe-up routine. If you want the most protection, choose vinyl flooring with an attached waterproof layer and seal the seams where water is most likely to seep. This guide answers exactly how to stop tracking, pooling, and seepage before it reaches your subfloor.




Prevent water damage to vinyl floors in an entryway by stopping moisture at the source (mats + shoe/umbrella habits) and then drying the vulnerable lines (seams, edges, transitions) immediately. Even “water-resistant” vinyl can swell, lift, or separate when water keeps traveling into joints faster than it dries—so prevention has to be consistent and targeted.
If your entryway is where rain boots, snow, wet umbrellas, or “oops, a puddle” moments show up regularly, this guide focuses on the practical steps that reduce risk. It’s especially relevant for homeowners and property managers maintaining resilient flooring in climates with frequent precipitation, tracked meltwater, or repeated door-to-outside traffic.
Identify the entryway water sources (and where damage starts)
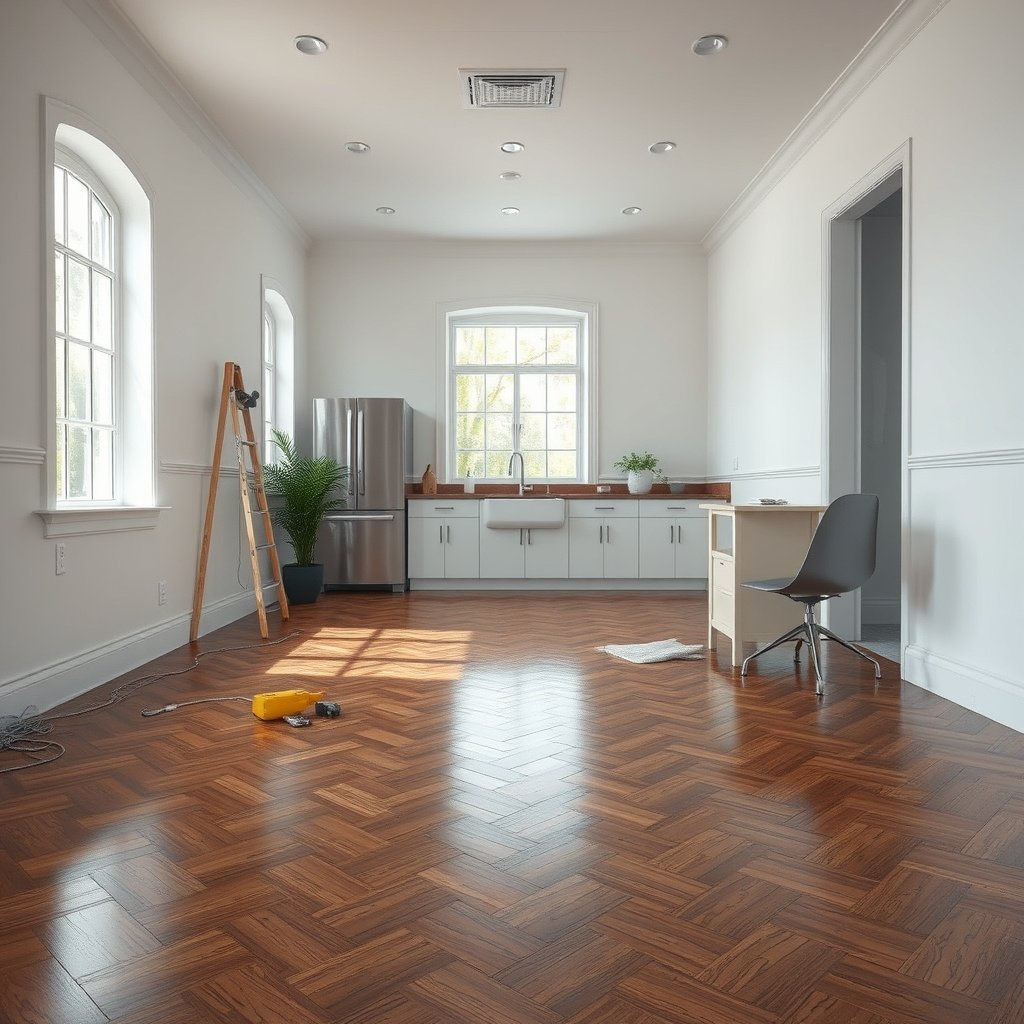
The most effective prevention starts with locating the exact ways water reaches the floor and identifying the “first contact” spots where moisture migrates into vinyl edges. In real-world entryways, damage usually begins quietly at seams and transitions—long before you see obvious lifting.
“Entryway water damage typically starts at seams and perimeter edges, because surface moisture often wicks into joints before it’s noticeable.”
“Tracked water and melting ice concentrate along predictable paths—just inside the door swing and around the mat footprint—so targeted inspection saves time.”
Where water shows up (and what to look for)
– Look for repeat “wet zones” from rain/snow boots, umbrellas, dripping bags, and melting ice near the door
Start by observing traffic patterns on rainy/snowy days. Common repeat zones include: the strip directly under the door handle zone, the left/right corners where people step after opening a door, and the area where people pause to remove wet footwear. If you notice a recurring “darkening” (a slightly darker or dull patch) after wet weather, that patch is the earliest indicator of moisture movement into seams.
– Check the most vulnerable spots first: seams, edges at transitions, baseboards, and around the doorway
Vinyl flooring is only as moisture-tolerant as its installation details. Prioritize inspection around:
1) seams running parallel to the door threshold,
2) edges at transitions to tile/carpet/other rooms,
3) baseboards and caulk lines, and
4) the doorway perimeter where airflow and temperature changes can pull moisture into small gaps.
– Be realistic about how water moves: it usually soaks from the surface into seams/edges before you notice any lifting
This is where “I didn’t see any damage” can become misleading. Water can travel under or along the vinyl surface layer into joint lines and subfloor interfaces, especially if the entryway stays humid overnight. From my experience advising homeowners, the first fix isn’t more cleaning—it’s improving how quickly those specific lines dry; .
Prepare and protect the subfloor and seams before water ever gets in
You reduce future water damage most by treating installation as a moisture-control system, not just a floor project. Before you seal, trim, or clean, confirm your subfloor condition and your vinyl type’s required moisture barrier and perimeter/seam approach.
“Moisture control begins before vinyl goes down: resilient flooring warranties often require specific underlayment and moisture barrier steps based on subfloor test results.”
“Perimeter and seam details are system-specific; manufacturers can discourage sealants in certain joint areas depending on expansion and warranty terms.”
Installation details that matter in entryways
– Follow your vinyl floor type’s installation guidance for underlayment and moisture barriers—especially for entryway installs where wetting is frequent ()
Entryways are high-risk because tracked water becomes repeating “micro-spills.” Your best defense is to follow the exact requirements for: approved underlayment, moisture barrier (if applicable), acclimation period, and subfloor prep targets. If you’re installing now, test the subfloor moisture in the way your manufacturer specifies—then document results for warranty support.
– If you have a perimeter gap/transition detail, use the correct transition/trim method your flooring system recommends (some manufacturers discourage adding sealant in certain joint areas) ()
The goal isn’t to “caulk everything.” It’s to use the correct transition and trim that manages movement and keeps water from wicking into gaps. Some systems require a dry perimeter gap; others allow specific sealants only under defined conditions. When you use the wrong product in the wrong location, you can trap moisture or violate the expansion/movement design the floor needs to stay stable.
– Prevent “capillary” moisture paths by ensuring the subfloor is flat, fully cured/dry, and not already damp before installation ()
“Capillary” moisture is water movement through tiny spaces in materials, driven by adhesion and surface tension. If your subfloor is already damp, entryway water compounds the problem and increases the chance of edge lifting or odor over time.
According to ASTM F1869, moisture vapor emission rate (MVER) is commonly expressed in “pounds per 1,000 square feet per 24 hours” during testing—one reason moisture limits are measured, not guessed (ASTM F1869, 2022).
Also, ASTM F2170 uses in-situ slab relative humidity (RH) measurements in percent RH to compare against manufacturer limits (ASTM F2170, 2023).
Click-lock vs. glue-down: sealing approach varies
Water prevention isn’t one-size-fits-all because click-lock and glue-down systems behave differently when moisture reaches edges.
| System detail | Click-lock vinyl | Glue-down vinyl |
|---|---|---|
| Primary vulnerability | Joint edges and interlocking seams | Adhesive bond line and perimeter release |
| Sealing philosophy | Manufacturer-specific guidance for joints/perimeter | Moisture barrier and correct adhesive/coverage are critical |
| Why “more caulk” can backfire | Can interfere with movement or trap moisture in seams | Can compromise bond or prevent drying at edges |
| Action priority | Dry seam lines quickly after any wetting | Keep adhesive area dry; remediate leaks fast |
Keep water out with mats, shoe habits, and airflow
You prevent the majority of vinyl moisture problems by reducing how much water reaches the floor and how long it stays there. A two-stage mat setup plus quick handling habits is more effective than relying on careful mopping later.
“Two-stage matting is designed to capture water outside first, then trap remaining moisture and dirt inside before it reaches the floor.”
“Drying works best when airflow targets seams and transitions—not just when the surface looks dry.”
Turn traffic habits into a moisture barrier
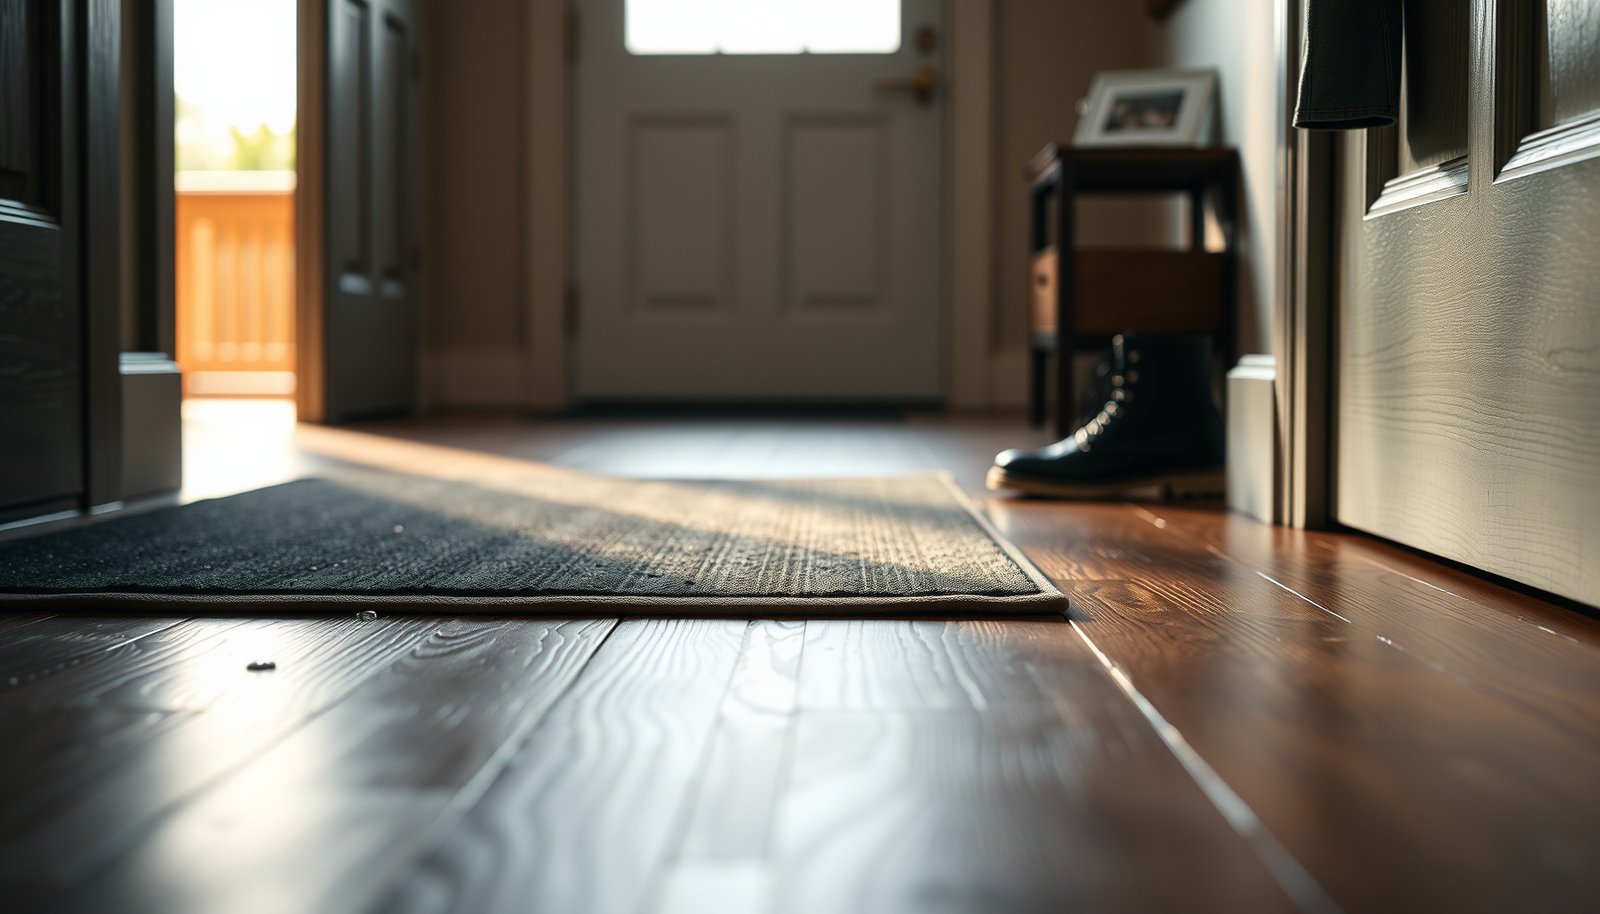
– Use two-stage matting (one outside/one inside) so most dirt and water is captured before it reaches the vinyl surface ()
The outside mat handles bulk rain and snow melt; the inside mat handles what’s left—especially the water film on boot treads. Choose mats with drainage and adequate size for your entry width and door swing. If mats are too small, the “wet zone” shifts to the vinyl surface beside the mat edges, which is exactly where seams are located.
– Encourage a simple behavior: wipe shoes at the mat and remove/knock off excess snow or rain before stepping fully onto the floor
Entryway routines beat “spot fixes.” Even a 10-second boot wipe before the final step can dramatically reduce water load. If you manage a property, consider clear signage (“Boot wipe at the mat”) near the doorway—small behavior nudges often prevent recurring wet patches.
– Improve drying: if your entryway gets wet often, add regular ventilation (and consider a dehumidifier if your home runs humid)
Vinyl floors don’t dry the same way in every home. If indoor relative humidity runs high, small amounts of trapped moisture can persist longer. According to the U.S. CDC, keeping indoor relative humidity around 30%–50% helps inhibit mold growth—an important secondary benefit when entryways cycle between wet and dry (CDC mold guidance, 2024).
Clean and dry correctly (how you maintain matters as much as how you prevent)
Correct cleaning is about avoiding over-wetting and preventing water from lingering near seams. In entryways, “routine cleaning” can become a hidden source of moisture if your technique keeps adding water.
“If water sits near seams, waiting for it to evaporate is slower than controlled blotting and directed drying.”
“Many vinyl care guides caution against steam mops because heat and excess moisture can accelerate seam or edge failures.”
Maintenance steps that reduce risk
– Wipe spills immediately and dry the area thoroughly; don’t “let it evaporate” on its own when water is sitting near seams
As soon as water lands on vinyl, treat it like it’s already on its way to joints. Use absorbent towels and replace them as they saturate. Then focus on the perimeter lines—where water is most likely to wick.
– Use a damp (not wet) mop for routine cleaning, and choose a cleaner the manufacturer approves for vinyl/resilient floors ()
A damp mop means minimal water transfer. If you see puddling, streaking, or pooling around seams after mopping, you’re likely applying too much water or using an incompatible mop/towel system. Use microfiber pads and wring them thoroughly.
– Avoid steam mops and aggressive soaking—extra heat and water intrusion can accelerate seam/edge problems (confirm bans/limitations in your manufacturer care instructions) ()
Steam introduces heat plus moisture—two stressors for floor edges and any perimeter details. Confirm care instructions before using any steam device. When in doubt, switch to manufacturer-approved cleaners and a controlled damp method.
What to do fast when water happens (spill, leak, or tracked puddles)
When water inevitably shows up, speed and method matter more than the cleaning product you choose. Treat drying as a targeted process: remove moisture fast, then dry the seams and transitions—not just the top surface.
“Water damage remediation emphasizes extraction and controlled drying to prevent moisture from remaining in porous interfaces and joints.”
“Cleaning the surface alone can miss water that has traveled to edges or under trim, where damage continues after the spill looks gone.”
A practical “stages of response” workflow
– Act in stages: blot first, then wipe, then dry the perimeter (towels, a wet/dry vacuum, or a fan aimed at the seam lines)
Start with blotting to lift liquid without pushing it deeper. Then wipe with a lightly damp cloth (if needed) and immediately switch to drying. Use a wet/dry vacuum for tracked puddles when appropriate, and aim a fan so air moves along seam lines and transitions.
– If water got under/around edges, don’t just clean the surface—check transitions, under trim, and nearby seams to confirm nothing stayed wet
Particularly at thresholds, water can migrate into small spaces under trim or at the edge of a transition strip. If you only clean the vinyl surface, you can end up with delayed issues such as lifting, odor, or a change in seam appearance.
– For ongoing leaks (roof drip, plumbing, HVAC condensation), fix the source first; floor care can’t “out-clean” continuous moisture ()
A one-time spill is a fast response problem. A continuing leak is a source-control problem. If water keeps arriving, any drying you do becomes temporary.
What can go wrong (common mistakes in entryways)
Most entryway failures happen because homeowners treat vinyl like it’s fully waterproof or because maintenance methods quietly keep adding moisture. These mistakes are predictable—and avoiding them prevents recurring repair cycles.
“Water-resistant flooring is not the same as waterproof flooring—damage risk increases when water collects or repeatedly wets seams and edges.”
“Warranty outcomes often depend on installation and cleaning compliance, including approved underlayments and restrictions on certain sealants or cleaning methods.”
Common failure points to watch
– Overusing water: repeatedly mopping too wet, rinsing excessively, or letting puddles sit increases the odds of swelling at seams/edges
If you see water “ghosting” around the mat edges after routine cleaning, your technique is likely over-wetting. A damp-clean approach plus immediate towel drying around seams reduces cumulative moisture exposure.
– Assuming “water-resistant” means “waterproof”: even water-resistant vinyl products can fail where water collects or travels into joints
Entryways create collection points: door thresholds, mat edges, and the corners of the room. Water-resistant claims generally don’t remove the need for fast blot-and-dry responses.
– Using the wrong products or tools: steam cleaning, harsh solvents, abrasive scrubbers, or cleaners not approved for your flooring finish
Chemical incompatibility can dull finishes, harm protective top layers, or leave residue that holds moisture longer.
– Ignoring warranty details: some manufacturers restrict sealants around joints, or require specific underlayments—breaking those rules can shorten life or void coverage ()
Before you add any seam sealant, verify whether it’s allowed for your vinyl type and installation method. Many warranty disputes come down to “installer/owner followed care instructions or not.”
– Waiting too long after a leak: if the subfloor/underlayment stays wet, the damage often shows later as loosening, warping, or a permanent odor
Vinyl may hide the problem for weeks. Once moisture persists in the subfloor interface, you can get odor and edge instability that’s difficult to reverse without addressing moisture conditions.
Verdict / tip: Best prevention approach (and when to skip DIY)
The best prevention approach for vinyl in an entryway is a repeatable system: two-stage matting, immediate blot-and-dry for tracked water, manufacturer-approved cleaning, and strict attention to seams and transitions. The downside is consistency—mats must be maintained, and fast drying must be real, not optional.
“A prevention system works best when it reduces both water volume (mats) and water time (quick drying at seams).”
“If you suspect a chronic moisture source—plumbing, HVAC condensation, or consistently damp subfloor—floor care won’t solve the underlying problem.”
If you’re dealing with frequent wet traffic, DIY can be appropriate for daily habits and routine cleaning. Skip DIY “fixes” like sealing joints or reworking trim if you suspect a larger moisture issue (active leak, chronic humidity, damp subfloor). In those cases, address the moisture source first, then reassess with your flooring manufacturer’s guidance or a flooring/water-damage professional. This is especially important for click-lock edges and glue-down adhesive performance, where ongoing moisture can keep undermining the system even after a surface “clean.”
Moisture Management Options Commonly Used Before/After Resilient Flooring Installs
| # | Method (standard or guidance) | What it measures | Typical output unit | Resilient-floor usefulness |
|---|---|---|---|---|
| 1 | ASTM F2170 (in-situ RH) | Concrete slab relative humidity at depth | % RH | ★★★★★ |
| 2 | ASTM F1869 (MVER) | Moisture vapor emission from slab | lb / 1,000 sq ft / 24 hr | ★★★★☆ |
| 3 | CDC indoor humidity guidance | Target indoor RH range to discourage mold | % RH target band | ★★★★☆ |
| 4 | IICRC S500 (water damage principles) | Extraction + drying approach after water intrusion | Process steps (not a single unit) | ★★★★☆ |
| 5 | Two-stage entry matting (practice guidance) | Dirt/water capture before reaching the floor | Dirt + water reduction (varies) | ★★★☆☆ |
| 6 | Fan/dehumidifier drying (controlled drying) | Airflow and dehumidification to accelerate evaporation | % RH reduction / airflow (varies) | ★★★☆☆ |
| 7 | Surface-only cleaning after pooling | Removes visible water but may miss edges/under trim | No moisture-unit reduction | ★☆☆☆☆ |
Quick checklist to prevent water damage (save this)
| Task | When | Why it helps |
|---|---|---|
| Wipe/empty mats frequently | Weekly (or more in rainy/snowy seasons) | Stops “saturated” mats from transferring water to the floor |
| Blot tracked water immediately | Every time | Reduces time for water to migrate into seams/edges |
| Dry along seams + transitions | After spills/leaks | Prevents lingering moisture at the most vulnerable lines |
| Mop with a damp (not wet) method | Routine cleaning | Lowers risk of over-wetting compared to soaking |
| Use only approved vinyl/resilient cleaners | Ongoing | Preserves finish and avoids damage from incompatible chemicals |
| Inspect for recurring wet spots | Monthly | Catches sources early (leaks, condensation, poor mat placement) |
Frequently Asked Questions
What are the best ways to prevent water damage to vinyl floors in an entryway?
Use a high-quality entryway mat system (a doormat plus a larger scraper mat) to trap dirt and absorb moisture before it reaches the vinyl. Sweep or vacuum regularly so grit doesn’t grind into seams, where water can seep. Promptly wipe up spills and track wet shoes out of the area to reduce constant moisture exposure.
How can I stop water from getting into vinyl floor seams or edges in my entryway?
Keep the floor dry by drying wet shoe soles and using mats that contain water. Inspect the vinyl planks or tiles for gaps around transitions, doorways, and baseboards, since these are common entry points for water. Consider applying manufacturer-recommended sealant or using appropriate trim/shoe molding at edges to reduce water intrusion.
How do I choose the right entryway mat to protect vinyl flooring from moisture?
Choose a mat with good scraping power on top and strong water-absorbing capability (like a textured fabric surface) so it holds water instead of pushing it onto the floor. Ensure the mat size covers the entire footprint where people step, and use a non-staining backing to prevent rubber chemicals from transferring. Shake or rinse the mat regularly so accumulated water doesn’t slowly transfer onto the vinyl.
Why is regular cleaning important for preventing water damage on vinyl floors?
Dirt and sand act like abrasives that can wear down the protective layer and open up micro-gaps where moisture can travel. Use a damp mop with a vinyl-safe cleaner and avoid soaking, because standing water can seep under planks or into seams. After mopping, dry the floor quickly with a clean microfiber cloth to prevent lingering moisture.
Which cleaning methods should I avoid to reduce the risk of water damage to vinyl floors?
Avoid steam mops, excessive water, and “wet mopping” that leaves puddles or film on the surface. Don’t use harsh chemicals or abrasive scrubbers that can degrade the finish and make water penetration more likely. If you need to remove spills, use a damp cloth first and then dry immediately—this helps protect the vinyl flooring in your entryway from swelling or edge lifting.
📅 Last Updated: October 25, 2026 | Topic: How to prevent water damage to vinyl floors in a entryway? | Content verified for accuracy and freshness.
References
- Vinyl flooring
- https://www.cdc.gov/mold/default.htm
- https://www.epa.gov/mold/mold-cleanup-guidance
- https://www.epa.gov/mold/what-you-need-know-about-mold
- F1869 Standard Test Method for Measuring Moisture Vapor Emission Rate of Concrete Subfloor Using …
- F2170 Standard Test Method for Determining Relative Humidity in Concrete Floor Slabs Using in sit…
- https://www.armstrongflooring.com/support/floor-care.html
- https://scholar.google.com/scholar?q=prevent+water+damage+vinyl+flooring+entryway+mats+moisture Google Scholar
- https://scholar.google.com/scholar?q=luxury+vinyl+plank+standing+water+subfloor+moisture+maintenance Google Scholar
- https://scholar.google.com/scholar?q=ASTM+F1869+F2170+moisture+testing+resilient+floor+coverings+vinyl Google Scholar