
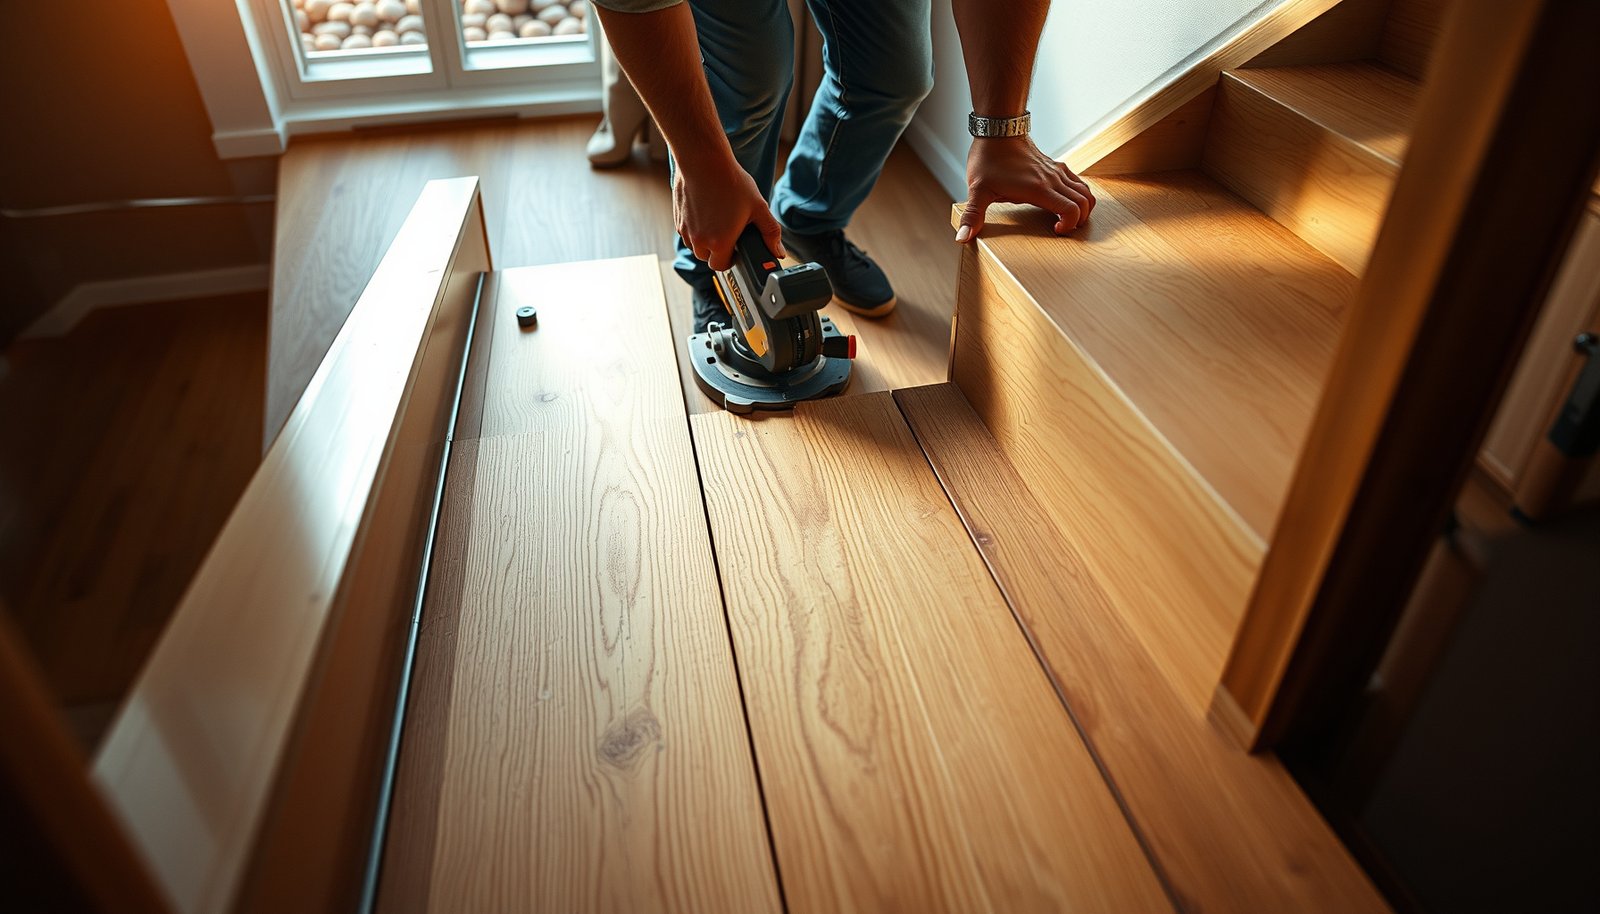

Want to replace hardwood floors in a staircase without costly mistakes? This step-by-step guide shows you exactly how to remove the old treads and risers, prep the stair framing, and install matching hardwood with clean, durable results. Follow it and you’ll get a staircase that looks finished from every angle—and stays that way.



Replace hardwood stair floors by removing the worn treads/risers, confirming the stair framing/substrate is solid and flat, then installing matching hardwood pieces and finishing them for heavy scuffing. If you measure tread depth, riser height, and tread thickness before cutting, the job usually shifts from “messy and frustrating” to “repeatable and straightforward.”
Replace hardwood flooring on a staircase by removing the old treads/risers, verifying the stair substrate is solid, then installing matching hardwood pieces and finishing them for heavy wear. If you take the time to measure tread depth, riser height, and thickness before you cut anything, the replacement usually goes from “messy” to “straightforward.” In this guide, you’ll learn the practical sequence and the main failure points to watch for.
This is for homeowners tackling a staircase update themselves (or supervising a contractor) when the goal is to replace worn or damaged hardwood treads/risers and restore a consistent look. It applies to most standard staircases where the existing treads are wood (not stone) and the framing/subfloor beneath is intact.
Before You Start: Measure, Match, and Plan
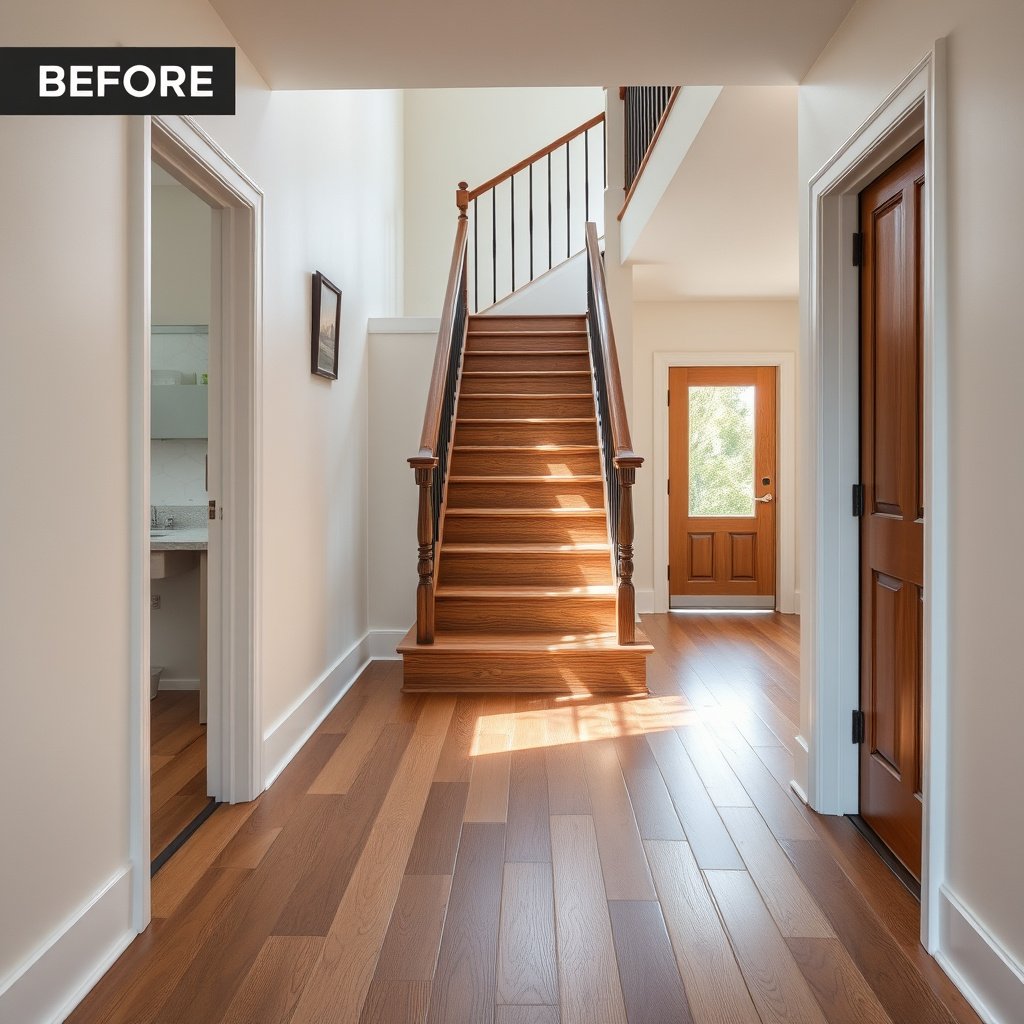
You can avoid most staircase-replacement problems before a single nail goes in by measuring every step precisely and matching the new hardwood to the existing stair geometry. The best results come from treating each tread/riser as its own “fitment problem” rather than assuming stairs are identical.
According to the International Residential Code (IRC), residential stairs must generally satisfy maximum riser height of 7-3/4 in and minimum tread depth of 10 in (dimensional rules can vary by application and local amendments).
Blondel’s step formula—commonly expressed as 2R + T ≈ 63 cm—shows why riser height (R) and tread depth (T) are interdependent for comfortable step geometry.
According to the IRC, landings are required at certain intervals, and a common rule is that a landing must be at least 36 in in the direction of travel for many stair configurations.
What to measure (and how to prevent “almost” fit problems)
Measure with the right reference points. For tread depth, measure from the back edge of the tread to the face of the nosing/groove where applicable (use the same point on every step). For riser height, measure from the top of the lower tread to the underside of the next tread. If your stairs have nosing profiles, measure the “effective” tread where your foot lands rather than just the overall timber dimension.
– Measure each tread (depth and width) and each riser (height), then confirm whether they’re consistent or vary slightly from step to step.
– Match the new hardwood to the existing stair system: thickness, edge profile (if any), and whether you’re replacing just treads/risers or the full staircase surface.
– Plan your workflow and materials: transition/edge pieces, fasteners/adhesive type, underlayment (if applicable), wood filler, sandpaper grits, stain, and a wear-resistant finish made for floors.
Match the system, not just the wood species
Stair hardwood systems fail visually and functionally when the new pieces don’t match the existing installation “stack-up.” Pay attention to:
– Thickness: A tread that’s too thick can change the nosing reveal and create step-to-step unevenness.
– Edge profile (bevel/nosing): Even a 1/8 in difference in profile or radius can make seams obvious.
– Surface type: Pre-finished vs site-finished behaves differently during sanding, staining, and sealing.
– Fastening method: Some stair systems are designed for concealed nailing; others expect nailing through specific zones. Using the wrong method can lead to squeaks and loosening.
Quick planning move: write measurements in a “per step” map
Before you order anything, build a simple step map (Step 1 up to the last riser). Include:
– Tread depth (inches or mm)
– Riser height
– Tread width (left/right if walls aren’t square)
– Existing thickness
– Any irregularities (chip, crown, out-of-square side, loose edge)
That map becomes your cutting list and your “repair log” when you inevitably discover one step that differs.
Blondel Step Formula: Tread Depth Targets vs. Riser Height (63 cm rule)
| # | Riser height (in) | Target tread depth (in) | Meets 10 in min tread* | Step-fit rating |
|---|---|---|---|---|
| 1 | 6.00 | 12.80 | Yes | ★★★★★ |
| 2 | 6.25 | 12.30 | Yes | ★★★★★ |
| 3 | 6.50 | 11.80 | Yes | ★★★★★ |
| 4 | 6.75 | 11.30 | Yes | ★★★★★ |
| 5 | 7.00 | 10.80 | Yes | ★★★★★ |
| 6 | 7.25 | 10.30 | Yes | ★★★★☆ |
| 7 | 7.50 | 9.80 | No | ★★☆☆☆ |
Computed using the Blondel step relationship 2R + T ≈ 63 cm (≈ 24.80 in), where R = riser height and T = tread depth. “Step-fit rating” is a planning indicator vs. the 10 in minimum tread rule commonly cited for residential stairs.
Remove Old Hardwood and Prep the Subfloor
You should remove the old treads/risers carefully while protecting the stringers and then prep the substrate until it’s clean and flat enough for tight seams. This is where most DIY jobs either become smooth—or start compounding gaps, squeaks, and misalignment.
Stairs can hide fasteners in the tread nosing and through the tread face, so prying or demo should be slow and targeted to avoid damaging stringers and the substrate.
Before installing hardwood treads, inspect for loose framing or water damage because movement in the substrate will telegraph through new flooring as seams and squeaks.
Remove without damaging the “base math”
The goal is to keep the stair’s support structure (stringers/bridges) intact and usable. Work step-by-step:
– Start with the least visible side if possible.
– Use controlled prying to separate the tread from whatever bond/fasteners exist (nails, screws, adhesive beds).
– Keep an eye out for metal fasteners near tread edges and nosings—missing one can splinter the tread or stringer.
Inspect the structure like you’re diagnosing a squeak
Before installing new hardwood, check:
– Bouncy steps: indicates loose framing or failing connectors.
– Soft spots / water staining: suggests moisture intrusion that will keep moving and cause finish failures.
– Crumbled or missing substrate: new hardwood will bridge over gaps and then break seams or squeak.
If you find structural problems, treat them before resurfacing. Even a perfectly cut tread will fail if the stair beneath flexes.
Prep landing and stringer faces for clean seating
Stair replacements often fail visually because of tiny debris and high spots.
– Scrape adhesive residue so the new pieces seat fully.
– Remove paint/old sealer on areas meant to bond (if your system uses adhesive).
– Sand down any raised edges so treads sit flat and don’t rock.
Install New Stair Treads and Risers
The fastest way to get straight, consistent steps is to dry-fit every tread and riser first, then use the fastening method required for your specific hardwood system. On stairs, small alignment errors become obvious because each step repeats a “line of sight” up the stairway.
Dry-fitting stair treads and risers helps you correct size and alignment issues before adhesive hardens or before concealed fasteners lock mistakes in place.
Manufacturer instructions for stair or engineered hardwood assemblies specify fastening locations and methods because the loads and wear on stairs differ from flat flooring.
Dry-fit first, then commit
Set each tread and riser in place (without glue/with temporary spacers if needed) and verify:
– Tread sits flush from left-to-right.
– Nosing alignment matches adjacent steps.
– Risers meet the tread underside with minimal gaps.
Measure twice in your fitting stage because stairs frequently vary slightly, especially in older homes.
– Dry-fit first: place each tread and riser segment to confirm you’ve got the right sizes and alignment before applying adhesive or setting fasteners.
– Follow the right fastening approach for hardwood stairs: use the method specified by the flooring/stair manufacturer for that product type (common options include concealed nailing or nailing through the tread edges).
– Keep transitions tight and consistent: align edges so tread nosing lines up from step to step, and verify risers sit flush with minimal gaps.
Keep seams tight in both directions
Two seam problems show up most:
1. Front-to-back mismatch: nosing reveal changes and makes steps look uneven.
2. Left-to-right mismatch: side reveals differ, which reads like “the stair is out of square.”
Use a straightedge and a consistent datum line (for example, one consistent edge of the stringer face) as your visual reference as you fasten each step.
Prevent squeaks by “staking out” movement
Even when you fasten correctly, seams can open if the assembly isn’t bedded properly. Follow the system’s instructions on:
– adhesive compatibility
– recommended fastener type and spacing
– whether blocking/bridging is required in certain areas
If your stair has an existing squeak path, find it during the demo and address it now.
Finish the Staircase for Durable Wear
You can protect your new stair treads long-term by sanding consistently, matching stain across all steps (or using a pre-matched system), and applying a finish designed for abrasion-heavy flooring. Stairs see repeated scuffing at the same footprint zones, so your finish choice matters as much as the carpentry.
Stair treads experience higher abrasion than many floor areas because the front edge of each tread is repeatedly contacted during normal stepping.
If you stain, maintain the same application technique across all steps to reduce blotchiness and step-to-step tone differences.
Sand and color-match before you seal
Sand in stages:
– Level the surface and remove installation scratches.
– Feather transitions so the tread face looks uniform.
– Sand risers with the same grit plan you use on treads so stain and sheen match.
Then stain (if required):
– Apply in the same direction and with the same dwell time per step.
– Wipe consistently so you don’t create “hot spots.”
– Allow full cure before traffic so the finish doesn’t track or dull unevenly.
– Sand in stages to level the surface and remove scratches from installation; finish the risers and treads in a consistent order so color and sheen match.
– Apply stain (if needed) using the same technique across all steps to avoid blotchiness and uneven tone; let everything cure fully before heavy traffic.
– Use a finish appropriate for stairs and abrasion: stairs see more scuffing than floors, so rely on the finish’s labeled use and application instructions (including recommended coats and dry times).
Choose the right sheen—and test your look under real light
A satin or matte finish can hide minor scuffs better than gloss, but gloss can be safer from some cleanups if your household prefers it—trade-offs exist. Match the sheen goal to your everyday traffic and cleaning habits.
What Can Go Wrong (and How to Avoid It)
Most stair replacement failures come from uneven substrates, mismatched profiles/thickness, or shortcuts that let movement persist. If you treat each step as a fitment and you verify structure before flooring, you eliminate the majority of “mystery” gaps and squeaks.
Even small substrate out-of-flat conditions can create visible gaps on stair treads because the tread spans and repeats those errors on every step.
Finish failures on stairs often trace back to using the wrong coating system or insufficient curing before resuming normal foot traffic.
Common problems and what to do instead
– Uneven steps: if your stair framing is out of level or the old substrate wasn’t truly flat, new hardwood can show gaps or rock—fix the substrate first.
– Wrong thickness or incompatible profiles: mismatched thickness can cause inconsistent nosing reveal or an awkward tread-to-riser transition.
– Gaps and squeaks: skipping the substrate inspection or failing to bed/fasten correctly can lead to movement, squeaks, and widening seams over time.
– Finish mismatch: applying a coating meant for interior furniture or using a different sheen than planned can lead to slippery treads or visible step-to-step differences—follow the product instructions.
DIY vs pro decision points (comparison snapshot)
If you’re trying to decide how far to push the DIY route, use this quick contrast:
| Situation | DIY is reasonable | Hire a pro is smarter |
|---|---|---|
| Measurement consistency | Most steps are within small variation | Steps are widely inconsistent or landing geometry is unclear |
| Substrate condition | Stringers/substrate are solid, no soft spots | You find loose framing, rot, crumbling substrate, or structural movement |
| Stair system complexity | You have matching treads/risers and clear fastening guidance | Profile matching is specialized, or manufacturer fastening details are unclear |
| Dust/finish constraints | You can control dust and you have ventilation | You can’t safely sand/finish (dust control, fumes, cure times) |
| Finishing matching | You can keep stain application consistent | You need a “factory” seamless match across adjoining areas |
Verdict Tip: When to DIY vs Hire a Pro
If your staircase is structurally solid and your measurements are accurate, replacing hardwood treads and risers is a reasonable DIY project. Where pros usually earn their fee is when stairs are irregular, the substrate needs structural correction, or the job requires advanced matching of profiles and finishing for a seamless “factory” look.
The International Residential Code (IRC) and related stair rules focus on riser/tread geometry, so major deviations may require structural correction rather than simple resurfacing.
Manufacturer installation instructions exist because stair loads, wear points, and allowable fastening methods differ from flat flooring installations.
When DIY makes sense
– You can measure every step reliably and cut-fit each tread/riser.
– The stringers and substrate are firm (no bounce, no rot, no active moisture).
– You’re comfortable with controlled demolition and careful finishing.
When hiring a pro is worth it
– You discover compromised framing, soft/rotted substrate, or signs of water damage.
– The stair is out of square enough that “cutting to fit” becomes constant rework.
– You don’t have the right plan for dust control and finish cure timing.
Also consider it if you don’t have safe access to dust control and proper sanding/finish ventilation—stair refinishing creates a lot of fine dust.
Frequently Asked Questions
What’s the best way to replace hardwood flooring on a staircase without damaging the structure?
Start by assessing whether you’re replacing individual treads and risers or the full staircase run, because that determines how much disassembly is needed. Carefully remove the stair nosing and treads, then inspect stringers, subfloor plywood, and any existing underlayment for rot or loose fasteners. Use matching hardwood stair components or properly milled replacements so the nosing overhang and tread thickness stay consistent for safe, code-friendly stair geometry.
How do you measure and cut new hardwood stair treads and risers for a perfect fit?
Measure each tread depth and width individually, since stair runs often vary slightly from step to step. Record the tread thickness, nosing projection, and the rise height for each riser so your hardwood stair replacement maintains uniform rise and tread depth. Use a square and precise saw setup, dry-fit each tread and riser before fastening, and confirm that seams line up neatly where the staircase turns or meets the landing.
How should you remove old hardwood stair treads and handle nailed or glued installations?
For nailed treads, locate fasteners carefully and remove them without prying against visible hardwood surfaces whenever possible. If the treads were glued down, use a flat pry bar with a wood block to reduce damage and gently work under the tread until it releases. After removal, clean off residual adhesive, scrape and sand high spots, and repair any damaged subfloor or stringer areas before installing new hardwood stair parts.
Why is installing a stair underlayment and subfloor preparation so important when replacing hardwood stairs?
Uneven subflooring leads to creaking, rocking, and premature wear on new hardwood staircase treads. Before installation, ensure the substrate is level and securely fastened, and address any squeaks by tightening subfloor screws or shimming as needed. Proper preparation also improves the bond quality for adhesives and ensures fasteners pull into solid wood, which is critical for long-lasting hardwood stair replacement.
Which fastening method is best for hardwood stair treads—nails, screws, or construction adhesive?
Many hardwood stair replacement projects use a combination of construction adhesive and mechanical fasteners for maximum stability, especially on tread surfaces that experience heavy foot traffic. Use screws or finish nails driven through the tread into the stringer/substrate according to your tread thickness and the manufacturer’s guidance. Avoid relying on glue alone on stairs, and use the correct countersinking or plug method so fastener heads don’t interfere with the tread finish or create safety issues.
📅 Last Updated: October 17, 2026 | Topic: How to replace hardwood floors in a staircase? | Content verified for accuracy and freshness.
References
- Wood flooring
- https://www.fpl.fs.usda.gov/documnts/fplgtr/fpl_gtr190.pdf
- Wood Dust – Overview | Occupational Safety and Health Administration
- Lead Renovation, Repair and Painting Program | US EPA
- Redirecting…
- WBDG
- wood floor sanding dust – Search Results – PubMed
- https://scholar.google.com/scholar?q=hardwood+floor+installation+stair+treads Google Scholar
- https://scholar.google.com/scholar?q=replace+hardwood+floor+stairs+risers Google Scholar
- https://scholar.google.com/scholar?q=refinishing+hardwood+stairs+treads+installation Google Scholar

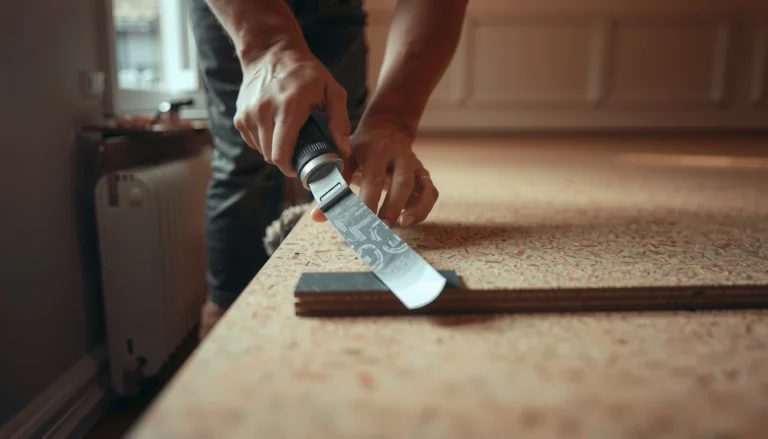
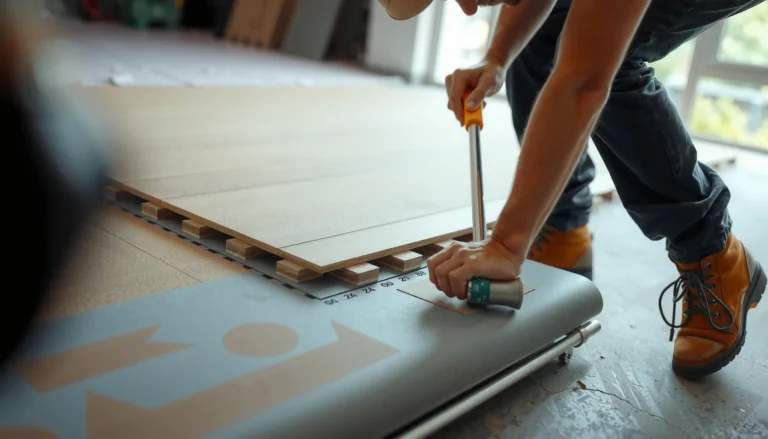
[…] to remove hardwood floors from a staircase? Follow this step-by-step guide to lift treads and risers cleanly, minimize damage to the stringers, and prep the stairs for the […]