
Installing around stairs parquet floors is clean and reliable when you use the right stair-edge detailing: proper underlayment coverage, tight transitions, and correctly cut nosing pieces that lock securely. This guide answers how to install around stairs parquet floors without gaps, lifting edges, or uneven risers, with steps you can follow from measuring to final finishing. If you want the fastest route to a professional-looking stair run, follow the sequence and fasteners recommended for your floor type.




Start by planning your cuts around the tread (the flat part) and the riser (the vertical part), then use templates and stair trim/nosing to cover the most error-prone edges. In most cases, the cleanest result comes from mapping the plank pattern to the stair nosing first, then cutting parquet pieces to fit the contours with consistent expansion gaps—so the stair run looks intentional instead of improvised.
Who this is for / when it applies: This is for homeowners and DIYers installing parquet in front of or up to stairs, or continuing a parquet pattern that must wrap around treads and risers. It’s especially relevant when you’re dealing with angled stair edges, uneven tread widths, or a parquet layout that needs to stay visually aligned.
Plan the layout before you cut (tread + riser mapping)
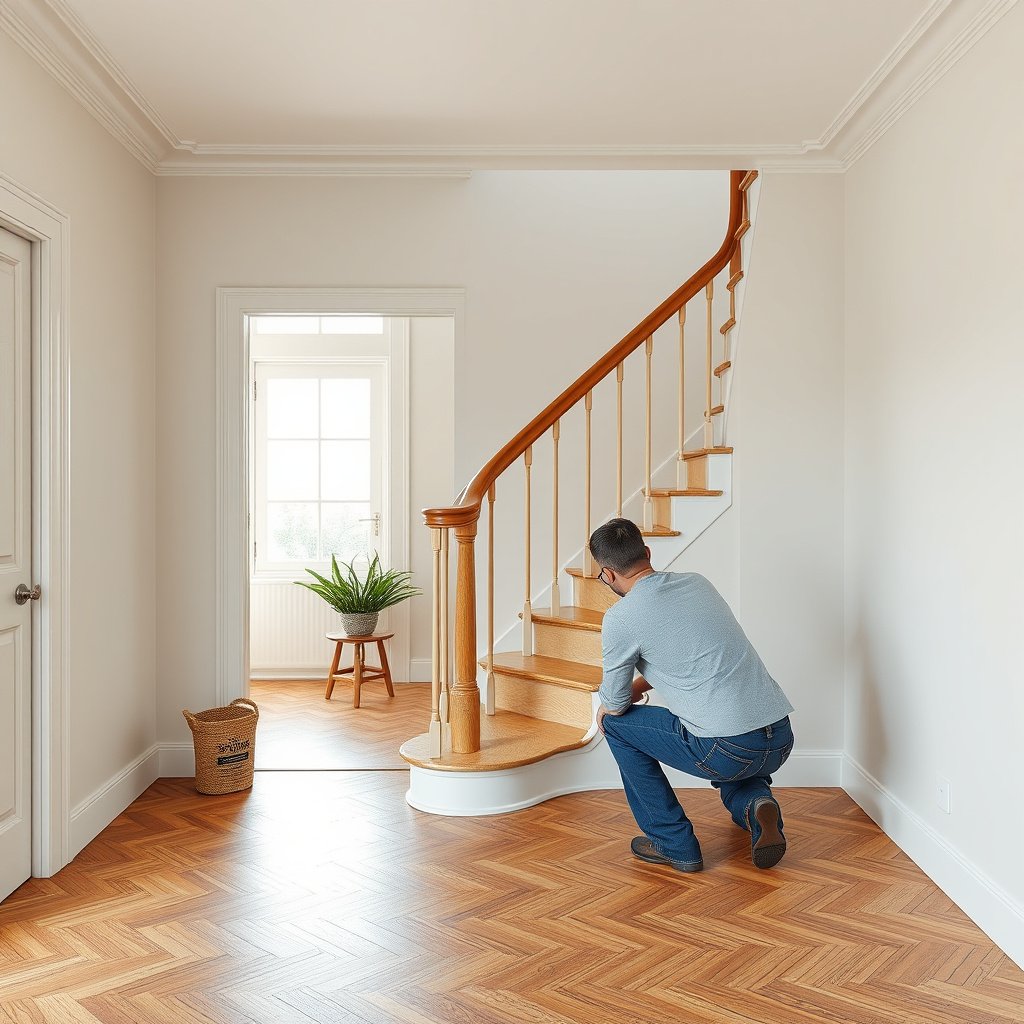
Mapping your parquet pattern to the tread nosing and riser edges first is the fastest way to avoid visible “drift” by the last step. Treat the stair run like a single layout canvas: you’re not just cutting boards—you’re aligning a repeating visual rhythm across geometry that can vary step to step.
A stair run often has geometry variation, so template-first planning is more reliable than assuming “standard” tread dimensions.
The nosing edge becomes your alignment reference when you want parquet lines to read straight across multiple steps.
Code-based stair measurements explain why older stairs can deviate, which directly affects parquet fit at tread and riser seams.
Decide how the parquet pattern should “read” on the stairs
Before you cut around stairs parquet floors, decide where the “design centerline” lives. Common approaches include:
– Centered per tread: the pattern is symmetrical on each tread.
– Aligned to a landing: the first tread after the landing starts the visual sequence.
– Continued hallway direction: you keep the parquet direction consistent with the adjacent room, even if stair edges force trimming.
For consistent results, pick one reference for every step—either the centerline or a measured distance from the same side wall/guardrail. For around-stairs parquet installation, this choice matters because small positioning errors compound over a full run.
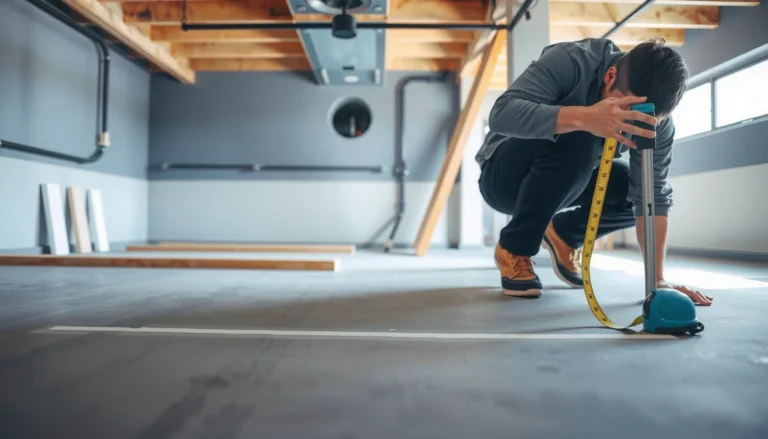
Measure each tread depth and riser height (and record variation)
Accurate measurement is where you “pay once” to prevent repeating problems. When stairs are uneven, one set of cuts won’t fit all steps—parquet needs to land flush where the tread meets the riser and stay consistent where joints appear.
According to International Residential Code (IRC) 2021, Section R311.7.5, the maximum riser height is 7-3/4 in (196 mm) and the minimum is 4 in (102 mm). According to IRC 2021, Section R311.7.5, the maximum variation between adjacent risers is 3/8 in (9.5 mm). And according to IRC 2021, Section R311.7.5, the minimum tread depth is 10 in (254 mm).
In practice, those tolerances are often respected in new construction, but older stairs can drift outside them—especially when treads were replaced or stair framing settled over time. For around-stairs parquet floors, that means each tread/riser pair should be recorded (even if only to note “Step 2 is X mm deeper”).
Create a first/last step cutting plan (alignment is multiplicative)
A high-quality cutting plan includes two “anchor steps”:
– The first visible step (where pattern misalignment is most noticeable)
– The last step (where cumulative error becomes obvious)
If your parquet layout starts a few millimeters off on the first tread, you can end up with a visible mismatch at the last riser because the pattern rhythm repeats. Mapping parquet to the stair nosing early makes your final result look straight—even when the staircase isn’t perfectly uniform.
Mandatory data table: stair geometry checks that affect parquet edge fit
After you measure, convert your findings into a quick sanity check so you understand how “code-like” (or not) the stairs are before you cut. Use the values below as a benchmark when evaluating what you might need to template rather than standardize.
IRC 2021 Stair Dimensions Benchmarks (Straight Stairs)
| # | Stair requirement | Limit (imperial) | Limit (metric) | Edge-alignment stability impact |
|---|---|---|---|---|
| 1 | Max riser height | 7-3/4 in | 196 mm | ★★★★★ |
| 2 | Min riser height | 4 in | 102 mm | ★★★★★ |
| 3 | Max variation between adjacent risers | 3/8 in | 9.5 mm | ★★★★☆ |
| 4 | Min tread depth | 10 in | 254 mm | ★★★★★ |
| 5 | Max nosing projection (typical straight stair limit) | 1-1/4 in | 32 mm | ★★★☆☆ |
| 6 | Min headroom above stairs | 6 ft 8 in | 2032 mm | ★★☆☆☆ |
| 7 | Handrail applicability (typical rule of thumb) | 4+ risers | 4+ risers | ★★★★☆ |
Prep the stairs so parquet can sit flat and stay stable
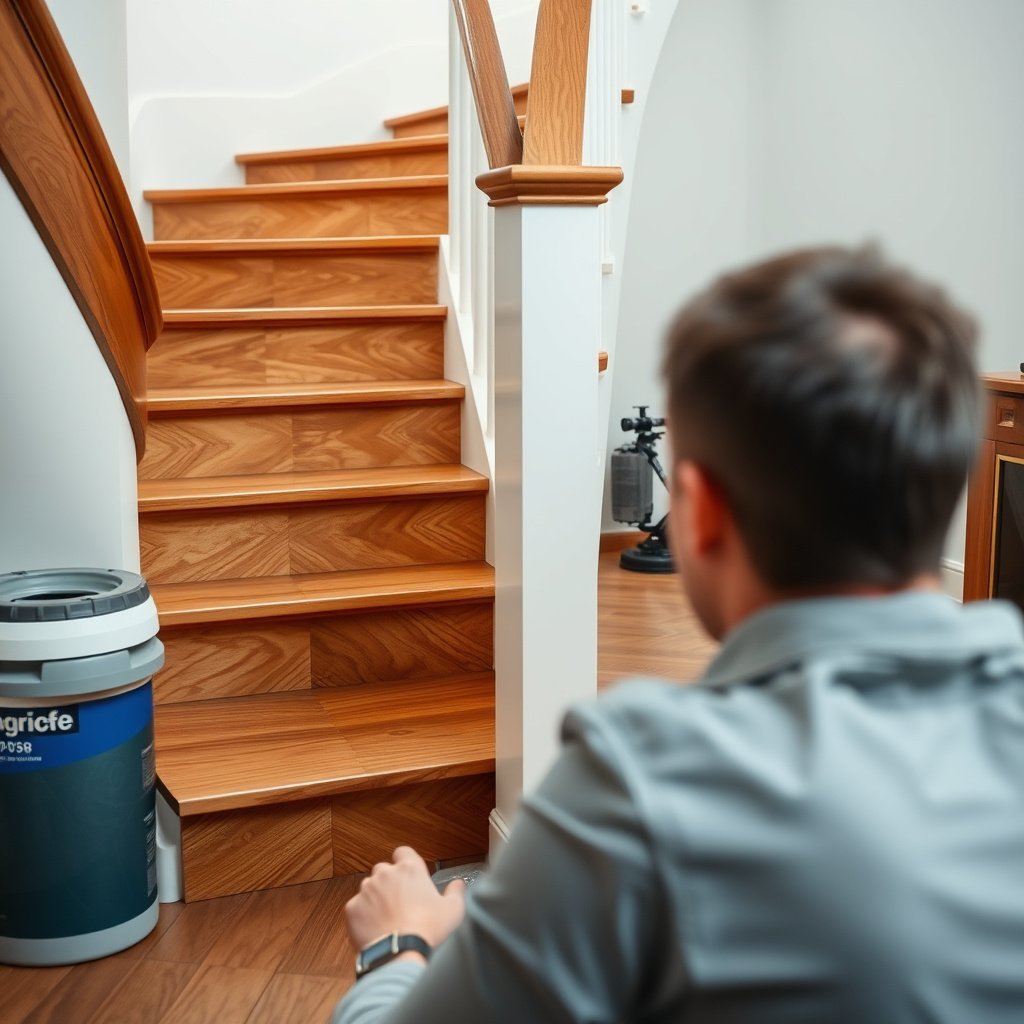
Preparation is the difference between a parquet stair run that feels tight and one that develops edge lift. If your stair substrate isn’t stable, even perfect cuts won’t prevent squeaks, movement, or hairline gaps at tread-to-riser transitions.
Parquet installation on stairs depends first on a dry, solid substrate—wood floors and stair substrates must meet manufacturer moisture and flatness expectations.
Removing loose trim and high spots before flooring reduces the chance that stair edging has to “cover” structural problems.
Use the parquet’s specified acclimation window so the product doesn’t expand/contract after installation.
Confirm the stair substrate and your installation method
Around stairs parquet floors are installed one of three ways—glue-down, mechanical fastening (nail/secret nail), or floating (with an underlayment system). You should match the prep to that method and to the parquet type (solid vs engineered, click-lock vs loose lay).
– Glue-down parquet: needs a compatible adhesive and a stable, properly prepped substrate.
– Secret-nailed or cleated systems: require guidance on acceptable fastening points and substrate readiness.
– Floating systems: require underlayment and movement allowances designed for the product—stairs are motion-heavy.
If you’re unsure which method applies, defer to the manufacturer’s instructions for stair treads and risers. This is especially important for engineered parquet—some products allow treads but restrict risers, or require additional profiling/adhesive.
Remove old components and correct flatness
Before you cut around stairs parquet floors, strip away anything that creates irregular height or weak adhesion. That usually includes:
– Old nosing and loose stair trim
– Carpet tack strips and adhesive residue
– Any protrusions or high spots that prevent full contact
Fill low areas with a floor-appropriate patch compound rated for your substrate and thickness. On stairs, even small dips can show up as inconsistent contact behind parquet pieces and visible seams at every step.
Acclimate the parquet per the manufacturer’s instructions
Wood-based floors can change dimensions with temperature and humidity. Acclimation is not optional for high-quality around-stairs parquet installation; it’s what keeps the expansion gap behavior predictable.
From International Residential Code (IRC) 2021 we know stair geometries can vary, and from general flooring practice we know stair runs magnify dimensional change because each step is an additional joint line. For your parquet system, follow the manufacturer’s acclimation time and target conditions rather than guessing.
Fit parquet on the stair treads: cut strategy that looks neat
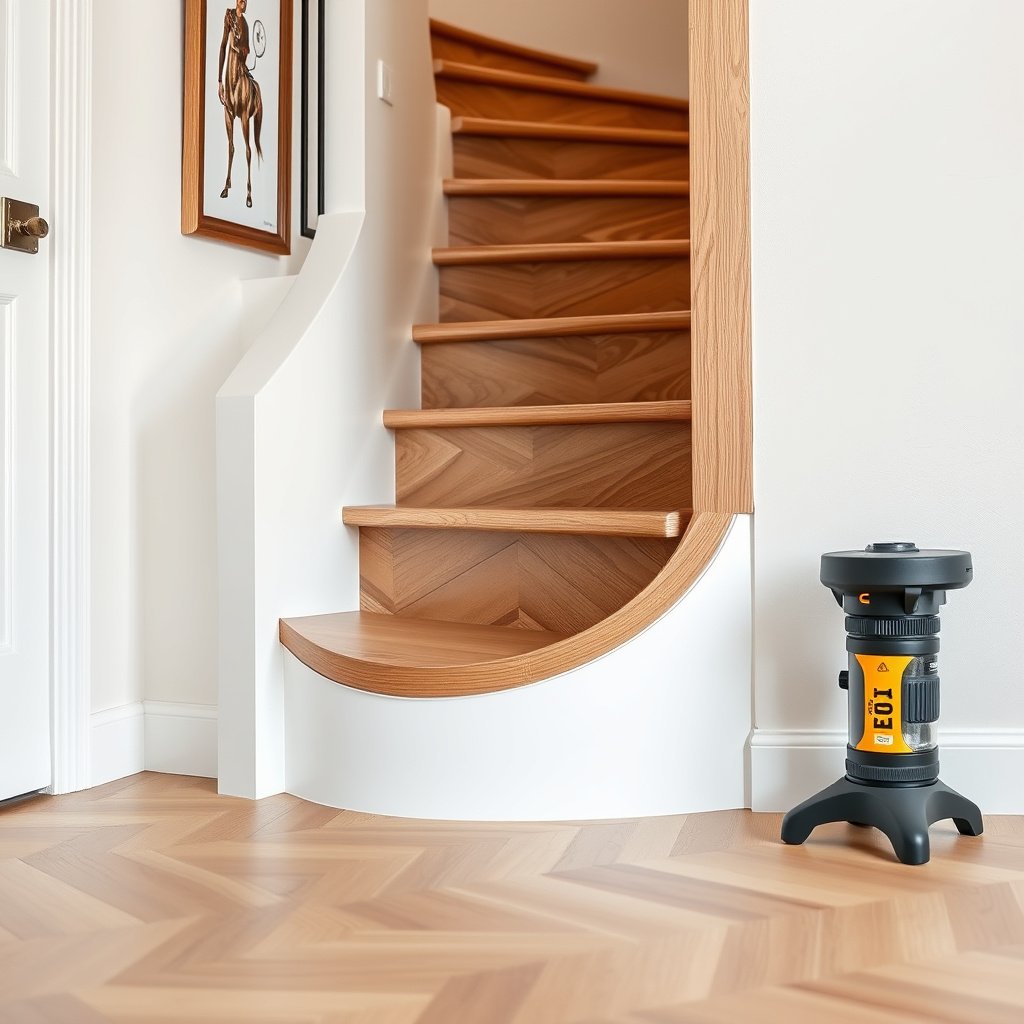
Template-based cutting is the best way to keep the tread sections neat, because stair treads rarely match one another perfectly. Your goal is a clean outline, minimal chipping at edges, and a pattern that stays visually aligned with the nosing.
Cardboard templates for each tread capture irregular geometry better than repeating a single measurement across the whole stair run.
On stair treads, managing small “sliver” pieces is a visual quality issue, not just a cutting issue.
Expansion gaps should be planned so any required spacing is covered by stair trim/nosing wherever possible.
Use cardboard templates and test-fit dry
For around stairs parquet floors, treat templates like a precision tool:
1. Make a template for each tread (especially where the stair edge is angled or width varies).
2. Transfer the template to the parquet panel/plank.
3. Dry-fit before adhesive or fasteners—because the first dry-fit often reveals whether the riser-to-tread junction is square.
This is also the point where you confirm your pattern alignment decision from the layout stage: the parquet design should “land” where the nosing reference dictates.
Avoid awkward skinny pieces at the stair edge
A proportional look matters. If you repeatedly end up with narrow slivers at the stair edge, redistribute your cuts:
– Shift the starting piece so the remaining widths stay reasonable.
– Re-plan around stairs parquet floors so joint locations land where you can align the pattern without creating fragile, chip-prone edges.
Maintain expansion gaps—but plan how they’re hidden
Expansion gaps still matter on stairs, but you generally don’t want “exposed wood” everywhere. Many stair finishing systems (nosing, stair edging profiles, and trim) are designed to cover those allowances.
The practical workflow:
– Cut parquet with the required perimeter spacing.
– Position stair trim so it hides the gap at the outer stair edge and at transitions where visibility is high.
If your parquet system doesn’t allow certain gap placements, you must follow the manufacturer’s stair rules. Around-stairs parquet installation should never rely on trim to “fix” an installation that violates the flooring’s required spacing.
Finish the risers cleanly (vertical cuts without gaps)
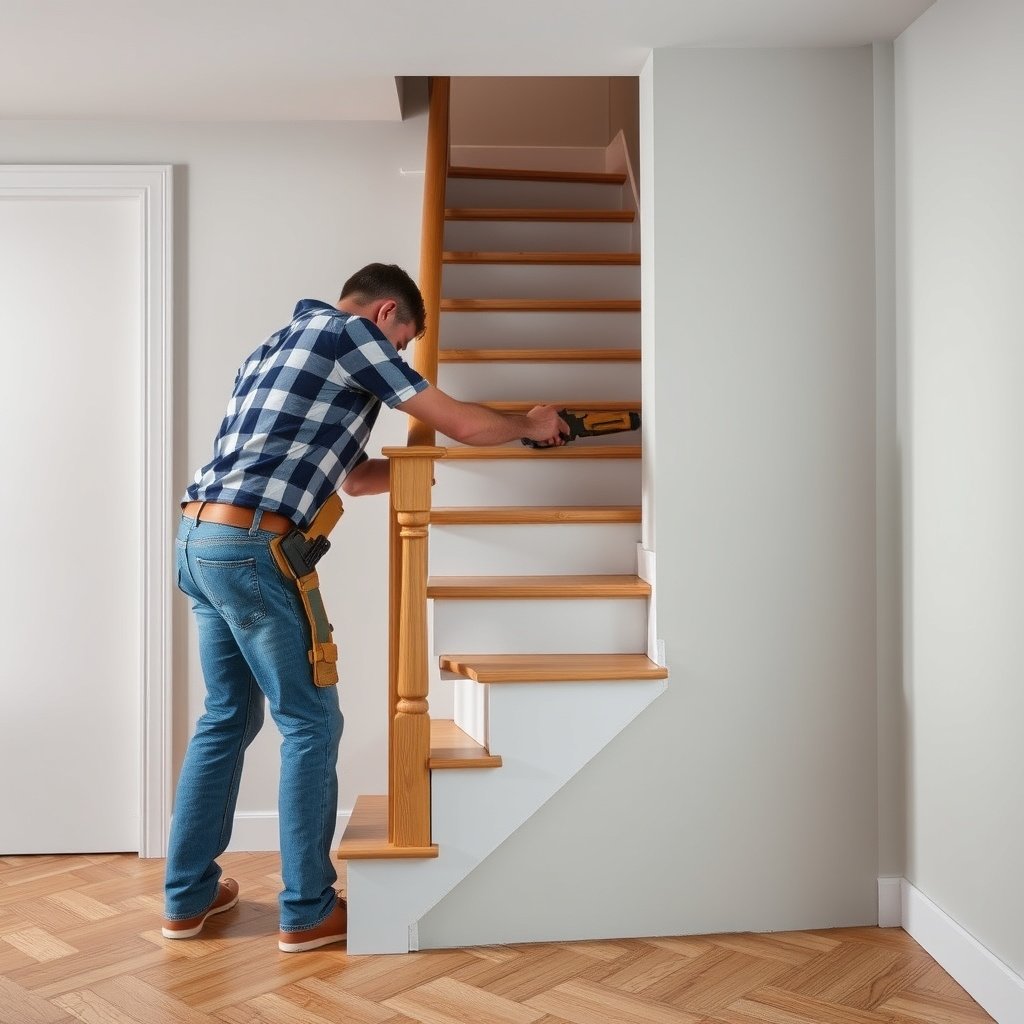
Flush riser seams come from controlling thickness relationships and referencing a straight trim/nosing line. If risers are cut without accounting for how the tread piece meets them, the gap you see is often structural—not a minor cosmetic mistake.
Most visible stair gaps appear at the tread–riser interface, where thickness and squareness differences accumulate across steps.
Reference lines and consistent thickness control reduce “drift” on riser cuts better than freehand measuring.
Stair edging/nosing profiles can mask minor edge timing issues, but they cannot compensate for incorrect substrate prep.
Cut risers with consistent thickness and correct fit geometry
When finishing around stairs parquet floors, the riser piece must meet the tread piece (or transition profile) cleanly. Differences in:
– riser thickness,
– how far the tread piece overhangs or stops,
– and whether the nosing sits at a fixed offset
…all influence whether you get tight seams or visible lines.
For angled stairs, consider whether your riser outline should follow the template exactly or whether stair trim requires a particular landing surface. Don’t assume the same cutting logic works for both treads and risers.
Use a straight reference line and check square
Before calling it a “cut problem,” verify squareness:
– Draw a straight reference line where the riser surfaces should align (often tied to the stair edging/nosing position).
– Check each riser for whether it’s slightly out of square.
If it’s out of square, the gap may be the stair itself. In that case, forcing a tight parquet seam can create other issues (stress at joints or uneven contact behind trim).
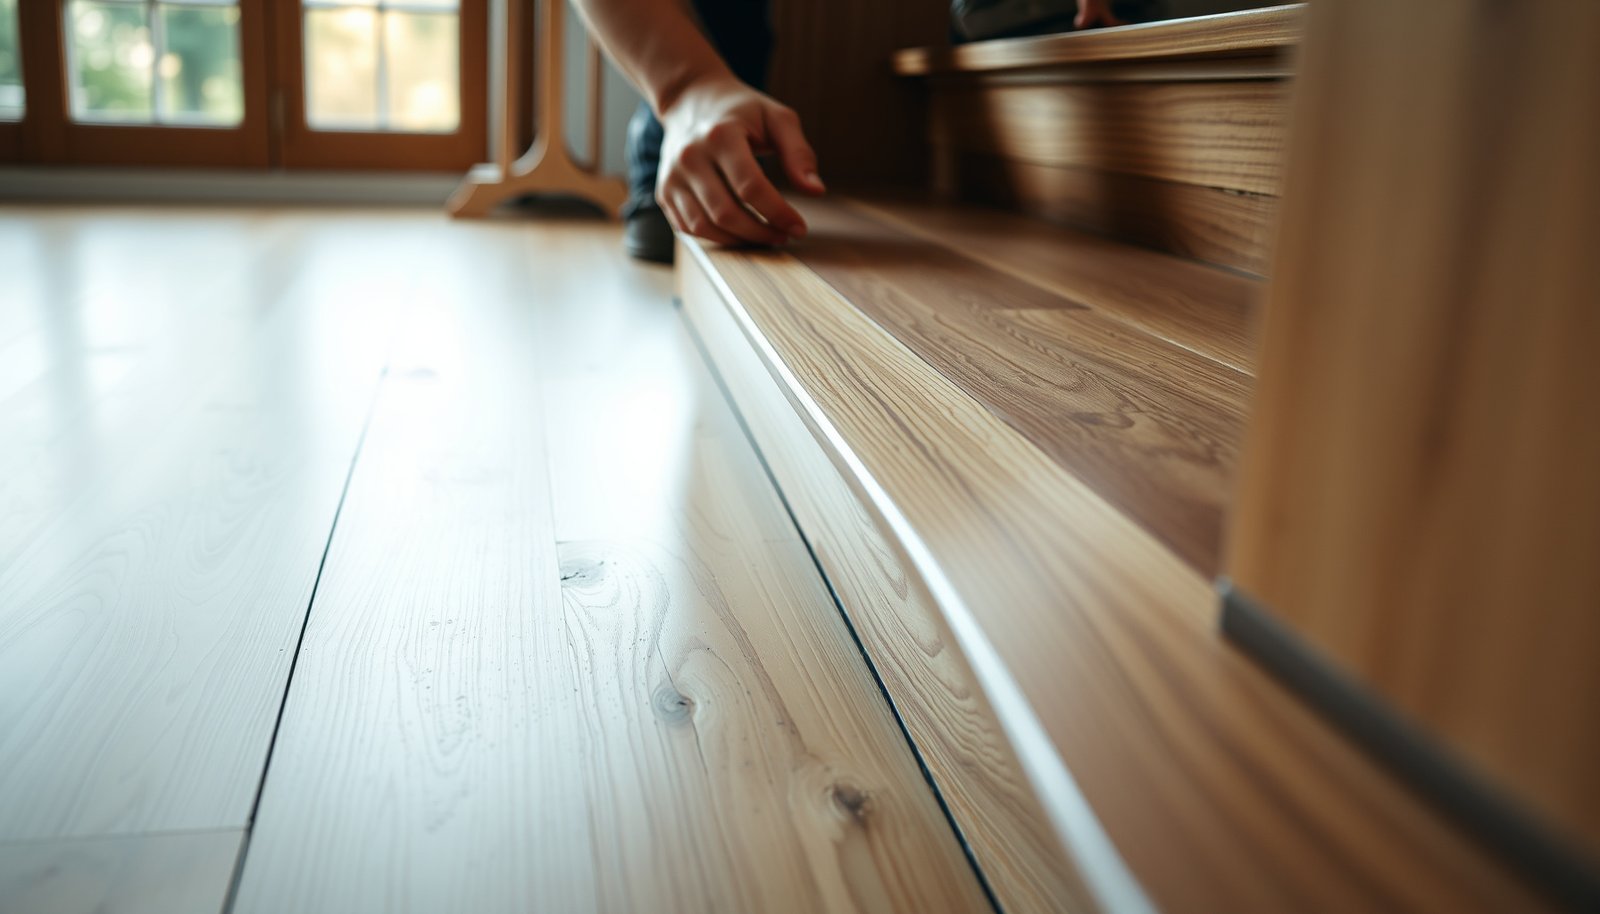
Use stair edging/nosing profiles where cuts tend to drift
Stair trim profiles aren’t just decorative—they’re a functional coverage strategy for around-stairs parquet floors. If your staircase has small irregularities, choosing a profile that covers the most error-prone edge will improve the final look significantly.
Adhesive, underlay, and fastening choices (match your parquet type)
The correct attachment system is what keeps around stairs parquet floors from lifting at edges under heavy foot traffic and stair vibration. Match adhesive/fasteners to the parquet’s installation category—don’t treat stairs as “just another floor area.”
Glue-down, mechanically fastened, and floating parquet systems each require different substrate prep and allowable movement.
Underlayment is not universally suitable for stairs; only use what the manufacturer allows for stair applications.
Engineered parquet may have stair-specific restrictions—verify whether it’s approved for risers and what adhesives/fasteners are permitted.
Choose the right system based on your parquet installation method
Follow your parquet installation system exactly:
– Glue-down: use a compatible adhesive recommended by the manufacturer and apply per coverage and bead/spread guidance.
– Secret nail / nail-down: place fasteners according to the system’s requirements and ensure the substrate can accept them.
– Floating: use only approved underlayment and spacing; stairs experience movement that floating systems must accommodate.
For engineered parquet, double-check whether the manufacturer allows installation on stair treads and risers and whether they specify adhesive on vertical faces.
Comparison: which attachment method best fits your stairs?
Here’s a practical contrast to help you decide what to verify in the manufacturer manual before you start cutting around stairs parquet floors.
| Installation method | Best for | Key risks on stairs | What to confirm in specs |
|---|---|---|---|
| Glue-down parquet | Substrate is flat and stable | Edge lift from wrong adhesive or dusty substrate | Approved adhesives + coverage method + stair allowance |
| Mechanically fastened | You can nail into correct substrate | Fastener placement errors; squeaks if substrate isn’t solid | Fastener type/spacing + substrate requirements |
| Floating parquet | You need a low-adhesive system | Movement issues if underlayment is wrong for stairs | Approved underlayment + movement gap guidance |
What can go wrong (and how to prevent it)
Stair parquet failures usually come from ignoring stair geometry variation or mismatching the installation system—not from “bad taste” in the pattern. If you address geometry, alignment, gap coverage, and attachment method early, you eliminate most visible defects.
Uneven tread depth and riser height means repeating one cut set will create gaps that no trim can fully correct.
Pattern drift often starts on the first tread; correcting early alignment prevents compounding misalignment by later steps.
Using incorrect adhesive/fasteners for stairs can cause edge lift, especially at high-wear nosing areas.
Uneven stair geometry
If riser heights vary or tread depths change, you can’t rely on a single “standard” cut. Your prevention plan:
– Template each step (or each group of steps with matching dimensions).
– Keep a simple written log of what changed (e.g., “Step 3 tread is 6 mm shorter”).
Misaligned pattern
If you’re off by even 5–10 mm at the first tread, you’ll usually see it by the last visible riser because your eye tracks the pattern line across stair faces. The prevention method is simple:
– Align to your chosen nosing reference early.
– Confirm the alignment after every 2–3 steps—not only at the end.
Exposed expansion gaps
Gaps can be correct but look wrong if they’re exposed where they shouldn’t be. The prevention method:
– Plan trim placement before cutting.
– Ensure every required gap is either hidden by stair edging or placed where the manufacturer allows it.
Poor bond/adhesion
Dusty surfaces, incompatible adhesives, and wrong coverage techniques can cause parquet edges to lift. Prevention:
– Clean substrate thoroughly.
– Use the adhesive/fasteners specified for your parquet type.
– Follow application instructions exactly (open time, spread rate, and bonding duration where provided).
Cutting too many tight pieces
Tiny parquet sections are harder to position accurately and are more likely to chip at stair edges. A practical workaround:
– Use fewer, larger pieces when layout allows.
– Where you must use smaller pieces, add extra care with edge finishing and test-fit tolerance.
Verdict / tip: the “trim-first” approach usually wins (but not always)
If your goal is the cleanest look with the fewest surprises, use a trim-first approach: map the parquet pattern to the stair nosing/trim reference line, then cut pieces to land neatly beneath or against it. The downside is you’ll need the correct stair edging/nosing profiles and extra time to align everything—especially on angled or uneven stairs.
Mapping parquet to the stair nosing first turns trim into a precision reference, not a cosmetic afterthought.
The tradeoff is dependency on having the correct stair trim/nosing profile and achieving careful alignment on the first few steps.
If stair surfaces are significantly out of level/plumb, fixing substrate conditions first is more reliable than forcing parquet into place.
You should skip (or pause and consult a pro) if:
– Your stairs are significantly out of level/plumb and you can’t correct the substrate.
– You discover a failing substrate that requires repair beyond patching.
– Your parquet manufacturer explicitly restricts stair installation for your specific product.
– You can’t source the stair nosing/trim profile that matches the parquet thickness and finish layer.
Quick scan checklist (save this)
| Step | Quick check |
|---|---|
| Measurements | Tread depth + riser height recorded for each step |
| Substrate | Flat, clean, dry; high spots removed; low spots patched |
| Acclimation | Parquet acclimated per manufacturer instructions |
| Pattern plan | First/last stair alignment decided before cutting |
| Templates | Cardboard templates made for tricky steps |
| Expansion gaps | Gap size verified; plan where gaps will be covered |
| Adhesive/fasteners | Correct system confirmed for your parquet type |
| Test fit | Dry-fit each tread/riser section before final fixing |
| Trim/nosing | Profile chosen and positioned as a reference line |
| Finish | Final sanding/edge finishing completed where required |
Frequently Asked Questions
How do you install parquet flooring around stairs without gaps?
Start by removing the stair nosing and base trims so you can work to the exact stair geometry. Use a jigsaw with a fine-tooth blade or a track saw to cut parquet sections to the stairtread contour, then dry-fit each piece to confirm there are no visible gaps. Leave a small expansion gap at the edges and fill minor micro-gaps with a color-matched wood filler before sealing. Finish by installing a stair edge profile or skirting trim to cover transitions for a clean, professional look.
What is the best way to cut parquet boards for stair treads and risers?
For stair treads, measure each tread individually—stairs are often not perfectly uniform—and mark cuts directly on the plank. Use a miter saw for straight miters and a jigsaw or oscillating multi-tool for curved or tight corners, then sand cut edges lightly for a precise fit. For risers, cut boards to the riser height and consider using a back-cut or bevel to match the tread’s profile if your design requires a flush transition. Always label pieces by stair number to keep the parquet pattern consistent.
Why is expansion space important when installing parquet around stairs?
Parquet floors move with humidity and temperature changes, and stairs create extra stress points due to repeated foot traffic and airflow. If you lock the flooring tightly around stair edges, it can buckle or cause joints to separate as the wood expands. Maintain the manufacturer-recommended expansion gap along fixed boundaries, then cover the edges with trims designed for stairs. This helps prevent squeaks, gaps, and finish cracking over time.
Which adhesive or fastening method works best for parquet near stairs?
The best method depends on your subfloor and parquet type, but stairs typically benefit from strong, stable bonding. For engineered parquet, a recommended flooring adhesive and full-spread application can reduce movement and improve durability at high-traffic edges. For click-lock systems, ensure the underlayment and subfloor are perfectly flat and use the manufacturer’s guidance for stair installation, often adding mechanical fastening or stair nosing to hold transitions. Use the correct trowel notch size and curing times to avoid adhesive squeeze-out that can interfere with the stair finish.
How do you finish the edges and transitions when installing parquet around stair landings?
Use a stair nosing strip, bullnose profile, or transition trim to create a durable, slip-resistant edge where parquet meets the stair tread. Sand and clean the cut parquet, then apply a matching primer and finish system suitable for floors with heavy wear. On landings, align the parquet pattern first, then butt pieces neatly to the doorway and wall lines using the required expansion gap. Seal any filled joints and ensure the stair nosing covers the expansion gap so the finish remains intact under repeated impacts.
📅 Last Updated: October 15, 2026 | Topic: How to install around stairs parquet floors? | Content verified for accuracy and freshness.
References
- Parquet
- Staircase
- https://www.nwfaflooring.org/education/
- Home – Tarkett Commercial
- 404 Error
- Slips and trips – HSE
- https://www.gov.uk/government/publications/the-building-regulations-approved-document-part-c-site-preparation-and-resistance-to-contaminants-and-moisture
- https://scholar.google.com/scholar?q=installing+parquet+flooring+around+stairs Google Scholar
- https://scholar.google.com/scholar?q=wood+floor+installation+on+stairs+stair+treads+landing+guide Google Scholar
- https://scholar.google.com/scholar?q=parquet+floor+installation+stair+nosing+and+edge+details Google Scholar