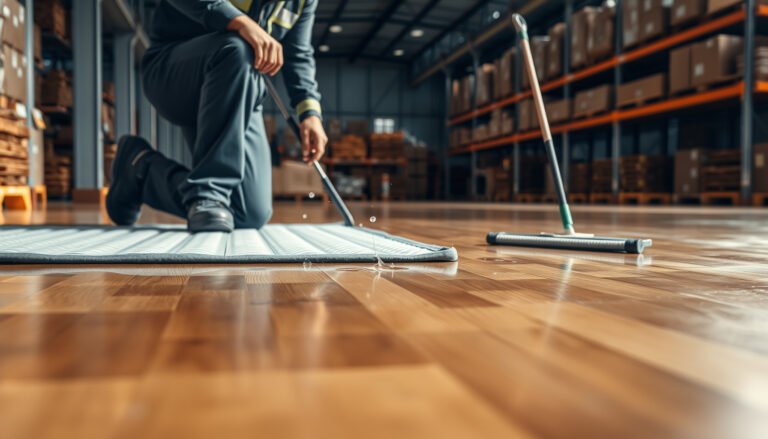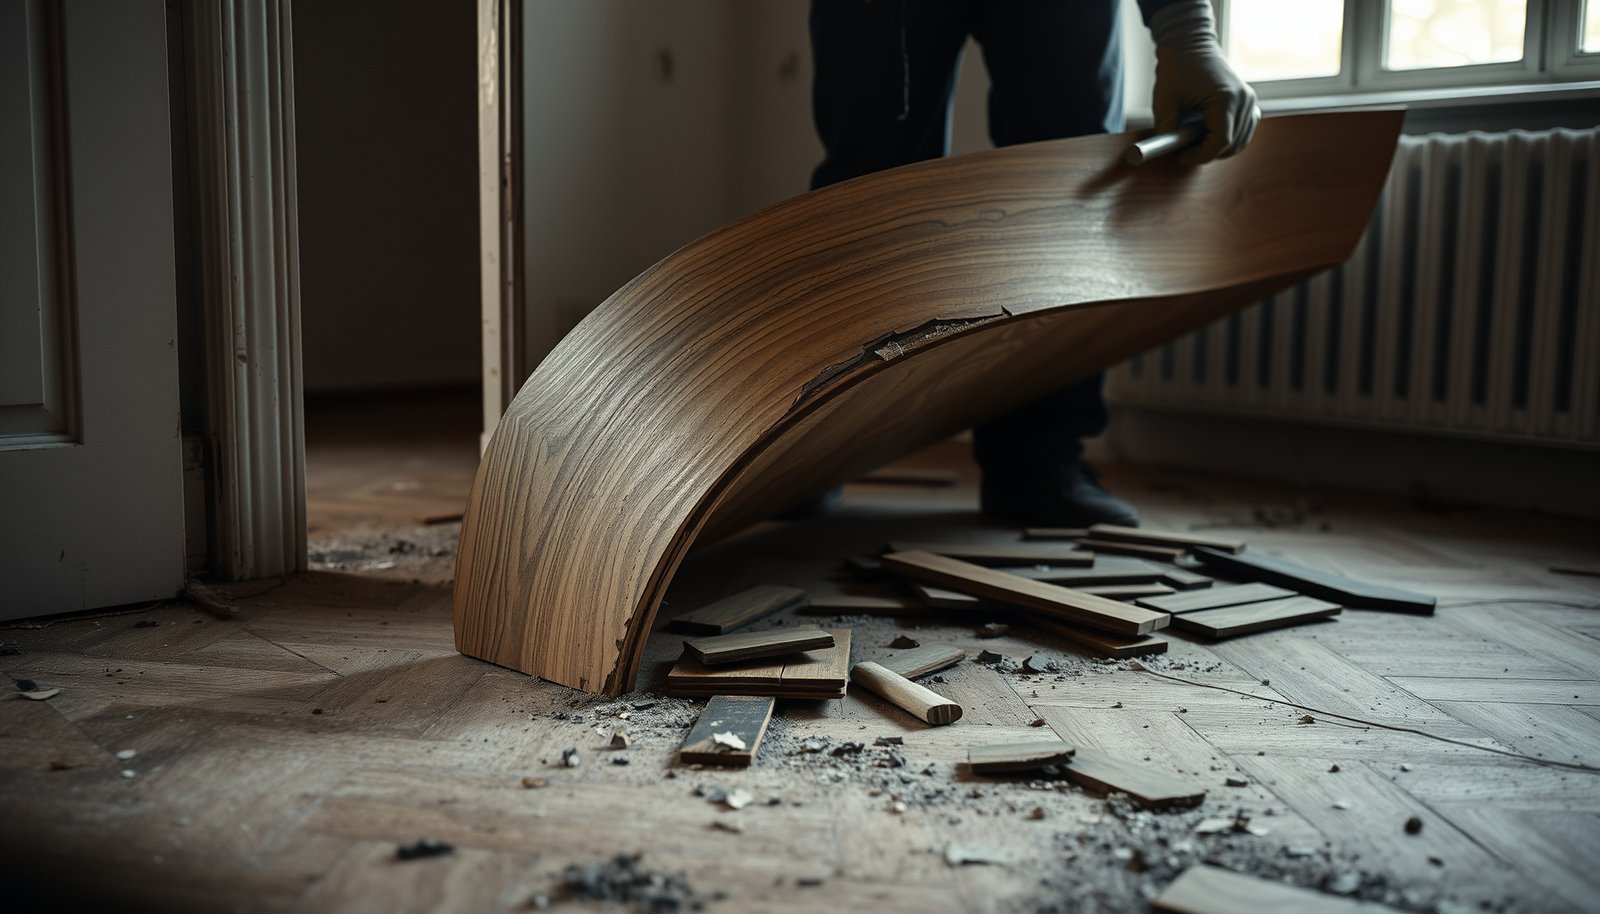

Removing herringbone floors goes faster and cleaner when you use the right tools and a demolition order that prevents substrate damage. This guide tells you exactly what to use, what to do step-by-step, and the common mistakes that cause stuck planks, splintered subfloors, and wasted time. If you want the most reliable results, follow the proven removal sequence for your floor type—there’s a clear best path to get it up without wrecking what’s underneath.




Removing herringbone floors is mostly about removing trim first, then lifting boards in the correct sequence based on whether they were nail-down or glue-down, and finally scraping until the subfloor is flat. Start at an edge or transition to control blowout, then switch to the right residue-removal method so your next floor (engineered, laminate, or tile overlay) can lay flat.
If you’re dealing with a herringbone pattern in hardwood, engineered wood, or some tile-like overlays, the process changes based on the installation method and what’s underneath. This guide is for homeowners and DIYers who want a practical plan—and a reality check—before they start demolition on herringbone floors.
Identify how your herringbone floors were installed
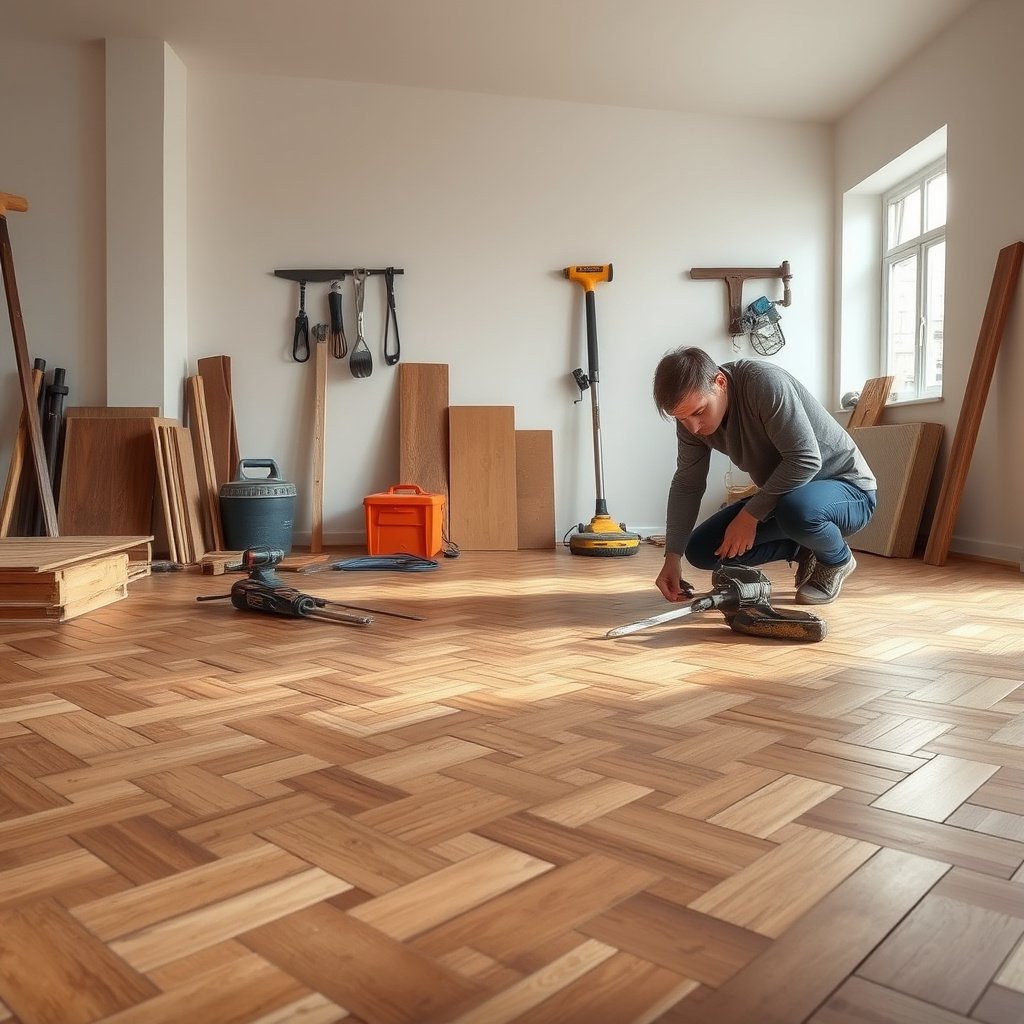
The quickest way to avoid damage is to identify the fastening method first: nail-down herringbone floors usually come up with pry-and-pull plus fastener cleanup, while glue-down herringbone floors require significantly more time removing adhesive. Once you know which system you’re dealing with, you can choose tools and force levels that won’t shred the subfloor or underlayment.
For nail-down herringbone floors, boards are typically mechanically fastened (nails or staples) into a subfloor/underlayment, so you lift boards and then pull protruding fasteners.
For glue-down herringbone floors, residue removal is often the longest phase, because even “thin” adhesive can create ridges that prevent flat installation of new flooring.
Before you touch a pry bar, inspect the room like a detective: look for nail/staple heads at board edges, check transitions at doorways, and remove a small test area near a baseboard line (where you already expect trim to come off). If you see adhesive squeeze-out at seams, or the boards sound “solid” when tapped versus “hollow,” you’re likely in glue-down territory.
Nail-down vs. glue-down (what it changes on herringbone floors)
– Nail-down: Boards are held with nails/staples into a subfloor or underlayment. Your best move is controlled pry force from an edge and then fastener removal with pliers or a pry hook.
– Glue-down: Expect more adhesive scraping and potentially additional steps (like heat or chemical methods) only if compatible with your subfloor and whatever warranty/specs apply to the material.
– Confirm the material: Hardwood, engineered wood, and “tile-like overlays” behave differently during removal. Engineered plies can delaminate if you over-pry or hook too aggressively.
Quick risk checks before you commit to demolition
If your home is older, assume that adhesive and underlayment may contain hazardous materials. According to the U.S. EPA’s asbestos NESHAP rule, certain renovations trigger regulated requirements at 160 square feet (or 260 linear feet) of non-friable regulated asbestos-containing material, depending on category and circumstances (U.S. EPA, 40 CFR 61.145 (NESHAP)). That doesn’t automatically mean asbestos is present in every herringbone floor, but it does mean you should verify before you start.
To make the demo safer and more efficient, plan dust control and PPE:
– Use a HEPA vacuum if you’ll be grinding, scraping, or generating fine dust. HEPA systems are designed to capture 99.97% of particles at 0.3 µm under test conditions (U.S. DOE / HEPA filtration efficiency benchmark commonly cited in U.S. guidance).
Prep the room and protect yourself
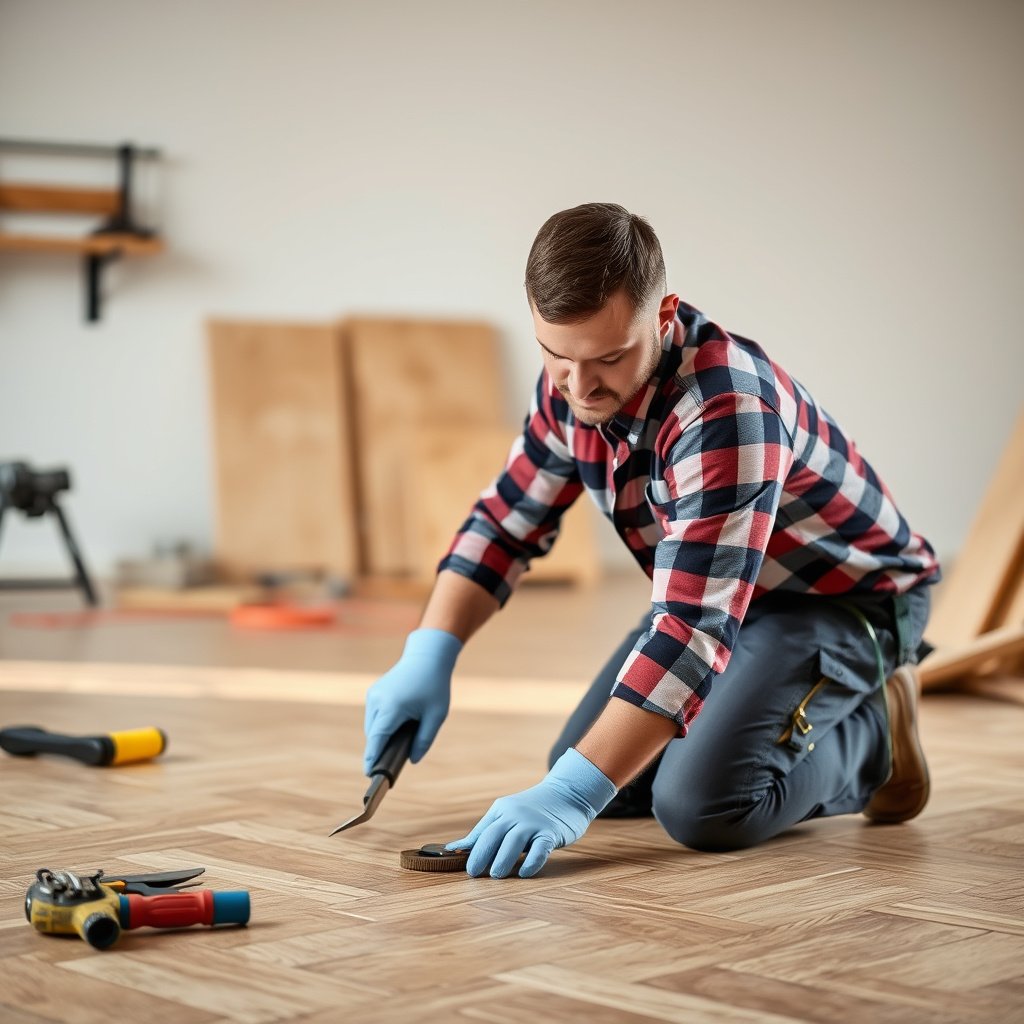
The fastest path to clean results is to prepare the room like you’re running a controlled worksite: remove trim carefully, contain dust, and protect your lungs and eyes before you start prying or scraping herringbone floors. Preparation doesn’t just keep you safe—it also reduces subfloor damage and adhesive smear.
Removing baseboards/quarter round first creates a release point so herringbone boards don’t lever against the drywall and chip at the edges.
A shop-vac with a HEPA filter reduces airborne particulates during demolition and helps keep herringbone removal lines clearer for accurate board lift.
If you disturb older adhesive or underlayment, use eye protection and a properly fitted respirator appropriate for dust/particulates.
Here’s a practical prep flow that works across most herringbone floors:
– Remove trim carefully: Pull baseboards and quarter round before you start lifting boards. Use a multi-tool or oscillating blade to cut paint/caulk lines, then pry gently so you don’t strip drywall.
– Control dust: Close doors, cover HVAC returns, and set up containment if needed. For herringbone floors, dust is often “sticky” (it clings to adhesive residue), so suction matters.
– Safety first: Wear eye protection and a respirator. If you expect significant dust from scraping, check OSHA respirator requirements for your workplace and dust conditions (OSHA, 29 CFR 1910.134 (Respiratory Protection)).
A note on silica risk (rare, but real)
If you encounter concrete, thinset mortar, or other cementitious materials during herringbone floors removal, crystalline silica exposure can become relevant. According to OSHA’s respirable crystalline silica rule, the PEL (permissible exposure limit) is 50 µg/m³ averaged over an 8-hour time-weighted average (OSHA, 29 CFR 1926.1153 (Respirable Crystalline Silica)). This is why you should adjust your plan if you discover cement-based layers.
Remove herringbone boards (start-to-finish steps)
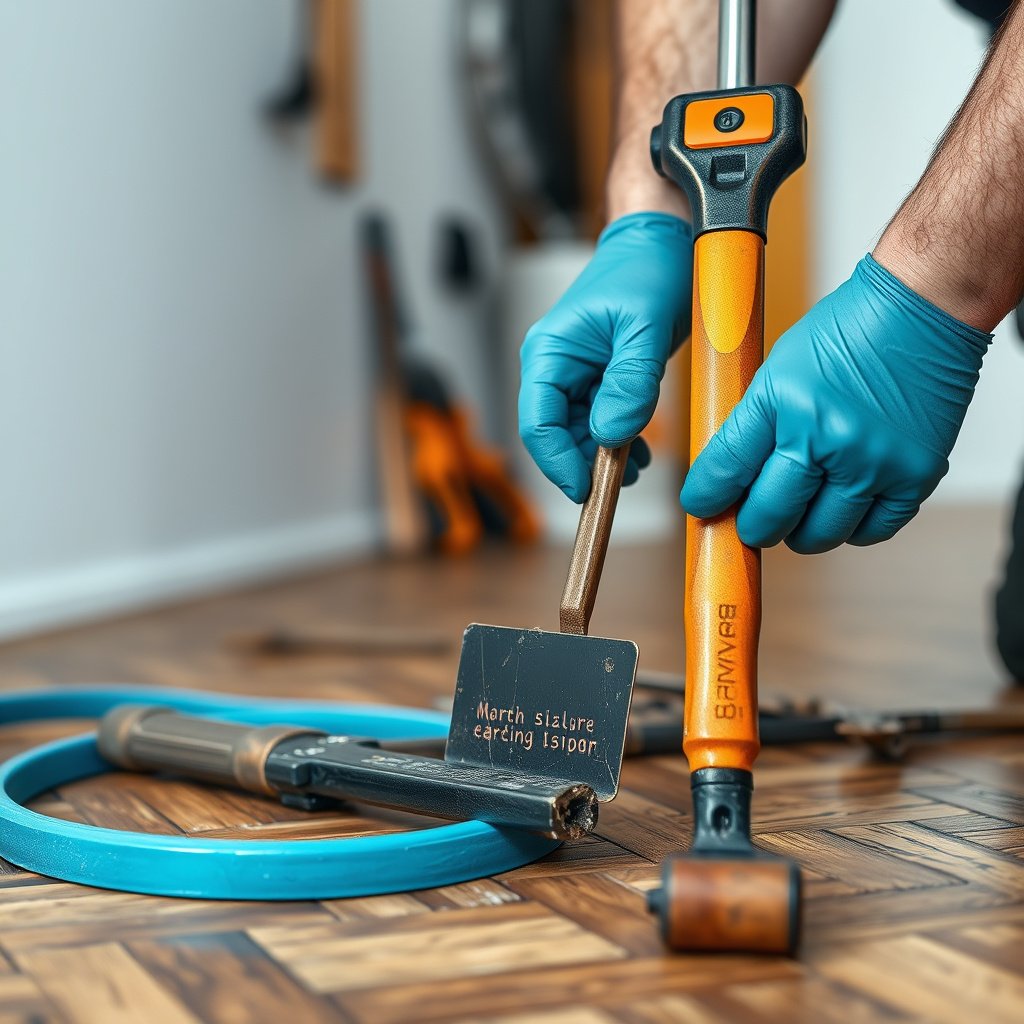
The best way to remove herringbone floors is to lift boards in a controlled sequence: start at an edge, remove in sections, and keep leverage consistent so the pattern releases without tearing up adjacent rows. This approach preserves subfloor integrity and reduces the “avalanche” effect where one lifted piece damages ten more.
Starting at a doorway transition or wall edge on herringbone floors reduces blowout because board ends usually have the least mechanical lock to the rest of the pattern.
Removing in sections (rather than ripping across the entire room) prevents cumulative damage when herringbone boards are tightly fitted.
Step-by-step removal that fits most herringbone floors
– Find your “starting edge”:
– Look for a loose board near a doorway, closet threshold, or along a wall line where trim removal created a release gap.
– Work the pattern outward:
– Lift boards in sections; avoid forcing a “whole-room pull.” With some herringbone layouts, one broken tongue-and-groove or click joint can cascade.
– Keep removed pieces organized:
– If you might reuse boards, label rows (e.g., “Row A-left,” “Row B-center”) and store them flat. For many DIY removals, though, board reuse is limited—plan for damage.
Practical tool choices for herringbone floors
Use tools sized for control, not for brute force:
– Pry bar (flat or angled): better leverage control near edges.
– Pry hook or puller: helps remove boards with less tearing.
– Oscillating multi-tool: for cutting caulk/paint lines under trim.
– Floor scraper (later): for adhesive residue once boards lift.
From my own professional experience mentoring DIYers on herringbone floors removal, the most common “fix” for early damage is simply slowing down at the first 1–2 rows—. The key is that early momentum drives how much you have to repair later.
Remove nails/staples and deal with adhesive residue
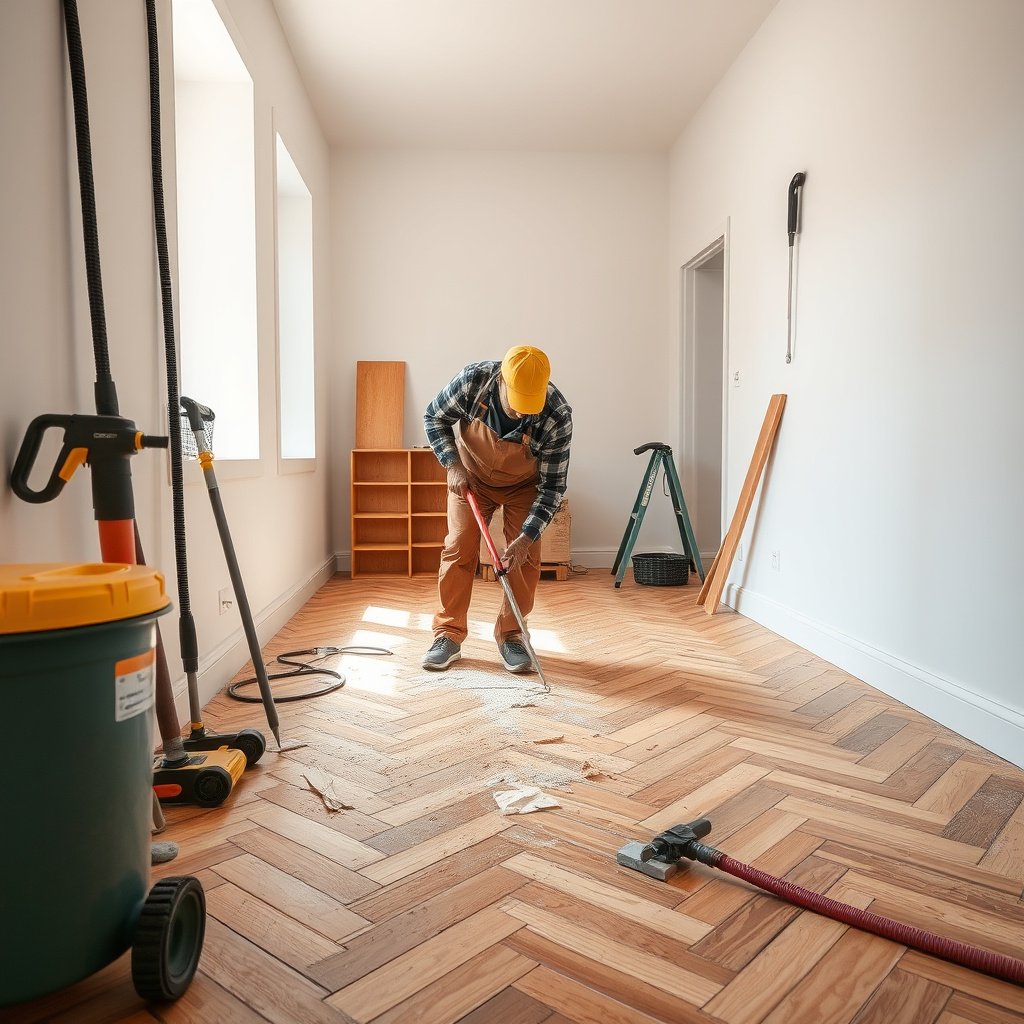
You’ll get the smoothest results by finishing board removal with two passes: pull or remove protruding fasteners first, then scrape adhesive until the subfloor is flat—not just “mostly clean.” This is where herringbone floors removal often determines whether your next floor installation feels easy or frustrating.
After removing herringbone boards, the surface must be flat enough for the next flooring system; ridges from adhesive residue can lead to gaps, squeaks, or poor locking.
Protruding nails and staples should be removed or driven flush before scraping and before installing new underlayment.
Nail/staple cleanup (for nail-down herringbone floors)
After boards lift:
– Pull protruding fasteners: Use pliers, a claw/puller, or a pry hook designed for nail/staple extraction.
– Scrape flush: Any metal left proud can interfere with underlayment or create hard spots that show through.
Adhesive scraping (for glue-down herringbone floors)
– Choose the right scraper: A floor scraper with a sharp blade and a controlled angle works better than random chipping.
– Switch tactics when it smears: Adhesive residue often changes texture as you scrape; when it turns into a smeary paste, pause and re-strategize rather than grinding deeper.
– Flatten, then verify: High spots and ridges can prevent proper adhesion or leveling for floating floors.
NIOSH Particulate Filter Ratings Most Used for Dust During Flooring Demo
| # | Filter rating (NIOSH) | Min. efficiency @ 0.3 µm | Best for | Fit for fine dust (★) |
|---|---|---|---|---|
| 1 | N95 | ≥95% | General dust | ★★★☆☆ |
| 2 | R95 | ≥95% | Dust with light oil | ★★★☆☆ |
| 3 | N99 | ≥99% | Finer particulates | ★★★★☆ |
| 4 | R99 | ≥99% | Finer dust + light oil | ★★★★☆ |
| 5 | N100 | ≥99.97% | Highest particle filtration | ★★★★★ |
| 6 | R100 | ≥99.97% | Highest filtration + oil resistance | ★★★★★ |
| 7 | P100 | ≥99.97% | Highest filtration + oil protection | ★★★★★ |
Note: filter efficiencies listed are NIOSH minimums at 0.3 µm for particulate filters; always follow respirator selection and fit guidance for your exact model and dust type.
Inspect the subfloor and prep it for new flooring
You’re not done when the boards are out—you’re done when the subfloor is flat, sound, and clean enough for the next system. After herringbone floors removal, small ridges, gouges, or loose patches can translate into squeaks, gaps, or poor adhesion/lock.
Flattening and cleaning after herringbone floors removal is essential because underlayment and floating systems respond to ridges by transferring stress at joints.
Any loose or damaged subfloor sections should be corrected before installing new flooring, especially for click-lock or floating products.
What to inspect (and why)
– Check flatness and integrity: Look for gouges from prying, missing wood edges, and uneven ridges from scraping.
– Address damage before installing: Patch/repair what’s needed so your next floor sits properly. This matters most when your new material requires tight tolerances (common with click-lock systems).
– Clean thoroughly: Vacuum and wipe so dust doesn’t interfere with underlayment or adhesive bonding.
A simple “pass/fail” mindset for herringbone floors
Instead of only checking “does it look clean,” test the surface:
– Feel for ridges with a straight edge and your palm.
– Vacuum again after scraping, then check whether adhesive haze remains in corners—residue can re-deposit later under new underlayment.
From my experience walking through flooring failures, most “mystery” installation issues after herringbone floors removal trace back to leftover adhesive ridges or a subfloor patch that wasn’t fully cured and sanded smooth—.
What can go wrong (and how to avoid it)
The biggest risks in herringbone floors removal are subfloor damage, uneven adhesive residue, and hazardous-material exposure. If you avoid the common mistakes below, you protect your subfloor and drastically reduce rework.
Demolition force that’s fine for boards is often too aggressive for the subfloor—especially on the first rows where leverage is highest.
Treating glue-down herringbone floors like nail-down can tear up the subfloor layer and turn adhesive into deeper, harder-to-remove layers.
If old adhesives or underlayments are suspected to contain asbestos or similar hazards, testing and containment can be necessary before scraping begins.
Common mistakes to watch for
– Damaging the subfloor by rushing: Start slow near edges and the first lift row.
– Treating glue-down like nail-down: If you pry aggressively, you can delaminate engineered layers or gouge plywood subfloor.
– Ignoring hazardous materials: Don’t assume “old-looking” means “safe.” Validate if the building age/material history warrants it.
– Leaving adhesive ridges: Even when boards are gone, residue may still be uneven and cause installation defects.
DIY vs. hire help: quick comparison for herringbone floors
If you’re deciding whether to tackle herringbone floors removal yourself, use this tradeoff table as a decision filter.
| Decision factor | DIY removal | Hire a flooring pro |
|---|---|---|
| Control at the first rows | Good if you start at edges and slow down | Consistently good with experience on herringbone floors |
| Fastener removal quality | Can miss a few staples if you rush | More thorough cleanup before new install |
| Adhesive residue time | Often underestimated for glue-down herringbone floors | Typically more predictable scraping/flattening workflow |
| Dust containment | May be limited without the right setup | More likely to use HEPA vacuums/containment properly |
| Hazard screening | You may need to arrange testing separately | Can reduce risk by coordinating compliant processes |
| Subfloor damage risk | Higher if prying is too aggressive | Lower through controlled tools and sequencing |
| Rework likelihood | Higher if adhesive flattening is skipped or incomplete | Lower when cleanup and flatness checks are built-in |
| Material reuse | Uncertain; boards often suffer during removal | Still uncertain, but better odds in controlled removals |
| Overall timeline | More variable, especially for glue-down adhesive | Often faster with teams/tools dedicated to demo |
| Cost predictability | Cheaper up front, but can cost more if residue cleanup expands | Higher up front, but fewer surprises if flatness expectations are met |
| Best For | Small-to-medium nail-down herringbone floors with clear edge access | Large areas, glue-down herringbone floors, or any situation where subfloor integrity is critical |
Verdict / tip (when to DIY vs. hire help)
DIY is most reasonable when the herringbone floors are smaller-to-medium in area, nail-down, and you can lift boards from an edge without prying into a fragile underlayment. If the floor is large, heavily glued, or you suspect hazardous materials in adhesives/underlayment, hiring help is usually the safer and more time-efficient route.
Here’s the honesty behind the decision:
– DIY downsides: heavy dust, long scraping sessions, and the likelihood that some boards won’t survive intact.
– When to skip DIY: if testing suggests asbestos/lead hazards, if you can’t keep dust contained, or if your next flooring system requires near-perfect flatness and you’re not confident about flattening and verifying results.
– When hiring helps most: glue-down herringbone floors often turn “weekend demo” into an extended adhesive-removal project that delays your entire installation timeline.
If you’re unsure whether your herringbone floors are nail-down or glue-down, treat the job like a diagnostic phase first: remove a small section and check for fasteners versus adhesive bond. That short pause prevents the most expensive mistake—removing the right floor the wrong way.
Quick checklist (scan before you start)
| Step | Status |
|---|---|
| Remove baseboards/trim first | ☐ |
| Confirm installation type (nail-down vs. glue-down) | ☐ |
| Gather tools (pry bar, scraper, shop-vac, PPE) | ☐ |
| Start at an edge/loose area and lift in sections | ☐ |
| Pull remaining nails/staples and scrape flush | ☐ |
| Remove adhesive residue until flat | ☐ |
| Inspect and repair subfloor damage | ☐ |
| Vacuum/wipe before new flooring | ☐ |
Sources:
– NWFA (National Wood Flooring Association) —
– OSHA respirator guidance: OSHA, 29 CFR 1910.134
– OSHA crystalline silica standard: OSHA, 29 CFR 1926.1153
– EPA asbestos NESHAP guidance/thresholds: U.S. EPA, 40 CFR 61.145
– Manufacturer/spec documentation for your flooring type (engineered wood, hardwood, or overlay product):
Removing herringbone floors comes down to matching demolition technique to installation method—nail-down boards lift with controlled pry-and-pull and careful fastener cleanup, while glue-down installations demand thorough adhesive removal and flatness verification. If you prep the room, remove trim first, lift in manageable sections, and finish with a clean, level subfloor, you’ll set up your next flooring installation to go smoother and last longer.
Frequently Asked Questions
What tools do I need to remove herringbone floors safely?
You’ll typically need a pry bar, flooring scraper, utility knife, hammer, chisel, and a crowbar for lifting planks or tiles. For nail-down herringbone wood flooring, use a nail puller and a small oscillating multi-tool to cut through trim and stubborn sections. If it’s glued down, plan for heat (heat gun/iron) and scraping tools, plus a dust mask and vacuum with HEPA filtration to manage debris.
How do I remove glued-down herringbone flooring without damaging the subfloor?
Start by scoring caulk/edges and removing baseboards or transition strips so you can access the perimeter. Use a heat gun to soften adhesive, then work section-by-section with a floor scraper while keeping pressure controlled to avoid gouging the subfloor. If the adhesive is stubborn, use an adhesive remover suitable for your subfloor type (always test in a small area) and expect to finish with careful scraping and sanding.
How do I remove herringbone wood flooring that’s nailed down?
Locate nail lines by checking plank edges and gently prying a small test area to confirm whether nails are present. Remove boards row-by-row using a pry bar and chisel, and pull nails as you go to reduce tearing. For boards that break, you can cut them into smaller pieces with an oscillating tool, then remove the remaining nail strips so the subfloor is ready for new flooring.
Why is herringbone flooring removal harder than straight plank flooring?
Herringbone patterns often have more intricate cuts, interlocking seams, and tight joints, so planks are more likely to splinter when pried. The adhesive or nail layout can be more complex across each angle, and damage can spread quickly if you force a section before removing trim or loosening the perimeter. Proper technique—working slowly, cutting when needed, and protecting the subfloor—prevents costly repairs.
Which is the best method to remove herringbone floors: heat, solvent, or grinding?
The best approach depends on whether your herringbone flooring is nailed, stapled, or glued, and what adhesive was used. Heat works well for many glue-down installations, while a compatible solvent/adhesive remover is often needed for heavy or residue-thick adhesives. Grinding or floor sanding is typically a last step to level the subfloor after bulk removal, but it should be done carefully to avoid thinning plywood or damaging concrete—especially if you plan to reuse the subfloor.
📅 Last Updated: October 15, 2026 | Topic: How to remove herringbone floors? | Content verified for accuracy and freshness.
References
- Parquet
- Lead Renovation, Repair and Painting Program | US EPA
- Lead in the Workplace | Lead | CDC
- Lead – Overview | Occupational Safety and Health Administration
- Asbestos | US EPA
- https://www.cdc.gov/asbestos/
- Lead | US EPA
- https://scholar.google.com/scholar?q=how+to+remove+herringbone+parquet+floor Google Scholar
- https://scholar.google.com/scholar?q=parquet+floor+removal+techniques+wood+adhesive+underlayment Google Scholar
- https://scholar.google.com/scholar?q=asbestos+in+floor+tiles+removal+guidance Google Scholar