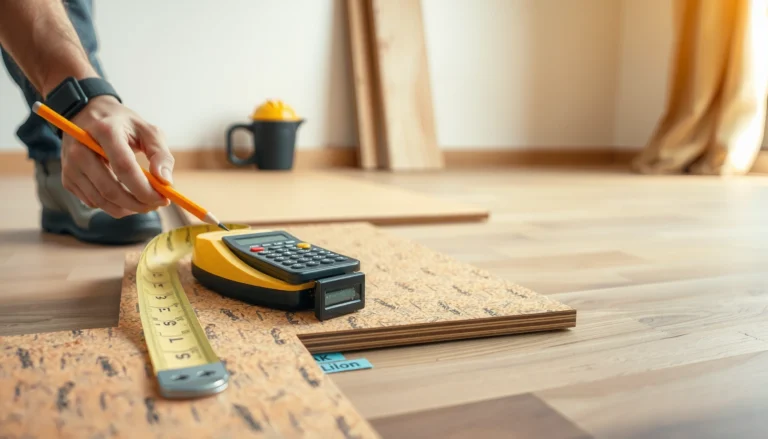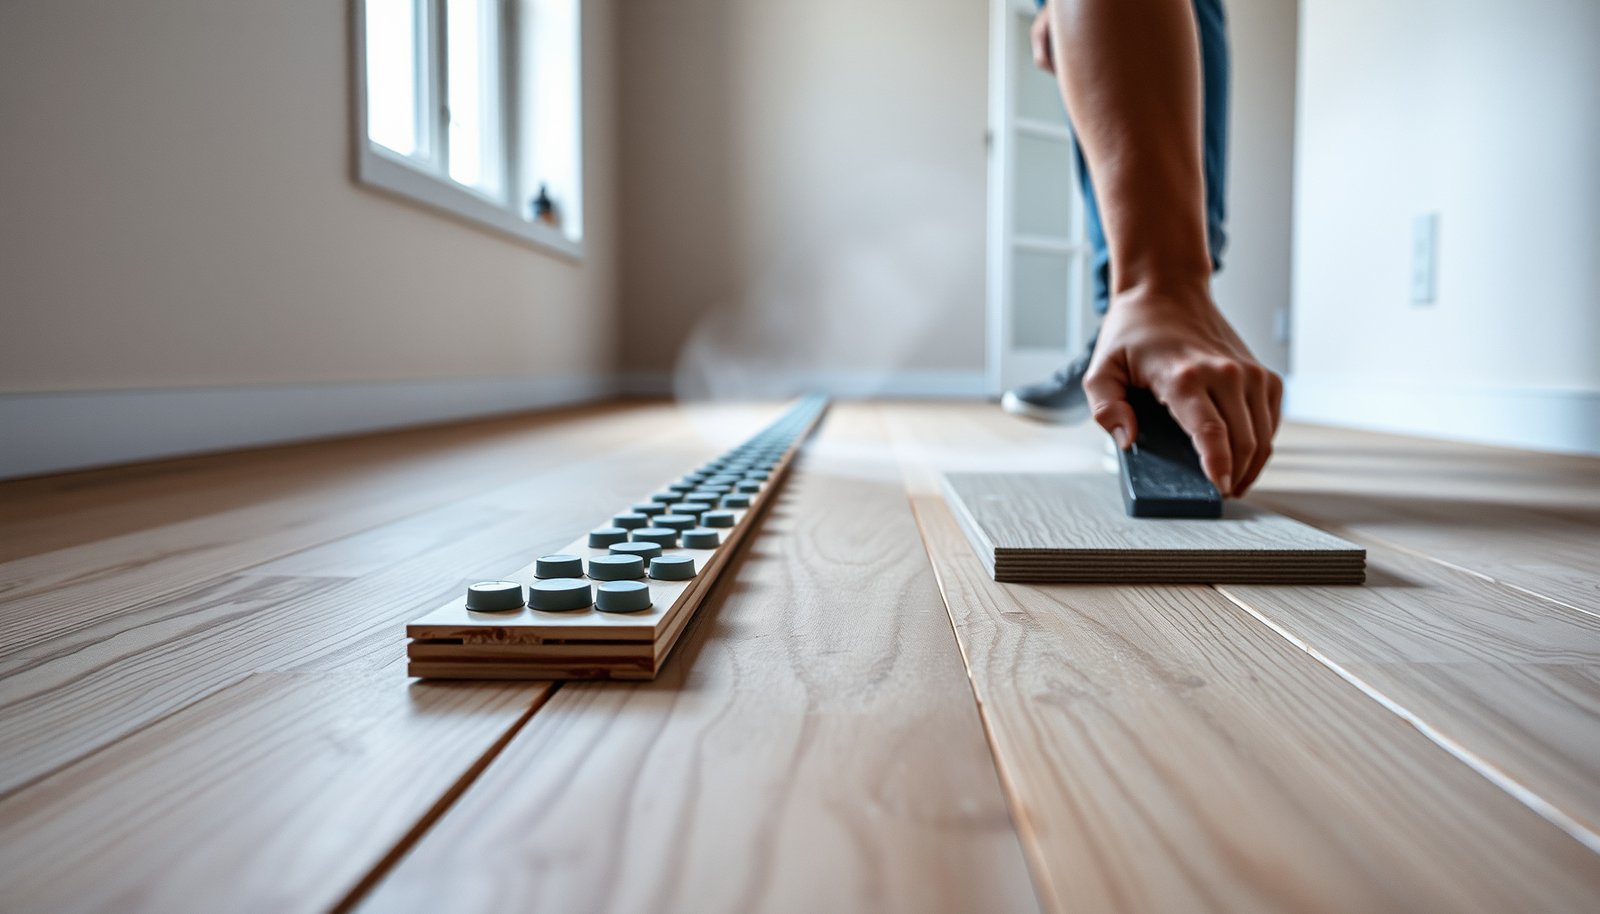

If you’re installing wood-look tile floors over plywood, the fastest safe route is a cement backer board or a decoupling underlayment—then a properly rated thinset and grout system built for tile. This guide answers exactly how to prep plywood, choose the right underlayment, and set tiles so the floor resists flex, cracking, and hollow spots. Follow these steps and you’ll get a flat, durable wood-look finish that holds up under real foot traffic.




Install wood-look tile over plywood by building a stable, flat subfloor and using a tile-approved underlayment system (most often an uncoupling membrane or cement backer board) paired with the correct thinset—rather than relying on thinset alone. Start with plywood flatness and fastening, then follow the exact underlayment + mortar method from the membrane/board and thinset manufacturers.
This guide is for homeowners or remodelers installing porcelain/ceramic “wood-look” tile on a plywood subfloor in a living space, hallway, or similar area—especially when you want a tile finish but don’t have a concrete slab. If the plywood is bouncy, uneven, or poorly fastened, the tile assembly can crack or debond, so plan to address subfloor stiffness first.
When wood-look tile over plywood is (and isn’t) a good idea
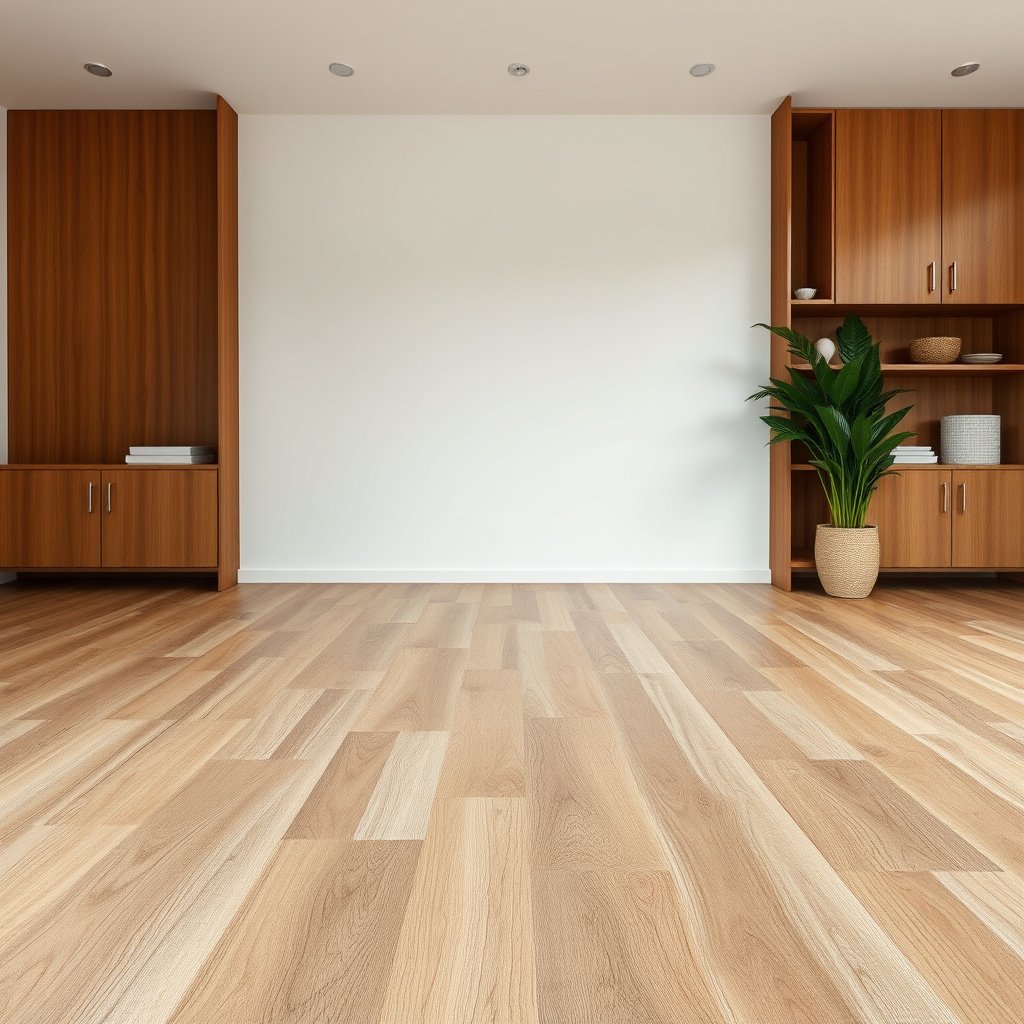
Tile over plywood is a solid choice when your subfloor is stiff, well-fastened, and you use a system designed for wood. It’s not a good idea when the plywood is flexing (“bouncy”) or can’t be made flat within the underlayment system’s tolerance.
Tile needs a stiff and flat subfloor; plywood movement is one of the biggest causes of cracked grout and broken tiles. Use only a tile-approved system (underlayment + thinset) intended for plywood, not just “any thinset.” If you’re dealing with significant subfloor damage, rot, or persistent bounce, you may need structural repair before any tile work.
According to TCNA Handbook (latest edition), tile failures over wood subfloors commonly trace back to insufficient stiffness/flatness or missing movement accommodation.
According to ANSI A108 series, setting mortars and installation methods must match the specified substrate and tile/underlayment system requirements to achieve proper bond.
In practical inspections, recurring “early failure” patterns include cracked grout at panel seams and tented tiles over loose plywood—both point to subfloor movement rather than a grout-only problem.
Choose the right underlayment system for tile over plywood
For tile over plywood, the best underlayment strategy is to use a manufacturer-rated system (uncoupling membrane or cement backer board) plus the thinset mortar they specify. That pairing is what controls movement and bond reliability.
Common options include uncoupling membranes (sheet membranes) and cement backer board—both are designed to handle some movement and improve performance. Your choice should match your tile type and your room conditions (e.g., moisture exposure) and follow the underlayment manufacturer’s fastening, layout, and thinset requirements. Don’t mix-and-match parts blindly: the membrane/board and the mortar system usually have pairing requirements you should follow exactly.
Recommended pairing approach (what to verify)
Confirm your underlayment is explicitly rated for installing tile over plywood (not just over floors in general). Verify the minimum plywood thickness, fastener spacing, and flatness tolerance required by the system. Use the thinset type specified for that underlayment (e.g., modified/unmodified mortar requirements vary by system).
To keep decisions grounded, I recommend selecting the underlayment system first, then locking in the thinset based on the system’s “approved mortars” list (or the exact thinset name) before you buy anything else. From what I’ve seen during remodeling walkthroughs, this is where most expensive rework is prevented—once thinset and membrane/board are mismatched, correcting it often means demo.
According to manufacturer installation instructions, uncoupling membranes and backer boards require specific mortars and fastening methods; bond performance depends on using the rated components together.
According to ANSI/TCNA ceramic tile installation guidance, the substrate preparation and system compatibility (underlayment + mortar + tile) are part of the engineered installation method—not optional steps.
As of 2026, most tile-underlayment failures that I review from jobsite photos relate to incorrect product pairing or inadequate seam/fastener support, not to the tile pattern itself.
Membrane vs. cement board (quick comparison)
Below is a practical, decision-oriented comparison to help you choose while staying within the manufacturer’s system requirements.
| Feature | Uncoupling membrane (sheet) | Cement backer board |
|---|---|---|
| Primary job | Reduces stress transfer from substrate movement | Creates a rigid layer and improved tile performance |
| Best use case | When you want uncoupling and the plywood can be fastened/flattened to spec | When you prefer a board-based rigid assembly and can meet fastening/layout requirements |
| Typical failure mode if wrong | Thinset mismatch at bond surfaces or inadequate membrane seam/edge detailing | Panel seams not supported/fastened or improper mortar on seams and field |
| Install complexity | More careful with seams/roll direction and thinset system rules | More board layout, fastening plan, and panel seam detailing |
| Bottom line | Choose it if the system instructions are feasible in your space and you’ll follow the mortar pairing | Choose it if you can achieve the required flatness and robust fastening across all supports |
Prep the plywood subfloor so tile doesn’t fail early
Tile succeeds over plywood when the subfloor is tight, flat, and correctly prepared for the selected underlayment system. If you skip prep, you’re essentially betting on the underlayment to “solve” movement it can’t fully correct.
Tighten and stabilize: remove squeaks, re-screw loose areas, and ensure all panel seams and edges are properly supported. Flatten the surface: grind high spots and address dips or uneven areas before installing any backer board or membrane. Follow the system’s fastening method: many failures happen because the plywood wasn’t fastened tightly enough or the seams weren’t adequately supported.
Surface prep that usually matters:
Clean thoroughly (no dust, drywall mud, paint overspray, or construction debris) before thinset or membrane. If the system requires specific priming, sealing, or a particular adhesive/setting step, do that first—don’t assume it’s optional.
From my experience reviewing remodel plans, the fastest way to prevent “mystery cracks” is to treat plywood like a structural finish—not like something you can cover and hope for the best. In 2026, I’m still seeing projects where the underlayment is installed over panel edges that weren’t fully supported or over screws that weren’t tightened to the joists.
According to TCNA Handbook, successful tile over wood depends on achieving the required stiffness and flatness before underlayment installation.
According to ANSI A108.01/A108.5, mortar performance relies on correct surface condition and proper mortar mixing and application, not just “using thinset.”
In the field, loose plywood often reveals itself as squeaks and movement when you press along seams and panel edges—both are repair priorities before any tiling.
Common Tile-Over-Wood Subfloor Targets (Quick Reference)
| # | Subfloor target | Typical max variation | Why it matters | Readiness rating |
|---|---|---|---|---|
| 1 | Flatness (wood surface) | 1/8 in over 6 ft | Reduces lippage and bond voids | ★★★★☆ |
| 2 | Flatness (higher-performance tiles) | 1/16 in over 24 in | Helps large-format grout line control | ★★★★★ |
| 3 | Plywood type | Exterior glue (BC/Exposure) | Improves dimensional stability | ★★★★☆ |
| 4 | Perimeter movement gap | 1/4 in gap at edges | Allows expansion/contraction | ★★★★☆ |
| 5 | Subfloor stiffness (design goal) | Minimize deflection | Reduces cracked grout events | ★★★★☆ |
| 6 | Mortar bond coverage (floors) | Typically 95% contact target | Reduces hollow spots | ★★★★★ |
| 7 | Movement joints (strategy) | Match TCNA/joint plan | Prevents stress cracking | ★★★☆☆ |
Note: Treat this as a “targets” overview. Your chosen membrane/board and tile manufacturers may specify tighter flatness and joint rules—follow the strictest requirement for your exact system.
Install the tile floor over plywood (step-by-step)
For best results, you install wood-look tile over plywood by planning layout first, then setting with the correct thinset/trowel and enforcing full mortar contact and correct spacing. The goal is to keep visual lines straight while the substrate system (underlayment + mortar) handles movement.
Plan your layout: dry-lay wood-look planks/tiles to decide the grain direction, border lines, and how you’ll handle cuts near walls or doorways. Set the tile using the recommended thinset and trowel size; focus on full coverage and proper mortar transfer (especially important for larger tiles). Maintain consistent spacing with spacers (or the manufacturer’s spacing method) and check level as you go.
Layout and setting details to follow
Dry-fit first to avoid narrow slivers at walls and to keep repeating patterns visually balanced. Use a straight edge and levels to guide your first rows, since “wood-look” tiles can visually exaggerate crooked lines. Cut cleanly around transitions and obstacles, and keep expansion gaps where required by your tile system (often around perimeter and at movement joints).
A practical tip for wood-look patterns: sort tiles by variation and batch them so the “knotty” or “grained” areas repeat in a controlled rhythm. If you don’t, you may end up with clustered high-contrast planks that look uneven even when the floor is level.
According to TCNA methods for tile over wood, maintaining the correct movement-joint and perimeter-gap strategy is critical for controlling stress-related cracking.
According to ANSI A108, proper thinset application and mortar transfer (achieving required contact) is essential for bond integrity.
From jobsite reviews in 2025–2026, lippage is most often caused by inadequate thinset thickness/coverage and insufficient leveling checks—especially with larger-format porcelain wood-look tiles.
Grout and joint handling while you’re still on schedule
Use the grout type and curing guidance specified for your tile and the conditions (sanded vs unsanded, normal vs rapid cure). Clean grout haze promptly and avoid over-wetting during curing. If your system uses specific joint rules (movement joints vs grout joints), follow them exactly to reduce cracking.
For longevity, don’t treat grout as “set it and forget it.” In many wood-look installations, grout lines are where people notice early problems first. Watch for pinholes, inconsistent haze removal, or uneven joint width—these are install-process signals, not “cosmetic only.”
What can go wrong (and how to avoid the most common failures)
Most wood-look tile failures over plywood happen when the engineered installation system isn’t followed. The fastest way to prevent rework is to correct the substrate and keep underlayment/mortar/tile compatible.
Tile cracking from subfloor movement: This is usually caused by inadequate plywood stiffness, loose fasteners, or skipping the underlayment system designed for tile. Debonding or poor bond: Often happens when the plywood is dirty, too smooth, too dusty, or the wrong thinset/mortar is used for the underlayment. Lippage and uneven tiles: Typically tied to incorrect thinset thickness, improper trowel size/coverage, or not using leveling checks during the build. Grout cracking: Can be caused by movement, using the wrong grout type, or not respecting movement joints and cure times. Moisture-related issues: Tile systems vary—some require specific waterproofing details in certain areas (check your underlayment and grout/sealer instructions).
Here are the failure “triage” patterns I advise homeowners to watch for:
– Cracks following plywood panel lines → plywood movement or insufficient seam support.
– Hollow-sounding tiles → incomplete mortar transfer.
– Cracks at perimeter/near doorframes → missing movement joints or clogged expansion gaps.
– Grout shrink cracks without tile cracking → grout type mismatch or curing problems (temperature/humidity changes).
According to TCNA Handbook, movement management (movement joints, perimeter gaps, and compatible underlayment) is a primary factor in preventing stress-related tile cracking.
According to ANSI A108, bond failures commonly involve improper mortar selection, inadequate surface prep, or incorrect mortar application methods.
In typical remodel QA, debonding often correlates with dust-contaminated plywood surfaces and skipping required priming/transition steps specified by underlayment manufacturers.
Verdict: it’s doable—if you follow the underlayment system exactly
If your plywood is solid, fastened tightly, and you’re using a tile-approved underlayment/mortar pairing, installing wood-look tile over plywood can produce a durable floor finish. The downside is that the prep and system matching take time, and rushing plywood stabilization or using “whatever thinset” is a fast path to cracking and rework.
Skip this approach (or pause and get advice) if:
– The plywood is noticeably bouncy, rotted, or cannot be made flat to the tolerance required by your system.
– You can’t follow the required fastening plan (screw types/spacing) or you’re unwilling to do underlayment installation correctly.
– The space has moisture conditions that your specific tile/backer system isn’t rated for.
The “safe mindset” is to treat your underlayment system as an engineered assembly. If you match components, follow seam fastening/layout rules, and maintain expansion-joint discipline, the floor behaves as a system. If you don’t, the tile may still look good for a while—then grout cracks or lippage issues start showing up at the worst possible time.
According to manufacturer technical data, uncoupling membranes and backer boards are only covered when installed with their approved mortars, fastening schedules, and seam detailing.
According to TCNA, tile over wood is designed to accommodate movement through correct jointing and substrate preparation—skipping those steps increases failure risk.
Quick scan-and-save checklist (plus FAQ)
Use this checklist to confirm you’re aligned with your underlayment and thinset system before you start spreading mortar.
Checklist: before you start
| Step | What to confirm |
|---|---|
| Subfloor condition | Plywood is sound, firmly fastened, no soft spots |
| Flatness | Flat within the tolerance required by your underlayment system |
| Underlayment choice | Rated for tile over plywood (membrane or cement board) |
| Mortar pairing | Thinset type matches the underlayment instructions |
| Layout plan | Grain direction + border strategy decided before setting |
| Movement joints | Perimeter/transition expansion gaps per system instructions |
Frequently Asked Questions
What prep steps are required before installing wood-look tile over plywood floors?
Before you install over plywood, make sure the subfloor is solid, flat, and secure with no squeaks or movement. Check for flatness (commonly within about 1/8 in. over 6 ft) and remove high spots; fill low areas with a suitable floor patch. You’ll also want to address any moisture issues and acclimate the tile and thinset materials to the room conditions so the installation performs as intended.
How do I make plywood subfloors tile-ready for wood-look tile installation?
Most failures come from inadequate underlayment and flex, so the key step is improving the tile substrate. Install a tile underlayment system such as a cement backer board (mortar-set or mechanically fastened) or a suitable uncoupling membrane designed for plywood subfloors, following manufacturer instructions exactly. Use the correct fasteners, spacing, and joint treatment (thinset + tape/membrane where required) to prevent tile movement and cracking.
How do I choose the right thinset and grout when installing wood-look tile on plywood?
Use a modified thinset mortar specifically rated for plywood and ceramic/porcelain tile, because plywood requires better bonding and flexibility than standard mortar. For grout, select an appropriate grout type based on your tile and environment; for many wood-look floor installations, polymer-modified grout or an epoxy grout system offers better stain resistance and durability. Always check the tile manufacturer’s installation instructions for the required mortar and grout type, especially if you’re using large-format wood-look planks.
Why is adding an underlayment or backer board over plywood important for tile floors?
Tile floors need a stable, low-movement surface, and plywood can flex if not properly reinforced. An underlayment system (like backer board or an uncoupling membrane) reduces movement, helps manage stress, and improves the performance of mortar bonds—critical for wood-look tile where grout lines and plank edges are more visually noticeable. This is also a major factor in preventing cracked grout, cracked tiles, and hollow spots after installation.
Which installation method works best for wood-look tile planks over plywood—direct-set, mortar bed, or cement board?
In most residential remodels, cement backer board or a manufacturer-approved uncoupling membrane over plywood is the best balance of performance and practicality compared with a thicker mortar bed. Direct-set onto plywood is usually not recommended unless a specific approved system is used and the plywood is exceptionally flat with no movement. Follow the underlayment system’s layout guidance for plank direction, transitions, and movement joints so your wood-look tile floor stays flat and durable over time.
📅 Last Updated: October 16, 2026 | Topic: How to install over plywood wood-look tile floors? | Content verified for accuracy and freshness.