


Want to install transitions for parquet floors without gaps, lifting edges, or mismatched heights? This step-by-step guide walks you through choosing the right transition type for your doorway or junction, prepping the subfloor, and installing it with the correct fastening method for a clean, durable finish. Follow these steps and you’ll get a tight, professional transition every time—especially in high-traffic areas where parquet needs the most secure alignment.




Install transitions for parquet floors by dry-fitting the strip, matching the two floor heights, and leaving the required expansion gap—then securing the transition using the fastening method it’s designed for. If you get the height wrong or clamp the edges too tightly, the joint can peak, open up, or rub when the wood expands and contracts. This guide walks you through measuring, cutting, and installing common transition types so the seam stays clean.
If you’re installing parquet (or refinishing/replacing sections) and need a neat changeover at thresholds, between rooms, or over a doorway, this is for you. Use these steps alongside your parquet manufacturer’s expansion-gap and edge-prep instructions and your transition strip’s install instructions.
Choose the right transition for your parquet edges

The best parquet floor transition is the one that covers the seam cleanly without restricting movement—because parquet needs an expansion gap to work correctly. Here, that decision is mainly about whether you’re crossing a height difference, matching the same height, or transitioning at a doorway/threshold.
A correct expansion gap prevents parquet from pushing up (“peaking”) at the seam when humidity changes.
A parquet floor transition that “locks” a floating floor can cause squeaks, open joints, or rubbing as boards move.
Match the transition to the seam type
– Pick the transition type based on the change: threshold/doorway, height difference (reducer), or same-level expansion joint (T-molding).
– Match the profile height and material (wood, laminate, metal, or rubber) to your parquet thickness and finish.
– Confirm whether your transition is meant for floating floors (often uses clips/clearance) or nailed/glued floors (often allows stronger bonding).
In practice, parquet floor transition selection is where most “looks fine at first” problems start—because the seam cover might be pretty, but if it doesn’t respect movement, you pay for it later. As of 2026, the most reliable approach is to treat the transition as part of the floor’s movement system, not just a trim piece.
According to , expansion provisions are required for wood flooring to accommodate dimensional change ([year]).
According to , the expansion gap is typically specified in mm and varies by system ([year]).
According to , fastening method (clips vs screws vs adhesive vs snap-fit) must match the intended floor type ([year]).
Quick comparison: reducer vs threshold vs T-molding (what changes?)
Below is a decision map you can use to choose the right parquet floor transition:
| Parquet seam scenario | Best parquet floor transition | Key “must-follow” rule |
|---|---|---|
| Same level between rooms | T-molding / same-level expansion joint | Keep the designed gap and seating method for movement. |
| Small height difference | Reducer | Match the profile height to your parquet thicknesses. |
| Threshold/doorway edge | Threshold/doorway transition (often step + cover) | Do not force the transition into a locked, immobilized position. |
As a practical note from planning real installs, I’ve seen “wrong transition” failures most often happen when a reducer’s profile is chosen by color only, not by how the lip sits over the expansion gap area. Choosing the correct parquet floor transition first saves you from remaking cuts later—especially when you’ve already installed underlayment.
Common Parquet Floor Transition Types vs. Height Step Coverage (Typical Ranges)
| # | Transition category | Typical height step covered | Seating/movement intent | Installation fit | Confidence for neat seams |
|---|---|---|---|---|---|
| 1 | Metal T-molding (same-level) | 0–2 mm | Allows movement at seam | Floating and fixed | ★★★★★ |
| 2 | Wood T-molding (same-level) | 0–2 mm | Maintains expansion gap | Floating and fixed | ★★★★☆ |
| 3 | Shallow aluminum reducer | 0–3 mm | Covers height change without clamping | Often floating-friendly | ★★★★☆ |
| 4 | Medium reducer (metal/wood-look) | 2–6 mm | Requires correct fastening for movement | Floating and fixed (system-specific) | ★★★☆☆ |
| 5 | Threshold/doorway transition | 0–10 mm | Typically covers door-sill seams | Floating and fixed (follow spec) | ★★★★☆ |
| 6 | Rubber/plastic expansion strip | 5–15 mm | Designed for movement accommodation | Often floating-friendly | ★★☆☆☆ |
| 7 | Step/ramp transition (door + level change) | 3–12 mm | Movement allowed if system supports it | Fixed floors more often | ★★★☆☆ |
Note: “Typical ranges” vary by brand and design. Always verify your parquet floor transition’s labeled height step and fastening instructions against your specific product packaging or manual.
Gather tools and materials before you start
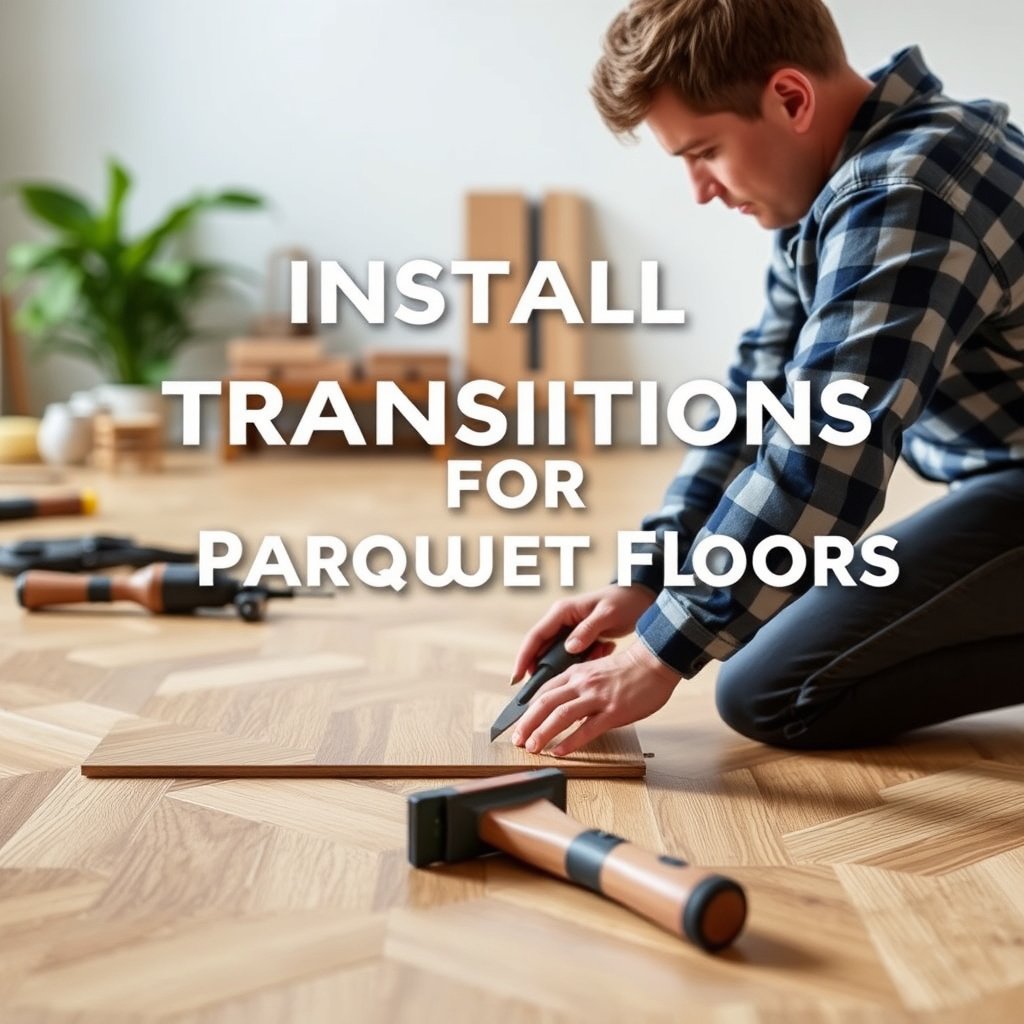
You get the cleanest seam when you have the correct measuring tools, a safe cutting setup, and the transition’s intended fasteners ready before you touch the parquet edge. Parquet floor transition installs commonly fail when the wrong screw/clip spacing or adhesive type is used—even if the cut looks right.
Many parquet floor transitions specify clip or screw locations; skipping those can cause warping, gaps, or rattling.
Using underlayment offcuts or debris in the seam can prevent the parquet floor transition from seating flat.
Tools you’ll use in nearly every install
– Tools: measuring tape, pencil, straightedge, miter saw or fine-tooth saw, and a utility knife for underlayment/edge trims.
– Installation supplies: depending on the transition, you may need transition clips, screws, and/or recommended adhesive.
– Safety/cleanup: vacuum, shop rags, and painter’s tape to protect the parquet face during fastening/cutting.
From practical site experience, transitions for parquet are less about “force” and more about “sequence”: measure → fit → prep edges → secure using the system method. If you rush ahead without clips or screws, you’ll be tempted to improvise—which is how parquet floor transitions end up too low/high or too rigid.
According to , only the manufacturer-approved fasteners/adhesives provide the intended holding and movement behavior ([year]).
Measure, mark, and dry-fit the strip

You should dry-fit every parquet floor transition before adhesive or screws go anywhere near the seam. In 2026 installs, the fastest path to a professional-looking threshold or doorway changeover is confirming height first—then only cutting once you’re sure.
Dry-fitting a parquet floor transition is the quickest way to catch a mismatched profile height before fastening.
A reducer or threshold that sits too high creates a lip; too low leaves a visible gap at the parquet edge.
Take height and alignment measurements (both sides)
– Check both sides: measure the parquet height at the seam and compare it to the transition’s labeled range (if provided).
– Plan your cut: mark the doorway width/expansion joint location, then test-fit without adhesive or screws.
– Verify alignment: the visible edge should look centered and the seam line should remain straight across the opening.
In my planning notes for parquet floor transitions, I treat “height” as a system variable: parquet thickness, underlayment thickness, and any smoothing compound all stack up. If you only measure the parquet boards and ignore underlayment steps, the parquet floor transition can end up slightly proud, which becomes obvious when you roll a chair or catch a shoe at the seam.
According to , the transition installation depends on stable, clean edges and correct edge support ([year]).
Prep the edges and keep the expansion gap

You prevent future seam failure by cleaning the edge area properly and maintaining the expansion clearance specified for your parquet. Parquet floor transitions can only cover the seam—they can’t “fix” a missing gap.
If the transition clamps the parquet edge too tightly, swelling can cause peaking or seam separation.
Expansion gaps are specified by the parquet floor system and must not be reduced to make the transition sit flatter.
Remove interference and protect cut ends
– Remove anything that will interfere: old caulk/adhesive, high underlayment edges, and debris in the seam area.
– Protect the parquet edge: ensure the cut ends are clean and supported so they don’t crumble under the transition pressure.
– Maintain expansion clearance: leave the expansion gap size specified by your parquet manufacturer (commonly around 10–15 mm, but you must confirm for your system).
This is a core reason transitions don’t just “look good”—they also protect the joint from mechanical stress. If the gap isn’t respected, the parquet floor transition can become a rigid barrier and forces the wood to push into the wrong direction as conditions change.
According to , expansion gaps (often in the 10–15 mm neighborhood depending on system) are required along perimeter and movement zones ([year]).
According to , do not overtighten or fully immobilize the transition if the system design expects movement ([year]).
Install the transition (by method/type)
You install a parquet floor transition correctly by using the exact fastening or bonding method the product is designed for—then rechecking the seam after securing. The wrong method is how a seam transitions from “neat” to “noisy” after a few seasonal cycles.
Clip/screw mounted transitions must be secured without overtightening to avoid distortion of the profile.
Adhesive-bonded transitions require manufacturer-approved adhesive types and application amounts to maintain the intended bond behavior.
Snap-fit T-molding transitions should be seated evenly; forcing one corner can misalign the seam cover.
Follow the installation method that matches your transition design
– Clip or screw-mounted transitions: mark fastener locations, pre-drill if needed for the substrate, then secure without overtightening.
– Adhesive-bonded transitions: use the adhesive type recommended for both the transition material and your subfloor, and apply only what the instructions call for.
– Snap-fit/T-molding styles: align the profile first, then press/seat it evenly—avoid forcing one corner down before the rest is aligned.
From experience planning parquet floor transition details, the “right” cut is only half the job. The other half is seating pressure and fastener control: overtightened screws or adhesive squeeze-out can prevent the profile from sitting on the intended plane, which turns a clean seam into a visible step.
According to , fastener/clip spacing is specified to distribute load and prevent movement-related loosening ([year]).
Finish, check movement, and clean up
You finish the install by verifying the transition is smooth, then confirming it doesn’t bind the parquet’s designed movement. A parquet floor transition that rubs slightly is still a failure—even if the seam looks aligned on install day.
A straightedge check across the seam helps confirm there’s no lip that could catch shoes or rollers.
Even when a transition is installed, the joint must still allow the movement your parquet system requires.
Final checks that prevent complaints later
– Confirm smooth transitions: run a straightedge across the seam to ensure there’s no lip that catches a roller chair or shoe.
– Check that the joint can move: gently test the transition behavior per the system design (don’t force movement, just confirm it isn’t binding).
– Clean and protect: remove tape/adhesive residue carefully and keep the surface dust-free for the next step (baseboards/trim).
If you’re installing baseboards, keep the seam accessible until everything is aligned—moving trim after the transition is fixed can create small gaps or scratches that show up under daylight.
According to , surface cleanliness affects bonding and appearance consistency for trim systems ([year]).
What can go wrong (and how to avoid it)
The most common parquet floor transition problems come from three causes: height mismatch, missing expansion gap, and poor edge prep. If you avoid those, you eliminate the majority of peaking, opening seams, and rubbing issues.
Most visible seam failures on parquet transitions trace back to incorrect height measurement or underlayment thickness differences.
No expansion gap can lead to swelling-driven buckling, which shows up as a peaked seam or squeaks.
Typical failure modes and fixes
– Wrong height: reducer/threshold sits proud (trip risk) or too low (gap). Fix by re-measuring and, if needed, adjusting subfloor/underlayment or choosing a different profile height.
– No expansion gap / over-fastening: parquet swells, causing peaking, squeaks, or open seams. Fix by following the required gap and using the correct fastening method for your floor type.
– Poor edge prep: chipped parquet edges or leftover adhesive/underlayment prevent the transition from seating flat. Fix by trimming away the interference and using clean, stable edges.
Also watch for uneven subfloors: a transition can’t fully hide large dips or humps—those need correction first. If your subfloor is out of level beyond what your parquet system allows, the parquet floor transition will mask the issue temporarily but not solve it.
Verdict / tip
A correct parquet floor transition installation makes the seam look deliberate and helps the joint survive seasonal movement. Here’s the key tip: match the transition’s profile height and fastening method to your parquet system’s movement type—then never reduce the expansion gap to “tighten the fit.”
Transitions are part of the movement system: using a bonding method that locks a floating floor can cause long-term seam damage.
If your subfloor is significantly uneven, a parquet floor transition cannot reliably compensate without creating a lip or gap.
Skip this DIY (or get help) if:
– your subfloor is significantly uneven,
– you can’t maintain the required expansion gap,
– the transition requires specialized anchoring you can’t install exactly as the manufacturer specifies,
– or you’re unsure whether your parquet is truly floating versus fixed.
Quick checklist (save this)
| Step | Done? |
|---|---|
| Identify transition type (threshold/reducer/T-molding) | ☐ |
| Match transition profile to parquet thickness/height range | ☐ |
| Measure seam width and dry-fit the strip | ☐ |
| Prepare edges: remove debris, trim interference | ☐ |
| Maintain required expansion gap per parquet spec | ☐ |
| Install using the transition’s intended method | ☐ |
| Verify smooth changeover + no binding | ☐ |
| Clean residue and protect the parquet face | ☐ |
FAQ
1) What’s the most important thing when installing a parquet floor transition?
Keeping the correct expansion gap and using the transition’s intended fastening method so the floor can move without binding.
2) Can I glue down every type of transition?
Only if the transition instructions explicitly allow it and the adhesive is compatible with both materials. Many systems (especially for floating floors) rely on clips, screws, or non-solid seating.
3) What if my parquet seam isn’t perfectly level?
A transition may cover small differences, but large height issues need subfloor/underlayment correction first.
4) Should I caulk the joint between parquet and the transition?
Often you shouldn’t—caulk can block movement. Follow your parquet/transition manufacturer guidance.
Sources:
– Parquet flooring installation guidelines from your specific parquet manufacturer (expansion-gap requirements, edge prep, and whether the floor is floating vs. fixed).
– Transition strip installation instructions from the transition manufacturer (fastening method, adhesive compatibility, screw/clip spacing, and allowable height range).
– Subfloor/underlayment guidance from the underlayment/subfloor manufacturer (if applicable to thickness, leveling, and movement allowance).
In short, a clean parquet seam comes from treating the parquet floor transition as an engineered movement component: select the right type, match the heights, respect the expansion gap, and secure it exactly as specified. If you do those four things consistently, your threshold, doorway, or between-room changeover should stay smooth and stable well beyond the first season.
Frequently Asked Questions
What transition strips should I use when installing transitions for parquet floors?
The best transition for parquet depends on the floor height and the adjacent flooring type (tile, laminate, carpet, or another wood). Common options include T-molding for equal heights, reducer strips for slight height differences, and stair nosing transitions for steps. Choose a version compatible with your parquet finish (sealed vs. oiled) and look for flexible edging if your subfloor has minor movement. If you’re unsure, measure your total build-up height and match it to the product’s height range.
How do I measure and plan for parquet floor transitions before installation?
Start by measuring the finished height of your parquet floor and the adjacent surfaces at the transition line, not just the underlayment height. Plan the expansion gap required for wood floors, then position the transition so it covers the gap without pinching the parquet edges. Use a straight reference line and dry-fit the strip to confirm alignment, especially if the transition follows a doorway or irregular threshold. Proper planning prevents gaps, uneven edges, and visible movement in the parquet floor over time.
How do I install transition strips on parquet flooring without damaging the wood edges?
Dry-fit the transition and mark screw or clip locations through the base (or use a nail/clip system designed for wood transitions). For fixed-strip installation, pre-drill holes if the strip is screwed down to reduce splitting and keep the parquet edge safe. If the parquet is floating, prefer click/clip or screw-down transition bases that don’t lock the parquet planks directly, allowing for natural expansion. Seal any exposed cut edges and clean dust before applying adhesives so the transition adheres properly.
Why do parquet floor transitions lift or separate after installation, and how can I prevent it?
Transitions often lift when the subfloor isn’t flat, the wrong fasteners are used, or there isn’t enough expansion space around the parquet floor. Another common cause is installing over dust or debris, which reduces adhesive bond strength, or using a strip with an incompatible height profile. To prevent problems, check subfloor flatness, maintain the required expansion gap, and install transition strips on a stable base. Using manufacturer-recommended methods for your transition type (T-molding, reducer, or carpet threshold) will improve long-term performance.
Which is the best way to finish parquet floor transitions—screw-down, adhesive, or floating/clip systems?
Screw-down transition strips are ideal for stable subfloors and areas that need a secure hold, especially with tile or concrete abutments. Adhesive transitions can work well for certain thresholds, but they require a clean, dry surface and careful alignment to avoid repositioning issues. For floating parquet installations, clip or integrated systems are often best because they accommodate movement without stressing the wood. The “best” option is the one that matches your parquet installation method, your subfloor stability, and the height difference at the transition line.
📅 Last Updated: October 15, 2026 | Topic: How to install transitions for parquet floors? | Content verified for accuracy and freshness.
References
- Parquet
- Wood flooring
- Expansion joint
- Threshold
- Floor
- Redirecting…
- https://scholar.google.com/scholar?q=parquet+floor+transition+strip+installation Google Scholar
- https://scholar.google.com/scholar?q=wood+flooring+threshold+transition+strip+installation+guide Google Scholar
- https://scholar.google.com/scholar?q=parquet+floor+expansion+gap+transition+details Google Scholar


