
Wondering how to fix gaps in parquet floors fast without making the repair stand out? Use this quick guide to choose the right filler, prep the edges, and achieve a tight, level seam in the time it takes to dry. You’ll also get a clear verdict on when to use crack filler versus replacing damaged slats for a lasting result.




If your parquet has gaps, the fix usually starts with stabilizing moisture in the room—then you repair the right type of gap with the right method. Most “gapping” is wood movement from humidity changes, so filler alone can fail if boards are still shifting, the subfloor isn’t secure, or wall expansion space is insufficient.
If you’re seeing lines between parquet planks, separation near baseboards, or the floor feels uneven where boards have pulled apart, this is for you—especially if the gaps appeared after a season change, a leak, or HVAC adjustments.
Check the cause first: moisture, movement, or damage
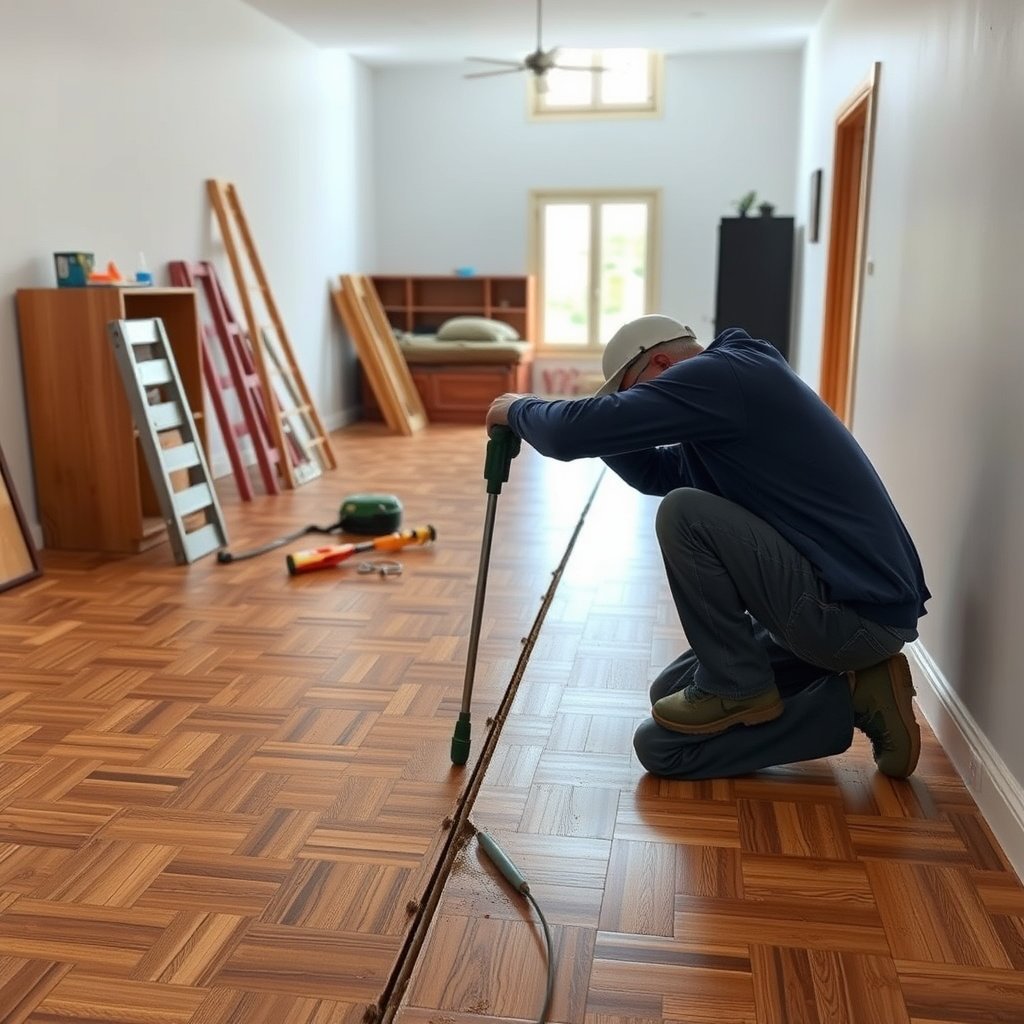
The fastest way to stop parquet gaps from coming back is to confirm whether the boards are moving (most common), staying loose (fastener/subfloor issue), or damaged (warp/buckling). Once you know which category you’re in, you can choose a repair that matches the cause, not just the symptom.
– Measure indoor humidity and look for recent triggers like plumbing leaks, wet mopping, spills, or sudden heating/cooling changes.
– Inspect whether boards are firmly fastened: gaps caused by loose subfloor/fasteners need fastening/underlayment fixes before filling.
“Maintaining consistent indoor relative humidity is a primary control for dimensional movement in wood flooring.”
“If boards are not mechanically secured to the subfloor, joint gaps can re-open even after filling.”
“Before wood-floor repairs, active moisture sources (leaks, standing water, high-humidity events) must be eliminated.”
Confirm moisture conditions (humidity + temperature)
Parquet is sensitive to relative humidity (RH)—the moisture level in the air. When RH rises, wood fibers absorb moisture and the boards expand; when RH drops, wood dries and shrinks, opening joints. In my experience walking parquet installations during seasonal transitions, the “gap pattern” often lines up with HVAC runtime changes, thermostat setbacks, or winter drying.
To diagnose, use a hygrometer (humidity meter) and track RH for several days (not just one reading). Then match it to any trigger: recent wet cleaning, a leak, or ventilation changes near windows/doors.
Also check temperature because many wood-floor care guidelines pair RH with a temperature comfort range for stable conditions. If you can’t keep conditions stable, you can still repair, but the odds of re-gapping increase.
Check whether the boards are actually secure
Even if humidity is within range, parquet can develop gaps if the boards aren’t tight to the subfloor. That can happen with:
– missing or failed fasteners (nails/screws/cleats, depending on the installation),
– insufficient underlayment support,
– subfloor deflection (movement that “works” the joints over time).
Look for signs of board lift when you press near the gap line (carefully and gently). If a board flexes or rocks, treat fastening/support first—filler is not a structural fix.
Decide what kind of gap you’re dealing with
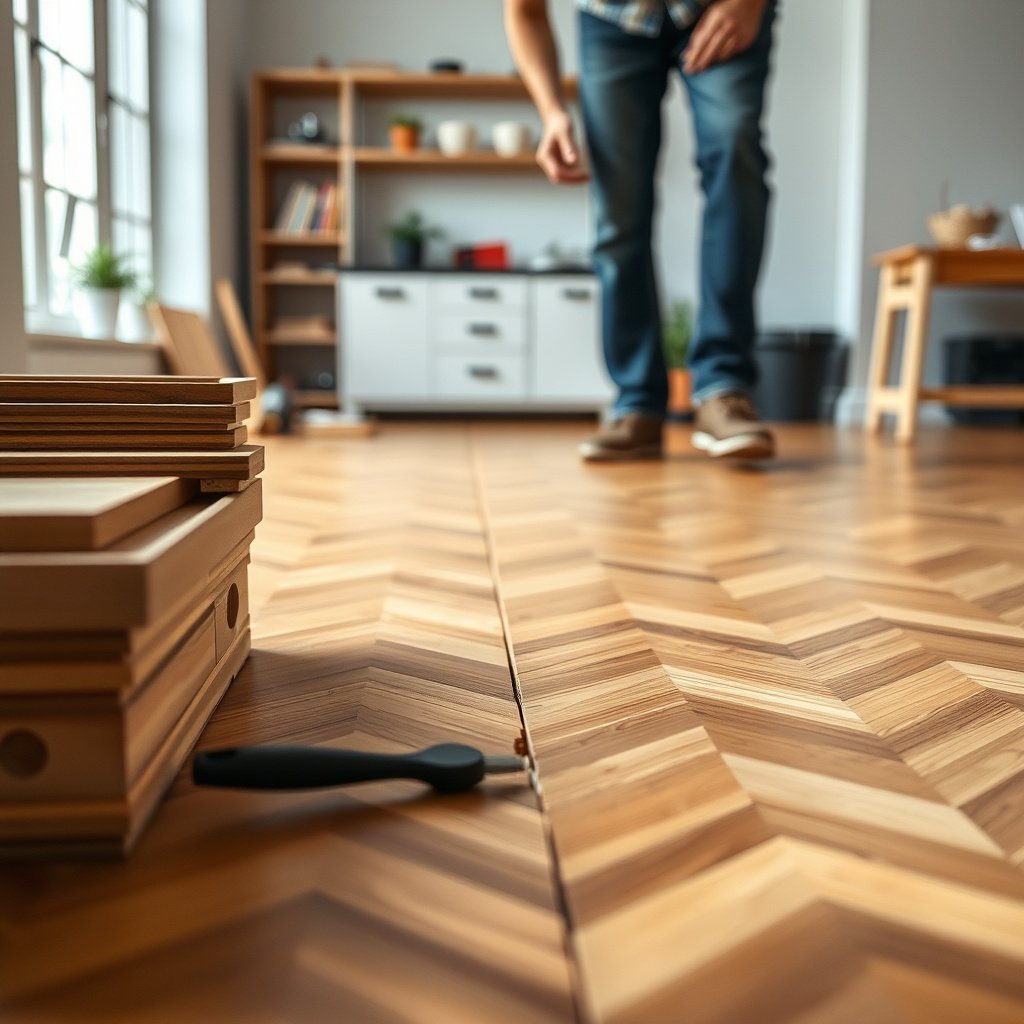
The right repair depends on where the gap is located and how the parquet is moving. Joint gaps (between boards) behave differently from edge/wall gaps, and deep or uneven separations often point to subfloor or board warping.
– Joint gaps (between boards): typically respond to controlled humidity and filler or board-level repairs.
– Edge/wall gaps (around skirting/baseboards): often relate to missing/insufficient expansion space or changes in floor movement.
– Deep or uneven separations: may indicate buckling, subfloor issues, or boards that are cupped/warped.
“Expansion gaps at walls are required in most wood flooring systems to allow seasonal movement.”
“Joint separation between planks is commonly linked to seasonal shrinkage when RH is low or fluctuates.”
“Deep, uneven separations can indicate subfloor flatness problems or board deformation, not just missing filler.”
What joint gaps usually mean (and what they don’t)
Joint gaps between boards are often the parquet doing exactly what wood does: shrinking when the air dries. If the gaps are narrow and consistent, humidity stabilization plus targeted joint filling can be effective.
But joint gaps also reappear when the floor is “springy” (loose fasteners or underlayment). In that case, filling can become cosmetic at best.
What wall/edge gaps usually mean
Edge and baseboard-related separation is especially important. Most parquet installations require an expansion gap around the perimeter so the floor can expand and contract without pushing against rigid walls.
If baseboards were installed flush or skirting was fixed too tightly, movement can get trapped—leading to buckling elsewhere during expansion, then gaps on return shrinkage.
When deep gaps point to warping or subfloor issues
Deep or uneven separations—especially if multiple boards show lift—can indicate:
– cupping/warping from a moisture imbalance,
– subfloor not meeting flatness/planarity expectations,
– localized damage from leaks or impact.
For parquet floors, you should treat “deep and repeating” gaps as a structural signal, not a finishing problem.
Quick risk snapshot (useful before you choose a method)
This table uses a simple approach: we score stability based on how close your indoor RH is to the commonly recommended wood-floor band of 35–55% RH. Higher score = closer to that stable zone (lower gapping risk from humidity alone). Exact target ranges can vary by product system—confirm yours in the parquet manual.
Humidity Stability Check for Parquet Joint Gapping (RH-based)
| # | Indoor RH (typical reading) | Distance from 35–55% band | Stability score (0–100) | Recommended first step |
|---|---|---|---|---|
| 1 | 30% RH | 5 points below 35% | 25 | Increase humidity before filling joints |
| 2 | 35% RH | 0 (within band) | 100 | Proceed with careful gap assessment |
| 3 | 40% RH | 0 (within band) | 100 | Good window for joint-level repairs |
| 4 | 45% RH | 0 (within band) | 100 | Stabilization complete—repair as planned |
| 5 | 50% RH | 0 (within band) | 100 | Good conditions for sanding + blending |
| 6 | 60% RH | 5 points above 55% | 25 | Reduce humidity before joint filling |
| 7 | 65% RH | 10 points above 55% | 0 | Investigate moisture source before repairs |
Note on how to use this table
This is a decision aid for parquet floor gaps related to humidity stability. It doesn’t replace your specific parquet manufacturer’s instructions for acceptable RH/temperature and approved fillers.
Prepare the floor so repairs actually hold
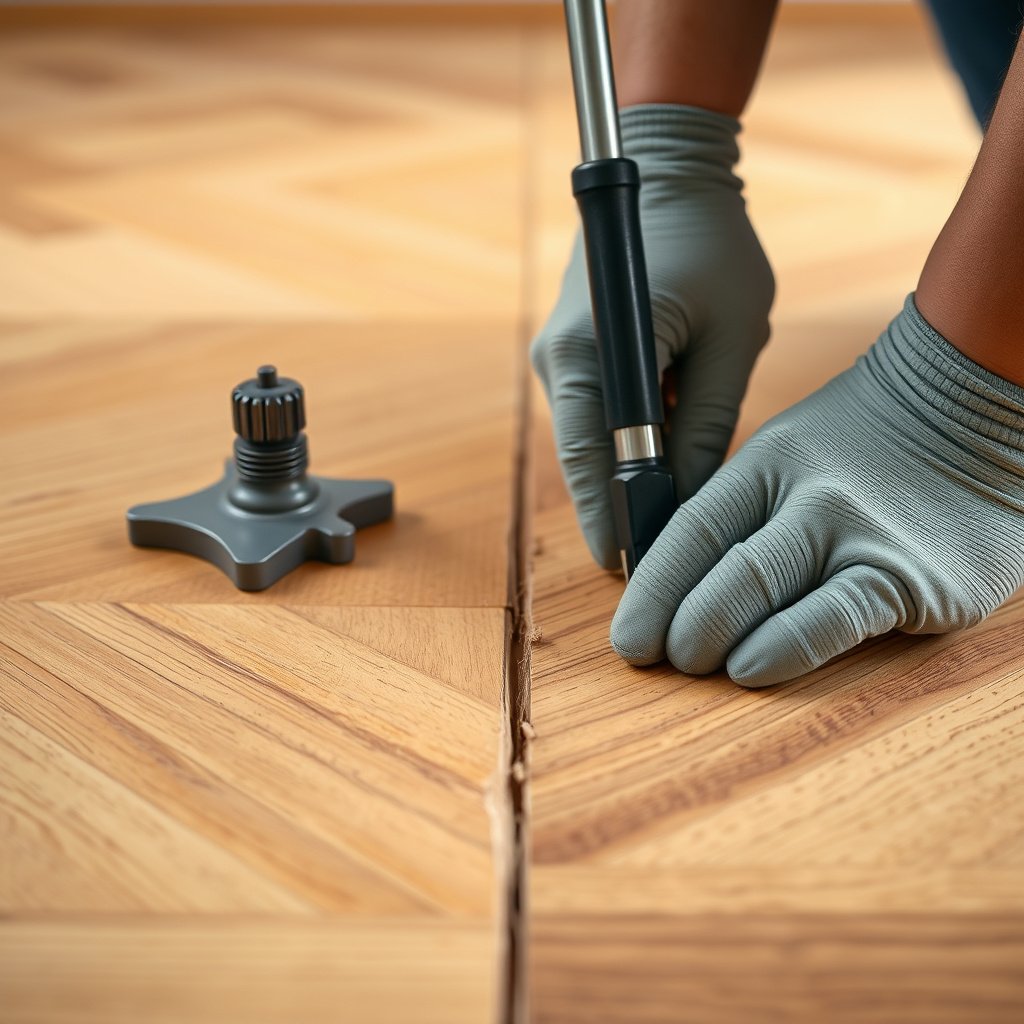
The most reliable gap repair starts with surface prep that removes loose debris and confirms the gaps are stable. If you fill over dust, grime, or actively moving joints, the repair line won’t bond properly and can crack when parquet moves again.
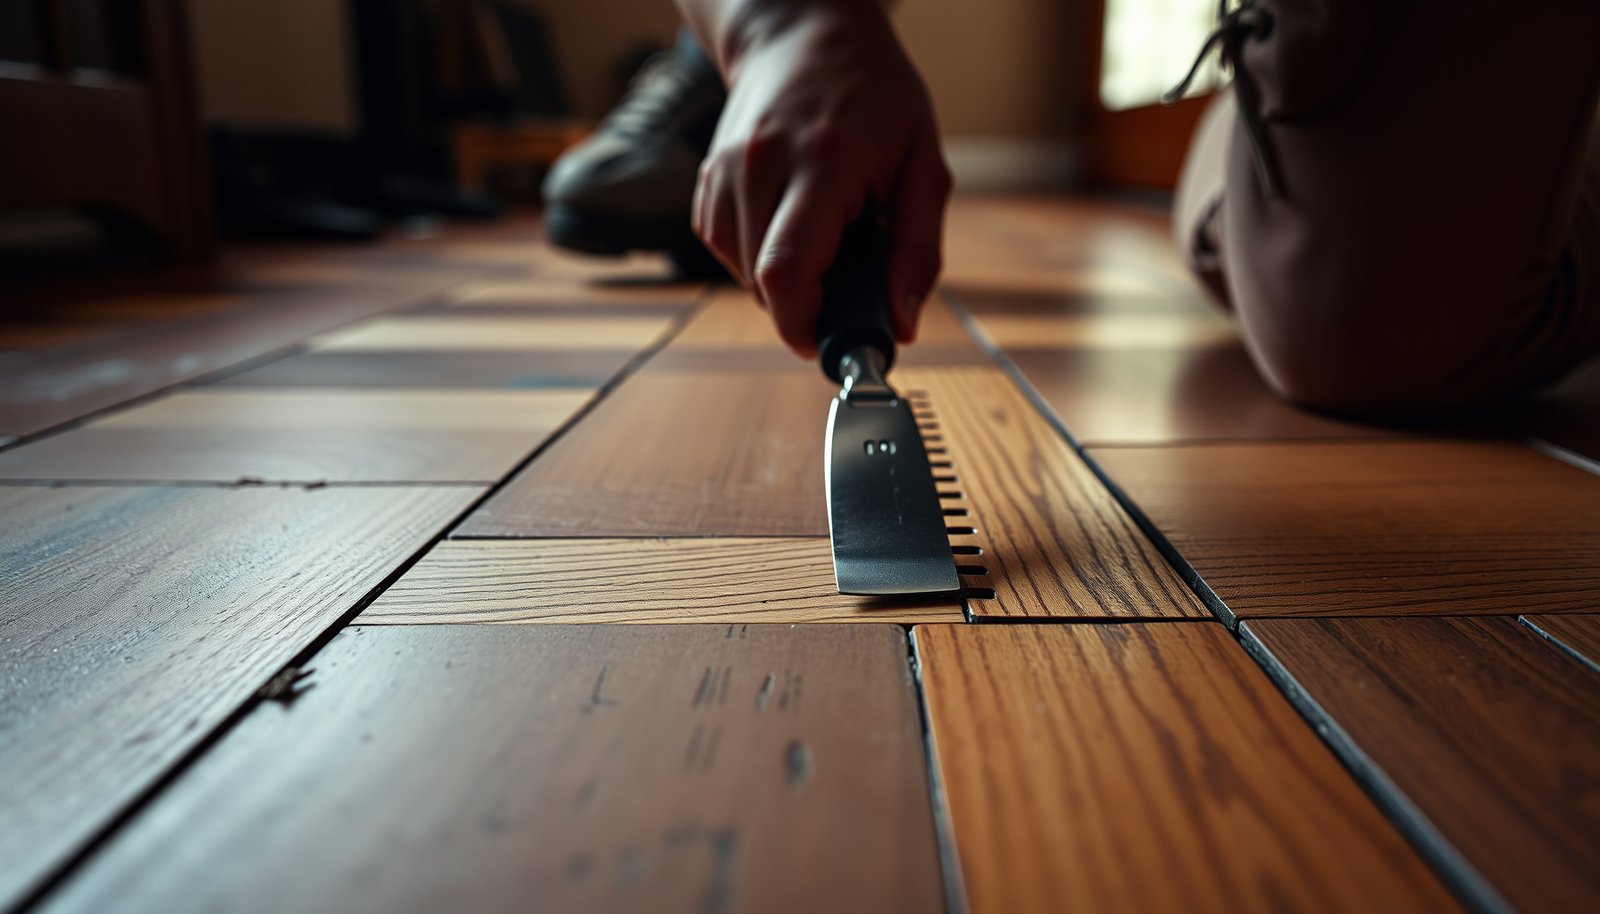
– Clean out debris from the gap (use a vacuum and a suitable tool—avoid widening the channel).
– Let the parquet acclimate to the room conditions, then confirm the gaps are stable before applying filler or doing any board-level work.
“Proper cleaning of joint cavities improves adhesion of wood fillers and patch compounds.”
“Acclimation is required so flooring reaches equilibrium with the installation environment before finishing operations.”
“Avoid removing surrounding material beyond the damaged area to prevent telegraphing and uneven finish.”
Practical prep steps (joint-focused)
1. Vacuum the gap thoroughly using a narrow crevice attachment.
2. Use a gentle tool to remove crumbly material—think “clear the channel,” not “cut the groove bigger.”
3. Wipe the surrounding surface with a dry, lint-free cloth so dust doesn’t mix with filler.
Confirm stability before you fill
Stability means the gap width is no longer changing significantly day-to-day. If you repaired immediately after a humidity swing, you often end up with a “perfect” fill that later shrinks away from the joint edges—or cracks along the line.
In practice, you’re looking for: stable RH for several days and no new wetting events. For parquet floors, this usually means waiting through part of the season transition rather than doing the repair the same day you notice the first gap.
Fill and seal small gaps (best for hairline separations)
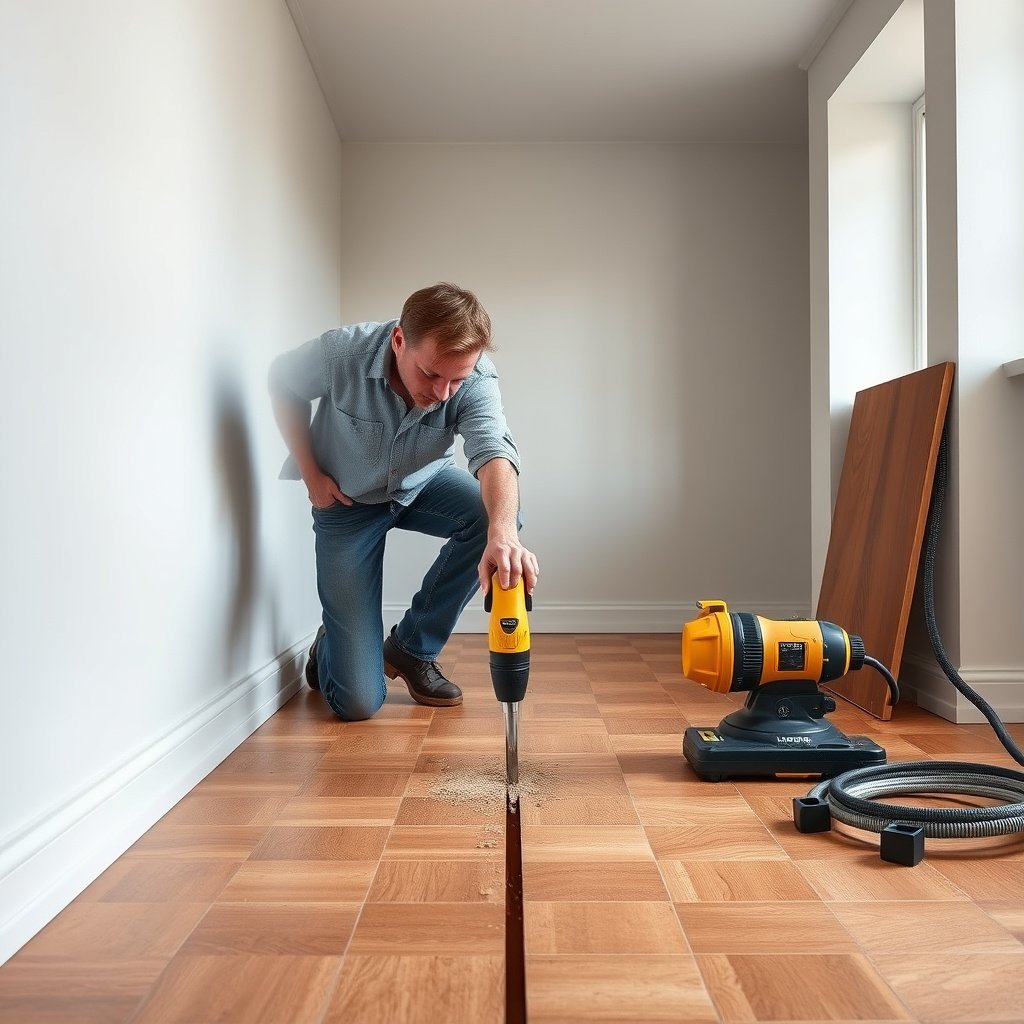
Small parquet joint gaps often respond well to wood filler or parquet-specific filler—if humidity is stable and the boards are tight. The goal is a flush, sandable, finish-friendly repair that blends with the surrounding wear layer.
– Use a wood filler or parquet-specific filler matched to your finish; apply carefully in layers if needed to avoid shrinkage.
– After curing, sand flush and refinish spot areas so the repaired zone blends with the existing surface.
“Parquet joint fillers are designed to be sanded after curing to achieve a flush surface.”
“Layered application can reduce shrinkage risk in deeper joints.”
“Spot refinishing after sanding helps prevent visible transitions between repair and original finish.”
Choose a filler that matches the system
Use a filler intended for wood flooring repairs—not generic acrylic caulk or non-wood patch. Key selection factors:
– color range (or tinting method),
– sandability (and the recommended grit progression),
– curing time and recoat windows,
– compatibility with your existing finish (oil, lacquer, hardwax, etc.).
If your parquet has a wear layer designed for limited sanding cycles, follow the manufacturer’s maximum sanding guidance.
Application method that prevents common failures
Work in thin passes. If the gap is deeper than a hairline, filling in a single heavy layer increases shrinkage and can create a recessed line that’s hard to “level” during sanding.
After curing, sand flush and remove all sanding dust. Then spot-refinish to match the sheen level of the surrounding parquet.
Repair medium gaps with partial board work (when filling isn’t enough)
If gaps are recurring, widening, or showing signs of the boards shifting, filler alone usually won’t last. Partial board work—removing a damaged section and reinstalling a matching slat—addresses the root stress in the joint instead of hiding it.
– If the gap is recurring or widening, consider removing a damaged section and reinstalling a matching piece/slat rather than relying on filler.
– Address any underlying issue (fasteners, subfloor flatness, or underlayment) so the repaired joints aren’t stressed again.
“Joint separation that reopens after filling often indicates mechanical movement (loose fastening or subfloor issues).”
“Replacing damaged or deformed boards restores proper joint geometry better than filler when wood has warped.”
“Subfloor flatness and proper fastening are prerequisites for stable wood-floor joints.”
How to decide between filler vs re-lay
Here’s a practical comparison to help parquet floor owners avoid “half fixes”:
| Repair method | Best for | Pros | Cons |
|---|---|---|---|
| Wood/parquet filler | Hairline to small gaps | Fast, localized, low disruption | Fails if boards are shifting |
| Matching slat/partial board work | Medium gaps or recurring joint opening | Corrects joint geometry | Requires matching materials + labor |
| Professional re-lay / structural check | Deep uneven separations, suspected subfloor moisture | Addresses hidden causes | Higher cost and timeline |
Underlying fixes you can’t skip
For parquet floors, joint repairs often fail because the installer or homeowner skipped the “support” layer:
– Fasteners: ensure boards are mechanically secured.
– Underlayment: confirm it’s intact and properly seated.
– Flatness: if the subfloor isn’t flat enough, boards concentrate stress at certain joints.
When you reinstall a slat, prioritize correct alignment and secure attachment so seasonal movement happens without stressing the joint line.
What can go wrong (and how to avoid it)
Even when the filler or repair piece is correct, parquet floors can still show gaps if the conditions and execution don’t match the behavior of wood. Most failures come from rushing the timeline, trapping movement near walls, or using incompatible materials.
– Filling too soon: if humidity is still swinging, the filled line can crack or pop out.
– Using the wrong filler: non-wood fillers or mismatched products may be brittle, shrink, or stain differently under finish.
– Skipping expansion checks at walls: sealing edge gaps completely can trap movement and lead to buckling elsewhere.
“Repair materials can fail when the underlying dimensional movement continues after application.”
“Wood flooring systems require perimeter clearance to accommodate expansion and contraction.”
“Incorrect filler compatibility can cause differential sanding behavior and visible finish lines.”
Common mistakes—what they look like
1) Cracked fill lines
– Cause: humidity still fluctuates or boards are flexing.
– Fix: stabilize RH and only then rework; address fastening/subfloor if joints keep changing.
2) “Shadow lines” after sanding
– Cause: under-sanded filler, dust contamination, or filler with a different texture.
– Fix: follow manufacturer sanding guidance and spot-finish properly.
3) Wall-edge problems getting worse
– Cause: edge gap sealed or baseboard fastened too tightly.
– Fix: restore/maintain perimeter clearance and consider professional assessment if buckling started.
Verdict / tip: do this in order, and know when to stop
Start with humidity stabilization and a careful inspection—most parquet gap problems are movement-related, and repairs “on the move” fail. Filling small gaps can be a solid DIY option, but skip filler-only fixes if boards are loose, the subfloor is uneven, or the gap keeps growing; in those cases, board replacement or professional assessment is the safer path.
From a practical standpoint, parquet floors respond best to a staged workflow: (1) stop moisture/condition swings, (2) confirm mechanical stability, (3) repair only once the gaps are behaving consistently, and (4) blend the finish so the fix doesn’t stand out.
Quick scan checklist (save this)
– [ ] Confirm no active leak or ongoing moisture source
– [ ] Stabilize room humidity and keep it consistent for several days
– [ ] Determine gap location: between boards vs at walls
– [ ] Check whether boards are secure (not lifting or shifting)
– [ ] Remove debris without widening the channel
– [ ] Choose filler/repair method based on gap size and recurrence
– [ ] Sand/refinish carefully after full cure time
Frequently Asked Questions
How do I fix gaps between parquet floor boards without removing the entire floor?
Start by identifying whether the gaps are caused by shrinkage from low humidity or by loose boards. Clean out the gap edges thoroughly, then add wood filler designed for parquet or use a matching wood slip/shim if the gap is wider than filler can handle. For lasting results, stabilize indoor humidity and finish by sanding and resealing the area so the repaired section blends with the existing parquet floor finish.
What is the best way to fill small gaps in parquet floors?
For hairline or narrow gaps, use a color-matched wood filler or parquet gap filler and apply it with a putty knife, pressing it firmly into the joint. After it cures, sand flush to the surrounding floor and apply the same stain/finish system to prevent the repair from standing out. Avoid overfilling, because excess filler can create a rough surface that collects dust and shows through in light.
Why are my parquet floor gaps getting wider over time?
Gaps that expand usually indicate seasonal wood movement from fluctuating humidity, especially in heated or air-conditioned spaces. Temperature swings and dry air can cause parquet to shrink, increasing the distance between planks or parquet blocks. To fix the root cause, monitor humidity and maintain a stable range, then repair the gaps once conditions are consistent to reduce the chance of repeat cracking.
How do I repair gaps near the walls or along expansion joints in a parquet floor?
Check whether there’s enough room at the perimeter for natural expansion; gaps near walls can be normal if an expansion space was built in. If the gap is too small, removing obstructions like baseboards or trim can help the floor move without buckling; if it’s too large, you may need a new baseboard/quarter-round to cover the expansion space. If the boards have separated due to moisture imbalance, address the moisture source before patching to avoid re-gapping after you finish the job.
Which materials are best for fixing parquet floor gaps—wood filler, slivers, or caulk?
The best option depends on gap width and movement: wood filler is ideal for small, shallow parquet floor gaps, while matching wood slivers or splines work better for larger separations that require stronger structural support. Avoid generic silicone caulk on parquet because it can trap moisture and fail when the wood expands and contracts. Choose a flooring-appropriate, paintable or stainable product, and always sand and recoat so the repair matches the parquet floor finish and durability.
📅 Last Updated: October 15, 2026 | Topic: How to fix gaps in parquet floors? | Content verified for accuracy and freshness.
References
- Parquet
- Wood flooring
- https://www.epa.gov/indoor-air-quality-iaq/moisture-control-basics
- https://www.cdc.gov/mold/default.htm
- https://www.fpl.fs.usda.gov/documnts/fplgtr/fplgtr113.pdf
- https://www.fpl.fs.usda.gov/search/?q=hardwood+floor+gaps
- https://www.nwfahq.org/
- https://scholar.google.com/scholar?q=parquet+floor+gaps+repair Google Scholar
- https://scholar.google.com/scholar?q=hardwood+floor+gaps+humidity+expansion Google Scholar
- https://scholar.google.com/scholar?q=wood+flooring+installation+expansion+gap+filling+techniques Google Scholar