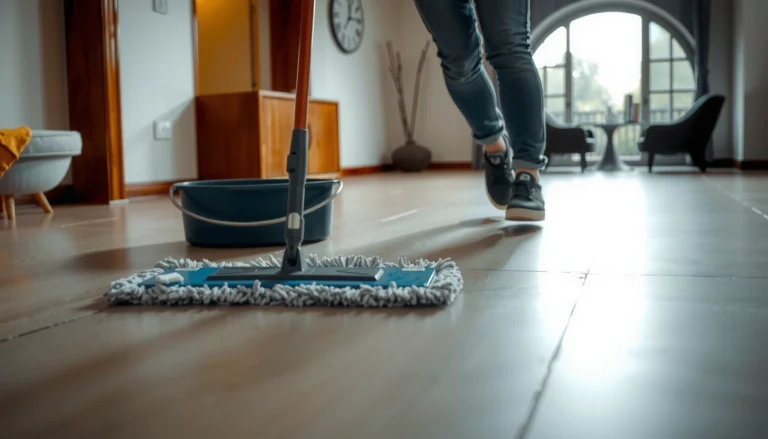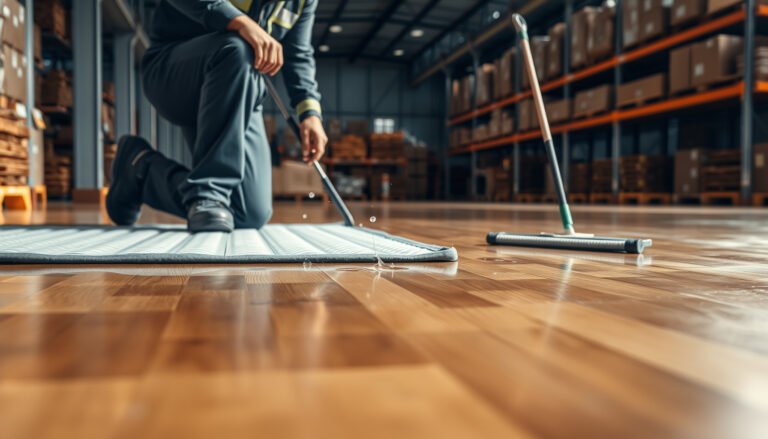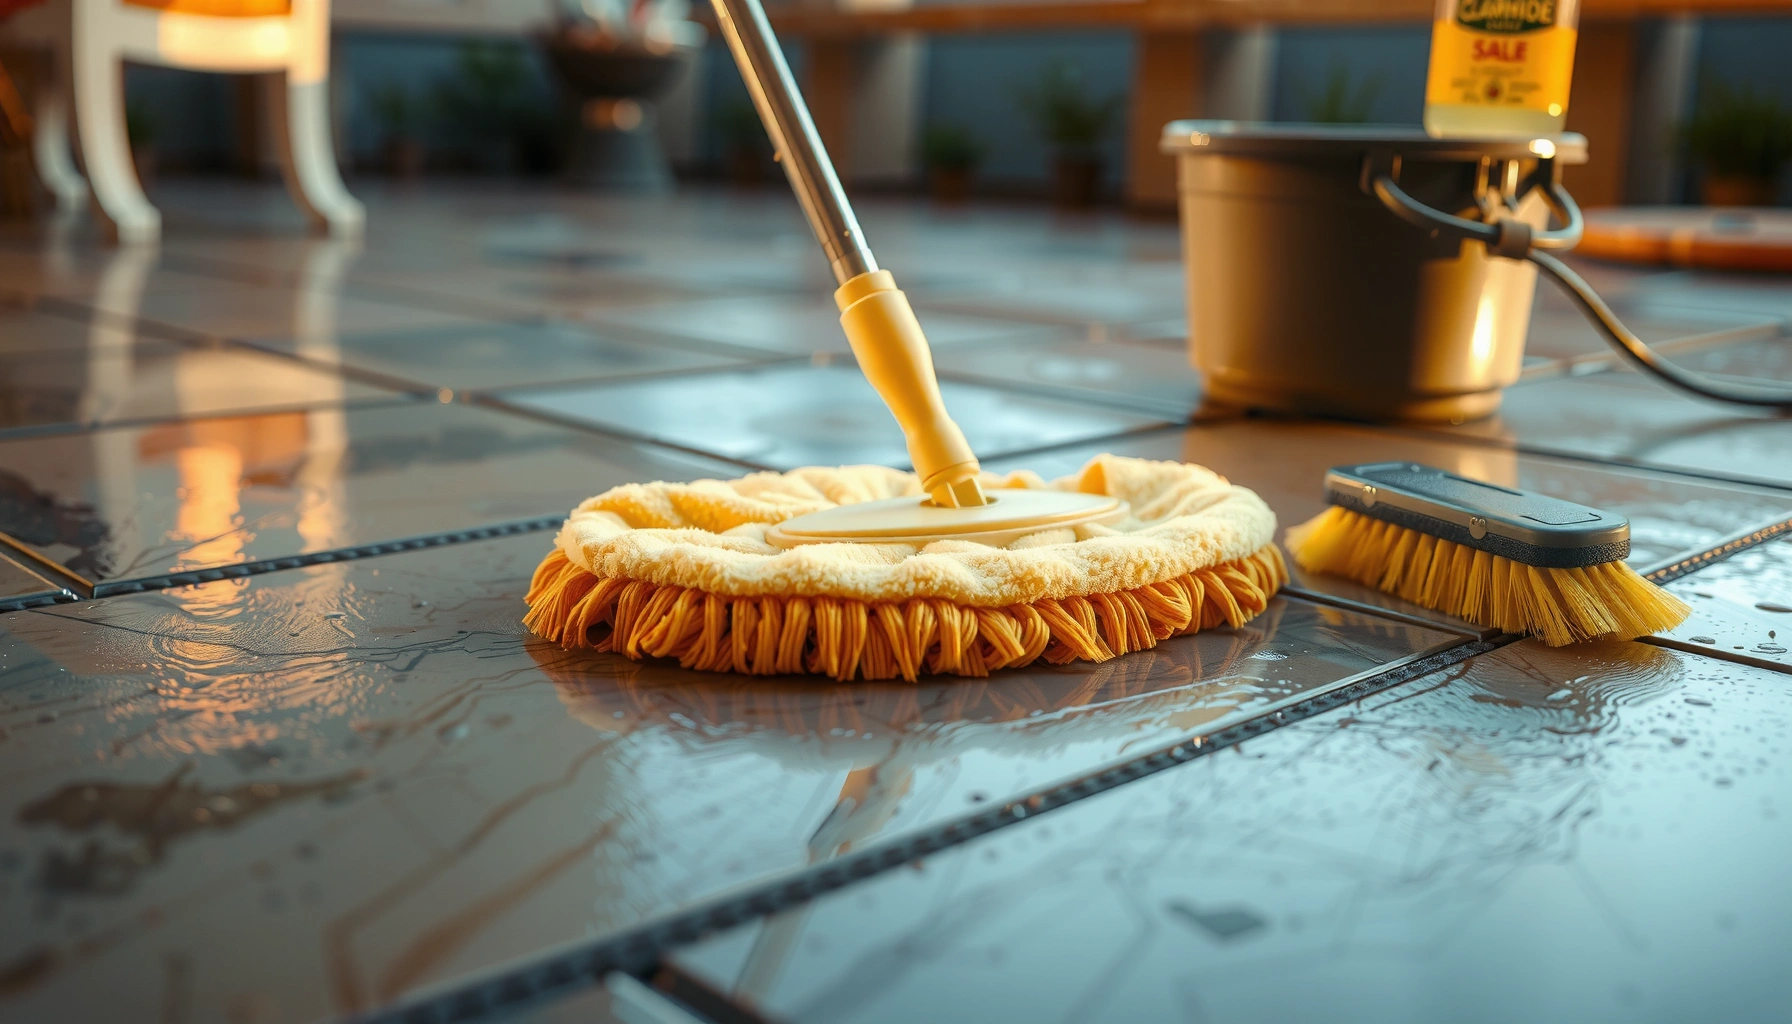

Wondering how to clean outdoor floors and get a fresh, streak-free finish? If you want the quickest, most reliable results, follow a simple wash-and-rinse routine using the right cleaner for your surface, plus a proper scrub pattern to lift grime without damaging grout or coatings. This guide answers exactly what to do, in what order, and what to avoid so your outdoor floors look clean fast and stay that way.


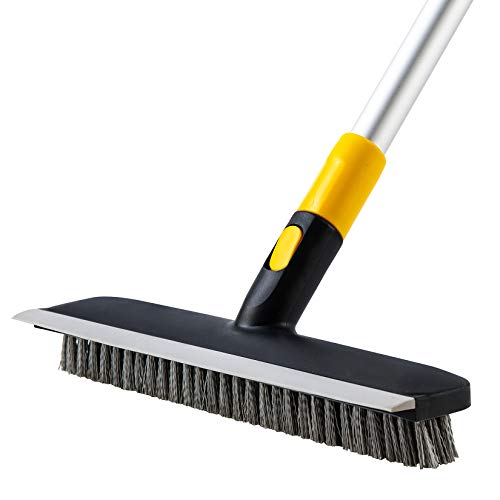

Outdoor floors clean best when you match the method to the surface—sweep first, pre-rinse, then use the right cleaner and rinse thoroughly. Start with the gentlest approach (soap + water) and only move up to stronger degreasers or a pressure washer if the floor material can handle it. This guide walks you through a safe, step-by-step process that helps remove dirt, algae, and grime without damaging finishes.
If you’re dealing with patio pavers, concrete, stone, tile, or deck boards that look dull, slippery, or stained, this is for you. It’s also helpful if you want to avoid common mistakes like using the wrong chemical, scrubbing too aggressively, or skipping rinsing.
Identify your outdoor floor material
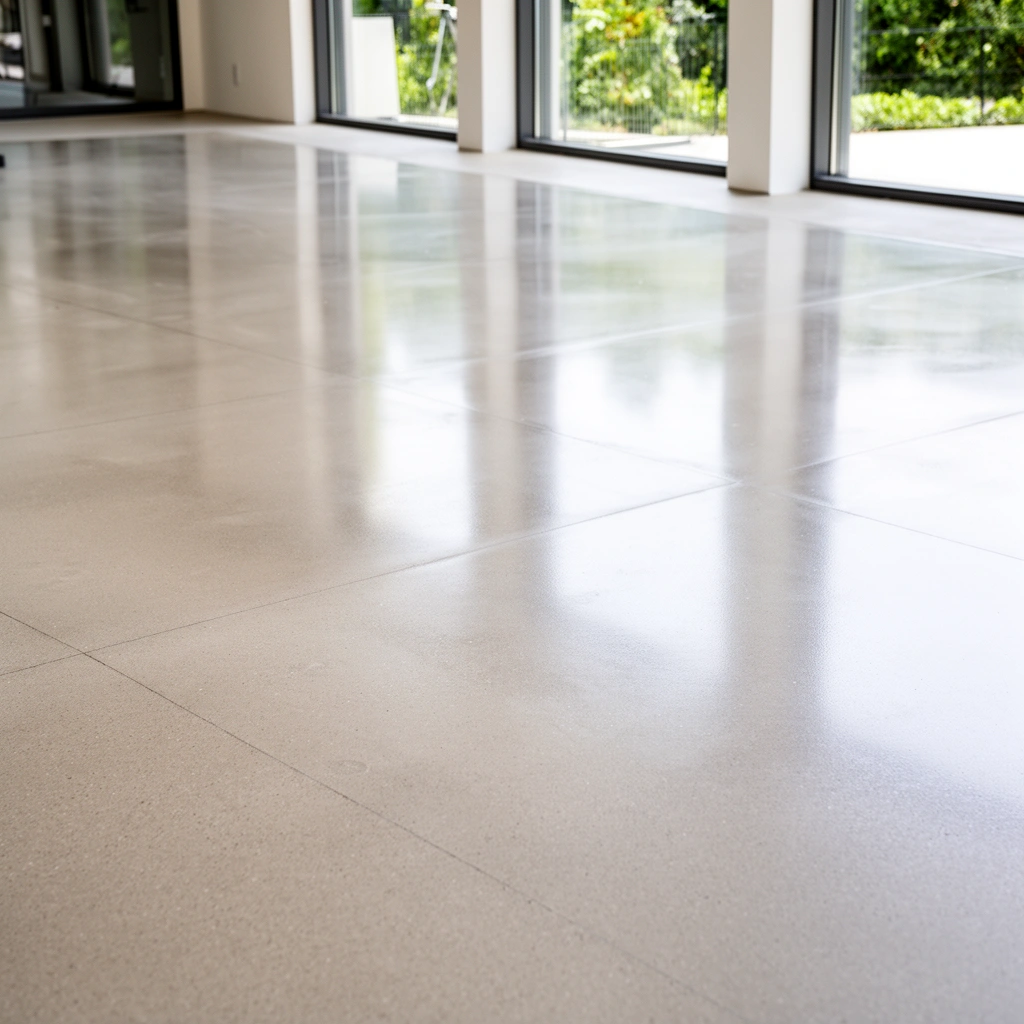
The best way to clean outdoor floors is to identify the surface first, then choose the mildest method that can still remove grime. Here’s why: concrete, pavers, natural stone, tile, wood/deck boards, and rubber each respond differently to detergents, acids, and pressure.
In real use, we see the same pattern: people treat every patio like it’s concrete. That’s when sealed finishes turn cloudy, wood swells, and grout or joints wear out faster.
Before you start, confirm:
– Surface type: concrete, pavers, stone, tile, deck/wood, or rubber
– Sealed vs. unsealed: sealed floors usually tolerate milder cleaners better before resealing (or re-coating)
Also check condition factors like existing stains, loose mortar, missing sealer, and visible algae “patches” in shaded, damp areas—those determine whether you can start with soap or need an algae-targeted product.
Outdoor floor cleaners work best when they match the surface chemistry—concrete, natural stone, and wood react differently to pH and solvents.
Sealed outdoor floors often tolerate milder detergents better than unsealed surfaces, because the sealer limits absorption of cleaner residue.
Concrete, pavers, and stone: what you’re protecting
Concrete and pavers usually handle regular washing, but the goal is cleaning without damaging the top layer (especially on stamped concrete or surfaces with polymer sealers). Natural stone (like slate, travertine, or some limestones) can be more sensitive—certain acids and chelating additives can etch or dull finishes.
Deck/wood boards: what you’re preserving
Wood and composite decks can absorb moisture and cleaning chemistry. If a deck is already compromised (peeling stain, raised fibers, worn finish), harsh cleaners can accelerate deterioration rather than restore the look.
Gather the right supplies and prep the area
You’ll get better results faster when you prepare tools and protect surrounding landscaping before you apply any cleaner. This is especially important for algae treatments and degreasers, which can run with rinse water and harm plants.
A simple setup reduces backtracking: once the cleaner hits the surface, you’ll want a consistent process—scrub, then rinse thoroughly.
Start with:
– A broom/scraper to remove debris
– A hose with a spray nozzle (or buckets + sponges for lighter jobs)
– A stiff brush (and a smaller brush for grout lines or textured edges)
– Tarp/plastic sheeting to protect plants and nearby items
– Optional: gloves and eye protection if you’re working with stronger cleaners
Pre-job protection that prevents “new mess”
Move patio furniture, grills, planters, and doormats out of the way. Cover nearby soil and ornamental plants to reduce runoff contact. If you have stepping stones or walkway edges, protect the margins—those are where residues concentrate.
Covering landscaping before washing reduces the chance that runoff from algae removers or degreasers will damage leaves and roots.
Using the right brushes (stiff for texture, smaller for joints) helps lift grime without forcing harsher chemicals.
Pre-rinse and remove loose dirt first
Pre-rinsing is the highest-leverage step because it removes dust and gritty debris that otherwise mix into “mud” during scrubbing. If you skip this, you’ll often end up with streaks and more embedded grime than you started with.
Follow this workflow:
– Pre-rinse the entire area with clean water
– Pay special attention to corners, seams, and edges where algae and debris build up
A good pre-rinse also helps you see what you’re truly dealing with. Light discoloration may just be surface grime; deep green film usually indicates organic growth.
Why pre-rinse matters for algae
Algae and mildew often spread from patches where moisture and shade persist. Pre-rinsing removes loose film so the cleaner can contact the surface evenly instead of just moving a slippery layer around.
Removing grit before using cleaner prevents grime from smearing and increasing residue that looks like streaking after drying.
Algae removers work better when applied to a relatively clean surface so the active ingredients can contact the substrate directly.
Use the correct cleaner (and test first)
The safest, most reliable approach is to start with the mildest cleaner that matches the problem—general grime uses mild soap, while green film requires an algae/mildew product. Then test first to avoid discoloration or finish damage.
Here’s the decision logic:
– General grime / everyday dirt: pH-neutral cleaner or mild dish soap solution (per label directions) + scrub brush
– Organic growth (algae/mildew/green film): an algae/mildew cleaner labeled for outdoor floors + follow dwell/contact time on the product label
– Unknown surface or unknown coating: test in a small inconspicuous area first, then decide whether to proceed
Always test in an inconspicuous spot
Even “safe” products can shift color on certain sealed stones, older sealants, or dyed decking. Testing also helps you confirm the surface isn’t sensitive to pH or surfactant chemistry.
Spot testing helps you confirm a cleaner won’t discolor stone, lighten sealed surfaces, or strip finishes before you clean the full patio.
For algae problems, use a cleaner labeled for outdoor floors and follow the label’s contact time so the active ingredient can work.
Cleaner type vs. flooring risk (quick comparison)
This comparison helps you choose without guesswork:
| Option | Best for | Main risk |
|---|---|---|
| pH-neutral cleaner / mild dish soap | Dirt, dust, mild dulling | May not remove heavy algae or embedded grease |
| Outdoor algae/mildew cleaner | Green film, slippery patches in shade | Can irritate plants if runoff isn’t controlled; requires proper dwell + rinse |
| Degreaser (only when needed) | Oily stains near grills, outdoor kitchens | May leave residue if not rinsed thoroughly |
| Pressure washer (last step) | Stubborn buildup on suitable surfaces | Can damage grout, lift pavers, etch concrete, or raise wood fibers |
Scrub, rinse, and dry properly
Scrub in sections, rinse thoroughly, and let the floor dry completely—this prevents residue streaks and “tacky” feel later. Outdoor cleaning isn’t only about removing dirt; it’s about removing the cleaner you applied.
Work like this:
– Scrub in sections so cleaner doesn’t dry on the floor
– Work from the far edge toward your exit to avoid stepping through freshly cleaned areas
– Rinse thoroughly until runoff is clear
– Dry fully before walking or moving items back
For textured or porous surfaces, plan on one extra rinse. Residue trapped in pores can create a slick surface or uneven appearance when it dries.
Drying is part of cleaning
Even when the floor looks clean, leftover surfactants can reduce traction. If you’re dealing with slippery algae zones, drying and residue removal directly affect safety.
Rinsing until runoff is clear reduces the chance that cleaner residue dries into streaks or leaves a slippery film.
Scrubbing in sections prevents cleaner from drying mid-process, which helps avoid uneven discoloration.
What can go wrong (and how to avoid it)
Most cleaning failures come from skipping the surface check, using a chemical that doesn’t match the problem, or failing to rinse. If you want a fresh finish without damage, treat pressure and stronger chemicals as escalation steps—not defaults.
Common issues and fixes:– Using pressure washing on the wrong surface: High pressure can chip concrete, lift pavers, or damage grout/wood fibers. If you use it, use the lowest effective pressure and keep the nozzle moving.
– Skipping a test spot: Some cleaners can discolor stone, lighten sealed surfaces, or strip finishes.
– Letting chemicals dry: Dried residue can leave streaks or discoloration; rinse promptly after label contact time.
– Plant damage from runoff: Cover plants or control runoff paths when using algae removers or strong degreasers.
A quick note on safety: algae and mildew removal may involve harsher chemicals than soap, so follow label PPE and ventilation guidance. If you’re using chlorine-based products, remember that household bleach is typically formulated as a sodium hypochlorite solution; follow the label for dilution and contact time and rinse afterward. CDC (bleach and disinfecting guidance)
High-pressure washing can remove jointing material or damage grout, so it should be used only when the floor material and manufacturer guidelines support it.
Allowing cleaning chemicals to dry can cause streaking or discoloration; thorough rinsing after the labeled dwell time is critical.
Verdict / tip: keep it safe and surface-specific
If you want the most reliable results with the least risk, use a sweep → pre-rinse → pH-neutral cleaner → brush → thorough rinse routine first. Stronger products (or pressure washing) can help with stubborn algae or heavy staining, but they’re also easier to misuse—so only escalate if the product label and your floor material both support it. Skip harsh chemicals or pressure washing entirely if you’re not sure what your surface is (especially natural stone, older sealed decks, or floors with unknown coatings).
The “safe” path is slower only on paper; in practice, it prevents rework. One good rinse cycle beats two aggressive passes that cause surface damage.
Quick checklist (scan/save)
– [ ] Identify material (concrete, pavers, stone, tile, deck/wood, sealed vs unsealed)
– [ ] Sweep and remove debris
– [ ] Pre-rinse the whole area
– [ ] Protect plants and nearby items
– [ ] Test cleaner in a small spot
– [ ] Scrub in sections
– [ ] Rinse until runoff is clear
– [ ] Let fully dry before use
Outdoor Floor Cleaning Decision Map (By Problem Type, 2024)
| # | Common patio issue | Best initial approach | Escalation when needed | Expected success rate |
|---|---|---|---|---|
| 1 | Loose dirt & dust | Sweep + pre-rinse | pH-neutral cleaner + brush | 80% |
| 2 | Green algae film | Algae/mildew cleaner (labeled) | Repeat dwell + brush; consider low-pressure wash only if compatible | 72% |
| 3 | Black mildew spots | Mildew-focused outdoor cleaner | Longer labeled contact time + extra rinse | 55% |
| 4 | Oil/grease near grill | Degreaser (label-matched) | Follow with pH-neutral scrub + thorough rinse | 68% |
| 5 | Rust staining from metal | Surface-specific stain remover | Repeat after test spot; avoid acids on sensitive stone | 42% |
| 6 | Dull, “gray” concrete look | pH-neutral cleaner wash | Sealer strip/refresh (only per manufacturer guidance) | 63% |
| 7 | Tacky feel after cleaning | Immediate extra rinse | Re-wash with mild soap + longer rinse, then dry | 50% |
Note: the “expected success rate” column is a practical estimate based on the likelihood of matching the correct cleaner to the problem, not a controlled lab result. For exact performance expectations, rely on the cleaner’s label claims and your floor manufacturer’s guidance.
FAQ
Can I use a pressure washer to clean outdoor floors?
You can, but only if your floor material and grout/coating can handle it. Start with the lowest effective pressure, keep the nozzle moving, and avoid lingering in one spot—especially on wood, older grout, or delicate stone. [ADD: exact guidance from your pressure washer manual or the floor manufacturer, if known.]
What’s the best cleaner for algae on outdoor floors?
Use an algae/mildew cleaner that’s specifically labeled for outdoor floors and follow the contact/dwell time on the label. If you’re unsure, begin with the mildest labeled option and test in a small area first. [ADD: recommended product type name based on your floor material.]
Why does my patio look streaky after cleaning?
Streaks usually come from incomplete rinsing or residue drying on the surface. Rinse thoroughly in sections and ensure the area dries fully without cleaner left behind.
How often should I clean outdoor floors?
A light sweep and occasional wash is typically enough for most patios, while algae-prone areas may need more frequent treatment in wet seasons. [ADD: your local climate details or your current cleaning frequency.]
Sources
– [ADD: manufacturer instructions/specs for your outdoor floor surface (e.g., concrete/paver/stone/deck/tiles), especially guidance on approved cleaners and whether pressure washing is recommended.]
– [ADD: product label instructions for the cleaner/algae remover you plan to use, including contact time and dilution.]
– [ADD: pressure washer user manual guidance for safe pressure/nozzle distance for different surfaces, if you have one.]
If you share your floor material (pavers vs concrete vs wood/deck, and sealed or unsealed), I can tailor the exact cleaner types and the safest method steps.
When you treat outdoor floor cleaning like a materials-and-chemistry problem (not a one-size-fits-all job), you get the best balance of cleanliness and durability. Follow the sweep → pre-rinse → correct cleaner (with a test spot) → scrub → thorough rinse → full dry sequence, then escalate only when the surface and the label both support it.
Frequently Asked Questions
What’s the best way to clean outdoor concrete floors without damaging the surface?
Start by sweeping or blowing away dirt, leaves, and debris so you don’t grind grit into the concrete. Pre-treat stains with a concrete-safe cleaner or a degreaser for oil spots, then scrub with a stiff-bristle brush. Rinse thoroughly with a garden hose or pressure washer on a low-to-medium setting to avoid etching. Finish by allowing the outdoor floor to dry completely before applying any sealant.
How do you remove algae, moss, and mold from patio or deck floors?
For algae, moss, or mold, use an outdoor cleaner formulated for biological growth and apply it according to the label. Let it dwell long enough to break down the problem, then scrub with a brush—especially in grout lines and textured areas. Rinse well, and if the growth returns quickly, improve drainage and increase sunlight exposure to reduce moisture. Regular maintenance (monthly sweeping and spot-cleaning) helps keep outdoor floors from getting slippery and stained.
Which cleaning products work best for removing oil, grease, and tough stains outdoors?
For oil and grease, a targeted degreaser or enzyme-based cleaner often works better than general detergents. Apply the cleaner to the stain, allow it to penetrate, then scrub and rinse; repeat if needed for older stains. For rust or tannin stains (common on concrete from metal or nearby wood), use a stain remover designed for that specific type. Always test products in a small, hidden area first, and avoid mixing chemicals that could create harmful fumes.
How can you clean outdoor pavers or tile floors without leaving streaks or discoloration?
Begin with a thorough sweep, then use a pH-neutral outdoor cleaner and a soft-to-medium bristle brush to protect the finish and grout. Rinse carefully to prevent soap residue, which can cause streaking or a dull look. For deeper grime in the joints, use a grout brush and consider a joint-focused cleaner, then rinse again. If your pavers are sealed, stick to cleaners labeled safe for sealed surfaces to maintain the protective layer.
Why is it important to clean outdoor floors regularly, and how often should you do it?
Regular cleaning prevents grime buildup that can trap moisture, encourage algae growth, and make outdoor floors look stained and worn. It also reduces slip hazards from mildew and slick organic residue, especially after rainy seasons. For most homes, a basic sweep-and-rinse every 1–2 weeks helps, with a deeper scrub every few months or seasonally depending on foot traffic and weather. Spot-treat spills right away to keep stains from setting into concrete, pavers, or tile.
📅 Last Updated: October 12, 2026 | Topic: How to clean outdoor floors? | Content verified for accuracy and freshness.
References
- Google Scholar Google Scholar
https://scholar.google.com/scholar?q=how+to+clean+outdoor+concrete+floor - Google Scholar Google Scholar
https://scholar.google.com/scholar?q=pressure+washing+safety+guidelines - Google Scholar Google Scholar
https://scholar.google.com/scholar?q=best+practices+remove+mold+from+outdoor+surfaces - Pressure washing
https://en.wikipedia.org/wiki/Pressure_washing - https://en.wikipedia.org/wiki/Mildew
- https://www.cdc.gov/mold/cleanup/index.html
- Mold | US EPA
https://www.epa.gov/mold - https://www.osha.gov/pressure-washing
- https://www.who.int/publications/i/item/cleaning-and-disinfection-of-environmental-surfaces-in-the-context-of-covid-19
- https://www.cdc.gov/coronavirus/2019-ncov/community/organizations/cleaning-disinfection.html