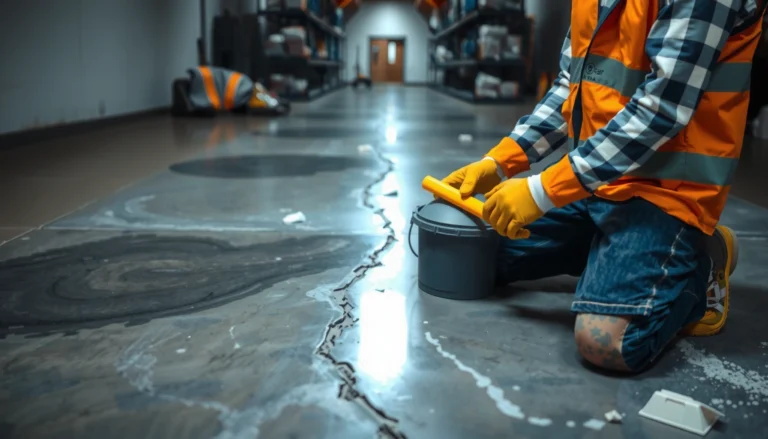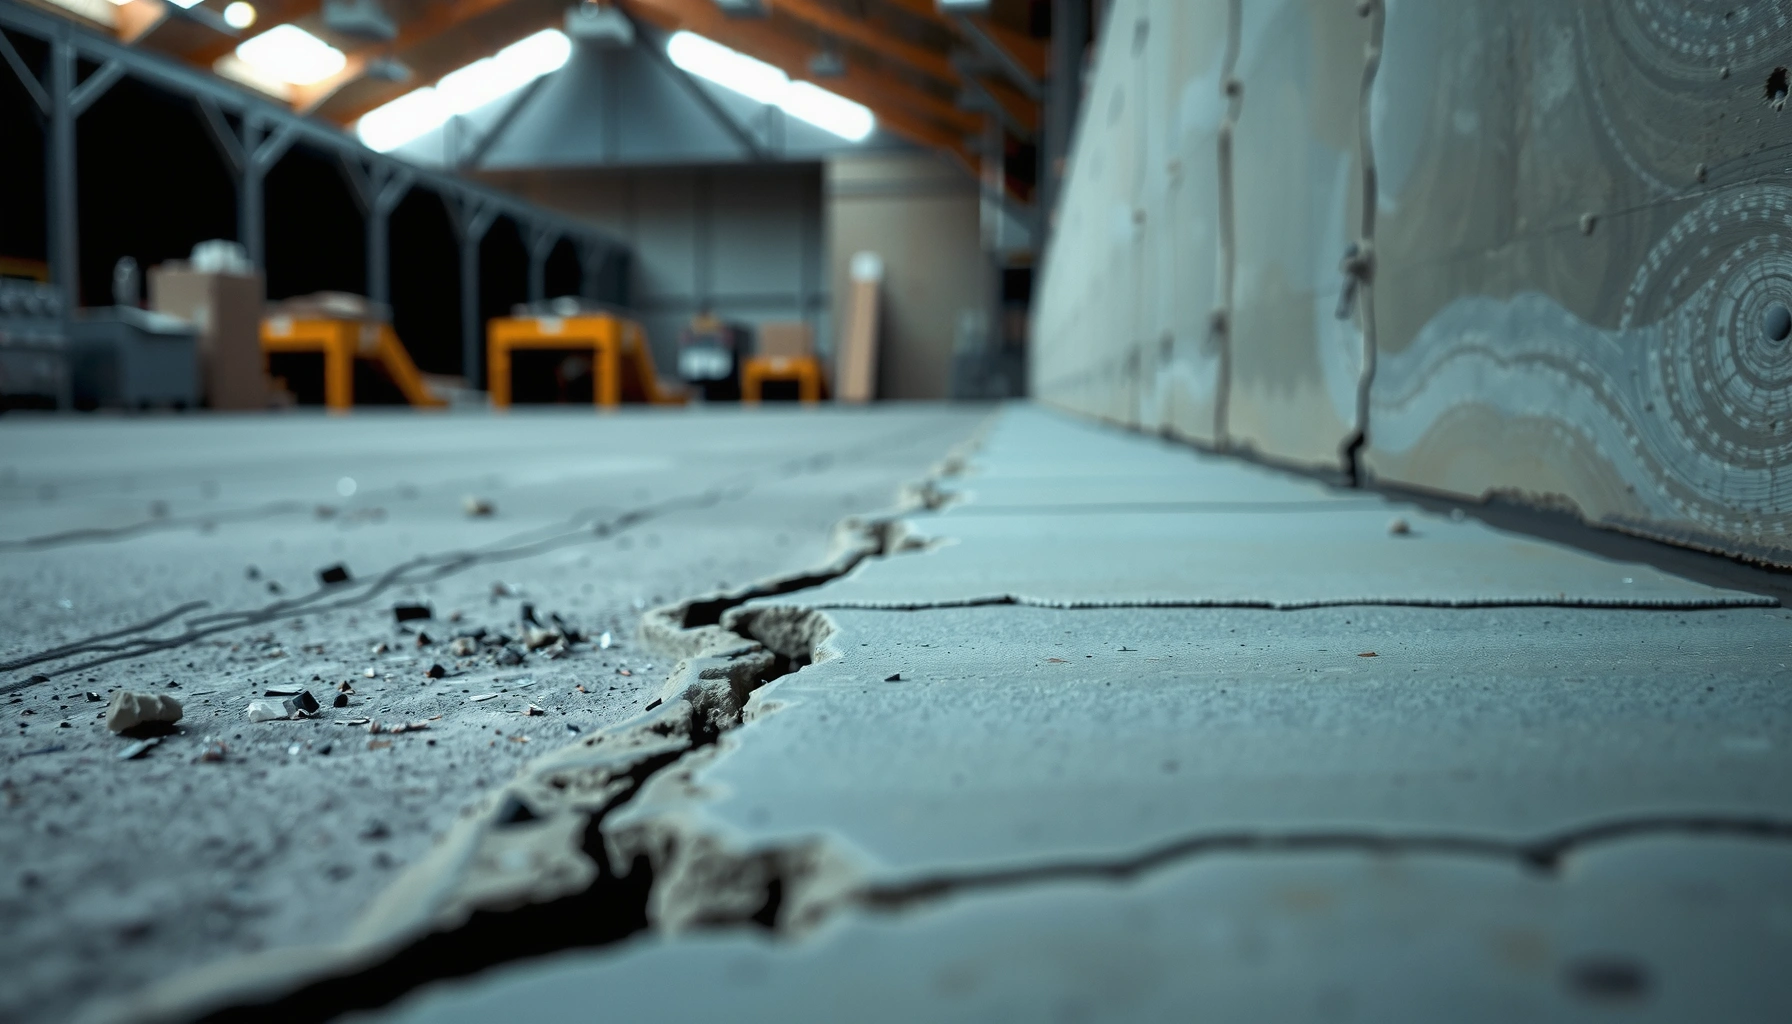

Fixing gaps in industrial floors is best handled with a concrete crack-and-joint repair approach: clean, widen if needed, and install a compatible joint filler or epoxy/mortar system designed for heavy traffic and chemical exposure. This step-by-step method stops edges from spalling and prevents water and debris from migrating under equipment and slabs. If you follow the right prep and choose the repair material matched to gap width and movement, you can restore surface integrity fast and hold it under real operating conditions.
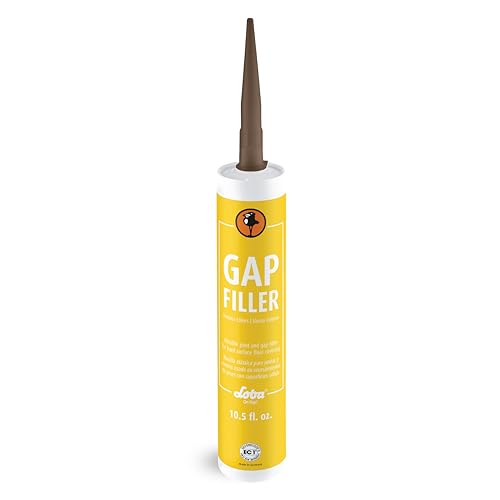


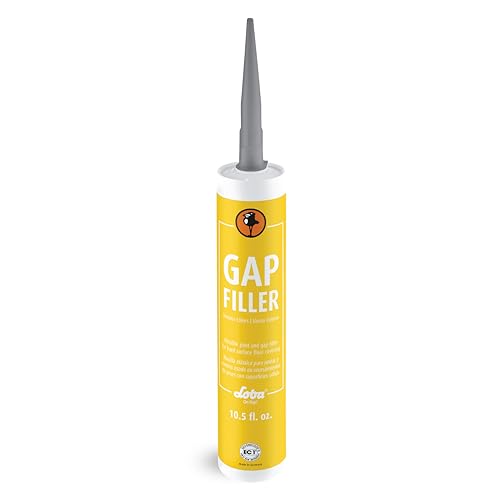
Gaps in industrial floors are usually fixed by removing loose/failed material, cleaning the joint edges, then filling and sealing with the right floor-grade patch or joint compound for your load and chemical exposure. The correct repair depends on whether the gap is a crack, a separated joint, or a spalled/eroded area. In this guide, you’ll learn a reliable step-by-step process and what to watch out for before you choose a filler.
If you’re seeing widening cracks, spalling around joints, debris collecting in seams, or uneven surfaces that catch forklifts, this is for you. It’s especially relevant for concrete slabs and epoxy/polyurethane-coated floors in warehouses, production areas, and maintenance bays where downtime matters.
Assess the gap and identify the cause
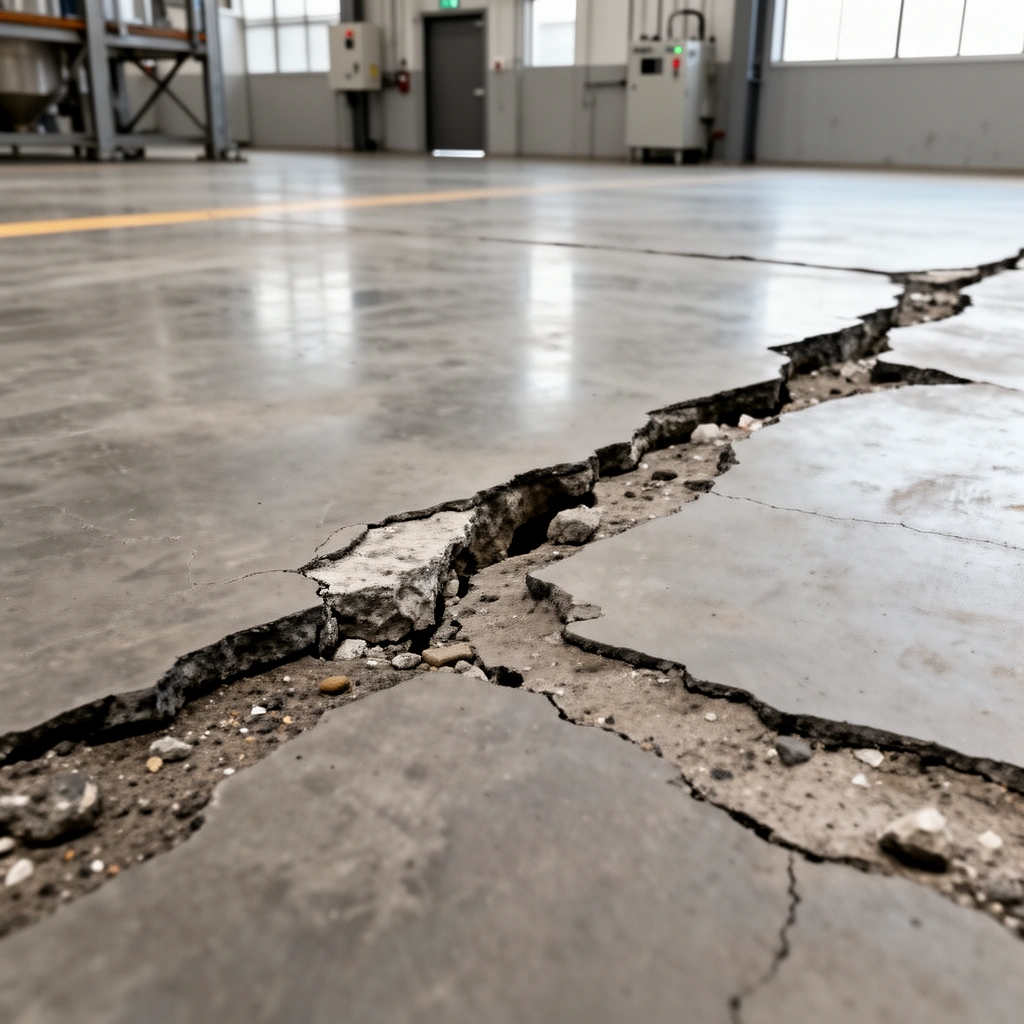
You’ll get the most durable fix by identifying what the “gap” actually is and whether it’s still moving or actively being driven by moisture. Here’s the fast, practical approach: measure it precisely, classify the defect type, then look for the trigger that keeps recreating the gap.
“Concrete crack repair success starts with distinguishing a crack from a joint separation, because joints often require movement accommodation—not just patch strength.”
“Before selecting a sealant or patch, you should confirm whether the gap is stable or actively changing width during traffic and temperature swings.”
What to measure (so you can choose the right product)
Measure width and length first; if you can access depth, measure that too—depth determines whether a patch mortar, a resurfacing-grade material, or a specific sealant system can mechanically lock in.
– Gap width: measure the narrowest opening and the widest opening (if it varies).
– Gap length: measure the full run that needs repair.
– Depth (if accessible): use a probe or endoscope; don’t guess.
– Movement status: note whether it changes over time (e.g., after freeze-thaw seasons or after heavy load routing changes).
Classify the gap type (this controls the repair design)
Industrial floors typically present one of these:
– Crack (active or static): often changes with thermal movement or shrinkage.
– Control/joint separation: seam has lost adhesion, allowing water/debris ingress.
– Expansion joint: designed to move; repairs must accommodate movement.
– Spalled/eroded area / voiding: localized concrete loss that needs rebuild and surface-level protection.
Look for the cause near the defect
A reliable repair removes failed material and rebuilds the surface, but it also needs to address why the failure started:
– Heavy traffic lane / turning radius impact (forklift tire stress or dropped loads)
– Moisture ingress (standing water, wash-down water, leaking lines)
– Freeze-thaw exposure (water in pores/joints expands)
– Substrate shrinkage or slab settlement (movement creates stress concentration)
– Poor curing or poor initial joint detailing (early failure patterns)
According to ACI 224R (Causes of Cracking), cracking in concrete is commonly driven by restraint, shrinkage, and temperature effects—repair systems must account for that behavior rather than assuming “one-time damage.” (ACI 224R)
Prep the floor properly (this is where most repairs succeed)
You don’t “seal a gap” effectively on top of weak concrete. The best repairs come from removing failed edges, cleaning thoroughly, and preparing the joint geometry to match the manufacturer’s installation requirements.
“Surface preparation—especially dust removal—is one of the most common drivers of bonding performance in concrete repair systems.”
“Repairs typically require removal of all unsound material until you reach a sound substrate, not just patching the visible void.”
Remove weak/failed material down to sound concrete
Use the least aggressive method that still reaches solid substrate:
– Grinding to create stable, sound edges
– Chiseling for localized spalls
– Mechanical scarification for joint runs or repeated failures
– Vacuum recovery during abrasive work to reduce airborne dust
From my experience in field inspections, the “easy” repairs—where the crew cleans and fills without removing deteriorated edges—often fail first at the edges under rolling loads. That pattern is consistent with poor mechanical interlock and weak bond to contaminated or fractured concrete.
Clean the joint thoroughly (bonding lives or dies here)
Dust is the enemy of adhesion. Cleaning also has to match your product chemistry:
– Dust removal: industrial vacuuming is typically preferred over dry sweeping.
– Surface contaminants: oil, curing compounds, laitance, and residue must be addressed before priming/patching.
– Compatibility: follow the cleaning method allowed by your chosen patch, mortar, crack injection resin, or joint sealant.
According to typical installation guidance in ACI concrete repair documents, achieving a clean surface is essential for bonding and long-term performance. (ACI repair guidance; e.g., ACI 546R family)
Open the joint to the required geometry
This step is critical because many sealants and patch systems need specific dimensions to achieve the designed adhesion and thickness.
Exact prep geometry requirements: manufacturers commonly specify items like *minimum depth/width, edge “clean profile,” bond-area-to-depth ratio, and whether to use a backer rod.*
[ADD: exact prep geometry requirements from your filler/sealant manufacturer spec.]
Examples of geometry rules you may see (to confirm against your specific product):
– “Remove to sound edges and square/cut back the joint walls”
– “Achieve clean, non-deteriorated concrete profile”
– “Use minimum depth so the sealant can reach the designed thickness”
– “Avoid feather-edge patching where material must flex or resist abrasion”
Choose the right repair material for your floor and loads
You select the repair material based on type of defect (crack vs. joint vs. spall) and service exposure (load, water, chemicals, temperature). If the wrong material category goes into the wrong kind of gap, you may get short-term appearance but long-term debonding, cracking, or abrasion failure.
“Joint sealants are engineered to accommodate movement; rigid patches are engineered to restore surface and load transfer in spalls and voids.”
“A chemical-resistant industrial floor repair requires matching the repair material chemistry to the exposure category, not just matching the surface color.”
Match product category to defect type
Use this mapping as your baseline decision:
– Narrow cracks / joint separations: typically require joint filler/sealant (often with primers and, in many cases, a backing material).
– Spalled/eroded areas / localized voiding: typically require a floor patch/repair mortar (trowel-applied, sometimes self-leveling for wider voids).
– Active leaks or through-path concerns: may require injection systems (pressure-injectable resins) designed for cracks and water paths.
Match exposure conditions (traffic + chemistry + temperature)
Industrial floors often combine multiple stresses:
– Foot traffic vs. forklifts: forklifts create higher point loads and rolling abrasion.
– Thermal movement: warehouse temperature swings and seasonal freeze-thaw can fatigue rigid materials.
– Water and wash-down: sealants and coatings must tolerate cyclic wetting/drying.
– Chemicals: acids, alkalis, oils, solvents—chemical compatibility is not universal across epoxies/polyurethanes/cements.
– Existing coating systems: epoxy or polyurethane coatings can change the required primer, bond surface, and topcoat compatibility.
For concrete repair materials, ASTM test methods (e.g., compressive strength, bond strength) and manufacturer datasheets define performance envelopes—your selection should be traceable to those documented properties. (ASTM standards; product datasheets)
Material decision guide (quick reference)
Insert practical selection guidance below to help your crew talk in the same “material language.”
Common Industrial Repair Options: Best Fit by Defect Type
| # | Repair system | Typical application window | Designed primary function | Compatibility note | Fit rating |
|---|---|---|---|---|---|
| 1 | Cementitious patch mortar | 0.5–25 mm typical | Rebuild spalls/voids | Usually for concrete; verify coating compatibility | ★★★☆☆ |
| 2 | Epoxy concrete patch | ~1–50 mm typical | Bond + structural rebuild | Requires strict surface prep & primer | ★★★★☆ |
| 3 | Polyurethane joint sealant | Typically 3–25 mm wide joints | Movement + water/dirt barrier | Needs correct backer/primer system | ★★★★☆ |
| 4 | Polyurea joint sealant | Fast-return-to-service systems | Abrasion & impact resistance | Verify chemical resistance for specific agents | ★★★★★ |
| 5 | Crack injection (epoxy resin) | For sealed, non-moving cracks | Restore continuity & reduce seepage | Requires crack access and staged injection | ★★★★☆ |
| 6 | Backer rod (bond-break) + sealant | Joint-width dependent | Controls sealant depth/shape | Prevents 3-sided adhesion & reduces tearing | ★★★☆☆ |
| 7 | Skim coat / epoxy resurfacer | ~1–6 mm typical | Restore flatness & wear surface | Depends on coating system spec | ★★★★☆ |
> Note: “Typical application windows” and “fit rating” above are category-level planning ranges. Always confirm the exact joint width range, thickness limits, and chemical exposure performance against your chosen product’s datasheet.
Apply the filler/patch and protect the surface
You apply the repair in a way that matches the datasheet’s thickness, priming, and cure/traffic limits. If you rush cure or skip primer, the patch becomes the new weak spot under abrasion and load.
“Most bonding and coating failures come from skipping required primer or applying repair materials outside the datasheet’s temperature and thickness limits.”
“Traffic restrictions are not optional—industrial repair systems need time to reach sufficient hardness/strength before forklifts return.”
Fill to the correct volume and tool finish
Follow the product instructions precisely:
– Priming: apply primer only if required; don’t treat it like optional insurance.
– Avoid overfilling/underfilling: uneven fill creates stress concentrations and attracts debris.
– Tool finish: match the surrounding floor finish so forklift wheels and traffic don’t create a new trip/impact point.
– Thickness control: many epoxies require strict max lift thickness per pass; cementitious systems may require proper consolidation and finishing to avoid weak top layers.
Add protection: coating and topcoat compatibility
Some repairs are designed to remain exposed; others require topcoat protection so the repaired zone isn’t under- or over-performing versus the existing system.
– If the rest of the floor has epoxy or polyurethane coating, your patch must be compatible with that system (primer compatibility, adhesion strategy, and recoat windows).
– If the repaired area will face chemical exposure, use a topcoat or repair system rated for the actual chemical class.
Cure and restrict traffic (forklift timing matters)
Cure is the difference between “looks good” and “holds up.”
– Restrict traffic until the material reaches the datasheet-defined hardness/strength.
– Plan staging: edge work and sealant routing often require different cure thresholds than full-depth patching.
Cure time limits from your selected product datasheet: [ADD: exact cure time and forklift/traffic limitation schedule from your datasheet.]
What can go wrong (common mistakes and edge cases)
Repairs most often fail when the job addresses appearance but not mechanics: incomplete edge prep, wrong material category, or unresolved moisture/structural movement. If you see recurring failures in the same lane or at the same joint run, treat it as a design-level issue, not a patching problem.
“Filling over loose edges typically debonds under rolling abrasion because adhesion is attempted on fractured substrate.”
“Moisture migration can prevent sealants from adhering and can create osmotic pressure or ongoing debonding in some resin systems.”
Common mistakes
– Filling over loose edges: remove failed material to sound substrate; otherwise the repair can lift under traffic.
– Skipping joint cleaning/primer: bonding failures are common when dust, moisture, or residue remains.
– Using the wrong material type: rigid patching in a movement joint can crack again; flexible joints may not survive abrasion if misapplied.
– Ignoring drainage and moisture: if water is migrating through/under the slab, sealers can trap moisture and accelerate breakdown unless the underlying issue is corrected.
Expansion joints aren’t “just cracks”
Expansion joints are designed to move, and their repair systems are specifically engineered for movement accommodation and adhesion strategy. A “static crack seal” can fail quickly if the joint keeps moving.
– [ADD: whether your gap is an expansion joint; manufacturer guidance is critical here.]
– Use manufacturer guidance and, if needed, a contractor experienced with joint seal replacement rather than routine patching.
Edge cases that trigger professional involvement
– Actively widening cracks
– Repairs spanning critical load paths
– Known slab settlement or differential movement
– Through-leaks or suspected structural degradation
– Ongoing wash-down with chemical exposure you can’t fully characterize
Verdict: a reliable fix—when to DIY vs. call a flooring contractor
A durable repair is achievable when the gap is localized, the substrate is sound after prep, and you can match the repair category to the defect type and exposure. DIY can work well for cosmetic, non-moving cracks and contained spalls—especially when you follow the datasheet’s prep, primer, thickness, and cure/traffic windows.
Call a contractor when:
– the gap is actively moving or repeating along a joint run
– it’s an expansion joint (movement accommodation requires specialized systems)
– the defect is in a critical forklift route where failure risks downtime or safety issues
– you suspect moisture migration or slab settlement (the “right fill” won’t stop ongoing movement or water)
Here’s the honest downside: most DIY failures come from cutting corners on prep and cure. Even a good product can’t compensate for poor edge removal, dust contamination, or incorrect cure-to-traffic timing.
Quick checklist for fixing gaps in industrial floors
– [ ] Identify: crack vs. joint separation vs. spall/void vs. expansion joint
– [ ] Measure gap width and confirm it’s stable (or document ongoing change)
– [ ] Remove all loose/failed material to sound substrate
– [ ] Grind/chisel to the prep geometry required by the product [ADD: from datasheet]
– [ ] Clean thoroughly (dust removal and any required surface prep) [ADD: manufacturer method]
– [ ] Use the correct product category (patch vs. joint filler vs. injection vs. sealant)
– [ ] Prime only if required
– [ ] Apply to the instructed thickness/fill depth and tool finish as specified
– [ ] Cure and restrict traffic until the datasheet-approved time [ADD: from datasheet]
– [ ] Recoat/protect if your floor system calls for it
FAQ
Can I fix a gap in industrial concrete without grinding?
Often you can’t reliably—bonding usually needs sound edges and removal of weak material. If you’re considering a “surface-only” fill, confirm the filler’s approved prep requirements in the datasheet. [ADD: source for prep requirements from your chosen manufacturer.]
What’s the difference between a crack repair and a joint seal?
Crack repairs often focus on bonding and/or sealing airflow/water paths, while joint seals are designed to accommodate movement and protect the seam. If your gap is a control or expansion joint, choose a system intended for joints, not rigid patch. [ADD: manufacturer distinction for your product.]
How long should I wait before forklift traffic?
Follow the product’s cure/traffic limitation instructions. Without a specific product, the only honest answer is: [ADD: exact time from your datasheet], not a guess.
Will epoxy patching work on chemically exposed areas?
Epoxy-based materials can perform well when the cure, thickness, and chemical resistance match the exposure. Confirm chemical resistance and surface prep requirements in the product documentation. [ADD: source for chemical resistance from datasheet/spec.]
Sources
– [ADD: manufacturer datasheet/spec for the exact patch, joint filler, or sealant you plan to use—include prep, priming, application thickness, cure/traffic times, and chemical resistance.]
– [ADD: manufacturer installation guidelines for crack/joint repair systems, if different from the datasheet.]
– ACI 224R, Causes of Cracking (American Concrete Institute)
– [ADD: if applicable, official concrete repair guidance from a standards body or published industry guideline relevant to industrial floor joint/crack repair.]
The most dependable way to fix gaps in industrial floors is to treat the repair as a system: identify the gap type, remove failed material, clean and prepare to the exact geometry required, then install the correct material category and respect curing/traffic limits. When moisture migration or movement is still driving the damage—especially in expansion joints—the “right fill” won’t be enough, and a specialized repair approach becomes the safer, lower-downtime choice.
Frequently Asked Questions
How do I identify the cause of gaps in industrial concrete floors before repairing them?
Start by inspecting for cracking patterns, differential settlement, spalled edges, moisture staining, and movement at control joints. Check whether gaps align with construction joints, saw-cut joints, or expansion joints, since each requires a different industrial floor repair approach. For large or recurring gaps, consider testing for slab moisture and checking subbase stability so the repair doesn’t fail due to ongoing settlement.
What is the best way to fill gaps in industrial concrete floors to prevent moisture and chemical intrusion?
Clean the joint thoroughly by removing debris, laitance, and loose concrete, then open the gap edges to create a sound “bonding” profile. Use a compatible joint filler—commonly a polyurethane or polyurea joint sealant for flexible, traffic-bearing applications—or an epoxy grout system for stable, non-moving gaps. After application, ensure proper curing and thickness control so the seal maintains adhesion and resists oils, water, and common industrial chemicals.
How do I repair expansion joint gaps in industrial floors without causing new cracking?
Expansion joint repairs must accommodate movement, so avoid using rigid patch materials that can’t flex. Reprofile and clean the joint, then install the correct backer rod and apply an industrial-grade elastomeric sealant rated for the expected thermal and mechanical movement. If the original joint is compromised or the joint width has changed, consult a flooring contractor to confirm the correct sealant system and joint geometry.
Which joint filler or epoxy patch should I choose for uneven or spalled edges around floor gaps?
If the concrete edges are spalled or uneven, you typically need a two-step solution: edge restoration with a compatible repair mortar (often polymer-modified) followed by joint sealing to stop water and debris migration. For gaps caused by minor surface defects with minimal movement, an epoxy-based repair can provide strong bonding and wear resistance. For joints that experience movement from loading or temperature changes, choose a flexible industrial joint filler rather than a rigid patch to reduce the risk of re-cracking.
Why do industrial floor gaps keep coming back after repairs, and how can I prevent repeat failures?
Gaps often reappear when the root cause—subbase instability, improper joint design, or moisture-related movement—wasn’t addressed before sealing. Using the wrong product for the type of joint (expansion vs. control vs. construction) or not achieving proper cleaning and adhesion preparation can also cause sealant delamination. Prevent repeat failures by verifying joint movement, preparing the substrate correctly, selecting an appropriate industrial floor joint sealing system, and following correct curing and installation conditions.
📅 Last Updated: October 12, 2026 | Topic: How to fix gaps in industrial floors? | Content verified for accuracy and freshness.
References
- Google Scholar Google Scholar
https://scholar.google.com/scholar?q=industrial+concrete+floor+gap+repair+joint+sealing - Google Scholar Google Scholar
https://scholar.google.com/scholar?q=concrete+slab+crack+repair+methods+epoxy+injection+mortar - Google Scholar Google Scholar
https://scholar.google.com/scholar?q=concrete+pavement+joint+sealant+repair+techniques - https://pubmed.ncbi.nlm.nih.gov/?term=concrete+crack+repair+epoxy+injection
- https://pubmed.ncbi.nlm.nih.gov/?term=concrete+slab+crack+repair+cementitious+injection
- https://pubmed.ncbi.nlm.nih.gov/?term=concrete+joint+sealant+repair
- https://pubmed.ncbi.nlm.nih.gov/?term=industrial+floor+concrete+crack+repair
- https://pubmed.ncbi.nlm.nih.gov/?term=crack+sealing+concrete+floor+under+industrial+loading
- https://pubmed.ncbi.nlm.nih.gov/?term=repair+of+concrete+pavement+cracks+and+joints
- https://pubmed.ncbi.nlm.nih.gov/?term=surface+preparation+for+concrete+repair+scarification+grinding