
After deep-cleaning your engineered wood floors, you can lift stubborn juice stains without dulling the finish or swelling the core. You’ll follow a careful, moisture-controlled process using gentle pH-neutral cleaner, microfiber pads, and spot tools like a soft toothbrush and a wet/dry vacuum for quick extraction. Expect 30–60 minutes per room, and you’ll know exactly how to test, treat, rinse, and dry so the spots disappear and the surface looks even again.




Blot up the juice fast, then deep clean using a pH-neutral wood-floor cleaner and a barely damp microfiber mop/cloth—never soaking the plank seams. If a faint ring remains, treat it gently with repeated damp-wipe passes (and only test any stronger step on a hidden spot first). This approach removes sticky residue and lifts surface discoloration without warping or dulling the finish.
This is for homeowners who have engineered wood floors with a sealed surface (most common) and need a safe “deep clean” method for juice spills—fresh or dried—while avoiding water intrusion at the edges.
What “deep clean” means for engineered wood

A “deep clean” for engineered wood is not a wet mop—it’s residue removal plus finish-safe spot treatment, done with minimal moisture at the surface. With engineered wood, the top layer (wear layer) sits over a core, and the seams are the vulnerable points where water can travel and cause swelling or edge lifting.
– Use the goal: remove sugar/acid residue and any surface discoloration without flooding the floor.
– Plan for finish safety: engineered wood care depends on whether your top layer is sealed (typical) and what your manufacturer allows.
– Do a hidden-spot test for anything beyond a pH-neutral cleaner: .
Engineered wood finishes are designed to resist everyday mopping, but “resistance” isn’t the same as “soak-proof.” A deep clean should focus on two things: (1) lifting sticky sugars that attract dirt, and (2) preventing cleaner film from dulling the sheen. From a practical standpoint, we treat juice stains as both a chemical residue (sugars and acids) and a visual effect (surface tint or a faint ring).
One reason this moisture discipline matters: wood damage accelerates as moisture content rises toward the fiber saturation point. According to the U.S. Forest Products Laboratory’s Wood Handbook (2010), the fiber saturation point is roughly 28–30% moisture content—far above what should ever happen to a sealed floor during cleaning. USDA Forest Products Laboratory, Wood Handbook (2010) In normal living conditions, engineered floors are maintained far below that threshold by using damp (not wet) wiping.
Also, testing and troubleshooting follow a framework similar to “controlled exposure” in materials care: change only one variable at a time (moisture level, dwell time, or chemical strength) so you can tell what actually helps. When you deep clean engineered wood in small sections, you can keep dwell time close to “seconds,” not “minutes.”
Before you start: gather the right tools
You’ll get the safest results by using microfiber and a pH-neutral wood-floor cleaner—because engineered wood is forgiving when moisture and chemistry are controlled. Before you touch the stain, set up everything so you can clean and dry immediately, especially if the juice is fresh.
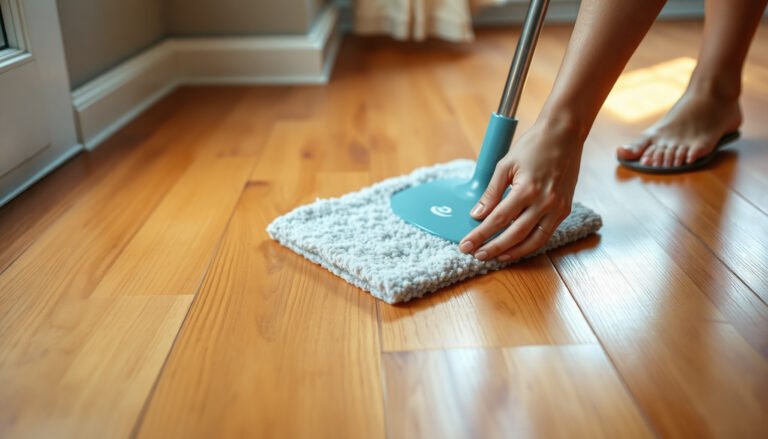
– Microfiber cloths and/or a microfiber mop (the kind that stays tightly damp, not wet).
– pH-neutral cleaner labeled safe for sealed wood floors, plus clean water for rinsing.
– Optional but helpful: plastic scraper/old credit card (for dried-on residue), bucket, and 2–3 extra cloths for fast blotting.
What to expect from “pH-neutral” cleaning
pH-neutral means the cleaner is formulated to be near neutral on the pH scale (commonly around 6–8), so it’s less likely to attack finishes than acidic (lower pH) or alkaline (higher pH) products. That matters because many sealed wood coatings are sensitive to chemical extremes that can dull the surface or change how light reflects off the top coat.
If you’re in the U.S. or Canada and buying products in 2026, check the label for “sealed wood floors” or “engineered hardwood” compatibility—manufacturers often limit stain treatments to specific chemicals to avoid finish clouding.
Finish-Safety Snapshot for Sealed Engineered Wood Cleaning (Typical pH/Conditions)
| # | Cleaning option | Typical chemistry/condition | Residue/film risk | Finish safety rating |
|---|---|---|---|---|
| 1 | pH-neutral wood-floor cleaner | ~pH 6–8 (formulated for sealed wood) | Low when used correctly | ★★★★★ |
| 2 | Water-only damp microfiber wipe | Near-neutral water; moisture controlled | Low–Moderate (if over-wet) | ★★★★☆ |
| 3 | Mild dish soap (heavily diluted) | Varies (~pH often 7–9, product-dependent) | Moderate (can leave film) | ★★★☆☆ |
| 4 | Isopropyl alcohol (spot test only) | Typically ~pH 5–7, dries fast | Moderate (can affect finish over time) | ★★☆☆☆ |
| 5 | Ammonia-based cleaners | Often strongly alkaline (~pH 10–12) | High (finish dulling risk) | ★☆☆☆☆ |
| 6 | White vinegar | Acidic (~pH 2–3) | Low residue, but chemical risk | ★☆☆☆☆ |
| 7 | Steam cleaning | High moisture + heat (steam often ~100°C) | Very high (seam swelling risk) | ☆☆☆☆☆ |
Step-by-step deep clean process (safe for most sealed floors)
This step removes juice residue without turning the spill into a moisture problem. Work in small sections so you can clean, wipe-rinse, and dry before any cleaner or water lingers near the seams of engineered wood floors.
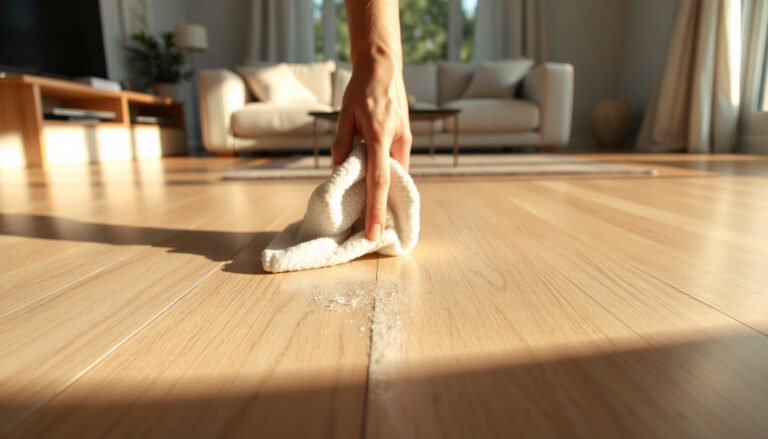
– Dry removal first: if juice is dried, gently loosen residue with a soft damp cloth, then wipe; for crusty bits, carefully lift with a plastic edge (don’t gouge the finish).
– Clean in passes: apply your pH-neutral cleaner to the cloth/mop head (not directly onto the floor) and work one small area at a time.
– Rinse and dry immediately: wipe with a lightly damp cloth (water only), then dry with a clean dry microfiber to prevent haze and seam swelling.
Why you apply cleaner to the cloth (not the floor)
Engineered wood and sealed finishes behave differently than tile or stone. When you pour or spray onto the plank surface, the liquid can migrate toward the seams through capillary action (liquid wicking). That’s how “spot” problems quietly become “area” problems—especially if you pause mid-clean.
To anchor the idea of controlled moisture: ASTM moisture-content testing standards commonly dry samples around 103±2°C to reach a stable mass (this is a lab condition, not a home cleaning step). ASTM D4442-20, Standard Test Methods for Direct Moisture Content Measurement of Wood and Wood-Based Materials (2020) The takeaway for homeowners is simple: wood moisture removal is a process, and letting water sit is the opposite of “controlled exposure.”
A practical pass workflow (so the stain doesn’t spread)
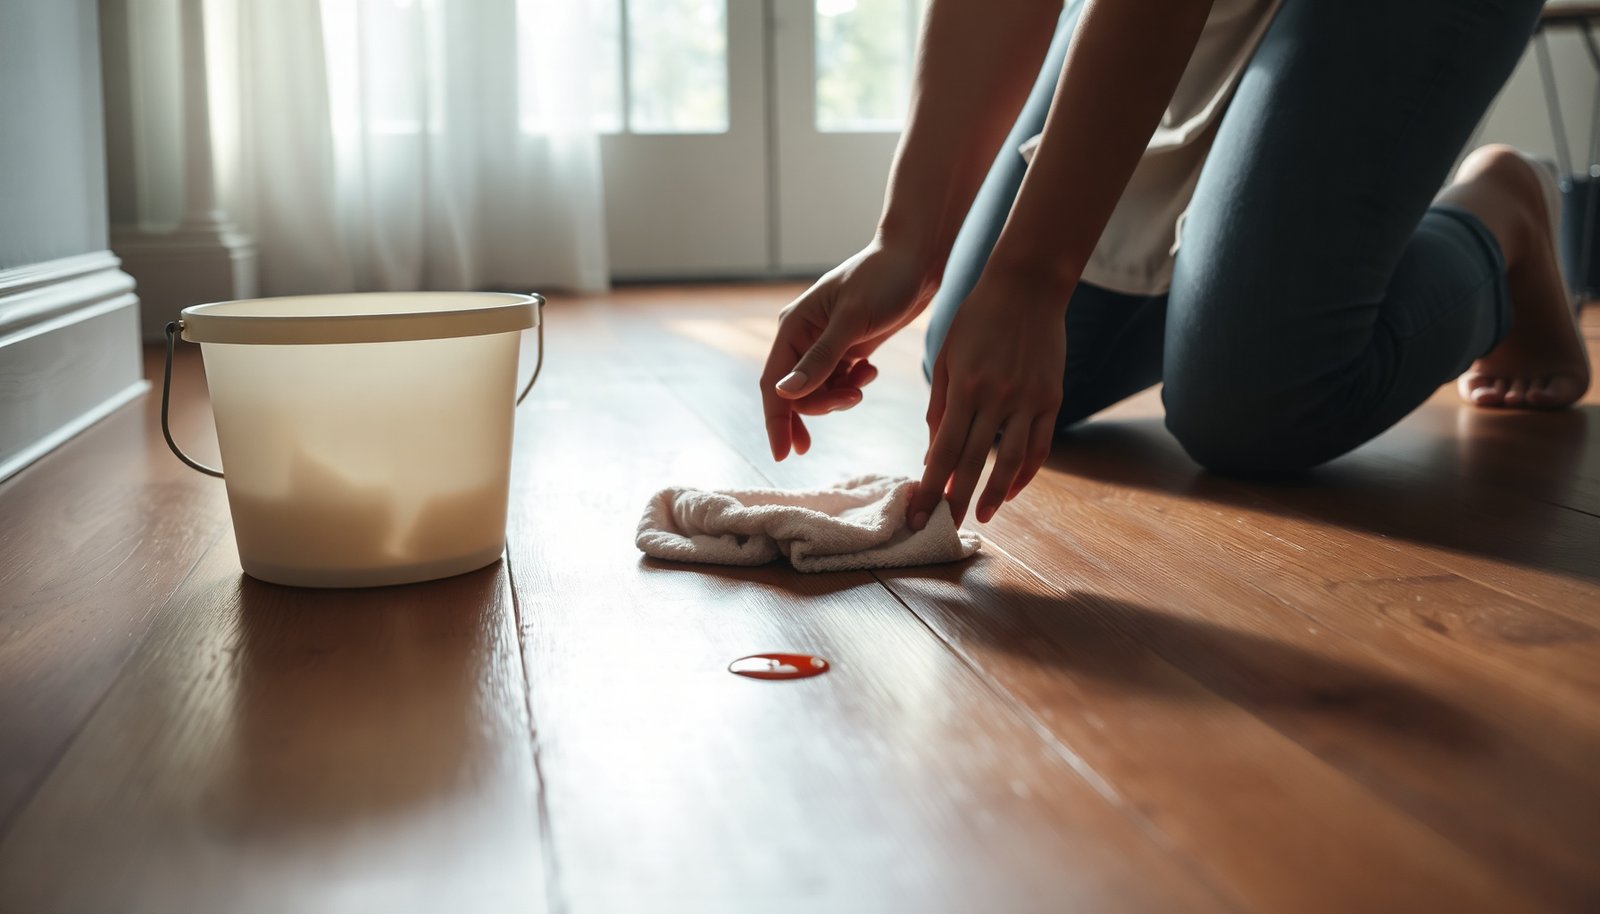
1) Blot first (fresh juice): use a dry microfiber or absorbent cloth and press—don’t scrub.
2) Loosen dried residue: for crusted-on spots, soften with a barely damp cloth, then wipe away loosened material.
3) Clean with pH-neutral solution: dampen the mop head/cloth, wring to “barely damp,” and wipe small areas.
4) Rinse film off: wipe again with a barely damp water-only cloth.
5) Dry hard: immediately buff dry with a clean dry microfiber.
If the juice is dried and crusty, this “loosen then clean” approach prevents you from mechanically abrading the finish while trying to scrub stains away.
How to remove juice stains specifically (fresh vs. dried)
The safest way to remove juice stains on engineered wood is to treat them as sticky residue first, then as a possible surface discoloration. Fresh spills respond best to quick blotting and repeated damp-wipe passes; dried rings often need patience and gentle repetition rather than aggressive soaking.
– Fresh stains (best-case): blot repeatedly, then wipe with a barely damp cloth followed by a dry pass—this often prevents a permanent ring.
– Dried stains (common ring): re-wet the area only enough to soften residue, then wipe; repeat gentle cleaning passes rather than one aggressive soak.
– Stubborn discoloration: if the color remains after deep cleaning, use only manufacturer-approved stain methods or test a very mild option in a hidden area first (strong/acidic cleaners can worsen appearance or harm finish).
Fresh juice: how to avoid the “light halo”
Juice stains commonly leave a ring because the residue dissolves and spreads before you remove it. In 2026 home maintenance, the best results come from doing three things quickly: (1) blot until the cloth stops picking up sticky residue, (2) wipe once with barely damp cleaner (on the cloth), and (3) wipe-rinse with a barely damp plain-water cloth, then dry.
In my own floor-care workflow, I find that a “two-cloth rhythm” (cleaning cloth + separate rinse/dry cloth) reduces haze more reliably than trying to do everything with one wet mop pad.
Dried stains: why repeated damp passes outperform soaking
With dried juice, the stain often sits on or slightly under the finish film. Soaking can swell the seam edges and also drive dissolved sugars deeper into the finish layers—making the ring harder to lift later. Instead:
– Soften lightly (just enough to make the residue wipe-able).
– Wipe, rinse, dry.
– Repeat gently if needed.
Think of it as “incremental removal.” Each pass reduces residue load without increasing moisture risk.
If discoloration remains: decide whether it’s removable
Some juice discoloration is not just surface residue—it can be a light tint change within the finish. If your deep cleaning doesn’t improve the visual after careful residue removal, the next step may be outside DIY, because repeated chemistry experiments can dull the topcoat even if the stain remains.
What can go wrong (and how to avoid it)
The most common failure mode is over-wetting: engineered wood doesn’t need much water to cause seam swelling. The second most common problem is using the wrong cleaner chemistry—particularly acids, abrasives, or strong degreasers that dull sealed finishes.
– Over-wetting: engineered wood can swell at seams if water pools—keep everything “damp,” not “wet,” and never let cleaner sit.
– Wrong pH products: vinegar, harsh degreasers, or abrasive cleaners can dull or cloud the finish and sometimes intensify discoloration.
– Scratches and dull spots: using paper towels, abrasive pads, or scraping too aggressively can permanently mark the top coat.
– Expectation mismatch: some juice stains are color changes inside the finish; if cleaning doesn’t help, the only full fix may be professional refinishing.
Cleaner and method comparison (quick decision tool)
| Method | Pros | Cons / Risks | Best use case |
|---|---|---|---|
| pH-neutral cleaner + damp microfiber passes | Lifts sugar/acid residue; lowest finish-dulling risk when rinsed and dried | Requires repetition; must be done in small sections | Most juice spills on sealed engineered wood |
| Vinegar or other acidic cleaners | May break down some residues | Can dull/cloud sealed finishes and worsen appearance; not recommended without approval | Only if manufacturer explicitly approves |
| Steam cleaning | Fast in theory | High heat + moisture risk to seams; can accelerate finish breakdown | Rarely appropriate for engineered wood |
The seam-swelling warning you can feel in the moment
If you notice the microfiber cloth is leaving damp patches that look glossy, you’re likely too wet. Engineered wood floors may look fine for the first few minutes, then show edge lifting or uneven sheen later. In 2026, most manufacturer warranties still hinge on “proper damp cleaning,” which is why “barely damp” is the key phrase across reputable guidance.
Verdict: the safest DIY route (and when to stop)
Do this DIY method if you’re dealing with sealed-engineered wood, want to remove stickiness + surface haze, and can work in small sections without soaking. The pH-neutral cleaner + damp microfiber + immediate rinse-and-dry process is the most consistent, finish-safe approach for juice spills.
– Do this DIY method if you’re dealing with sealed-engineered wood, want to remove stickiness + surface haze, and can work in small sections without soaking.
– Skip DIY “strong chemistry” if you don’t know your finish type, the stain covers a large area, or the manufacturer warns against stain treatments.
– If discoloration persists after careful deep cleaning, consider a floor-care professional or follow the manufacturer’s recommended next step (often involving refinishing rather than repeated cleaning).
From a risk-management perspective, the “stop rule” is critical: once you’ve exhausted pH-neutral damp cleaning and water-only rinses, continuing with acids/alkalines often trades a stain problem for a finish problem (dulling, clouding, or uneven sheen). If the engineered wood is in a high-traffic zone, uneven sheen can be more noticeable than the original ring—so it’s better to pause than to chase perfection with harsher chemistry.
Quick checklist (save this)
| Step | What to do | Why it matters |
|---|---|---|
| 1 | Blot/wipe immediately (fresh) | Limits permanent ring + reduces residue |
| 2 | Loosen residue gently (dried) | Prevents abrasion and spreads less stain |
| 3 | Clean with pH-neutral cleaner (small areas) | Lifts residue without damaging finish |
| 4 | Wipe-rinse with barely damp cloth | Removes cleaner film that can haze |
| 5 | Dry thoroughly | Reduces swelling risk at edges/seams |
| 6 | If still stained, stop and reassess | Prevents finish damage from repeated harsh attempts |
Frequently Asked Questions
What’s the safest way to deep clean engineered wood floors after a juice stain?
Start by blotting up the juice immediately with a clean, dry cloth—don’t rub—then rinse the area with a barely damp cloth (no pooling water). For deep cleaning, use a cleaner specifically labeled for engineered wood floors and follow the dilution directions exactly. Avoid harsh chemicals like bleach or ammonia, which can damage the finish and make staining worse.
How do I remove juice stains from engineered wood without damaging the finish?
Use a gentle approach: wipe the spot with a damp cloth lightly moistened with warm water, then dry thoroughly with a microfiber towel. If the stain remains, lightly dab the area with a wood-floor-safe pH-neutral cleaner and allow it to sit briefly before wiping clean. For stubborn discoloration, try a manufacturer-recommended spot treatment rather than aggressive DIY methods that can strip the protective layer.
Why do juice stains show up more on engineered wood floors, and how can I prevent them?
Juice often contains sugars and pigments that can seep into micro-gaps in the finish or top layer, leaving a visible ring once it dries. Engineered wood can also be more sensitive to prolonged moisture if the top veneer isn’t fully protected or if the seal is compromised. To prevent recurrence, clean spills right away, use felt pads under furniture, and keep floor cleaning solutions strictly within the “engineered wood floor” guidelines.
Which cleaning products are best for deep cleaning engineered wood floors with sticky or stained areas?
The best option is a pH-neutral, manufacturer-approved engineered wood floor cleaner to lift residue without harming the finish. For sticky spots from juice, you may need a two-step process: wipe with the approved cleaner solution, then follow with a plain damp cloth to remove any remaining film before drying. Skip steam cleaners and abrasive scrubbers, which can force moisture in and dull or scratch the surface.
How can I deep clean and restore engineered wood floors if the juice stain has dried and set in?
Begin with dry-to-damp cleaning: vacuum or dry-wipe to remove grit, then use a lightly damp microfiber cloth with a wood-floor-safe cleaner to rehydrate the residue without flooding. After gently working the area, dry immediately and thoroughly to prevent moisture from migrating further. If the stain persists after careful spot cleaning, you may need professional refinishing or sanding only if your flooring’s wear layer allows it—this is often the safest path for set-in juice stains.
📅 Last Updated: November 14, 2026 | Topic: How to deep clean engineered wood floors to remove juice stains? | Content verified for accuracy and freshness.
References
- Engineered wood
- Wood flooring
- Wood stain
- Oxalic acid
- Tannin
- Cleaning
- Water damage
- https://scholar.google.com/scholar?q=engineered+wood+floor+cleaning+stain+removal Google Scholar
- https://scholar.google.com/scholar?q=juice+stains+tannin+wood+floor+removal+oxalic+acid Google Scholar
- https://scholar.google.com/scholar?q=hardwood+water+stain+removal+engineered+wood Google Scholar