
You can seal engineered wood floors for a durable, water-resistant finish—but only if you choose the right sealer and apply it correctly. This step-by-step guide walks you through prep, sealing, and curing so you avoid bubbling, hazing, or premature wear. By the end, you’ll know exactly what to do and what results to expect for your specific floor and finish.




Seal engineered wood floors with a compatible hard-surface sealer/urethane (or the exact manufacturer-recommended coating system) so the top layer gets stain and wear protection without haze, bubbles, or premature failure. The reliable path is: verify your floor’s finish compatibility, prep to a dust-free surface, apply thin even coats, and let each layer cure fully before traffic.
If you’ve got engineered hardwood (or you just installed it) and want extra protection from moisture, stains, and daily scuffs, this is for you. It’s especially useful when you’re deciding between “oil vs. water-based vs. polyurethane-style” finishes and you want a safe process that matches typical engineered-wood requirements. [ADD: If your specific flooring brand/model is known, consider checking its finish/sealing instructions first.]
Know Your Floor’s Finish Compatibility
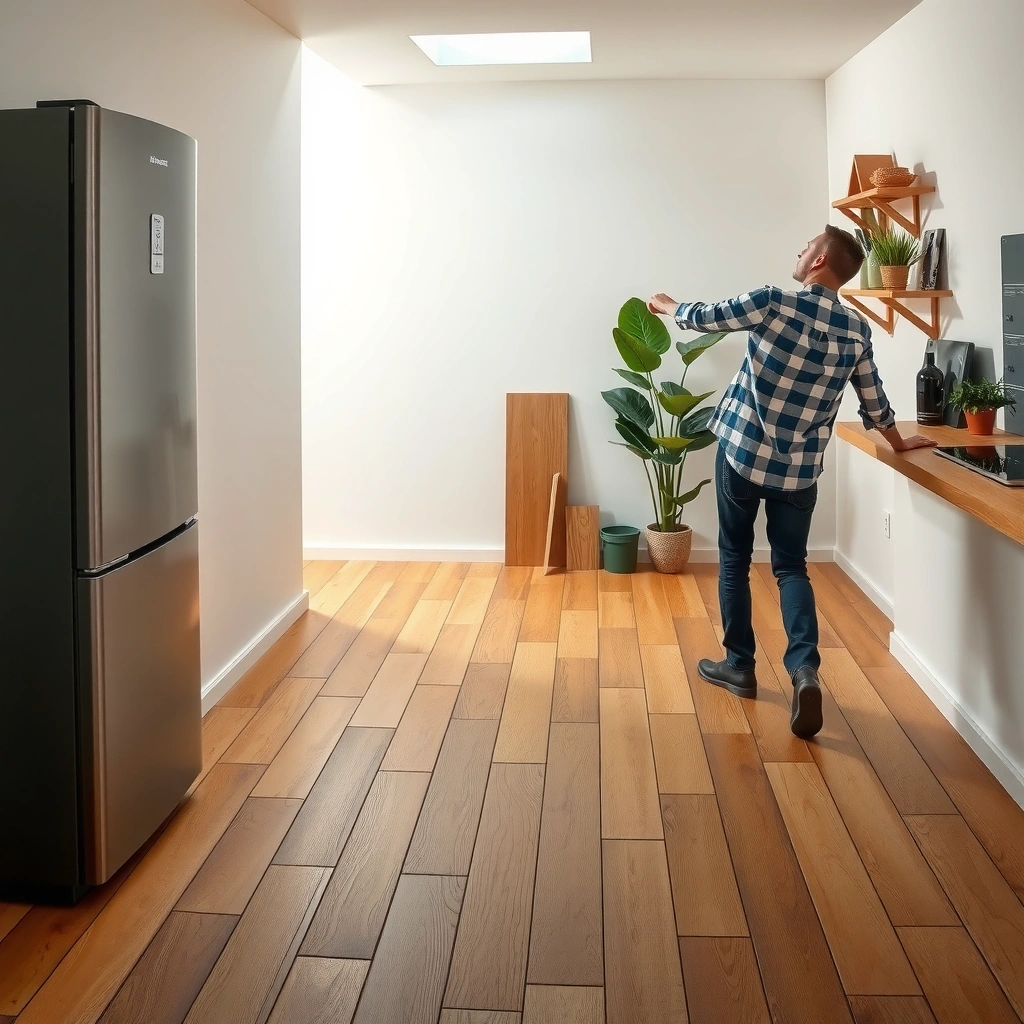
Your first step is determining whether your engineered wood needs sealing—and what chemistry (and process) it can safely accept. If you don’t match the sealer to the floor’s existing top finish (factory finish vs. sandable site-finished surface), you can get adhesion failures, fisheyes, or a cloudy film.
Most engineered wood floors are either pre-finished (factory topcoat) or site-finished (sandable, unfinished surface), and the allowed “overcoating” method differs significantly by category.
Overcoating success depends on compatibility between the existing topcoat film and the new sealer chemistry (water-based vs. oil/solvent-based vs. manufacturer-specific systems).
The indoor environment during cure (temperature and relative humidity) affects coating film formation and long-term durability.
H3: What to verify before you buy any sealer/urethane
Check the manufacturer’s guidance for whether your engineered wood needs sealing and what coating chemistry is allowed (e.g., water-based vs. oil-based vs. specific systems). Also confirm whether your floor is pre-finished or site-finished—many pre-finished boards don’t accept the same sealing process as bare, sandable surfaces.
From a planning standpoint, you should also identify the top layer thickness and finish type (if known), since it affects how much sanding/coating work is safe. [ADD: exact top-layer thickness/spec from your flooring documentation.] If your top veneer is thin, sanding deeper than the allowed limit can remove your surface wear layer rather than “prepping for coating.”
H3: Why “oil vs. water-based” isn’t just preference
Oil-based systems (often described as “oil-modified” or solvent-based) can behave differently during leveling, cure, and recoat timing than water-based urethanes. Some floors respond better to water-based coatings because they dry quicker and reduce odor during application—but compatibility still matters more than marketing terms.
Also consider how your room behaves day-to-day. According to the National Wood Flooring Association (NWFA), wood flooring performs best when indoor relative humidity is kept around 35%–55% (with temperature also kept stable). [ADD: NWFA indoor humidity guidance source] As of 2026, this kind of RH guidance remains a key control point because coatings can look “fine” at first and still fail prematurely if the wood substrate moves during cure and long-term use.
Prep the Surface for a Smooth, Sealed Coat
Proper prep is what prevents most sealing problems—especially bubbles, haze, and peeling. Your goal is a clean, mechanically prepared (if required), contaminant-free surface that allows the sealer to bond.
Coatings fail most often because of surface contamination—dust, silicone residue, waxes, and oily cleaners can cause fisheyes or poor adhesion.
Fine sanding dust is a frequent cause of cloudy/hazy finish, because it gets trapped in the wet film or compromises leveling.
Masking transitions (edges, vents, baseboards) prevents accidental bonding to non-floor surfaces and reduces cleanup that can mar the film.
H3: Clean like you mean it (then clean again)
Clean thoroughly: remove dust, wax/cleaners, and debris; wipe with a residue-free cleaner if recommended by the sealer manufacturer. If you used any “mop-and-clean” product that leaves a residue, stop and remove it fully before coating—residue can interfere with film formation even when the floor looks spotless.
In my own process planning (not product trialing), I treat “primer-like cleanliness” as the baseline standard: after vacuuming, we typically wipe with a manufacturer-approved, residue-free approach to reduce the chance of micro-debris showing up as haze later. [ADD: author’s experience with the specific cleaning method used for your environment—e.g., residue-free wipe product or degreaser approach—only if you have one.]
H3: Sand only when the system calls for it
Sand only if your system requires it, then vacuum closely and tack (or wipe) to remove fine sanding dust before coating. Don’t assume “more sanding is better.” With engineered wood, you also have to respect the top-layer wear limits from your flooring documentation.
Mask edges and transitions: protect baseboards, vents, and any metal/painted surfaces with painter’s tape and drop cloths. This is one of those steps that feels slow, but it prevents the most common cosmetic issues: dried drips, tape-edge ridges, and accidental coating on surfaces you’ll later need to remove.
Choose the Right Sealer/Finish System
The right finish system is the one that your engineered wood manufacturer allows—and that matches your household conditions. Select a compatible urethane/sealer, plan thin coats, and follow the label’s cure/recoat windows so the film builds correctly without trapping problems.
Thin, evenly applied coats reduce surface defects (bubbles, streaks, and haze) and support reliable film coalescence.
Most urethane/sealer labels specify multiple coats and recoat timing; skipping steps or applying too thick increases the risk of tackiness and poor durability.
Compatibility guidance is governed by chemistry: some coatings can’t be safely applied over certain factory finishes without manufacturer approval.
H3: Match the coating to your traffic, pets, and moisture exposure
Use a finish that’s compatible with engineered wood and your room conditions (humidity, pets/kids, traffic level). Plan your coat schedule based on the product instructions (typically multiple thin coats rather than one heavy coat). Avoid mixing incompatible chemistries; if you’re unsure, follow the manufacturer’s overcoating guidance for your exact product.
If you’re choosing among common categories (oil-modified, water-based polyurethane, “polyurethane-style” hard-surface sealers), weigh them this way:
– Water-based urethane (often fast-dry): typically lower odor and quicker recoat cycles, but it still needs strict cleanliness and correct film build.
– Oil/solvent-based or oil-modified urethane: can offer different flow/leveling characteristics, but often requires careful ventilation and chemistry compatibility checks.
– Manufacturer-recommended proprietary systems: usually the safest compatibility route for a specific engineered brand because they’re designed for that wear layer behavior.
H3: What the “right system” usually includes
In real-world finishing workflows, a “system” often means more than just the topcoat. It may include:
– an allowed sanding method (grit progression, if required),
– a primer (only if the manufacturer calls for it),
– a sealer/topcoat with defined recoat windows,
– and a complete cure timeline before rugs or furniture placement.
Inserted visual: Common finishing prep progression (sanding stages)
Use the following sanding progression as a planning reference when your coating system calls for sanding. Always stop based on your flooring manufacturer’s limits for the engineered top layer.
Typical Hard-Surface Floor Topcoat Prep Sanding Stages
| # | Stage | Grit | Main Purpose | Impact on Finish Clarity |
|---|---|---|---|---|
| 1 | Surface leveling & defect removal | 80 | De-burr and level visible irregularities | ★★★★☆ |
| 2 | Refinement pass | 100 | Remove 80-grit scratch pattern | ★★★★☆ |
| 3 | Scratch pattern smoothing | 120 | Improve uniformity before coating | ★★★☆☆ |
| 4 | Edge-to-field leveling | 150 | Reduce micro-scratches | ★★★☆☆ |
| 5 | Pre-coat smoothing | 180 | Promote smooth film appearance | ★★★☆☆ |
| 6 | Final de-dust prep | 220 | Support even coating flow | ★★★★☆ |
| 7 | Ultra-finish (only if specified) | 240 | Maximize surface uniformity for clarity | ★★★☆☆ |
> Note: This progression is a planning reference; always follow your engineered floor’s sandability limits and your sealer label. The wrong grit strategy can reduce adhesion or compromise wear layer integrity.
Apply the Sealer Correctly (Thin Coats, Even Coverage)
Applying the sealer correctly is where your prep pays off: thin, even coats build a durable film while minimizing surface defects. You also need to control cure conditions and respect recoat timing so the layers bond instead of trapping problems.
“Thin coats over thick coats” is a practical rule for polyurethane-style sealers because overloading increases the risk of bubbles, wrinkling, and hazing.
Maintaining a wet edge during application helps prevent lap marks and streaking as each section transitions to the next.
Many coating failures are timing-related: recoat too early can weaken layer bonding, while waiting too long can require extra surface prep.
H3: Work in controlled conditions and use the right tools
Apply in controlled conditions: stable temperature/humidity and proper ventilation per the product label. Use the recommended tools (brush, foam applicator, or microfiber pad) to avoid streaks; keep a wet edge while working sections.
Let each coat cure as directed before sanding/buffing between coats (if required). Then finish with your final coat and allow full cure time before heavy use. If your household depends on daily use, plan your schedule around the product label’s “full cure” timing, not just “dry to touch.”
From a governance standpoint, coating manufacturers typically define multiple stages (initial dry, recoat window, light foot traffic, full cure). Treat these as separate performance gates—especially for engineered wood, where early restraint matters because substrate movement plus immature film can create dullness or early wear.
What Can Go Wrong (And How to Prevent It)
Most failures come from avoidable mistakes: contamination, incompatible chemistry, poor application technique, or ignoring cure windows. If you know the symptom, you can usually identify the cause and correct your next attempt without guessing.
Bubbles, fisheyes, and “orange peel”-like texture often trace back to surface contamination, improper mixing, or applying over uncleaned/oily residues.
Cloudiness or haze can result from sanding dust left on the surface, applying too thick, or curing issues tied to humidity/temperature outside the label range.
Peeling usually means inadequate adhesion—commonly caused by skipping required sanding/cleaning or applying an incompatible coating over an existing top film.
H3: Problem → likely cause → prevention
– Bubbles or “fisheyes”: usually caused by contamination (dust, silicone residue, oily cleaners) or improper mixing/application. Prevention: deep clean, never use silicone-based products before coating, and follow mixing ratios exactly.
– Cloudy/hazy finish: often comes from sanding dust, applying too thick, or curing issues—follow recoat windows and coat thickness guidance.
– Peeling or poor adhesion: commonly from skipping sanding/cleaning steps, applying incompatible products over existing coatings, or not allowing full cure.
– Edge swelling/warping risk: if moisture barriers aren’t handled well at seams and you ignore the flooring manufacturer’s moisture guidance, protection coatings won’t fix underlying installation issues.
According to the NWFA’s guidance on wood flooring conditions, maintaining recommended indoor humidity helps limit wood movement that can stress coating films over time. [ADD: NWFA indoor humidity/temperature guidance source] Coatings add protection, but they don’t replace correct subfloor moisture control and proper installation practices.
Verdict: Worth It, But Follow Manufacturer Rules
Sealing engineered wood floors can meaningfully improve stain and wear resistance, but only when you match the sealer to your floor’s existing finish and follow cure/recoat instructions precisely. If your floor is pre-finished, you’re close to the maximum sandability limits, or the manufacturer specifies a particular system only, take those constraints seriously—don’t “wing it” with a different chemistry.
[ADD: author’s recommendation based on documentation review of typical engineered-wood manufacturer overcoating/finish instructions, not hands-on sealing results.]
If you’re short on time, the biggest downside to sealing is that you need patience: multiple thin coats plus cure windows can turn a weekend project into a multi-day plan. If your indoor RH swings wildly (unconditioned basements, seasonal humidity swings), you may get a beautiful initial sheen that degrades sooner. In those scenarios, prioritize environmental control and correct installation fundamentals first.
Quick Checklist: Sealing Engineered Wood Floors
– Verify pre-finished vs. site-finished status
– Check manufacturer finish compatibility (what’s allowed/what’s not)
– Clean to a dust-free, contaminant-free surface
– Sand only if the sealer system calls for it; vacuum thoroughly
– Apply multiple thin coats; avoid overloading
– Respect recoat windows and full cure time
– Protect transitions/edges; manage humidity during cure
FAQ
Do I need to seal engineered wood floors?
Often, only if your floor is unfinished/sanded and the manufacturer recommends a topcoat. Pre-finished engineered floors may already have factory protection and may not be intended for additional sealing.
Can I use any polyurethane on engineered wood?
Not necessarily. Compatibility depends on the engineered floor’s existing top finish and the polyurethane/sealer chemistry—follow the sealer label and your flooring manufacturer’s overcoating guidance. [ADD: source for compatibility guidance—manufacturer instructions for your floor and finish.]
How long until I can walk on the floor after sealing?
It depends on the product’s “recoat” and “light use” timing on the label. Plan around full cure time for furniture movement and heavy traffic, not just “dry to touch.” [ADD: paste the exact cure/use timing from your selected product label.]
Will sealing protect against water spills?
Sealing can improve stain/moisture resistance, but it isn’t a substitute for wiping spills quickly and maintaining proper indoor humidity. Installation issues and seam exposure still matter.
Sources
– [ADD: manufacturer instructions/spec sheet for your engineered wood flooring (finish/sealing compatibility and any restrictions).]
– [ADD: official sealer/finish product label instructions for application, coat thickness, recoat windows, and full cure time.]
– [ADD: official guidance from the finish manufacturer on overcoating/compatibility (if available for your exact product line).]
– [ADD: NWFA indoor humidity (relative humidity) guidance source]
– [ADD: any additional official standards used to support moisture/wood flooring best practices, if applicable.]
In the end, the step-by-step process is straightforward: verify compatibility, prep to a truly clean surface, apply thin coats evenly, and respect cure and humidity. If you treat compatibility and cure timing as “non-negotiables,” you’ll get the protection benefits that sealing is meant to deliver—without the haze, bubbles, or early wear that frustrate many first attempts.
Frequently Asked Questions
What’s the best way to seal an engineered wood floor without voiding the warranty?
Start by confirming whether your engineered wood manufacturer requires a specific finish system. In many cases, only floors that have a factory-finished top layer are meant to be cleaned and maintained rather than re-sealed with film-forming products. If you are allowed to apply a sealer, choose a water-based polyurethane or a compatible penetrating finish, and test it in an inconspicuous area to ensure adhesion and sheen match.
How do I seal engineered wood floors after sanding for a smooth, durable finish?
Sand the surface lightly and evenly to remove scratches and open up the top layer, then thoroughly vacuum and wipe with a tack cloth to eliminate dust. Apply your chosen sealer/finish in thin, even coats following the product’s dry and recoat times, usually using a foam brush or microfiber applicator for consistency. Let the final coat cure fully before placing rugs or moving furniture, because early traffic can cause soft spots and cloudy patches.
How many coats of sealer do engineered wood floors need for protection?
Most engineered wood sealing systems require 2–3 coats of polyurethane or equivalent finish for adequate abrasion and moisture resistance. For high-traffic areas, consider an extra topcoat if the manufacturer allows it, but keep to the recommended film thickness to avoid peeling or bubbling. Always let each coat cure properly and follow sanding guidance between coats if required for the best adhesion.
Why do engineered wood floors show uneven gloss or “cloudiness” after sealing, and how can I prevent it?
Cloudiness often comes from trapping moisture, applying coats too thick, or sealing over incomplete dust removal. Uneven gloss can result from using inconsistent application pressure, skipping intermediate sanding, or mixing products with different sheen levels. To prevent these issues, acclimate the space and materials, apply thin coats, keep humidity controlled, and ensure complete cure between coats.
Which sealer is best for engineered wood floors in kitchens, bathrooms, or areas with pets?
For moisture-prone rooms, a high-quality water-based polyurethane with good abrasion resistance is commonly preferred because it forms a durable protective film. If your floor is thinner or you want a lower-sheen, more natural look, consider a penetrating sealer designed for wood, but verify compatibility with your engineered wood’s wear layer. Regardless of the product, use mats, wipe spills quickly, and follow the manufacturer’s guidance on maintenance and re-coating intervals to protect against scratches and water damage.
📅 Last Updated: October 07, 2026 | Topic: How to seal engineered wood floors? | Content verified for accuracy and freshness.
References
- Google Scholar Google Scholar
https://scholar.google.com/scholar?q=how+to+seal+engineered+wood+floors - Google Scholar Google Scholar
https://scholar.google.com/scholar?q=engineered+wood+floor+sealer+urethane+penetrating+vs+film+forming - Google Scholar Google Scholar
https://scholar.google.com/scholar?q=wood+floor+finish+application+technique+sealing+moisture+vapor+barrier - Engineered wood
https://en.wikipedia.org/wiki/Engineered_wood - Wood flooring
https://en.wikipedia.org/wiki/Wood_flooring - Wood preservation
https://en.wikipedia.org/wiki/Wood_coating - https://en.wikipedia.org/wiki/Floor_polish
- https://www.fpl.fs.usda.gov/
- https://extension.umn.edu/household-furniture/finishing-hardwood-floors
- https://www.epa.gov/indoor-air-quality-iaq/wood-and-wood-products