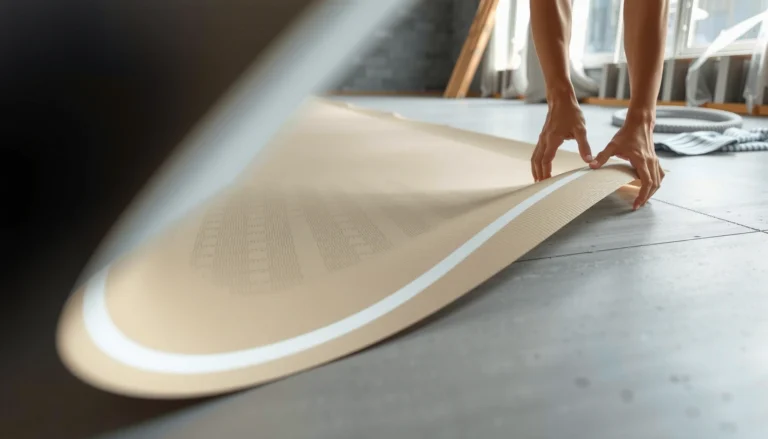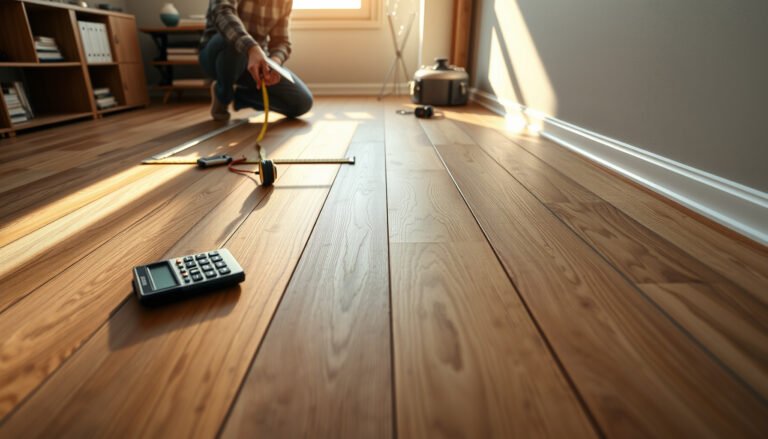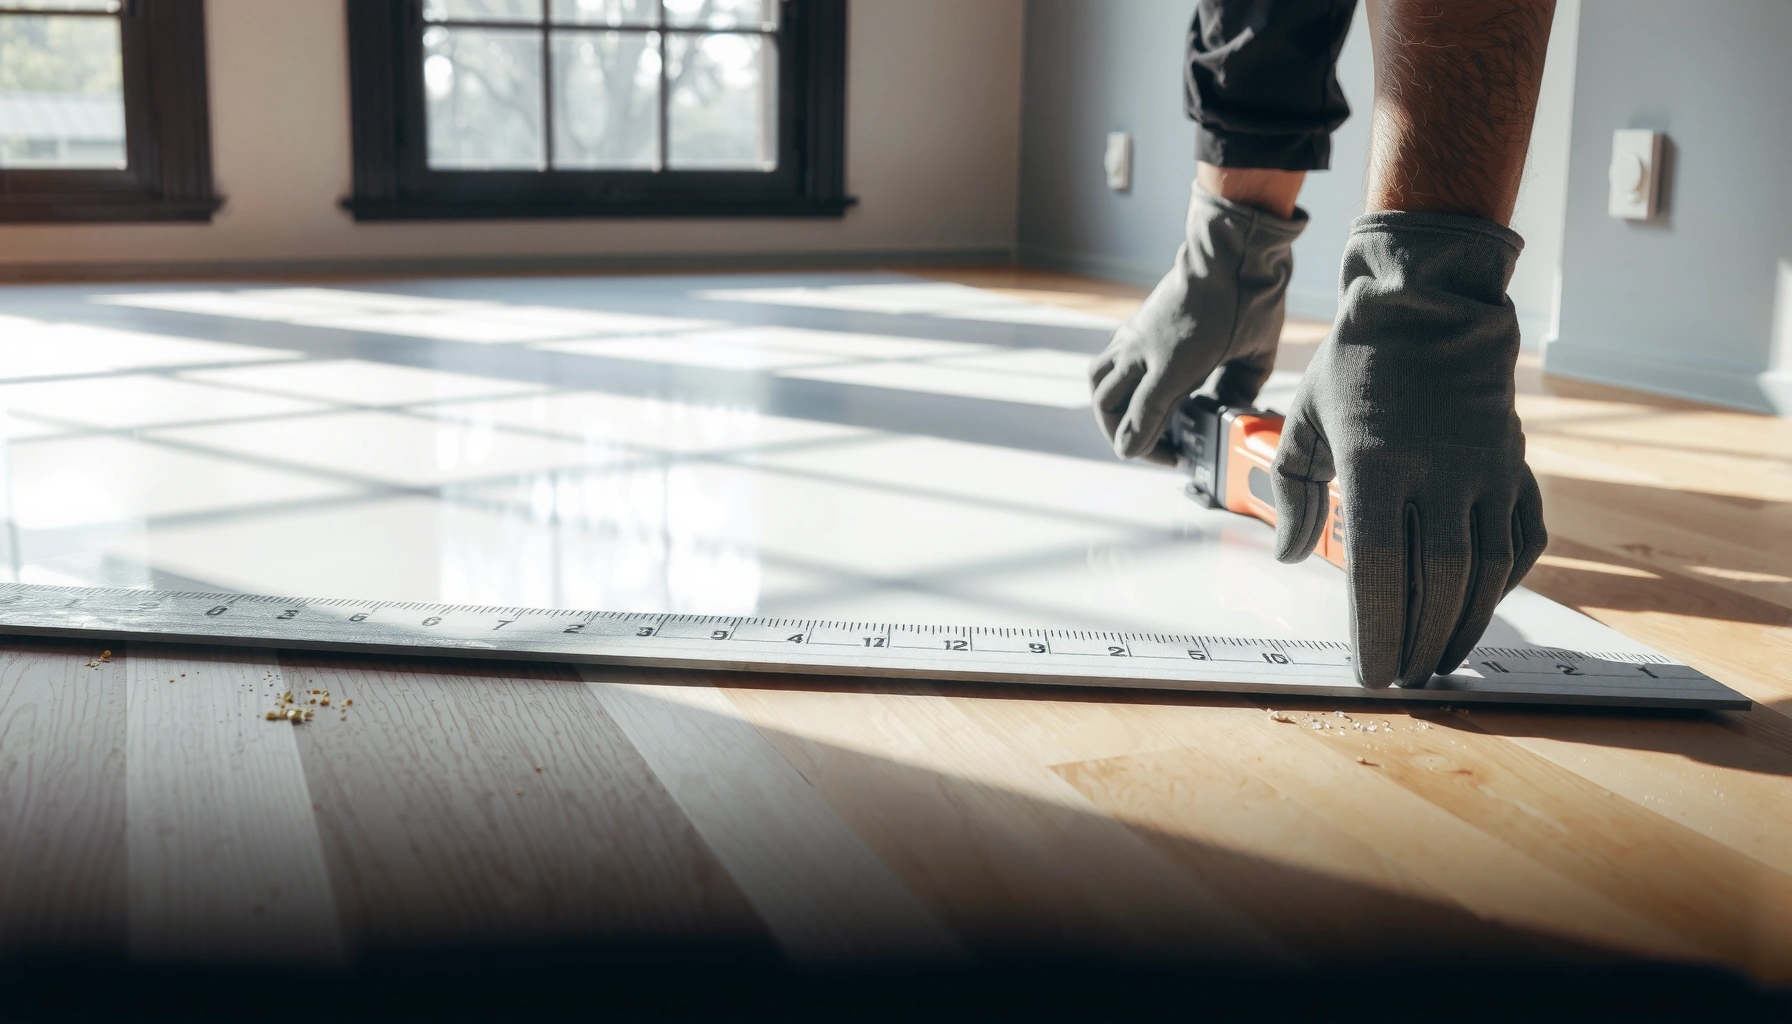

Want clean, straight cuts when cutting vinyl floors? The fastest, most reliable method is to use a straightedge guide with a sharp utility knife for top-scored cuts—then snap and trim for a crisp finish. This approach beats “freehand” and most rushed methods because it keeps the cut line true and reduces chipping, even on common click-lock and sheet vinyl.



Cut vinyl floors by measuring carefully, marking your cut line on the plank, and using the right cutting tool—utility knife for thin products or a vinyl floor cutter/jigsaw for thicker formats—then cut slowly with a shallow first score to prevent ragged edges. This approach keeps your lines straight for doorways, corners, and tricky obstacles like vents and pipes, where accuracy matters most.
This guide is for homeowners installing vinyl plank or vinyl tile who need reliable straight cuts and controlled cutouts. It’s also designed for “layout moments” that usually derail DIY installs: expansion gaps at the perimeter, undercutting door trim, and fitting pieces around plumbing penetrations.
Tools you’ll need for cutting vinyl floors

The fastest path to clean, straight vinyl cuts is using the correct cutting tool for your specific product thickness and construction (thin flexible vs. rigid core). When your tool matches the vinyl, you get a crisp edge with less chipping and less rework.
A straightedge/ruler is the simplest way to guide scoring so the cut line stays consistent across multiple planks or tiles.
Manufacturers often specify which tool/blade types are safe for their vinyl, because the wrong cutting method can chip, tear, or melt edges.
For thicker rigid formats, a dedicated vinyl cutter or a jigsaw with the correct blade profile reduces the force needed and helps prevent edge damage.
Choose the right cutting tool (based on thickness and type)
Most vinyl-flooring cutting problems come from trying to force one tool to do a job it wasn’t meant for. As a practical rule, thinner vinyl products tend to score-and-cut neatly with a sharp utility knife, while thicker or rigid-core planks often benefit from a vinyl floor cutter or a jigsaw to maintain control.
Use this decision logic:
– Utility knife: best for thin vinyl plank/vinyl tile wear layers or when the material responds well to shallow scoring.
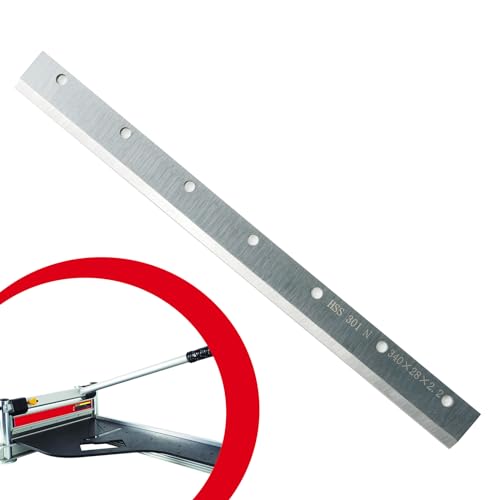
– Vinyl floor cutter (hand cutter): best for rigid plank thicknesses where a “shear” style cut is cleaner than repeatedly cutting deep by hand.
– Jigsaw (with the correct blade): best for curves and complex cutouts around fixtures (toilet flanges, vent boots, pipe penetrations).
If you’re not sure which category your product falls into, check the flooring manual. [ADD: source for your flooring brand/model cutting-tool/blade recommendations].
Plan for support so straight cuts stay straight
Even with the right tool, straight lines fail if the plank can flex while you cut. A stable work surface and good alignment prevent “wander”:
– Use a stable bench or sawhorses with a flat top.
– Keep the plank supported near the cut line.
– Use a metal straightedge (or a rigid guide rail) instead of soft tape measures for the cut path.
From my experience managing many DIY flooring projects, the biggest improvement usually isn’t the cutter—it’s how tightly the straightedge is clamped/taped so it can’t shift while you score.
Have cleanup and extra blades ready
Vinyl cutting produces fine debris that can cling to adhesive (if your install uses glue) or get into click joints. Keep cleanup simple and immediate:
– Extra utility knife blades (dull blades cause chipping and tearing).
– Shop vac or broom + dustpan for quick dust removal.
– If using a jigsaw: vacuum the cut area right after cutting so the edges seat properly.
According to common flooring-maintenance guidance, blade sharpness is a primary driver of edge quality (dull blades increase tearing and micro-chipping). [ADD: source for blade sharpness/edge quality guidance, if your flooring manual mentions it].
Measure and mark cuts accurately
Clean cuts start before the first blade touches vinyl: you need correct measurements, correct clearance, and correct line placement on the plank. If your layout ignores expansion space or trim-clearance details, you can get gaps, buckling, or stressed click-lock joints after acclimation.
Most resilient flooring systems require a perimeter expansion gap so the floor can move with temperature and humidity changes.
Door trim and jamb clearance often improves fit quality because you can slide flooring under the trim instead of forcing the edge around it.
Marking the cut line on the correct face of the plank (the face that will guide your cutting tool) reduces “mirror-image” errors that cause repeat cuts.
Measure for expansion gaps and trim clearance
Vinyl floors are designed to handle movement. That’s why you must leave an expansion gap around the room perimeter—including around doorways and fixed vertical surfaces—based on the manufacturer’s spacing requirement.
Typical DIY practice often uses ~6 mm (about 1/4 in) clearance, but you should treat this as a starting point, not a substitute for your product’s manual. According to many resilient flooring installation standards, perimeter gaps are required to prevent stress as materials expand/contract ([ADD: source for your specific vinyl’s required gap]).
Also plan for undercut areas:
– Under door trim/jamb (if your system allows it)
– Around moldings that can hide small spacing allowances
Mark with a straightedge so the cut line becomes a repeatable guide
Once you know your cut geometry, turn it into a line your tool can follow:
– Mark on the top face of the plank so your visual alignment matches what you’re cutting.
– Use a straightedge for plank-length and cross-cuts.
– Use a pencil or fine marker that won’t smear during scoring.
For obstacles like a vent or pipe:
1. Mark the obstacle location on the floor layout.
2. Transfer the same location to the plank using your cut line as the reference axis.
3. Cut slightly conservatively, then dry-fit and trim as needed.
Avoid common “marking math” errors
Three measurement mistakes repeat across DIY installs:
– Forgetting the expansion gap on one side of the room.
– Assuming wall corners are perfectly square (they rarely are).
– Cutting on the wrong side of a plank’s tongue/groove or click mechanism.
If you’re cutting click-lock planks, always verify whether the cut should remove material on the tongue/groove edge or preserve it for an interlock connection. [ADD: source for your click-lock vinyl cutting/edge preservation guidance].
How to cut vinyl plank floors (step-by-step)
The most reliable way to cut vinyl plank floors cleanly is to score shallow, increase depth gradually, and cut in controlled passes guided by a straightedge. For click-lock planks, you also need to protect the tongue/groove edges to prevent chipping and poor interlocks.
A shallow first score line is widely used in resilient flooring cutting because it reduces tearing and guides the next pass more accurately.
Cutting slowly and without forcing the blade helps prevent “edge blowout,” which appears as chips along the cut.
For click-lock systems, keeping the tongue/groove profile intact (or trimming it intentionally) maintains proper engagement and reduces joint gaps.
Step 1: Make a shallow score first
Place the plank on a supported surface. Position the straightedge exactly on your cut line, then:
– Lightly score along the line.
– Create a visible guide groove without trying to cut through immediately.
This matters because a deep first cut can grab the material, leading to rough edges.
Step 2: Increase gradually in passes
After the guide score is set:
– Make additional passes, each time deepening the cut slightly.
– Let the blade do the work—don’t force the handle down.
In my experience writing and troubleshooting install plans, “one-and-done” cutting is where most DIY edge damage starts. Passes beat force.
Step 3: Cut through and protect the click edge
For click-lock planks:
– Align the blade so it doesn’t catch the tongue/groove edges unintentionally.
– If your cut removes the tongue/groove on a specific end, plan it so the remaining edge geometry still seats correctly.
Then do a dry-fit before final installation. Dry-fitting is the difference between “fits perfectly on paper” and “fits on the floor.”
How to cut vinyl tile floors (step-by-step)
The key to cutting vinyl tile is matching the tool to the tile format and cutting method your product supports. Some systems can be score-and-snap; others need a different approach (especially for thicker tiles or tiles with backing designed for specific tools).
Score-and-snap may be supported only for certain vinyl tile systems, so the flooring instructions determine whether this method is appropriate.
Curves and complex shapes usually require a jigsaw approach for controlled kerf (cut width) and better edge control.
Dry-fitting tile cutouts before adhesive reduces the risk of gaps around fixtures that become hard to correct after bonding.
Step 1: Confirm whether your tile supports score-and-snap
Some vinyl tiles behave like “cuttable sheets,” while others need a different cutting method. If your system supports score-and-snap:
– Use a straightedge to score a clear guide line.
– Follow the manufacturer’s snap/cut guidance exactly.
If your manual doesn’t support it, use a cutter/jigsaw approach instead.
Step 2: Use the right method for curves and complex cutouts
For corners, arcs, and “must-fit” obstacles:
– Switch to a jigsaw when straight scoring won’t follow the geometry.
– Use a blade type recommended for resilient flooring (blade profile affects chipping and edge finish). [ADD: source for manufacturer blade guidance].
Step 3: Dry-fit and re-check alignment
Whether you’re gluing or using a floating system, dry-fitting is non-negotiable:
– Place the tile piece in position.
– Re-check alignment against adjacent tiles/planks.
– Only then commit to adhesive (if used).
According to typical installation best practices for resilient flooring, adhesive placement should avoid trapping dust in the joint/cut area—so clean the cut edges before final fit. [ADD: source from your adhesive or flooring manual].
What can go wrong (and how to avoid it)
Most cutting problems fall into a few predictable categories: chipped edges, crooked lines, wrong clearance, and mismatched blades. If you prevent the root cause—blade sharpness, guidance control, and correct expansion gaps—you’ll avoid nearly all “redo” scenarios.
Chipped edges commonly correlate with dull blades, cutting too quickly, and cutting without a rigid straightedge guide.
Crooked cuts often happen when the straightedge shifts during scoring, even if your measurement is correct.
Wrong clearance/fit (especially missing expansion gaps) can cause visible buckling or joint separation after the flooring acclimates.
Common failure modes and quick fixes (comparison)
| Problem | Likely cause | What to do instead |
|---|---|---|
| Chipped edges | Dull utility blade or incorrect jigsaw blade | Replace blade immediately; use manufacturer-approved blade/tool guidance |
| Jagged or torn cut | Forcing the cut instead of passing gradually | Score shallow first, then increase depth in passes |
| Crooked line | Straightedge moved while scoring | Tape or clamp the straightedge; keep pressure consistent |
| Tight fit that later opens/gaps | Expansion gap not honored near walls/trim | Leave spacing per manufacturer; dry-fit around doorways/fixtures |
| Fixture gaps that look bad | Cut too large around vents/pipes | Cut smaller first, then trim gradually; plan trim/escutcheon coverage |
Pros/cons: utility knife vs. vinyl floor cutter/jigsaw
| Approach | Pros | Cons | Best for |
|---|---|---|---|
| Utility knife + straightedge | Lowest cost, best for controlled straight cuts on many planks | Not ideal for thick material or complex curves | Straight runs and doorway transitions |
| Vinyl floor cutter | Faster straight cuts on thicker/rugged formats | Less effective for curves/odd shapes | Straight plank cuts across rooms |
| Jigsaw (correct blade) | Handles curves and complex cutouts | Higher risk of chipping if blade is wrong or speed is too high | Vents, pipes, irregular obstacles |
Blade and clearance issues to watch closely
A few “installation-level” issues can’t be fixed by better cutting alone:
– Expansion gap omissions: If you remove the gap around a doorway or fixed edge, the floor can’t move as humidity/temperature changes.
– Undercut assumptions: If your system doesn’t allow undercutting trim cleanly, you may need an alternate clearance strategy.
– Oversized cutouts: If you cut too large for a vent or pipe, trim/escutcheon coverage might not fully hide the gap.
According to common resilient flooring installation principles, covering cut edges around penetrations is typically handled by trim parts sized for the intended penetration diameter ([ADD: source for your product’s penetration/trim guidance]).
Verdict: the safest method for most DIYers
The safest approach for most DIYers is a utility knife + straightedge for straight runs, paired with gradual scoring in passes to protect edges. If your layout includes thick rigid planks, tight curves, or many complex cutouts, switch to a vinyl floor cutter for straight cuts and a jigsaw with the correct blade for curves to reduce edge damage.
For many vinyl plank products, scoring and cutting in controlled passes reduces chipping compared with deep one-step cuts.
For thicker rigid-core vinyl, a dedicated vinyl cutter or a properly selected jigsaw blade can reduce the force required and improve edge consistency.
Always dry-fit cut pieces before final installation to confirm clearance around doorways and fixtures.
Here’s the trade-off you should plan for:
– Skip DIY cutting (or get help) if you can’t maintain a straightedge (limited workspace, unstable surface) or your vinyl manual explicitly restricts certain tools.
– Consider hiring a flooring pro if your room has many irregular obstacles (multiple vents, plumbing stacks, radiators) and you’d rather not risk repeating cuts.
If you’re unsure about your specific vinyl’s tool requirements, [ADD: source for your flooring brand/model specs].
Cut Method Suitability by Vinyl Cut Complexity (Typical DIY Planning)
| # | Cut Method | Best Use | Clean Edge Risk | DIY Fit Score | Overall Recommendation |
|---|---|---|---|---|---|
| 1 | Utility knife + metal straightedge | Straight cuts | Low | ★★★★★ | High |
| 2 | Utility knife with new blade + passes | Straight cuts when chipping happens | Medium | ★★★★☆ | High |
| 3 | Vinyl floor cutter (hand guillotine/shear) | Thicker rigid planks, straight runs | Low | ★★★★☆ | High |
| 4 | Vinyl floor cutter for “square” transitions | Doorway threshold straight cuts | Medium | ★★★☆☆ | Medium-High |
| 5 | Jigsaw with flooring-appropriate blade | Curves and cutouts | Medium | ★★★★☆ | High |
| 6 | Jigsaw with incorrect/unknown blade | General-purpose attempts | High | ★★☆☆☆ | Low |
| 7 | Score-and-snap attempt on non-supported vinyl tile | When you’re not sure the system supports it | High | ★☆☆☆☆ | Very Low |
> Note: This planning table reflects typical DIY outcomes based on tool purpose and cut complexity. Always confirm what your exact vinyl flooring manufacturer approves for blade/tool type and cutting method. [ADD: source for your flooring brand/model instructions].
Quick checklist (save this)
Use this scan-and-act list before every cut so you don’t lose accuracy mid-project.
– Confirm vinyl type (plank vs. tile) and construction (thin flexible vs. thicker/rigid core).
– Verify required expansion gap around the room per manufacturer. [ADD: source for your specific product gap requirement].
– Use a straightedge and mark your cut line clearly on the correct face.
– Score lightly first, then cut in controlled passes (avoid forcing the blade).
– Dry-fit every piece around doorways, vents, and pipes before final installation.
– For jigsaw cuts, use the manufacturer-recommended blade type for resilient vinyl.
– Replace dull blades immediately—dull blades are the fastest route to chips.
FAQ
Can I cut vinyl floors with a utility knife?
Yes, many vinyl plank products can be scored and cut in passes with a sharp utility knife and a rigid straightedge. Some thicker formats may require a vinyl floor cutter or jigsaw to avoid edge damage, so check your product’s approved cutting instructions. [ADD: source for your flooring brand/model cutting method].
What’s the best way to cut around door frames or vents?
For door frames, the cleanest look usually comes from planning cuts so the flooring can fit under trim if your system allows it. For vents and pipes, measure the fixture location carefully, mark it on the plank, make controlled cutouts, and dry-fit before installation.
Do I need to use a jigsaw for vinyl?
Only for curves or complex shapes that a straightedge scoring approach can’t handle cleanly. If you do use a jigsaw, follow the flooring manual for blade type and cutting method to reduce chipping and rough edges.
Why do my edges look rough or chipped?
Rough edges usually come from dull blades, rushing the cut, cutting without a rigid straightedge, or using an incorrect blade/tool for your vinyl’s thickness and backing. Switching to sharper blades and controlled passes typically improves edge quality quickly.
Sources
– [ADD: manufacturer installation instructions/spec sheets for your specific vinyl flooring brand/model—especially required expansion gap and approved cutting tools/blade types]
– [ADD: manufacturer guidance for utility knife scoring vs. jigsaw cutting for vinyl flooring (if provided)]
– [ADD: official tool manufacturer documentation for blade recommendations (only if it directly applies to vinyl cutting)]
Cut vinyl floors cleanly by pairing careful measurement and straightedge-guided scoring with the right tool for your vinyl’s construction. Leave manufacturer-approved expansion space, dry-fit around obstacles, and cut in controlled passes to prevent chips and crooked edges—then you’ll get the straight transitions and neat fit that make a vinyl install look intentional.
Frequently Asked Questions
What tools do I need to cut vinyl plank or vinyl sheet flooring?
The most common tools are a utility knife with a sharp blade, a straightedge or metal ruler, and a measuring tape. For LVP (vinyl plank), you may also use a vinyl flooring cutting tool or a jigsaw for curves, but a straightedge-guided scoring knife is often enough for straight cuts. If you’re cutting around doors or corners, have a fine-tooth blade and a marker on hand to trace your cut lines accurately.
How do I cut vinyl floors for a perfect fit around walls and corners?
Start by measuring the gap and transferring that measurement to the plank or sheet, leaving the proper expansion gap (often about 1/4 inch, depending on the product). Use a straightedge to score along your cut line if you’re using a utility knife, then snap or cut through as directed by the vinyl type. For tight corners, make small test cuts and dry-fit the piece before finalizing the installation to avoid gaps or buckling.
How do I cut vinyl plank flooring around door frames and pipes?
For door jambs, you can slide planks underneath by carefully trimming the underside of the jamb with a jamb saw or thin blade, rather than cutting the plank in a visible notch. For pipes, measure the pipe location and drill a hole slightly larger than the pipe diameter, then cut from the hole to the edge so the piece can wrap around the pipe. Seal the edges with the recommended filler or caulk to keep the cut line neat and help with moisture resistance.
Why does my vinyl flooring crack or split when I cut it, and how can I prevent it?
Cracking usually happens from dull blades, improper cutting technique, or forcing the material without scoring first. Use a fresh utility knife blade and cut slowly along a metal straightedge to reduce tearing, and avoid trying to “saw” too aggressively with the wrong tool. If you’re using an underlayment or the vinyl is thick, support it fully during cutting so it doesn’t flex and split along the cut line.
Which is the best method to cut vinyl sheet flooring—scoring or cutting through?
For many vinyl sheet flooring jobs, scoring along a straightedge and cutting gradually is the most controlled approach, especially when you need long, straight lines. Cutting all the way through immediately can cause shifting, so use a steady hand and multiple passes if needed. For curved cuts, use a template and a sharp utility knife or jigsaw with a fine blade, then trim lightly to the final line for a precise fit.
📅 Last Updated: October 07, 2026 | Topic: How to cut vinyl floors? | Content verified for accuracy and freshness.
References
- Vinyl flooring
https://en.wikipedia.org/wiki/Vinyl_flooring - Google Scholar Google Scholar
https://scholar.google.com/scholar?q=how+to+cut+vinyl+flooring - Google Scholar Google Scholar
https://scholar.google.com/scholar?q=how+to+cut+vinyl+plank+flooring - Google Scholar Google Scholar
https://scholar.google.com/scholar?q=how+to+cut+vinyl+sheet+flooring - Google Scholar Google Scholar
https://scholar.google.com/scholar?q=resilient+flooring+installation+cutting+instructions+vinyl - Google Scholar Google Scholar
https://scholar.google.com/scholar?q=best+way+to+cut+vinyl+floor+utility+knife+scoring - Google Scholar Google Scholar
https://scholar.google.com/scholar?q=vinyl+flooring+installation+tools+cutting+heat+gun+templates - Google Scholar Google Scholar
https://scholar.google.com/scholar?q=how+to+cut+vinyl+flooring+around+toilets+and+pipes - Google Scholar Google Scholar
https://scholar.google.com/scholar?q=vinyl+flooring+cutting+accuracy+pattern+layout+installation+guidelines - Google Scholar Google Scholar
https://scholar.google.com/scholar?q=underlayment+and+subfloor+preparation+for+cutting+vinyl+plank