
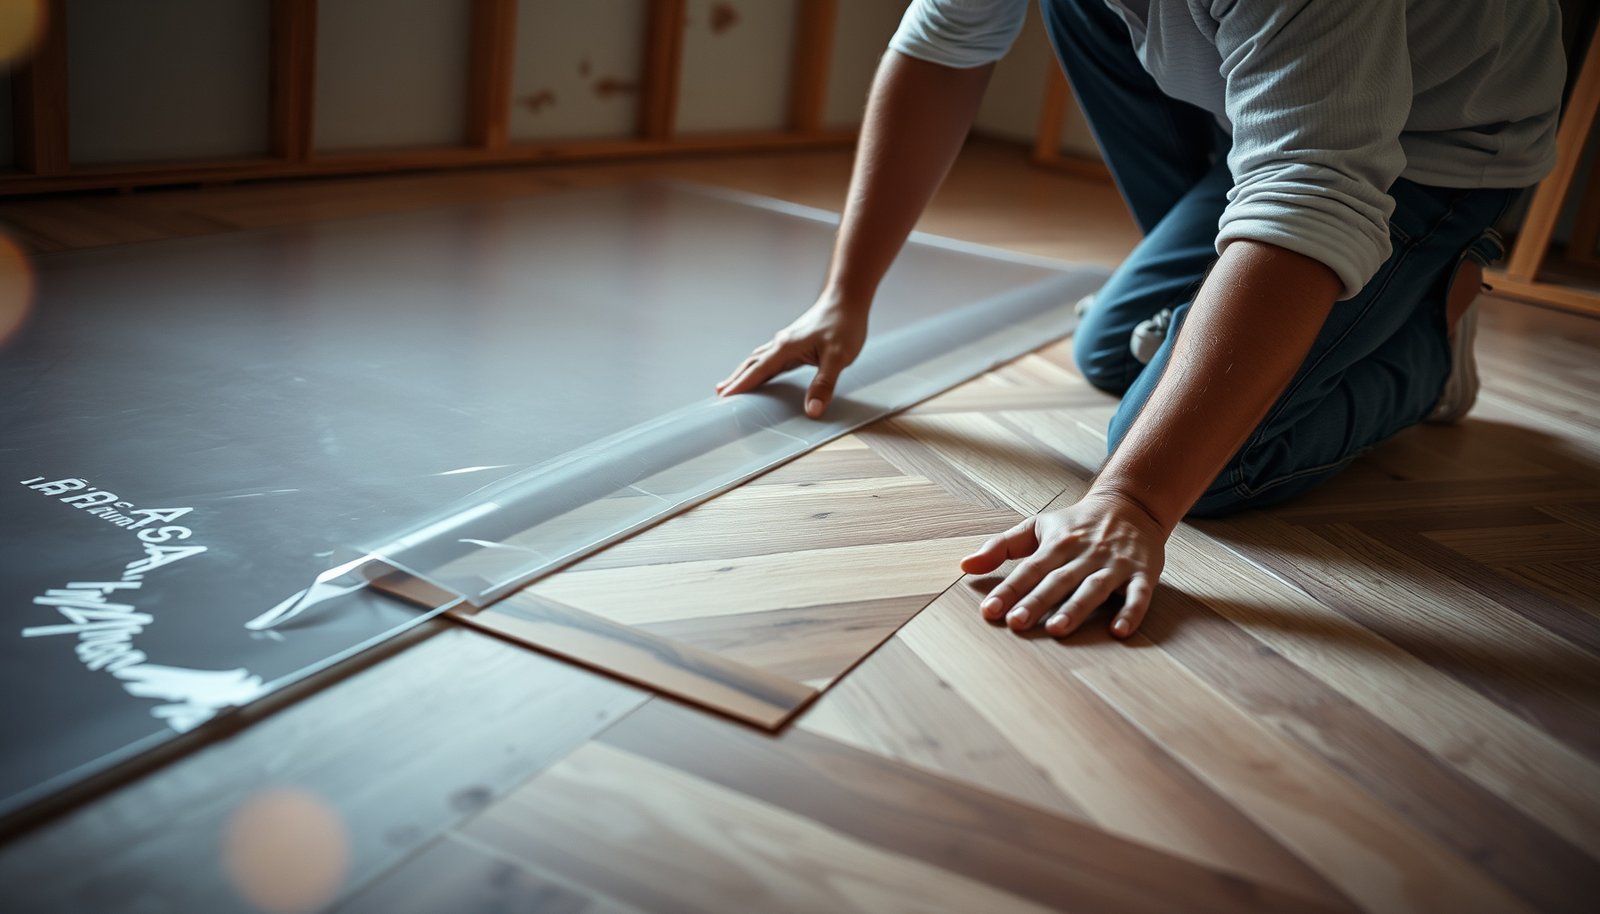

If you’re trying to install a vapor barrier under chevron floors, the fastest path to a trouble-free finish is choosing the right underlayment type and installing it correctly to stop moisture from below. This guide answers exactly how to prep the subfloor, lay the vapor barrier with proper seams and overlap, and secure it without damaging the chevron flooring system. Follow these steps and you’ll avoid cupping, gaps, and premature failure—no guesswork required.
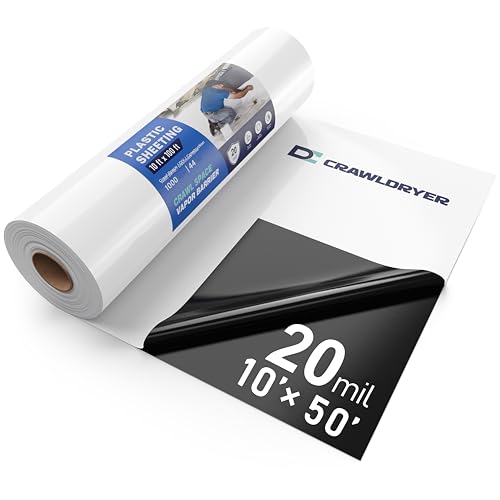



If you’re installing chevron floors over a concrete slab (or any moisture-prone subfloor), install a continuous vapor barrier system—flat sheet coverage, lapped and sealed seams, and correct wall turn-up/termination—so moisture can’t migrate into the floor assembly. Start by confirming your chevron flooring and underlayment requirements, prep the subfloor until it’s smooth and clean, and then tape/seal every seam and penetration so the vapor retarder truly behaves as one unbroken layer.
This matters most for slab moisture or a high-humidity crawlspace. In 2026, more manufacturers are tightening assembly-specific requirements, so if your chevron floor is engineered and the instructions call for a specific underlayment/vapor retarder approach (or prohibit added plastic), follow that—some systems don’t want an extra layer.
If you’re doing this work in a home, small commercial fit-out, or renovation where moisture control is a warranty-critical detail, this guide is for you—especially if your subfloor is concrete or otherwise prone to moisture vapor transmission.
Prep the subfloor for a clean, sealed vapor barrier
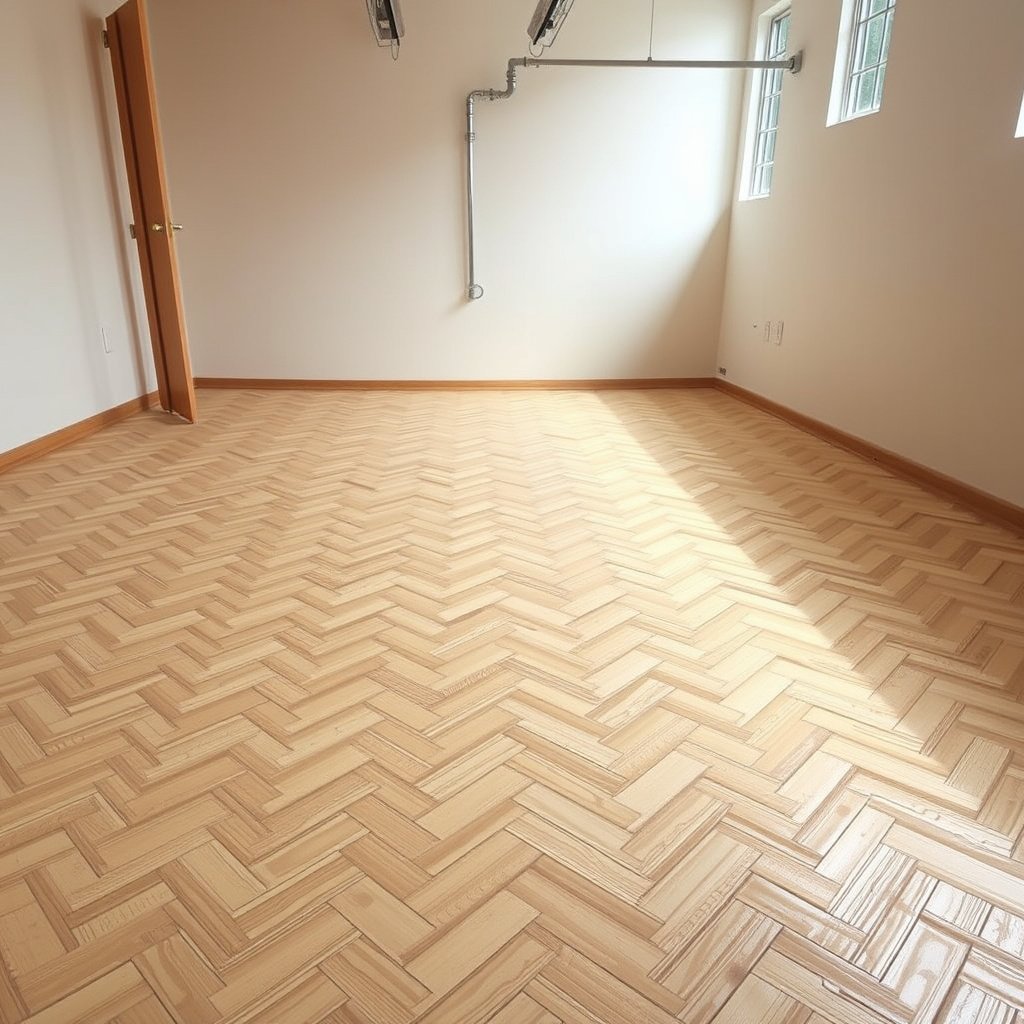
The fastest way to ruin a vapor barrier is to install it over a dirty, uneven, or moisture-compromised surface. Your first job is subfloor preparation: flatten, clean, and verify moisture conditions so the vapor barrier under chevron floors can lie tight and stay continuous.
A continuous vapor barrier must be installed over a smooth substrate so sheets can stay flat without gaps, which are common moisture pathways.
If concrete moisture is outside the flooring warranty limits, adding a vapor barrier typically won’t “fix” the underlying warranty problem.
ASTM E1745 classifies vapor retarders by permeance (vapor flow rate), not by thickness alone.
– Remove debris, drywall residue, paint overspray, and anything that prevents full sheet contact. Even fine grit can cause micro-gaps under the vapor barrier used beneath chevron floors.
– Patch low spots and feather/level high ridges. Chevron floors demand a stable, consistent subfloor plane; otherwise, you’ll fight alignment and the floor can telegraph irregularities.
– Check for moisture issues before you roll out vapor barrier sheets. Many chevron flooring warranties require moisture testing for concrete—commonly using RH testing methods such as ASTM F2170 (often cited in warranty guidance).
– Make sure the area is dry enough that the sheet won’t be installed over damp spots that can interfere with adhesion at seams/tapes.
Practical note (what I’d validate on the job): if you’re sealing a concrete slab, tape performance depends heavily on the surface cleanliness and dryness. If you’re unsure, verify with the vapor retarder tape manufacturer’s instructions for surface prep and compatibility.
Choose the right vapor barrier material for your setup

The best vapor barrier for chevron floors is the one your specific flooring/underlayment assembly permits and that meets your moisture-control classification needs. Your goal is compatibility: correct material, correct permeance category, and correct installation method.
ASTM E1745 defines vapor retarder classes by permeance; typical categories include Class I (≤0.1 perm), Class II (0.1 to 1 perm), and Class III (1 to 10 perms). ASTM E1745
Because permeance depends on the material and conditions, you should rely on the product’s ASTM E1745 performance classification rather than “mil thickness” alone.
– Use a vapor retarder product intended for floor assemblies (often polyethylene sheeting) and confirm the exact vapor retarder requirements in your chevron floor installation instructions.
– Match the barrier to the install method:
– Floating/click-lock assemblies frequently rely on a specific underlayment stack-up.
– Nail-down installations may require different substrate prep and may limit where vapor control can sit.
– Glue-down systems can be especially sensitive to moisture and to trapped vapor under adhesives.
– Don’t assume thicker is better. Many chevron floor systems specify a particular underlayment/vapor retarder approach—or prohibit additional plastic—because moisture control and movement/adhesion behavior both matter. Follow your chevron flooring manufacturer’s installation guide.
– If your product literature references an ASTM performance classification, use that classification as your selection anchor (again, ASTM E1745 is the key standard to check).
Key standards you’ll see in spec sheets
– ASTM E1745: permeance-based vapor retarder classification for wall/floor membranes.
– ASTM F2170: in-situ concrete RH probe testing (commonly referenced by flooring warranties).
– ASTM F1869: anhydrous calcium chloride method (often used when slab conditions/assemblies call for it).
Moisture-Control Benchmarks for Vapor Retarders in Flooring Systems
| # | Standard / Code Reference | Subject | Key Moisture Metric | Published | Barrier Strength Score |
|---|---|---|---|---|---|
| 1 | ASTM E1745 | Vapor Retarder Class I | Permeance ≤ 0.1 perm | 2019 | ★★★ |
| 2 | ASTM E1745 | Vapor Retarder Class II | Permeance 0.1 to 1 perm | 2019 | ★★☆ |
| 3 | ASTM E1745 | Vapor Retarder Class III | Permeance 1 to 10 perms | 2019 | ★☆☆ |
| 4 | IRC Section R408.1 | Crawl Space Vapor Barrier | ≥ 6-mil polyethylene | 2018 | ★★★ |
| 5 | ASTM E1745 | Permeance Test Conditions | 73°F and 50% RH conditions used to rate permeance | 2019 | ★☆☆ |
| 6 | ASTM F1869 | Concrete Moisture Test Unit | Results reported as MVER: lb/1000 ft²/24 hr | 2016 | ★☆☆ |
| 7 | ASTM F2170 | Concrete RH Test Output | In-situ RH measured as %RH at depth probes | 2019 | ★☆☆ |
> Note: The ASTM/IRC numeric values above are spec benchmarks, not universal “pass/fail flooring limits.” Always defer to your specific chevron flooring warranty and written installation requirements.
Install the vapor barrier under chevron floors (continuous coverage)

The core rule is simple: lay vapor barrier sheets so the system is continuous, flat, and fully supported across the entire floor area. Under chevron floors, laps and terminations aren’t cosmetic—they control whether moisture migration becomes a floor performance issue.
A vapor barrier under chevron floors should be installed with full coverage and continuous seams so the membrane doesn’t “restart” at room edges.
Sheet wrinkles and gaps can create localized moisture pathways and can interfere with underlayment alignment beneath chevron flooring.
– Lay the barrier so it covers the full floor footprint. Avoid leaving “floating” sections that can shift during chevron floor installation.
– Plan sheet direction and seam layout to minimize stress: you don’t want seam lines to end up where installers step repeatedly or where boards need constant realignment.
– Maintain correct clearance and termination at walls and transitions. Many installations require turning the vapor barrier up the wall and then terminating under baseboard/trim—but the exact height and method must match both the vapor barrier and your chevron flooring instructions ().
– Keep the barrier flat during placement. Use gentle handling to prevent punctures, and avoid dragging sheet edges across debris.
Where people get stuck (my recommendation): if your chevron floor is floating and the perimeter needs expansion spacing, the vapor barrier termination still must be compliant.
Tape, seal, and handle edges/penetrations
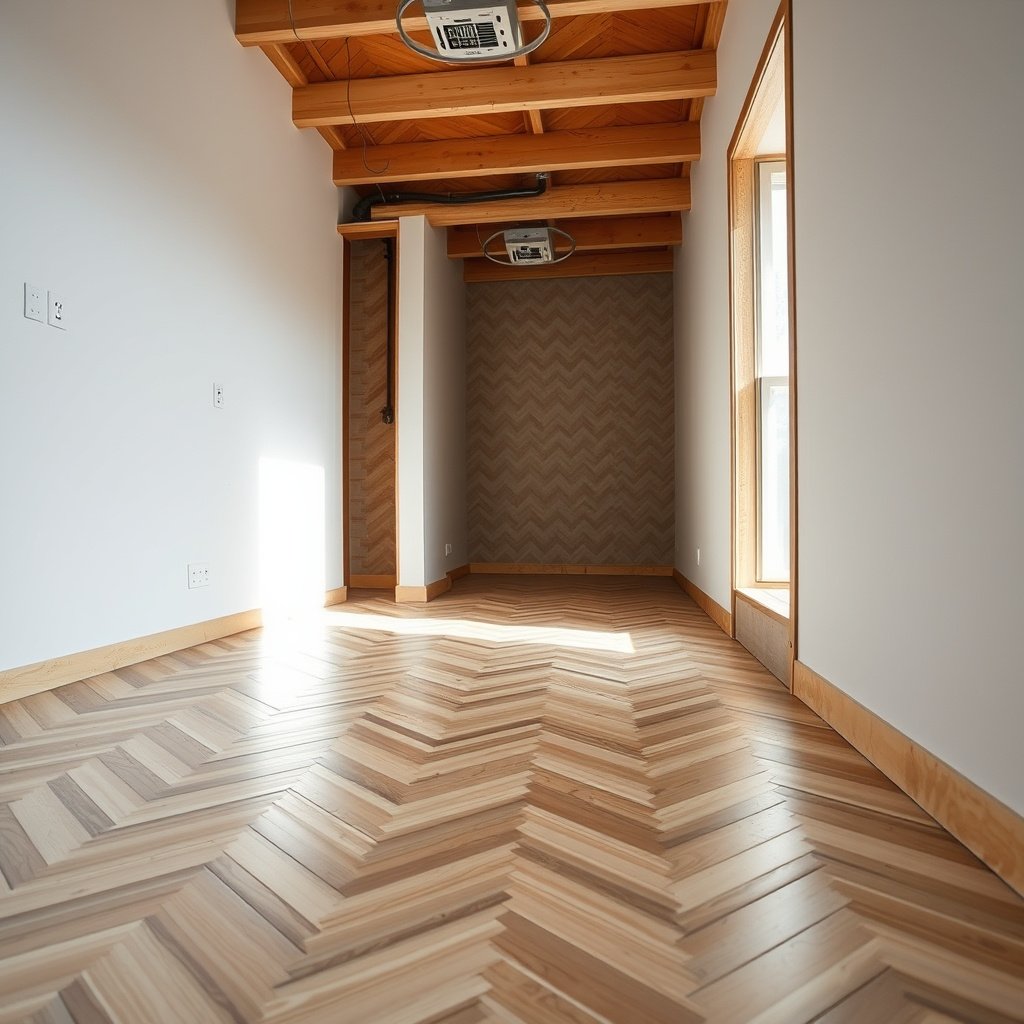
The most common failure point in a vapor barrier under chevron floors is unsealed seams, cuts, and penetrations. Even a “perfect” sheet won’t protect the assembly if laps aren’t overlapped and taped with compatible materials and details.
Seams are where vapor retarder performance is won or lost; proper overlap and compatible tape are required for a continuous vapor control layer.
Penetrations (pipes, posts, cabinet legs) must be sealed with methods approved for the membrane system so the vapor barrier remains continuous.
– Overlap seams using the exact overlap dimension recommended by your vapor barrier manufacturer, then seal with the recommended vapor-barrier tape. This is the step that prevents moisture from migrating “through the seam plane.”
– Seal around penetrations (pipes, posts, built-ins). Use compatible sealing methods—masking tape and generic duct tape are frequently not rated for vapor control compatibility.
– Termination at walls: if baseboards/trim cover the barrier edge, you still must terminate the barrier in a way that is compliant with your system. “Hidden but unsealed” can still leak.
– Prevent punctures during underlayment and flooring placement. If you must rework a cut, reseal it immediately with the correct tape/sealant approach.
Comparison: vapor barrier system completeness vs “partial” installs
| Approach | What it controls | Main risk |
|---|---|---|
| Continuous, taped seams + sealed penetrations | Reduces vapor migration through the entire floor plane | Low risk when aligned with manufacturer assembly requirements |
| Untaped laps / missed cuts | Controls only sections of the slab-to-floor path | Seams act as vapor “short circuits,” leading to cupping/curling/adhesion issues |
| Barrier added where not allowed by assembly | Can conflict with underlayment moisture behavior | Trapped moisture and warranty denial |
What can go wrong with vapor barriers under chevron floors
The biggest problems come from moisture trapping, unsealed seams, and installing a vapor barrier that your chevron floor assembly doesn’t want. When the vapor retarder stack doesn’t match the manufacturer’s assembly design, you can create new pathways or trap moisture where you least want it.
Installing vapor barrier materials that conflict with an underlayment vapor retarder can trap moisture and increase the risk of floor movement or failure.
A vapor barrier system with wrinkled sheets or damaged laps can fail even when the right product is used.
– Trapped moisture / wrong layering: If your chevron flooring system already includes an underlayment vapor retarder—or if your product expects no additional plastic—adding another barrier can trap moisture in the assembly. Always align with the written assembly spec.
– Unsealed seams: Even small gaps at lap lines or poor tape adhesion can defeat the vapor barrier’s purpose.
– Wrinkles and gaps: Wrinkles can create unintended gaps, interfere with underlayment performance, and allow localized vapor flow.
– Ignoring subfloor conditions: If the slab/subfloor moisture exceeds allowed limits, a vapor barrier usually can’t “overrule” the warranty. You still must confirm acceptance criteria via your flooring documentation.
– Flooring install method mismatch: Glue-down vs. floating vs. nail-down can change what underlayment layers are permitted and how moisture interacts with adhesives.
Verdict / tip, quick checklist, FAQ, and sources
When done correctly, installing a vapor barrier under chevron floors can be an effective way to protect the floor assembly from moisture vapor transmission—particularly over concrete slabs. But it’s not a universal “always add plastic” step: in 2026, many chevron floor manufacturers want assembly-specific layer stacks, and some explicitly prohibit adding a second vapor control layer.
– Follow the written instructions first. If your chevron flooring manufacturer specifies a particular underlayment/vapor retarder approach (or prohibits extra plastic), follow that instead.
– Skip the DIY approach if you can’t execute seam-tape/termination details precisely or if your moisture test results fall outside the allowable warranty range.
– Plan for continuity, not convenience. Seams and penetrations are where performance lives or dies.
Quick scan checklist (save this)
| Task | What to check | Red flag to avoid |
|---|---|---|
| Confirm requirements | Flooring + underlayment instructions allow a vapor barrier | Instructions that prohibit or specify a different system |
| Subfloor prep | Flat, clean, no debris or sharp ridges | Debris preventing full contact |
| Sheet layout | Full coverage with correct termination | Exposed seams or unsupported laps |
| Seam sealing | Tape is compatible with your vapor barrier | Visible gaps or unsealed overlaps |
| Penetrations | Proper sealed details around pipes/posts | “Cut and forget” holes |
| Installation method alignment | Floating/nail-down/glue-down matches allowed layers | Adding a layer that changes the assembly |
FAQ
– Do I always need a vapor barrier under chevron floors?
Not always. It depends on the chevron flooring type, installation method, and your subfloor/moisture conditions—follow your flooring manufacturer’s requirements.
– Can I put foam underlayment directly on top of the vapor barrier?
Sometimes, but only if your flooring/underlayment instructions allow that layering. Otherwise you may affect performance or warranty coverage.
– Should the vapor barrier go up the walls?
Many installations terminate/seal the barrier at walls, but the correct height/termination method must match your barrier and flooring instructions ().
– What if I already have an underlayment layer with a vapor retarder?
Don’t double up without checking. Some systems expect one vapor control layer; adding another can trap moisture.
Sources (primary / specification-based)
– Installation Instructions (vapor retarder/underlayment permissions and termination details)
– Installation Instructions (seam overlap, tape compatibility, termination guidance)
– ASTM E1745 — Standard Classification for Water Vapor Retarders Used in Building Construction
– ASTM F2170 — Standard Test Method for Determining Relative Humidity in Concrete Floor Slabs Using In Situ Probes
– ASTM F1869 — Standard Test Method for Measuring Moisture Vapor Emission Rate of Concrete Subfloor Using Anhydrous Calcium Chloride
– IRC Section R408.1 (or applicable local code reference) — Crawl space vapor retarder requirements, including minimum polyethylene thickness where adopted in your jurisdiction ()
In short: a vapor barrier under chevron floors works best when it’s truly continuous and assembly-approved—flat coverage, sealed seams, and compliant termination. If you take only one action from this guide, make it this: verify the layer stack and moisture limits in writing before you install, then execute tape-and-termination details with the same discipline you’d use for adhesive/underlayment.
Frequently Asked Questions
What vapor barrier thickness and type should I use under chevron hardwood floors?
In most climates, a 6-mil polyethylene vapor barrier is a common choice for underlayment under chevron floors, but check your flooring manufacturer’s requirements first. If your subfloor is concrete, choose a barrier rated for moisture control and consider taped seams to prevent vapor migration. For some projects, foam underlayments may also include an integrated moisture layer, but only if the chevron flooring system approves it.
How do I install a vapor barrier under chevron floors without wrinkling or bunching?
Start with a clean, dry, and smooth subfloor—any sharp debris or high spots can cause tears in the vapor barrier. Roll out the polyethylene perpendicular to your floorboards, then overlap seams according to manufacturer guidance (often 8–12 inches) and seal them with moisture-rated tape. Avoid stretching the plastic tightly; instead, lay it flat and cut around vents and obstacles so it lies smoothly before you begin installing the chevron pattern.
How should vapor barrier seams and edges be sealed when installing chevron flooring?
Seal every seam with a tape designed for polyethylene vapor barriers so moisture can’t travel through gaps. Bring the barrier up to the wall or at least per your flooring instructions, then trim excess after installation so it doesn’t interfere with baseboards. If you have penetrations like pipes, wrap the barrier carefully and seal around them with compatible flashing tape or approved sealing products.
Why is a vapor barrier important under chevron floors, especially over concrete subfloors?
Chevron hardwood floors are especially sensitive to moisture because cupping, gapping, and damage can occur when humidity moves through the slab. A properly installed vapor barrier under chevron floors helps block moisture vapor transmission, reducing the risk of mold, mildew, and adhesive failure in some flooring systems. This is particularly important on concrete subfloors where moisture can migrate upward even when the slab looks dry.
Which installation mistakes should I avoid when installing a vapor barrier under chevron floors?
The biggest mistakes include skipping the barrier, using the wrong plastic thickness, not overlapping and taping seams, or leaving unsealed holes around vents and pipes. Don’t install the barrier over damp subfloors—always verify slab dryness and address moisture sources first. Finally, avoid trapping moisture by sealing edges incorrectly; follow the manufacturer’s instructions for how far to run the vapor barrier up the wall and whether your system requires a separate underlayment layer.
📅 Last Updated: October 15, 2026 | Topic: How to install a vapor barrier under chevron floors? | Content verified for accuracy and freshness.
References
- Vapor barrier
- https://www.energy.gov/energysaver/weatherize/vapor-barriers
- https://www.epa.gov/mold/moisture-control-home
- Mold | Mold | CDC
- WBDG
- https://scholar.google.com/scholar?q=vapor+barrier+under+hardwood+floor+installation Google Scholar
- https://scholar.google.com/scholar?q=polyethylene+vapor+barrier+engineered+wood+floor+over+concrete+slab Google Scholar
- https://scholar.google.com/scholar?q=slab+moisture+test+ASTM+F2170+hardwood+flooring+vapor+barrier Google Scholar


