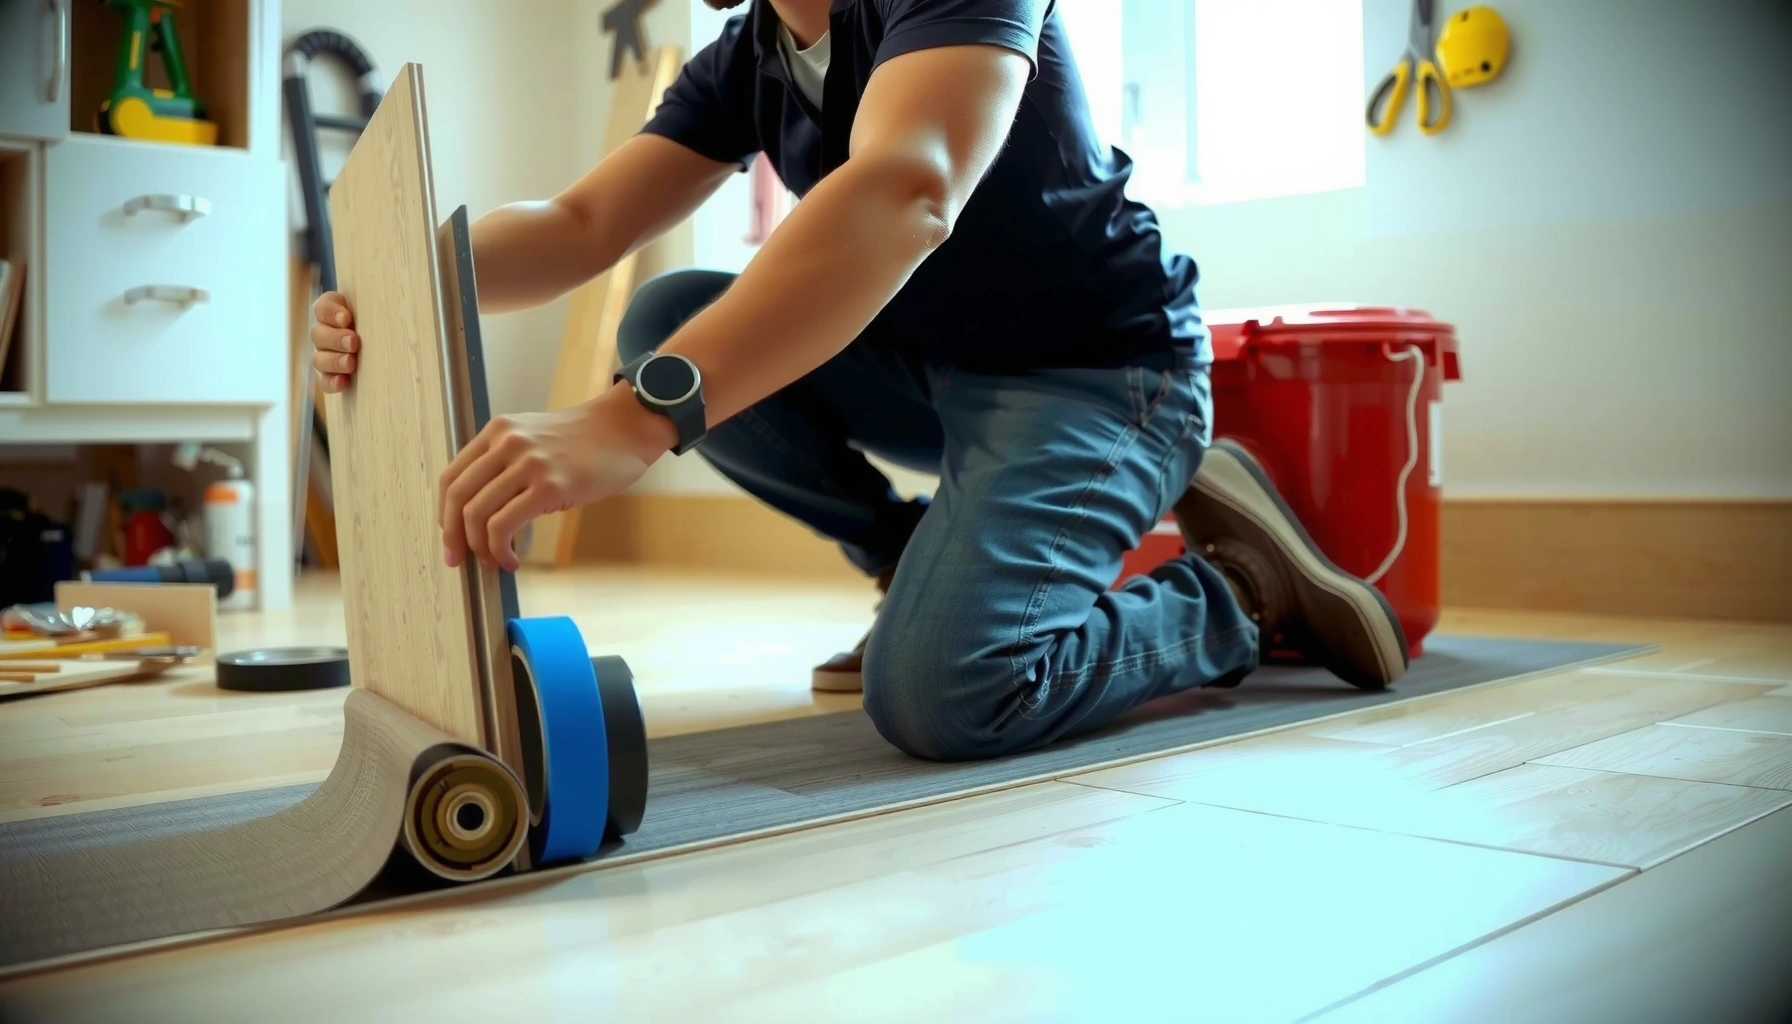

If you want your vinyl floor to feel solid and stay locked together, you install underlayment based on (1) your vinyl type and (2) your subfloor condition. Most failures come from skipping the manufacturer-approved underlayment rules, not from laying “too much” or “too little” foam—so follow the approval guidance first, then get the surface flat and the seams sealed.




If you’re planning a DIY install (or coordinating with a flooring installer), this is for you—especially if you’re unsure whether you need underlayment, which one to choose, or how to install it over concrete or plywood. The key is matching the underlayment to the vinyl type and the subfloor, not just picking “any pad.”
Confirm whether your vinyl needs underlayment
Check your vinyl product instructions first: some click-lock (floating) LVP/LVT floors already include an attached pad and do not want extra underlayment. Then confirm your vinyl type—click-lock versus glue-down—because each one has different performance requirements for cushioning, joint support, and moisture control.
– Check the flooring installation instructions for whether the vinyl already includes attached underlayment (common with click-lock LVP/LVT).
– Identify your vinyl type: click-lock floating floors typically have different underlayment requirements than glue-down vinyl.
– Verify subfloor requirements (levelness, dryness/moisture limits) because underlayment can’t fix major subfloor problems.
“When an installation guide states ‘use no additional underlayment’ (or ‘do not remove attached pad’), that is a performance requirement, not a suggestion.”
“Click-lock vinyl relies on stable support under the joints; an incompatible underlayment can change flex patterns and lead to joint separation or noise.”
What to look for in the manual (quick scan):
– A line that explicitly says “attached pad present” or “do not use underlayment.”
– Any stated maximum underlayment thickness (for example, many manufacturers specify a limit to avoid raising the floor and stressing locks).
– Whether the manufacturer allows moisture barriers under click-lock, glue-down, or both.
– Seam-taping requirements (some systems require specific tape and overlaps).
Important: underlayment approval is not universal. A foam pad that works under one brand may void the warranty under another, even if it’s “the same thickness.”
Choose the correct underlayment for your subfloor
The right choice is the underlayment your vinyl manufacturer approves for your specific subfloor—especially if the floor is installed over concrete. For concrete slabs, moisture management and vapor control usually matter as much as comfort or sound reduction.
– Match material to what your manufacturer calls for (e.g., foam, cork composite, rubber, or moisture barrier systems)—don’t mix-and-match blindly.
– Consider subfloor type: concrete often needs a vapor/moisture barrier plan; plywood still needs a flat, stable base.
– Plan for transitions and thickness: adding an unapproved thick pad can cause joint separation, noise, or floor failure.
“Concrete moisture control is typically handled by a dedicated vapor retarder or approved moisture system, not by adding extra cushion.”
“Subfloor flatness is a separate requirement; underlayment is for minor texture reduction and sound, not for bridging deflection.”
“If a manufacturer specifies a particular underlayment type or ‘approved list,’ warranty coverage depends on that match.”
Practical compatibility guide (what usually matters most)
Here’s the logic installers use in the field: underlayment must (a) meet the vinyl’s lock/joint support needs, (b) match the moisture/vapor strategy, and (c) stay within the thickness limits in the installation instructions.
Underlayment options for vinyl floors: typical intent & fit (industry-practice overview)
| # | Underlayment option | Typical thickness | Primary role | Manufacturer approval likelihood | Best fit (most common) |
|---|---|---|---|---|---|
| 1 | Manufacturer-approved foam pad for click-lock | 1.0–2.0 mm | Lock support + sound | ★★★★★ | Floating LVP/LVT over dry subfloor |
| 2 | Manufacturer-approved rigid underlayment with moisture system | ~2.0–6.0 mm | Moisture + stable base | ★★★★☆ | Concrete slabs needing vapor control |
| 3 | 6-mil polyethylene vapor barrier (when allowed) | 0.15 mm | Moisture/vapor block | ★★★★☆ | Concrete over-approved moisture plan |
| 4 | Cork composite underlayment (when approved) | 2.0–4.0 mm | Sound + comfort | ★★★☆☆ | Plywood with manufacturer clearance |
| 5 | Closed-cell EVA foam underlayment (generic) | 1.0–3.0 mm | Cushion + minor smoothing | ★★☆☆☆ | Only if explicitly approved |
| 6 | Rubber underlayment (when approved) | 2.0–5.0 mm | High-durability sound control | ★★★☆☆ | Both homes & light commercial (approved only) |
| 7 | No extra underlayment (attached pad systems) | 0.0 mm added | Follow product design | ★★★★★ | When the manual explicitly says “skip” |
Prep the subfloor before laying underlayment
Start by treating underlayment like a finishing layer on a finished base: if your subfloor is out of level or has loose sections, the underlayment can’t correct that. Your goal is a clean, flat, mechanically stable surface so the underlayment lays tight without bumps or waves.
– Remove debris and secure any loose boards; fill low spots and sand high spots so the surface is flat as required by the vinyl instructions.
– Clean the surface so underlayment can lie flat (dust and grit can create bumps or prevent proper seam adhesion).
– Let the subfloor conditions stabilize to the manufacturer’s temperature/humidity requirements before you start.
“Resilient flooring performance depends on subfloor preparation; underlayment is not a substitute for correcting an out-of-flat base.”
“If the surface is dusty or gritty, underlayment seams and tape often fail to bond consistently.”
What “flat enough” typically means
A widely used installation guideline for resilient flooring is an F-number style flatness tolerance—commonly described as no more than 3/16 inch (≈4.8 mm) over 10 feet (3.05 m) for the subfloor surface. According to the Resilient Floor Covering Installation Guidelines (RFCI), resilient products expect a relatively flat substrate to reduce movement at the seams and locking joints ([year: see RFCI guideline document]).
Note: follow your specific vinyl manufacturer’s tolerance if it’s different.
Moisture readiness (especially for concrete)
For concrete slabs, moisture control usually requires testing or moisture limits in the vinyl instructions. According to ASTM F2170, in-situ RH (relative humidity) testing is one recognized method for slab moisture evaluation; your vinyl manual may specify which method to use.
[ADD: source for the specific moisture test method and the stated limits from your vinyl brand/product, if you have it.]
Install underlayment correctly (flat, tight, sealed seams)
Underlayment should go down flat, tight to the substrate, and with seams sealed exactly as your system requires. This is where most DIY installs lose performance—usually from wrinkles, loose edge lifts, or using the wrong tape at the wrong overlap.
– Roll or place underlayment starting at the longest workable run; keep edges tight to avoid ridges.
– Stagger seams if the product instructions call for it, and overlap/trim only where allowed (some require tape, others require specific seam gaps).
– Tape/seal seams using the approved method (if the underlayment manufacturer requires a particular tape, use it).
Subfloor-specific notes
– Over concrete: use the moisture/vapor approach specified by the vinyl and underlayment brands (often involves a barrier layer and sealed seams). [ADD: exact requirement from your vinyl’s manual if you have it.]
– Over plywood: focus on flatness and fix squeaks/looseness first; underlayment is not a substitute for a subfloor that moves.
“Seams are where moisture barriers succeed or fail; if the underlayment system specifies a tape and overlap, you must follow it.”
“Any ridges created by overlapping too much material can ‘print through’ and translate into joint stress on click-lock floors.”
“Before installing vinyl, visually check underlayment for wrinkles, lifted corners, and gaps along walls—these often become fasteners for later problems.”
Quick pros/cons comparison (what installers weigh)
| Option/approach | Pros | Cons / risk |
|---|---|---|
| Use manufacturer-approved underlayment | Best warranty alignment, correct thickness/support, proper seam plan | May cost more; you may need to source the exact product |
| Skip extra underlayment on attached-pad floors | Matches the flooring’s designed flex and noise performance | If you add extra padding anyway, locks can fail sooner |
| Use a generic thick foam for comfort | Softer feel; may reduce footsteps | Often exceeds thickness/support spec; increases lock stress and joint noise |
What can go wrong (and how to avoid it)
Most underlayment problems show up later as noise, soft spots, or lock failures. The fix is preventive: follow approval rules, stay within flatness and thickness specs, and seal seams properly—especially on concrete.
– Using underlayment that’s too thick or not approved: can lead to clicking noises, joint stress, or premature wear.
– Leaving gaps, wrinkles, or overlaps: creates “springy” areas that show through and can affect lock joints.
– Skipping moisture precautions on concrete: underlayment alone isn’t a magic moisture solution—follow the moisture guidance in your vinyl instructions.
– Installing over an uneven subfloor: even good underlayment won’t prevent floor problems if the base isn’t flat to spec.
– Confusing seam tape types: some underlayments require a specific tape to maintain the vapor barrier or seam integrity.
“A thicker cushion can increase panel flex and stress the click-lock joint, especially in high-traffic areas.”
“Moisture barriers must be continuous; pinholes, unsealed laps, or missing tape can negate the system.”
“Flatness affects performance: a ‘good-looking’ floor underlayment plan can still fail if the substrate waves or rebounds.”
Concrete vs. plywood failure patterns
– Concrete: you’re fighting vapor drive and emissions; if the vapor plan is wrong, the floor may develop odor, adhesive issues (for glue-down), or surface-related changes over time. Follow the method and limits required by your vinyl documentation. [ADD: your vinyl’s stated moisture/vapor requirements if available.]
– Plywood: movement is the enemy—squeaks, flex between joists, and loose sheathing amplify underlayment imperfections. Underlayment reduces minor texture, but it doesn’t replace structural correction.
Verdict / tip (what we’d recommend)
If your vinyl manufacturer requires a specific underlayment (or says “no underlayment needed”), follow that guidance closely—that’s the safest path. The main downside of “DIY guessing” is that underlayment thickness, vapor performance, and seam sealing can all affect floor longevity and locking performance; if your subfloor is out of flatness spec or moisture is unknown, you may be better off pausing and getting the subfloor properly evaluated. If you don’t have the installation instructions for your exact vinyl brand/product, [ADD: source/manual location you plan to use], because underlayment rules vary a lot by product.
“Underlayment selection is compatibility work—match your vinyl’s approved system and seam method, then verify the substrate flatness and moisture limits.”
“If your documentation is missing, the lowest-risk move is to stop rather than choose a generic pad that could void the warranty.”
Quick checklist to scan before you start
– [ ] Confirm vinyl type (click-lock vs. glue-down) and whether it has attached underlayment
– [ ] Read both instructions: vinyl + chosen underlayment (for approval and seam method)
– [ ] Subfloor flatness checked and corrected (no ridges, bumps, loose boards)
– [ ] Clean surface (dust/debris removed)
– [ ] Underlayment laid flat with correct seam overlap/gap per instructions
– [ ] Seams taped/sealed using the approved tape or method
– [ ] Planning transitions/edges before installing the full field
FAQ
Do I need underlayment under click-lock vinyl?
Often, you may not if your vinyl has attached underlayment—but many setups still use an approved additional layer. Follow your vinyl’s installation instructions first, since requirements vary by brand and product line.
Can I use any foam underlayment under vinyl?
Not reliably. Underlayment must be compatible with your vinyl (thickness, vapor behavior, and seam/tape requirements). Use only what the vinyl manufacturer approves or calls for.
Should underlayment be taped at the seams?
Usually yes—many underlayments require seam tape to keep panels aligned and, in some systems, to maintain a moisture/vapor barrier. Use the method/tape specified in the underlayment and vinyl manuals.
Can underlayment fix an uneven subfloor?
No. Underlayment can reduce minor imperfections, but significant unevenness can cause clicking, joint stress, and floor failure. Level/repair the subfloor to the required flatness before installing.
What if I’m installing over concrete?
You typically need to address moisture/vapor protection according to the vinyl and underlayment specs. Don’t assume foam alone is enough—use the approach outlined in the installation instructions. [ADD: your vinyl’s stated moisture/vapor requirements if available.]
Sources
– Resilient Floor Covering Installation Guidelines (RFCI) — substrate flatness guidance and resilient flooring installation best practices
– ASTM F2170 — Standard Test Method for Determining Relative Humidity in Concrete for Moisture Impact
– [ADD: vinyl flooring manufacturer installation instructions for your exact product (click-lock/glue-down) and underlayment approval or “no underlayment required” guidance]
– [ADD: underlayment manufacturer installation instructions for seam overlap/taping requirements, thickness limits, and vapor barrier notes]
– [ADD: subfloor flatness/moisture guidance stated in the vinyl manufacturer’s documentation]
If you share your vinyl brand/model and whether it’s click-lock or glue-down (plus subfloor type: concrete or plywood), I can tailor the layout steps to match the exact underlayment and seam requirements.
With vinyl, underlayment is less about adding comfort and more about preserving the floor’s design intent—approved compatibility, a flat base, and continuous seam sealing. Do those three things and the installation is far more likely to feel quiet, stay locked, and age predictably.
Frequently Asked Questions
What underlayment should I use under vinyl plank or vinyl sheet flooring?
In most cases, use a flooring underlayment that is specifically rated for vinyl floors and matches your subfloor type (wood, plywood, concrete, or existing tile). Many luxury vinyl plank (LVP) products include attached pad, so you may not need additional underlayment unless your manufacturer recommends it. If you’re installing over concrete, choose an underlayment with moisture protection (vapor barrier) to reduce the risk of damage from subfloor moisture.
How do I install underlayment under vinyl floors step-by-step?
Start by cleaning the subfloor thoroughly and fixing any dips, bumps, or loose spots—underlayment won’t correct unevenness that can cause joint gaps. Roll or lay the underlayment so seams are tight, then tape the seams with the correct underlayment tape or manufacturer-recommended tape. Avoid overlapping layers unless the product directions allow it, and cut around doorways, vents, and pipes so the vinyl can sit flat and fully contact the surface.
Why is underlayment important under vinyl flooring, and what problems does it prevent?
Underlayment helps reduce subfloor noise, improves comfort underfoot, and provides a more uniform surface for vinyl plank locking systems. A quality underlayment can also add moisture resistance—especially important for vinyl installed over concrete where vapor can migrate upward. Proper installation prevents problems like creaking, uneven seams, and premature wear that can happen when vinyl is installed directly on an imperfect or damp subfloor.
Which side of the underlayment goes up for vinyl floors?
The correct orientation depends on the product, so check the manufacturer’s arrows or labeling—some underlayments have a backing that must face the vinyl, while others are designed for the vapor barrier side to face down. If your underlayment includes a plastic film layer (common with moisture barriers), that side typically goes toward the subfloor. If you can’t confirm the direction from the label or instructions, contact the product manufacturer or installer guidance to ensure the moisture barrier functions properly.
What is the best way to deal with seams, overlaps, and moisture barrier coverage under vinyl?
Treat seams as carefully as the underlayment itself: butt edges tightly and tape them according to the underlayment instructions to maintain continuous coverage. Avoid double layers that create thickness changes, which can lead to clicking sounds or separation in vinyl joints. If you need a moisture barrier, extend the barrier to the proper height at walls as directed and seal transitions near doorways and pipes so water vapor is blocked where it matters most.
📅 Last Updated: October 07, 2026 | Topic: How to install underlayment under vinyl floors? | Content verified for accuracy and freshness.
References
- https://en.wikipedia.org/wiki/Vinyl_flooring
- Underlayment
https://en.wikipedia.org/wiki/Underlayment - Floor
https://en.wikipedia.org/wiki/Subfloor - Vapor barrier
https://en.wikipedia.org/wiki/Vapor_barrier - https://en.wikipedia.org/wiki/Moisture_barrier
- Flooring
https://en.wikipedia.org/wiki/Resilient_flooring - https://en.wikipedia.org/wiki/Float_(floor_installation
- Google Scholar Google Scholar
https://scholar.google.com/scholar?q=how+to+install+underlayment+under+vinyl+flooring - Google Scholar Google Scholar
https://scholar.google.com/scholar?q+luxury+vinyl+plank+underlayment+moisture+barrier+installation - Google Scholar Google Scholar
https://scholar.google.com/scholar?q+vinyl+floor+installation+guidelines+underlayment+vapor+barrier+subfloor+prep