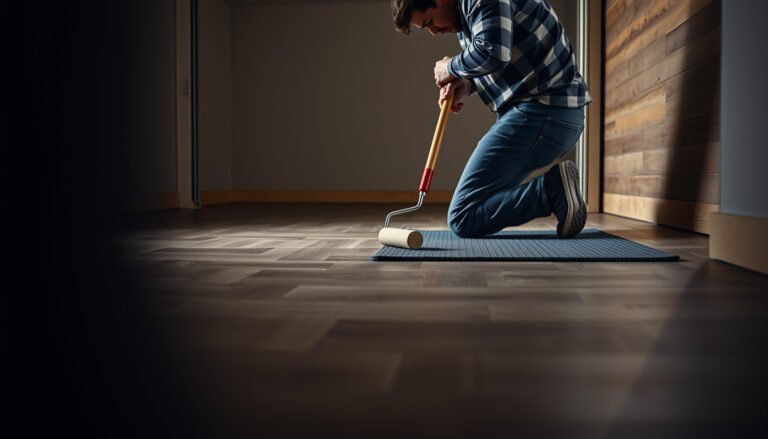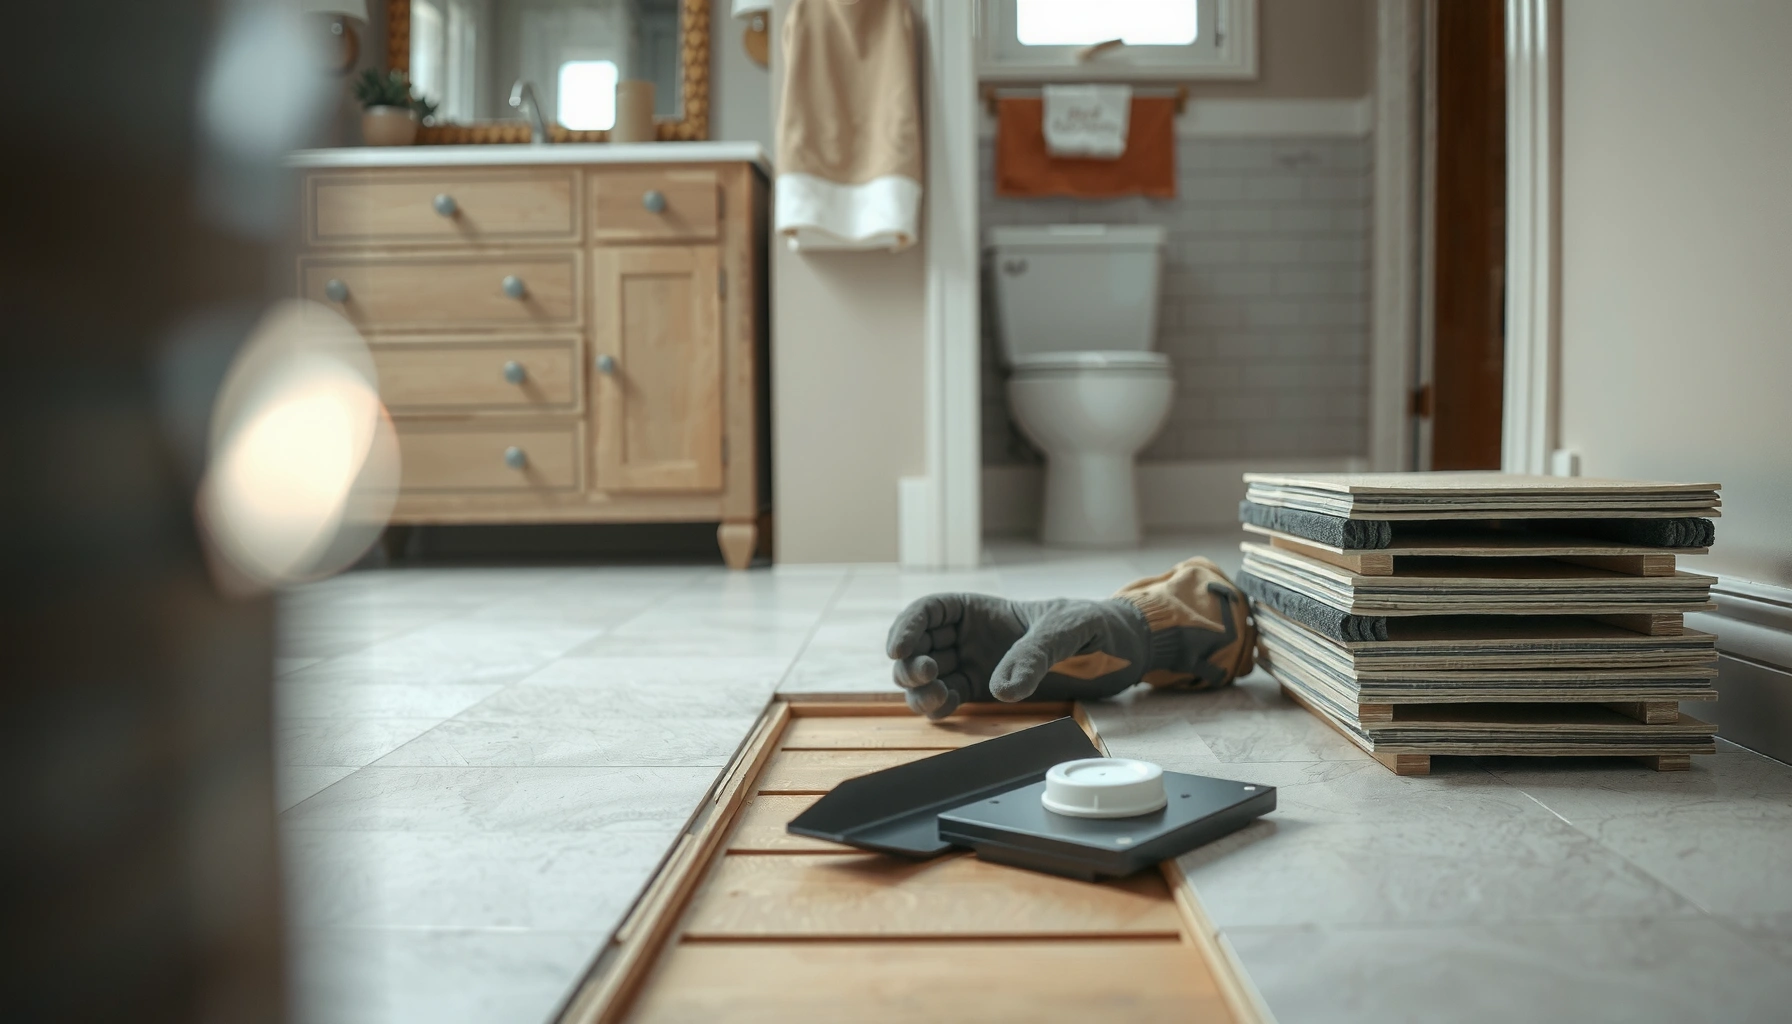

Replacing bathroom floors is a manageable weekend project if you follow the right step-by-step order—remove the old material correctly, prep the subfloor, and install the new flooring without traps for moisture. This guide answers exactly how to replace bathroom floors, from measuring and choosing the right underlayment to sealing transitions and finishing the job. Get a clean, waterproof result that holds up under daily splashes and humidity.



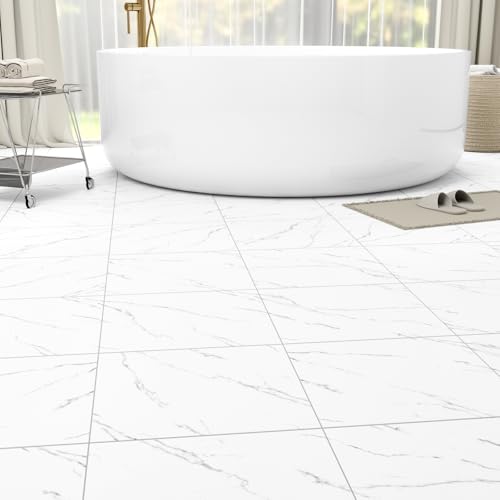
Replacing bathroom floors is mostly about doing the prep in the correct order: remove the old material, confirm the subfloor is sound, then install the right waterproof underlayment system before the new finish. If you skip moisture sealing or ignore soft/rotted spots, the new floor can warp, lift, or develop mold—so this guide walks through the full process from teardown to final sealing.
Replacing bathroom floors usually comes down to removing the old flooring, checking the subfloor, then installing a proper waterproof underlayment and the new finish. Start by sealing or correcting any moisture issues before you lay the new material—otherwise the new floor may warp, loosen, or develop mold. This guide walks you through the process from prep to finishing so you can do it in the right order.
If you’re dealing with cracked tile, peeling vinyl/linoleum, rotted subfloor spots, or a floor that feels soft around the toilet or shower, this is for you. It’s also a practical choice if you want to refresh your bathroom without redoing the entire layout, and you’re comfortable following careful steps and safety basics.
1) Plan your bathroom floor replacement
Plan for your bathroom floor replacement by confirming what’s there, what you’re installing next, and how your transitions will work. A clear plan prevents rework—especially when height changes at the doorway or when you need special waterproofing for tile.
Start by identifying the existing flooring type—tile, sheet vinyl, vinyl plank (often click-lock/LVP), laminate, or similar—and compare it to what you want next. The flooring type determines the prep requirements and whether you need a waterproofing membrane (tile often does). Then map out subfloor condition hotspots: around the toilet flange, under the vanity toe-kick area, and near any shower/bath wall. Those zones are where moisture intrusion tends to show up first, even when the rest of the bathroom looks fine.
Before you buy anything, measure for height transitions. Bathroom floors commonly meet hallways, bedrooms, or adjacent rooms with different flooring assemblies, so you must account for: (1) underlayment thickness, (2) mortar/thinset thickness (tile), (3) any leveling compound depth, and (4) expansion-gap requirements. Also decide whether you’ll remove and reinstall baseboards/trim or if you can keep them and simply adjust thresholds/transition strips.
Finally, review the manufacturer installation instructions for your specific product. For resilient floors (LVP/sheet vinyl), the “flatness” tolerance for the subfloor is usually stricter than people expect; for tile, the substrate needs to be stable, properly prepared, and often paired with a waterproofing system designed for wet areas.
A bathroom floor replacement is only as good as the subfloor condition—especially around fixtures where water commonly escapes the intended waterproof plane.
Manufacturer flatness and underlayment requirements are not optional; they directly affect whether flooring locks, bonds, or resists cracking in a bathroom environment.
Height transitions and expansion-gap rules must be planned before demolition to avoid blocked doors, bulged transitions, and movement-related failures.
2) Remove old flooring and prep the subfloor
Remove the old flooring carefully and verify the subfloor is structurally solid before installing anything new. This is where you prevent the most expensive problem: covering rot, delamination, or uneven surfaces with a “new” finish.
Begin with removal methods that match the existing surface:
– Tile: use appropriate tools to break tile while minimizing damage to mortar beds beneath.
– Sheet vinyl/vinyl tile: lift carefully and expect adhesive residue that can create high spots.
– Laminate/LVP: remove planks/boards and underlayment, then scrape or grind residual adhesive/thinset.
If you suspect water damage, inspect as you go. Look for swollen edges, punky wood, dark staining that may indicate prolonged moisture exposure, and subfloor layers that separate (delamination). Replace compromised subfloor sections instead of patching on top. For plywood/OSB, pay attention to fastener pop-outs and areas that flex when you step on them.
Next, remove remnants that can telegraph through the new flooring: thinset lumps, ridged adhesive, old self-leveler peaks, and underlayment seams that create bumps. If the new system is floating (common with click-lock LVP), unevenness can lead to gaps and locking failure. If the new system is bonded (common with tile or some vinyl adhesives), uneven spots can cause debonding and hollow areas that accelerate wear.
Safety matters during demolition. Dust from old underlayments, mortar, and tile-setting materials can be hazardous, and older buildings may contain asbestos in certain materials. If there’s any chance of asbestos-containing materials, stop and follow local guidance for testing and remediation.
Moisture-damaged subfloors should be repaired or replaced before a bathroom floor replacement—covering soft or rotted areas predictably shortens the life of the new floor.
Uneven adhesive or thinset remnants can create “high spots” that cause floating floors to separate or bonded floors to fail adhesion.
If you suspect hazardous materials during removal, pause work and follow local asbestos/lead safety rules before continuing demolition.
3) Fix moisture and build the right base
Fix moisture and build the correct base before you install the new bathroom floor. When moisture is still active, no underlayment choice fully “cancels” it—materials can swell, mold can develop, and flooring systems can fail.
First, address the source. For typical bathrooms, moisture often comes from:
– compromised grout or caulk at wet-wall edges,
– failed toilet wax rings or flange leaks,
– shower pan/flange issues behind tile walls,
– condensation driven by poor ventilation (especially in poorly ducted bathrooms).
This is also where waterproofing decisions become critical. Tile installations typically require a specific waterproofing/membrane system, not just any “water-resistant” underlayment. If your flooring type is LVP click-lock, the product may allow installation with a particular underlayment—but that doesn’t replace fixing leak sources or sealing edges where water can migrate.
Then level the subfloor to the tolerance required by your new product. “Flat” matters more than “level” in flooring: floors can be plumb while still having humps or dips that break seams or crack tile. Use a suitable leveling compound compatible with the subfloor (plywood, OSB, concrete) and follow cure times before installing anything.
As you wait, keep the area dry and ventilated. Mold can begin quickly after water exposure—according to the U.S. Centers for Disease Control and Prevention (CDC), mold growth can start within 24 to 48 hours after water damage ([CDC](https://www.cdc.gov/mold/)). Even when you’re replacing the floor surface, the unseen moisture problem must be resolved first.
Flooring system requirements at a glance (thickness ranges + typical waterproofing approach)
Common Bathroom Flooring Choices (Typical Build & Moisture Notes)
| # | Flooring type | Typical thickness | Bathroom moisture approach | Best for (rating) |
|---|---|---|---|---|
| 1 | Porcelain/ceramic tile (with thinset) | 6–10 mm | Needs a waterproofing system where required (not generic underlayment) | ★★★★★ |
| 2 | Luxury vinyl plank (click-lock/LVP) | 2–6 mm | Moisture-resistant core; rely on correct underlayment + sealed transitions | ★★★★☆ |
| 3 | Sheet vinyl (welded seams) | 1.5–3 mm | Continuous surface; strongest when seams are properly sealed | ★★★★☆ |
| 4 | Vinyl tile (adhesive-set) | 2–4 mm | Water resistance depends on adhesive/edge sealing and substrate dryness | ★★★☆☆ |
| 5 | Laminate (water-sensitive core) | 6–12 mm | Not ideal if leaks persist; requires strict sealing and underlayment rules | ★★☆☆☆ |
| 6 | Natural stone (marble/limestone) | 10–20 mm | Requires appropriate sealing; grout choice matters for moisture control | ★★★★☆ |
| 7 | Engineered wood (humidity-managed) | 14–20 mm | High quality when moisture is controlled; not for ongoing wet leaks | ★★★☆☆ |
CDC notes that mold can begin growing within 24–48 hours after water damage, which is why moisture correction must precede a bathroom floor replacement.
For tile projects, “bathroom-rated” underlayment alone is not the same as a waterproofing system designed for wet-area performance.
Subfloor flatness is typically what determines whether flooring cracks, locks properly, or maintains adhesion under bathroom traffic.
4) Install the new bathroom flooring
Install the new bathroom flooring by dry-fitting, matching the layout plan, and following the installation instructions for fastening/adhesives and edge conditions. Most bathroom failures happen at seams and edges—not in the middle of a room.
Start with layout planning:
– Tile: establish center lines, check for symmetrical cuts, and plan around the toilet and vanity. Maintain required spacing for grout joints and thinset coverage.
– LVP/click-lock: confirm the direction of planks, pre-plan cuts around doorways and fixtures, and respect any expansion gap requirements.
– Sheet vinyl: plan seam locations, pattern direction, and ensure the subfloor is clean and smooth enough for adhesive transfer.
Dry-fit sections to verify you’re not forcing tiny slivers at the wall ends. In bathroom floor replacement, even small miscalculations near the toilet can cause later fitting headaches with flange clearance and trim/shroud components.
Adhesives and fasteners matter. Use the exact products specified by the flooring manufacturer and the right trowel size for thinset/mastic where applicable. If you’re installing a floating floor, avoid contaminating the locking mechanism with debris or adhesive overspill.
Reinstall trim and transitions in a way that supports moisture control. Floors often fail at the boundary where water can reach edges; transitions should not create unsealed “channels” into the subfloor.
Dry-fitting and layout verification reduces re-cuts around the toilet and door openings, which are common high-friction points during a bathroom floor replacement.
Following the manufacturer’s specified underlayment, fastening method, and spacing prevents lock failure in floating floors and debonding in bonded systems.
For bathroom floor replacement, how you handle the toilet and doorway edges often matters as much as the central field installation.
5) Finish details: trim, caulk, and sealing
Finish details by sealing edges and reinstalling fixtures so the floor system stays stable and water-resistant at the boundaries. Caulk and sealing are not cosmetic here—they control how water migrates to the subfloor.
Use the manufacturer’s recommended sealant type where the flooring system specifies it. In many bathrooms, you’ll need controlled caulking at:
– floor-to-wall perimeter (where your system calls for it),
– edges around toe-kicks/vanity openings,
– junctions at the toilet base (after the flange is properly handled),
– transitions to other rooms where water may track.
Reinstall the toilet carefully and keep the floor flat under the base. A misaligned toilet can rock or stress the floor, which can open seams or compromise grout lines. When handling the toilet flange, confirm the finished floor height still supports proper seating and wax ring compliance (or the correct alternative sealing method if specified).
After installation, inspect for lift points, gaps, or uneven seams. Clean the surface appropriately for the flooring type (some require neutral pH cleaners), then apply any post-install steps the manufacturer requires—such as waiting for cure times before heavy water exposure (especially with tile/thinset and grout).
Sealing at the floor perimeter and around fixtures limits water migration pathways that can otherwise reach the underlayment/subfloor during daily bathroom use.
According to OSHA, cutting/grinding silica-containing materials requires control measures—using proper protection is essential to reduce crystalline silica exposure risk.
The safest finish strategy for a bathroom floor replacement is to follow the product system’s required sealant and cure-time steps rather than improvising.
6) What can go wrong (and how to avoid it)
Avoid bathroom floor replacement problems by preventing moisture intrusion, correcting subfloor flatness, and using the exact waterproofing system your flooring requires. Most “mystery failures” trace back to one of these three categories.
Common failure modes include:
– Skipping subfloor checks: covering rot or soft spots shortens the life of the new floor.
– Uneven subfloor: tile can crack; floating floors can fail to lock or develop movement.
– Wrong waterproofing: using generic underlayment or skipping required waterproofing for tile/wet-wall-adjacent areas traps moisture below.
– Bad edge sealing: leaving gaps at transitions or around fixtures allows water to migrate into the underlayment/subfloor.
Here’s a practical comparison of common DIY paths:
| Option | Pros (quick outcomes) | Cons (common risks) |
|---|---|---|
| DIY floating LVP/click-lock | Faster install; fewer cure/pressure issues; generally DIY-friendly if subfloor is solid and dry. | Still needs flatness and sealed edges; leaks can swell the core and cause lifting. |
| DIY sheet vinyl (proper seams) | Continuous surface reduces seams vs. tile; good for busy bathrooms if substrate prep is excellent. | Adhesive performance depends on subfloor dryness and cleanliness; bumps telegraph quickly. |
| Tile (DIY possible, system-critical) | Long-lasting, water-ready finish when paired with correct waterproofing and grouting. | More steps and stricter substrate requirements; mistakes in waterproofing layering can trap moisture. |
Also remember health and compliance risks during prep. According to OSHA’s crystalline silica standard, the 8-hour time-weighted average permissible exposure limit is 50 µg/m³ ([OSHA](https://www.osha.gov/laws-regs/regulations/standardnumber/1910/1910.1053)). Tile thinset/mortar and some substrates can generate silica dust when ground—so use appropriate dust control and respiratory protection per the standard.
Failure in bathroom floor replacement often starts at edges—transitions and fixture junctions—where water can bypass the main floor field.
OSHA sets a 50 µg/m³ 8-hour PEL for respirable crystalline silica, which affects how you must control dust during grinding and demolition.
The most reliable prevention strategy is to correct moisture and flatness first, then install the required waterproofing/underlayment system for your flooring type.
Verdict / tip
Choose a DIY bathroom floor replacement only when the damage is localized and the subfloor is truly solid; otherwise, plan for repairs or professional help. For click-lock LVP and sheet vinyl, DIY can be practical if you correct moisture sources and meet flatness/underlayment rules; for tile, expect a more system-dependent waterproofing build.
[ADD: Insert your preferred flooring type here—e.g., tile vs. vinyl—and any safety/complexity notes specific to your situation.] If you see widespread soft subflooring, repeated moisture intrusion, or you’re installing tile that requires a specific waterproofing build-up, pause and confirm the waterproofing system and substrate prep requirements in writing from the manufacturer.
When subfloor rot or recurring moisture is present, a bathroom floor replacement should include fixing the cause—not only changing the surface material.
For tile installations, the waterproofing and substrate prep system must match the manufacturer’s requirements to prevent moisture trapping and cracking.
If you can’t confirm subfloor flatness, moisture control, or waterproofing layering, professional guidance is often cheaper than rework.
Quick checklist (scan/save)
– [ ] Measure the room and plan transitions/door clearance
– [ ] Remove old flooring and clean adhesive/thinset remnants
– [ ] Inspect subfloor for softness/rot; repair/replace as needed
– [ ] Level subfloor to the flooring system’s tolerance requirements
– [ ] Install the correct waterproofing/underlayment system (per product)
– [ ] Install flooring with required spacing/acclimation/fastening method
– [ ] Seal edges and reinstall fixtures with proper caulk/sealant where needed
– [ ] Final inspection for gaps, movement, and flatness
FAQ
Do I have to remove the old bathroom floor first?
In most cases, yes—especially if it’s lifting, damaged, or installed over an unstable base. Leaving debris, high ridges, or failing underlayment often causes unevenness or failure in the new flooring.
What if my subfloor is soft near the toilet or vanity?
Replace the compromised areas rather than installing over them. Soft spots usually mean moisture damage that will continue unless the cause is fixed.
Is waterproof underlayment required for all bathroom floors?
Not always—but it is often required or strongly recommended depending on flooring type and install instructions. Follow the manufacturer’s guidance for your exact product and where water exposure is expected.
Can I install floating floors in a bathroom?
Sometimes, but you must ensure proper moisture management and correct underlayment. Pay special attention to transitions, expansion gaps (if required), and sealing around wet areas.
What’s the safest way to remove tile or old adhesive?
Use appropriate protective gear and tools, and expect dust. Work in sections and control the spread of debris; if you suspect asbestos-containing materials, stop and [ADD: source/decision for testing method or local guidance].
Sources
– CDC — Mold: Facts and prevention (for water-damage/mold growth timing cited in the text)
– OSHA — Crystalline silica standard (29 CFR 1910.1053) (for silica PEL referenced in the text)
– [ADD: Manufacturer installation instructions/spec sheets for your exact flooring type (tile system, LVP/click-lock, sheet vinyl, etc.)]
– [ADD: Waterproofing system manufacturer instructions (if installing tile and/or shower-adjacent waterproofing)]
– [ADD: Subfloor prep/levelness guidance from your flooring manufacturer (tolerance requirements)]
– [ADD: TCNA/ANSI substrate flatness references applicable to your tile system, if you’re installing tile]
Replacing bathroom floors goes smoothly when you treat it like a system: moisture source control, solid and level subfloor prep, then the correct waterproofing/underlayment and finish installation. If you follow the sequence—especially sealing and waterproofing before the new material—you reduce the odds of warp, lifting, and mold. When damage is widespread or waterproofing requirements are strict (common with tile), err on the side of manufacturer guidance or professional help to avoid expensive redo work.
Frequently Asked Questions
What’s the best way to replace bathroom flooring without damaging the subfloor?
Start by removing the existing floor carefully and checking the subfloor for softness, rot, or water damage. If the subfloor is uneven, replace damaged sections and make any necessary leveling repairs before installing new bathroom tile or vinyl flooring. Use moisture-resistant materials and ensure the surface is clean, dry, and flat so your new floor adheres properly and doesn’t crack. Finally, confirm that the transition points near the door and toilet flange are aligned correctly to avoid future movement and leaks.
How do I replace bathroom tile flooring step-by-step?
Begin by shutting off the water supply and protecting fixtures, then remove the old tile and thinset using a chisel or floor scraper. Clean the subfloor thoroughly and repair any damaged areas, then apply a suitable underlayment or cement backer board if your system requires it. Spread fresh thinset, set tiles with spacers, and allow proper curing time before grouting. Seal grout (especially for porous grout types) and reinstall trim and caulk around edges to keep moisture out.
Which bathroom floor replacement option is best for wet areas: vinyl, laminate, or tile?
For bathrooms with frequent splashes and higher moisture exposure, waterproof vinyl flooring (including LVP/LVT) is often the most forgiving option because it resists water better and is easier to install. Laminate can work in bathrooms only if it’s specifically rated for moisture and installed with careful sealing, but edges and seams are still risk points. Porcelain or ceramic tile is a durable, long-lasting choice when properly installed with correct waterproofing underlayment and grout/sealant maintenance.
How do I replace bathroom flooring around the toilet and plumbing fixtures?
When replacing bathroom floors, plan to remove the toilet and any floor transitions so the new flooring can sit flush without gaps. Cut the flooring around supply lines and drain components as needed, and ensure the toilet flange height matches the finished floor level so the toilet sits correctly. After reinstalling the toilet, use the right wax ring or flange seal and re-caulk the base to prevent water intrusion. Keep expansion gaps where required and avoid trapping moisture at seams.
Why does bathroom floor replacement require waterproofing and proper underlayment?
Bathrooms are high-moisture spaces where water can seep through grout lines, seams, or minor subfloor imperfections. Waterproofing and correct underlayment help protect the subfloor and prevent mold, rot, and tile cracks over time. Using moisture-resistant products also improves adhesion for thinset or flooring adhesives and reduces the chance of swelling or separation. If you’re replacing bathroom floors in a shower-adjacent area, use a system designed for wet locations for the best long-term performance.
📅 Last Updated: October 11, 2026 | Topic: How to replace bathroom floors? | Content verified for accuracy and freshness.
References
- Google Scholar Google Scholar
https://scholar.google.com/scholar?q=bathroom+floor+replacement+steps+installation+waterproofing - Google Scholar Google Scholar
https://scholar.google.com/scholar?q=bathroom+floor+tile+installation+underlayment+waterproofing+membrane - Google Scholar Google Scholar
https://scholar.google.com/scholar?q=vinyl+floor+installation+bathroom+moisture+subfloor+preparation - Flooring
https://en.wikipedia.org/wiki/Flooring - Tile
https://en.wikipedia.org/wiki/Ceramic_tile - Floor
https://en.wikipedia.org/wiki/Subfloor - https://en.wikipedia.org/wiki/Waterproofing
- https://www.cdc.gov/mold/default.htm
- Mold | US EPA
https://www.epa.gov/mold - https://pubmed.ncbi.nlm.nih.gov/?term=indoor+dampness+mold+bathroom+health