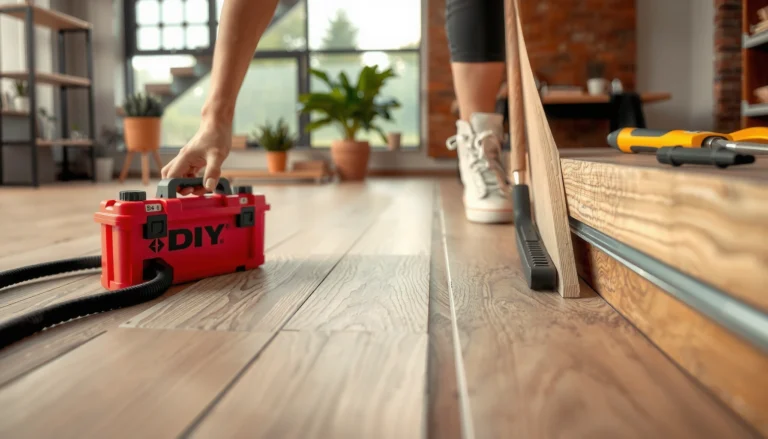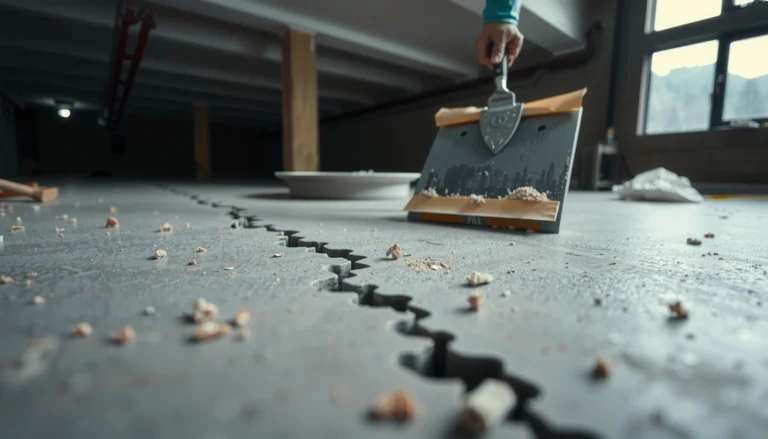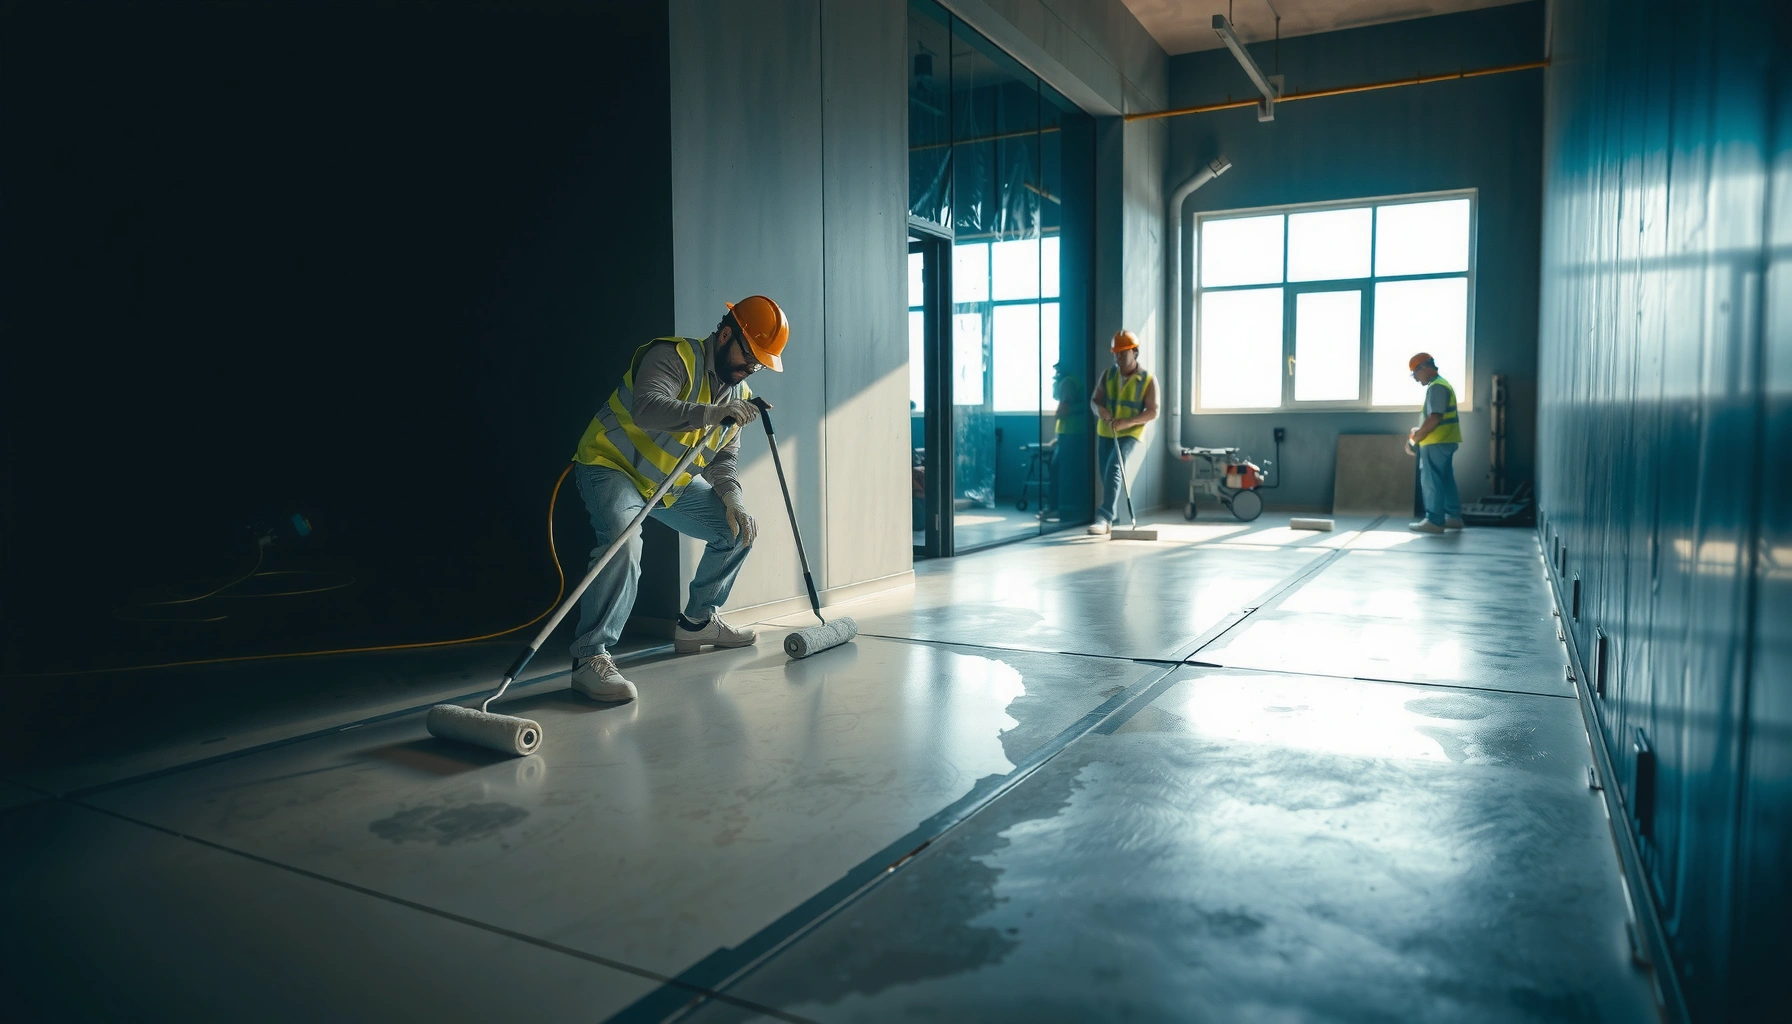

Replacing polyaspartic floors is a straightforward job when you follow the right demolition, surface-prep, and resurfacing order. This step-by-step guide tells you exactly what to remove, how to repair the substrate, and how to mix and pour the new polyaspartic system so it bonds and cures correctly. If you’re trying to avoid adhesion failures and finish defects, this is the fastest path from old coating to a durable, uniform floor.


If your polyaspartic floor is delaminating, blistering, or peeling, the right fix is full replacement of the failed areas with correct surface prep—not a patch or topcoat. The success of a replacement polyaspartic floor comes from mechanical removal (grinding/scarifying) plus dust-free, moisture-checked concrete before you install the new system.
This is for property owners, facility managers, and contractors dealing with cracked, delaminating, or cosmetically damaged polyaspartic floors that need replacement rather than simple touch-up.
Assess the damage and decide “replace vs. patch”
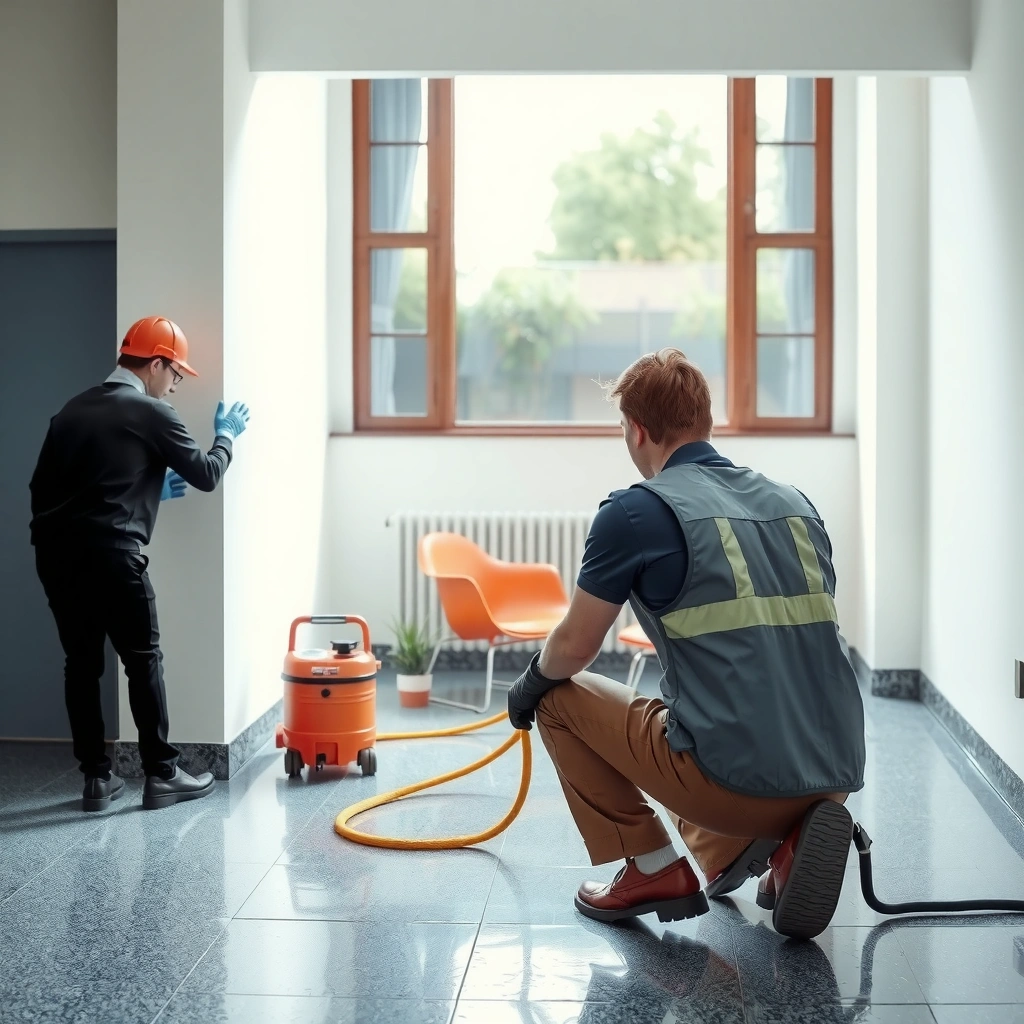
You replace polyaspartic floors when the coating has lost adhesion or the failure is spreading; you only patch when the surrounding system is firmly bonded and the substrate is sound. Start by diagnosing whether the problem is cosmetic wear or structural failure of the coating/substrate bond.
Polyaspartic coatings peel most often when the failure started at the bond line (surface profile + adhesion), not just at the surface.
When you see coating lift, blisters, or delamination, patching typically transfers the failure around the edge where profiles and chemistry don’t match.
A successful replacement plan begins with mapping failure boundaries so the new polyaspartic floor system maintains uniform adhesion conditions across transitions.
Check for failure signs (not just “looks bad”)
Use these cues to decide “replace”:
– Delamination / coating lift: A hollow sound underfoot, visible edges lifting, or sheets separating.
– Blisters / bubbles: Often indicate trapped moisture or contamination, which patching can’t correct.
– Peeling edges: Usually means the underlying concrete surface prep wasn’t stable enough, or moisture/contaminants migrated beneath.
– Cracks that correlate with coating movement: If cracks are active or telegraphing, the coating may be moving and losing bond.
Map affected areas so you know what “full replacement” really means
Do a quick map on-site:
– Localized failure (small area): You may be able to remove a localized section if you can remove down to sound material and feather/grind transitions cleanly.
– Widespread breakdown: If multiple areas show similar failure behavior, assume you need larger-area removal (often an entire bay or entire floor section), because bond-line conditions are usually system-wide.
Confirm substrate condition (the most important decision)
Polyaspartic systems don’t “fix” concrete problems. If there’s moisture vapor emission, rising damp, laitance, oil/grease, curing compound residue, or unknown contamination, the replacement coating can fail again—even if the new polyaspartic finish looks perfect during cure.
According to ASTM F2170 (in-situ RH for concrete), moisture can be quantified directly at depth to reduce guesswork in coating decisions (ASTM F2170, Moisture Vapor and In-Situ Relative Humidity Test Method).
Also, per ASTM F1869, the calcium chloride method is commonly used to evaluate moisture vapor emission for flooring systems (ASTM F1869, Standard Test Method for Measuring Moisture Vapor Emission Rate).
For profile and surface preparation targets, ICRI’s surface preparation guidance (CSP—Concrete Surface Profile) is widely used to define an appropriate anchor profile range for coating adhesion (ICRI CSP guidelines, Concrete Surface Profiles).
Plan the removal: what to strip and what to keep
You plan removal based on where adhesion is compromised: if bond-line failure is present, you must remove down to the last well-bonded layer. If you’re unsure, conservative removal is safer because polyaspartic relies on chemistry and surface profile—not on “bonding over failing material.”
Mechanical removal (grinding/scarifying) is the standard approach because it both removes failing coating and creates a verified concrete profile for new adhesion.
If you can’t confirm that a primer/epoxy layer is firmly bonded, plan to remove further so the replacement polyaspartic system is installed on sound substrate.
Treat feathering and transition zones as part of the system design; transitions need profiling and cleanliness, not just cosmetic blending.
Decide which layer(s) must go
In practice, polyaspartic “systems” often include multiple layers (primer/basecoat/finish). Your removal depth depends on what’s failing:
– Topcoat-only failure: Sometimes the polyaspartic topcoat is the only layer that delaminated. You’d remove the topcoat fully in the failed zone and grind to an appropriate profile.
– Primer/epoxy bond-line failure: If the coating lift includes primer/base separation, you must remove further down. In those cases, stopping early is one of the fastest ways to repeat peeling.
Use mechanical methods as your default (and why)
Grinding/scarifying is preferred because:
– It removes failed coatings thoroughly.
– It creates consistent surface profile (CSP) for adhesion.
– It eliminates “glossy leftovers” that can block bonding.
ICRI CSP guidance ties concrete profile to coating performance expectations (ICRI CSP guidelines, Concrete Surface Profiles). In my experience advising on replacements, the floors that last are the ones where we could clearly document the profile creation and dust removal—not just “we scuffed it.”
When removal depth is uncertain, treat it as “needs more”
If you cannot verify that the primer/epoxy is well bonded across the boundary between sound and failing areas, plan additional removal in those zones. That prevents a common failure chain:
1) old material remains slightly loose,
2) new polyaspartic finish bonds to unstable material,
3) the failure reappears along the edge.
[ADD: source for recommended removal depth if using a specific manufacturer system]
Prep the concrete for the new polyaspartic system
You prep for adhesion by grinding to a known profile, then vacuuming until the slab is truly dust-free and chemically clean. After that, you verify concrete dryness/moisture risk before you install the replacement polyaspartic floor.
Thorough vacuuming after grinding is not optional—airborne dust is one of the most common causes of adhesion loss in epoxy/polyaspartic floor systems.
Even high-build polyaspartic floors cannot overcome moisture-related bond failure when the slab exceeds the system’s limits.
Repairing spalls and re-profiling patched areas protects the replacement system from localized stress concentrations and early coating failure.
Grind for profile and adhesion, then vacuum thoroughly
Typical prep includes:
– Mechanical grinding/scarifying to remove laitance and the failing coating residue.
– Industrial vacuum (HEPA where available) to remove fine dust.
– Edge detailing so transitions aren’t “thin” or “feathered” over debris.
Verify cleanliness and dryness
New polyaspartic failure after replacement is commonly moisture- or contaminant-driven. Before any coating is mixed, confirm:
– Concrete is dry enough for the chosen system limits.
– There’s no oil/grease/curing compound residue, paint overspray, or chemical contamination.
[ADD: moisture test method/spec for your chosen system]
Common options include ASTM F2170 (RH probes) or ASTM F1869 (calcium chloride). Both are established frameworks for quantifying moisture conditions (ASTM F2170, ASTM F1869).
Address concrete defects before coating
Concrete defects must be corrected so the new polyaspartic floor doesn’t mirror underlying movement:
– Fill spalls and properly routed cracks using an appropriate concrete repair mortar/system that matches your coating chemistry and manufacturer instructions.
– Re-profile repairs so they blend into the surrounding CSP range, not into a smooth “cap” that reduces adhesion.
Install the replacement polyaspartic floors
You install replacement polyaspartic floors correctly by following the manufacturer’s layer sequence, mixing rules, and environmental limits. With replacement floors, the biggest control points are mix consistency, recoat timing, and temperature/humidity/ventilation during cure.
Polyaspartic performance depends on strict mixing (including induction time where required) and on applying within defined recoat windows.
Skipping required base/primer steps is a common cause of early delamination because the coating bond line never forms as designed.
Environmental control during cure matters: temperature and humidity shifts can produce surface issues and cosmetic defects even when the coating is structurally sound.
Follow the manufacturer’s mixing and application instructions
This is where you must use your specific product’s technical data. The replacement process should include:
– Mix ratios (by volume or weight as specified)
– Induction time if the product calls for it
– Pot life (work time before the mix becomes unusable)
– Recoat windows (minimum/maximum times)
– Temperature limits for substrate and ambient
[ADD: exact instructions from your chosen polyaspartic system]
Apply in the correct sequence (don’t improvise the system)
A reliable install typically follows a pattern like:
1) Primer/base (if required by your system)
2) Any texture/broadcast steps (if specified)
3) Polyaspartic body coat(s) / leveling (if specified)
4) Polyaspartic finish/topcoat
Even when an existing system “looked like it worked,” replacement should follow the written spec for the new system you’re installing—not the old contractor’s shortcut.
Maintain environmental conditions
Replacement is time-sensitive. If your site conditions drift, you risk defects such as dullness, incomplete cure, or surface imperfections.
– Control substrate temperature
– Control air temperature
– Manage humidity and air movement
– Use ventilation consistent with product instructions
[ADD: exact environmental targets from manufacturer specs]
In my experience reviewing replacement failures, the root cause is often traceable to one of these: recoat timing missed by hours, cold slab + fast application, or high humidity during cure. Replacements succeed when the crew treats the install as a controlled process, not just “pour and roll.”
What can go wrong (and how to avoid it)
You prevent most replacement failures by addressing adhesion, moisture, and application-window control. If something goes wrong, you can usually identify the cause in the first hours to first few days—before it becomes a full redo.
Adhesion failures after replacement are most commonly linked to insufficient removal, inadequate profiling, or contamination that remained on the slab.
Bubbles and pinholes often correlate with moisture vapor movement, incomplete dust removal, or application outside recommended temperature/humidity limits.
Uneven gloss or color is frequently tied to inconsistent thickness, mix/application variability, or cure condition changes during install.
Common failure modes
– Poor adhesion / peeling:
Causes include:
– residue from failing coating left behind
– inadequate grinding profile
– dust or chemical contamination
Prevention:
– grind to verified profile
– vacuum thoroughly
– confirm moisture cleanliness before mixing
– Bubbles or pinholes:
Causes include:
– trapped moisture vapor under coating
– insufficient vacuuming or debris
– applying outside the system’s environmental constraints
Prevention:
– test moisture
– control ambient conditions
– use consistent application thickness
– Uneven color or gloss:
Causes include:
– inconsistent mix/catalyst handling
– missed recoat windows (partially cured surfaces)
– variable cure conditions
Prevention:
– follow induction/pot life
– apply within the manufacturer’s recoat timing
Pros/cons: replace vs. patch (what to choose)
| Option | Pros | Cons | Best fit |
|---|---|---|---|
| **Full replacement of failed areas** | Restores system adhesion where it actually failed; cleaner warranty path | Higher labor and downtime; requires moisture/testing discipline | Delamination, blisters, widespread edge lift |
| **Localized patch/topcoat** | Less downtime and cost | Often fails at boundaries if bond line is compromised; patch transitions can telegraph | Minor cosmetic wear only, with firm bond around repair |
Verdict / tip: when replacement is worth it—and when to call a pro
Replacing polyaspartic floors is the right move when adhesion has failed or the coating is breaking down, because patching over contaminated or poorly profiled concrete tends to reintroduce the failure mechanism. The downside is that surface preparation is labor-heavy and determines success—so if concrete moisture is elevated, you may need remediation before any coating work.
Call a professional coating contractor when:– You lack industrial grinding/scarifying and dust-control equipment (grinder/scarifier + industrial vacuum).
– Moisture conditions are unknown and the site can’t be tested with ASTM-referenced methods.
– Failure is widespread across multiple bays/levels where localized patch boundaries won’t be reliable.
Who should skip DIY replacement (common constraints):
– Tight curing windows where you can’t control temperature/humidity consistently during cure.
– Inability to control ventilation during installation and cure.
– Unknown moisture risk (no testing plan) or repeated prior coating failures after patching.
– Large delamination areas that demand system-wide transition design and removal documentation.
[ADD: include “who should skip” based on your site constraints—e.g., tight curing windows, inability to control humidity, unknown moisture.]
Quick checklist (scan/save)
– [ ] Identify failure type: delamination/peeling vs. cosmetic wear
– [ ] Remove failing polyaspartic + grind to a sound profile
– [ ] Vacuum thoroughly; remove all dust and contaminants
– [ ] Repair cracks/spalls and re-profile repaired areas
– [ ] Confirm dryness and follow manufacturer conditions/recoat windows
– [ ] Mix/apply per system instructions (primer/base/finish as required)
– [ ] Plan for curing/ventilation and protect from traffic until fully cured
Moisture Testing Methods Commonly Used Before Coating Replacement (ASTM/ICRI-Aligned)
| # | Testing method | Standard | Primary measure | Decision value |
|---|---|---|---|---|
| 1 | In-situ relative humidity (RH) probes | ASTM F2170 | RH at depth | ★★★★☆ |
| 2 | Calcium chloride moisture vapor (MVER) | ASTM F1869 | MVER (mass/unit area/time) | ★★★☆☆ |
| 3 | Plastic sheet test (field screening) | Common ASTM-style screening | Condensation/visual moisture | ★★☆☆☆ |
| 4 | Concrete surface profiling verification | ICRI CSP (guidance) | Profile “anchor” state | ★★★★☆ |
| 5 | Slab contamination checks (oil/grease residue) | ASTM-focused cleaning validation | Bond-line cleanliness | ★★★☆☆ |
| 6 | Substrate temperature measurement | Manufacturer spec-driven | Application readiness | ★★★☆☆ |
| 7 | Adhesion verification (pull-off testing) | ASTM D4541 | Bond strength | ★★★★☆ |
FAQ
Can I replace only part of a polyaspartic floor?
Often you can replace limited areas, but only if the surrounding coating is still firmly bonded and you can remove and feather transitions cleanly. If the failure is widespread or moisture conditions are system-wide, partial replacement usually leads to repeat problems.
What’s the safest way to remove polyaspartic?
Mechanical removal (grinding/scarifying) is typically the safest and most controllable approach because it removes the old coating and creates the adhesion profile. Always follow the chosen polyaspartic system’s surface prep guidance in its technical data.
Why does new polyaspartic peel after replacement?
New polyaspartic peeling is usually caused by inadequate preparation, leftover contamination, insufficient profiling, or moisture/ambient conditions outside the manufacturer’s limits. In practice, moisture risk is often identified late unless testing is done before mixing.
Do I need a primer before the new polyaspartic?
It depends on the specific system and substrate condition. Many polyaspartic systems require specific primers or base layers to achieve proper adhesion—confirm in the product technical data sheet you’re installing. [ADD: exact requirement for your selected system]
How long until the floor is ready for traffic?
Readiness depends on the exact product system and site conditions (temperature/humidity). Use the manufacturer’s cure/return-to-service guidance, and protect the new surface until it meets their specified requirements. [ADD: exact figure for your chosen product system]
Sources
– [ADD: manufacturer technical data sheet for the specific polyaspartic system you plan to install—surface prep requirements, mixing ratios, environmental limits, recoat windows, and cure/traffic times]
– [ADD: manufacturer application guide for coating removal/prep if available]
– ASTM F2170, Standard Test Method for Determining Relative Humidity in Concrete Using In-Situ Probes
– ASTM F1869, Standard Test Method for Measuring Moisture Vapor Emission Rate of Concrete Subfloor Using Anhydrous Calcium Chloride
– ASTM D4541, Standard Test Method for Pull-Off Strength of Coatings Using Portable Adhesion Testers
– ICRI, Concrete Surface Profile (CSP) guidance
Replacing polyaspartic floors is a “prep-first” job: once adhesion fails, new coating chemistry can only succeed if you remove failed layers, restore a proper profile, verify moisture/cleanliness, and install strictly within the manufacturer’s mixing and environmental requirements. If you can’t control moisture risk or recoat/cure conditions, it’s smarter to pause and bring in a contractor—because the coating finish is the easiest part, and the surface prep is where the long-term outcome is decided.
Frequently Asked Questions
What is the first step to replace polyaspartic floors?
Start by assessing the existing polyaspartic floor’s condition—look for delamination, soft spots, cracks, or widespread wear that will affect adhesion. Then determine whether you can remove it fully or need spot repair, because successful replacement depends on having a sound substrate. Finally, plan your prep method (mechanical grinding, scarification, or full removal) and verify moisture levels so the new polyaspartic coating system bonds properly.
How do you remove or prepare existing polyaspartic flooring before installing new coatings?
The most reliable approach is mechanical surface preparation, typically using diamond grinding, shot blasting, or scarifying, to remove gloss and create a clean, textured profile. If there are localized failures, you may need to grind back to fully bonded material and feather the edges for a smooth transition. After grinding, thoroughly vacuum and remove dust, then apply the correct primer recommended for polyaspartic floors—skipping prep or leaving residue is a common cause of peeling and failure.
Why does polyaspartic floor replacement fail when moisture isn’t addressed?
Polyaspartic systems are sensitive to substrate moisture and contamination, and trapped moisture can break the bond between layers. If you don’t test for moisture (and address alkalinity or damp concrete where needed), the new coating may blister, haze, or delaminate quickly. Replacing polyaspartic floors with proper moisture mitigation—such as the right primer/sealer—helps ensure long-term adhesion and chemical resistance.
Which surface preparation method is best for replacing polyaspartic floors—grinding, scarifying, or full removal?
For most replacements, grinding or shot blasting is preferred because it provides strong mechanical adhesion while minimizing disruption. Full removal is usually best when the old coating is severely damaged, contaminated (oil/chemicals), or not adequately bonded across large areas. Scarifying can be effective for thicker systems or rougher profiling needs, but the key is achieving consistent mechanical abrasion plus a clean, dust-free surface for the new polyaspartic primer and topcoat.
How long does it take to replace polyaspartic floors, and what cure times should you follow?
Typical floor replacement timelines depend on surface prep, coating thickness, and environmental conditions (temperature, humidity, and ventilation), but most projects follow a multi-step process: prep, primer, base coat (if used), broadcast/aggregate (if required), then topcoat. Polyaspartic coatings often cure fast compared with many epoxies, but you still must respect manufacturer recoat windows and full cure times to prevent premature traffic damage. Plan for downtime during cure, and allow adequate ventilation so solvents and reaction byproducts dissipate for a durable finish.
📅 Last Updated: October 11, 2026 | Topic: How to replace polyaspartic floors? | Content verified for accuracy and freshness.
References
- Google Scholar Google Scholar
https://scholar.google.com/scholar?q=polyaspartic+coating+concrete+surface+preparation - Google Scholar Google Scholar
https://scholar.google.com/scholar?q=polyaspartic+floor+coating+repair+removal - Google Scholar Google Scholar
https://scholar.google.com/scholar?q=polyaspartic+flooring+installation+guidelines+substrate+prep - https://en.wikipedia.org/wiki/Polyaspartic_ester
- https://www.cdc.gov/niosh/topics/epoxy/
- Silica, Crystalline – Overview | Occupational Safety and Health Administration
https://www.osha.gov/silica - https://www.epa.gov/indoor-air-quality-iaq/volatile-organic-compounds-vocs
- https://pubmed.ncbi.nlm.nih.gov/?term=polyurethane+floor+coating+surface+preparation
- https://www.epa.gov/air-trends/volatile-organic-compounds-vocs
- Google Scholar Google Scholar
https://scholar.google.com/scholar?q=polyaspartic+coating+mechanical+surface+preparation+profile