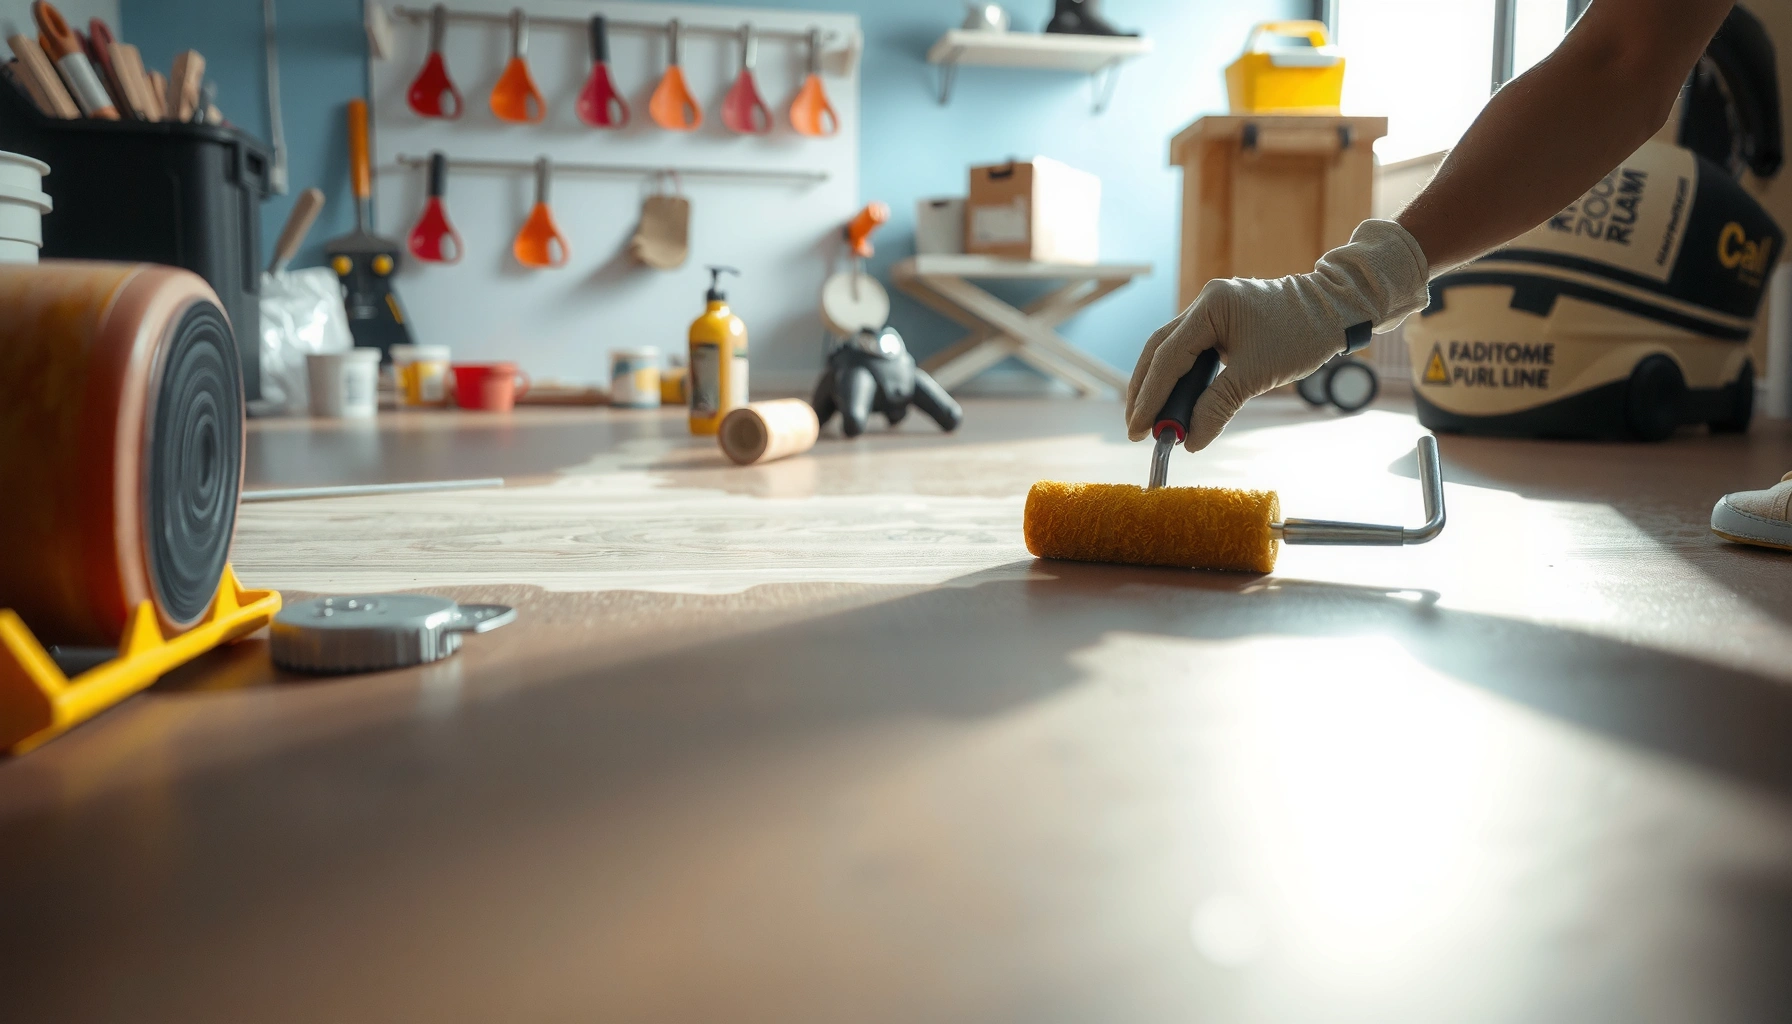

If your stained concrete floor is damaged or you’re ready for a fresh surface, replacing it is the cleanest path—when the stains won’t come out and the concrete is cracked, pitted, or uneven. This step-by-step guide walks you through removing the old slab or section, preparing the base, installing and finishing new concrete, and matching the look so the floor holds up instead of staining again. Get the exact sequence and checkpoints to finish with a durable, uniform result.


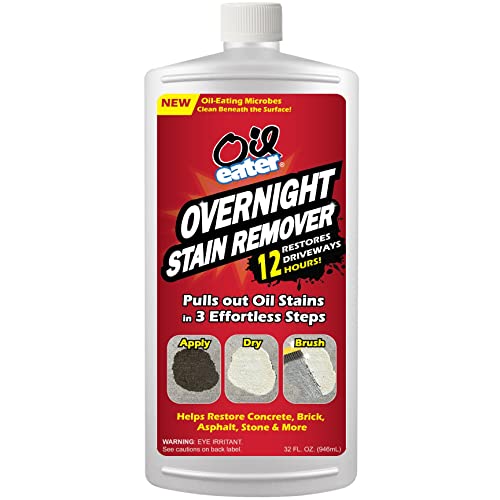
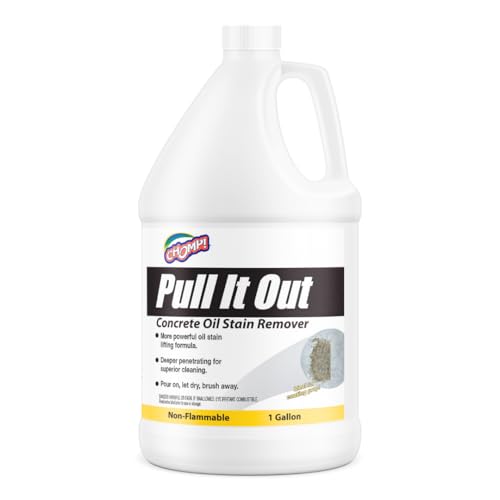
If your stained concrete floor is too damaged or the color won’t come clean, the practical fix is to remove the existing surface layer and replace it with new concrete (or an overlay system designed for stained slabs). In this guide, we’ll walk through how to assess the slab, choose the right replacement approach, prep properly, and finish so the new surface looks even and lasts.
This is for homeowners, landlords, and contractors who are dealing with stained concrete that’s cracked, peeling, worn thin, or cosmetically failing. If your floor is structurally sound, you may not need full replacement—but you’ll be able to tell which path makes sense by the end.
Assess the slab first (before you start demo)

Replacing stained concrete works best when you confirm the slab is failing cosmetically—not structurally. Here’s how to separate “surface failure” (often fixable with resurfacing/overlay) from “slab failure” (where replacement or major remediation is the safer move).
Before demolition, we assess three things: structural integrity, what “stained” means in your case, and how far you need to go (spot repair vs. full replacement). This step prevents the most expensive mistake in stained concrete work: preparing a coating/overlay for the wrong substrate condition and then watching it fail later.
Crystalline silica dust during concrete grinding/cutting is regulated under OSHA’s respirable crystalline silica standard at a 50 µg/m³ (8-hour TWA) limit. OSHA 29 CFR 1926.1153
The recommended approach to evaluating slab suitability for coatings/overlays is to confirm bonding conditions: clean, sound concrete surface with no incompatible residue and acceptable moisture conditions, per the system manufacturer’s technical data.
Penetrating stains and film-forming sealers/paints behave differently during removal and prep, so the “stain type” determines what must be removed for adhesion.
What to look for (structural vs. cosmetic failure)
– Check for structural issues: deep cracks, heaving, spalling (flaking), or any signs the slab is moving. If you see signs of movement (e.g., widening cracks that correlate with seasonality), assume the slab is still working.
– Identify what “stained” means in your case: penetrating stain versus paint/sealer over stain. Penetrating systems chemically tint the concrete surface; coatings and paints often form a film that must be fully removed to restore adhesion.
– Decide your scope: full replacement (new slab) vs. resurfacing/overlay vs. replacing only parts (patching).
Quick decision rule
– If the slab surface is worn, coated, or cosmetically failing, start planning for removal + resurfacing/overlay.
– If you have spalling, movement, or persistent moisture-related deterioration, plan for replacement or a hybrid approach (subgrade/moisture remediation plus replacement of affected zones).
Remove the stained concrete safely
You can only get a durable result if demo is controlled, dust is managed, and incompatible layers are removed completely. The safer, cleaner your removal, the easier it is to reach a sound bonding surface.
Concrete demolition creates two major problems: respirable silica exposure and residue contamination (old sealers/coatings mixed into the surface). Removal isn’t just “break it up”—it’s a controlled process designed to protect workers and prevent bonding failures later.
OSHA’s silica standard requires employers to implement control methods such as water suppression, HEPA vacuums, and respiratory protection when feasible during tasks that generate respirable silica. OSHA 29 CFR 1926.1153
For adhesion success, surface prep must remove weak layers and any material that prevents direct bonding to the new system (e.g., remaining sealer film, paint, or contamination).
Step-by-step removal (practical and site-safe)
– Protect the area: control dust with proper containment/HEPA vacuuming and use appropriate respirators and eye/skin protection. (If you’re unsure about required protection levels, follow OSHA guidance and your contractor’s site safety plan.)
– Plan the removal method:
– Grinding/scarifying for thin coatings, paint overspray, or “stain + sealer” systems where you need to reach clean concrete.
– Breaking out sections for heavily damaged slabs (spalls, delaminations, or localized failures).
– Dispose responsibly: follow local rules for concrete dust/debris and any coating waste. Some sealers and coatings can be regulated depending on their composition—verify with your waste hauler or local authority.
Tooling reality check
– Expect more mess with impact demo and more surface profile variation unless you plan for feathering and smoothing.
– Expect more dust with dry grinding unless you use wet methods and/or HEPA capture, per your safety plan.
Prepare the sub-base and make the surface ready to bond
The new surface only performs as well as the bond line. This step is where most “it looked great at first” failures are born—especially when residue remains or the slab’s moisture/flatness is outside the coating/overlay’s limits.
Bonding failures are commonly caused by incomplete removal of sealer/paint residue or by applying a system to concrete that is contaminated or not properly prepared for adhesion.
Repair materials must be compatible with the intended overlay/coating system; otherwise, you can get cracking, debonding, or visible telegraphing.
Prep steps that matter (and why)
– Clean thoroughly: remove all residue (old sealer, loose particles, curing compounds) so new materials can bond.
– Repair before coating: patch spalls/cracks with a compatible concrete repair product and allow full cure time per manufacturer instructions. If you skip cure windows, you risk weak edges under the overlay.
– Test flatness and porosity:
– Uneven slabs can telegraph through thin coatings.
– Surface porosity affects stain outcomes; coatings/overlays require a predictable substrate profile.
– Moisture or contamination can prevent adhesion—validate before you commit.
What “good bonding-ready concrete” looks like
From a contractor workflow standpoint, you want:
– No glossy coating sheen
– No loose aggregates
– No powdery weak layer (often called laitance)
– A surface profile appropriate to the overlay/coating manufacturer’s instructions
Choose your replacement approach (replacement vs. overlay)
The best approach depends on whether the slab is structurally sound and whether you can achieve the required surface and moisture conditions. In many stained floor failures, an overlay system is faster and less invasive than full slab replacement—if the prep and compatibility checks are done correctly.
This section is where we decide: remove and resurface, remove and overlay, or replace concrete. The right call reduces rework, reduces downtime, and improves the odds of an even stained look.
Full replacement is generally reserved for slabs with significant structural distress (e.g., widespread spalling, movement, or contamination that can’t be removed to acceptable bonding conditions).
Overlay systems can be a viable alternative to replacement when the system is designed for the substrate and the contractor meets surface prep and moisture requirements from the manufacturer’s technical data.
Comparison: replacement vs. overlay (scan-friendly)
| Option | Best for | Main constraints |
|---|---|---|
| Full concrete replacement | Movement, severe spalling, or slab conditions you can’t prep into an acceptable bonding substrate | Higher cost, downtime, and coordination with doors/thresholds |
| Resurfacing (thin-to-mid thickness) | Cosmetic failure when the slab is flat enough for the system’s thickness range | Requires strict substrate prep and correct cure windows |
| Overlay system (including decorative/stained look options) | Fast turnaround and consistent results—when the overlay is rated for the substrate and moisture conditions | Moisture compatibility is non-negotiable; incomplete residue removal is a common failure driver |
Match finishes to your goal
If you want the stained look again, plan whether you’ll use a penetrating stain on bare concrete or a decorative system over an overlay. A penetrating stain generally requires exposed, bare concrete that meets the system’s surface cleanliness requirements. If you instead tint or color an overlay with a decorative system, the manufacturer will define the proper steps for appearance uniformity and sealing.
Mandatory moisture check (before committing)
Most coating/overlay systems publish moisture limits and test methods. Use the method specified by the system manufacturer rather than improvising.
Moisture Testing Methods for Concrete Before Coatings/Overlays (Common Standards)
| # | Moisture method | Primary standard | What it estimates | Decision clarity |
|---|---|---|---|---|
| 1 | In-situ RH probe | ASTM F2170 | Relative humidity at slab depth | ★★★★★ |
| 2 | Calcium chloride (MVER) | ASTM F1869 | Moisture vapor emission rate | ★★★★☆ |
| 3 | Plastic sheet test | ASTM D4263 | Surface condensation potential | ★★★☆☆ |
| 4 | Concrete surface pH | ASTM F710 (practice) | Alkalinity affecting coatings | ★★★☆☆ |
| 5 | Moisture meter (non-destructive) | Device-specific guidance | Relative moisture presence | ★★☆☆☆ |
| 6 | Thermal/IR inspection (screening) | Project practice | Moisture-related anomalies | ★★☆☆☆ |
| 7 | Embedded sensor monitoring (longer-term) | Project-specific | Longitudinal moisture behavior | ★★☆☆☆ |
Apply new surface and finish for a uniform look
Achieving an even stained or finished appearance is mostly a controlled workflow problem: prep quality, compatible materials, and correct sequencing. If you treat this like a “coat-and-hope” job, you’ll see blotches, peeling, or dull patches.
This is where you follow the manufacturer’s system instructions, including cure times and recoat windows. For stained aesthetics, uniform absorption matters—so uniform substrate prep matters.
Stain blotchiness is commonly linked to uneven surface absorption, residue, or inconsistent surface profile—so correcting prep issues is usually more effective than trying to “fix color” after application.
Film-forming sealers protect the surface but can also lock in variability; apply them consistently within the stated coverage rate and recoat timing.
The correct sequence (what to do in order)
– Substrate prep → skim/patch (if needed) → install overlay or pour/repair → cure → surface treatment (stain/sealer).
– Prevent blotchiness:
– Address residue and leftover sealer/paint film during prep.
– Ensure consistent surface profile and cleanliness across the whole slab.
– Seal consistently:
– Apply sealer per coverage and recoat requirements.
– Maintain environmental conditions (temperature/humidity) within the product’s stated range.
Practical appearance controls
– Do test areas if you’re restaining for visual match.
– Maintain consistent mixing ratios for any tinted products.
– Avoid “touch-up by memory”—document batch mixing and application pattern.
What can go wrong (and how to avoid it)
Most failures come from predictable root causes: incompatible prep, unresolved moisture, rushed cure timing, or cracks returning through the finish. Avoiding these issues is mostly about matching the system to the slab—then respecting the manufacturer’s cure and application conditions.
Applying an overlay/coating over remaining sealer film is a common cause of delamination and fisheyes, because the bond line is interrupted by contamination.
Cosmetic crack repair can fail if the slab continues to move; surface fixes should be preceded by root-cause assessment (subgrade, drainage, foundation movement, or moisture pressure).
– Remaining sealer or coating over the slab: can cause stain failure, fisheyes, or patchy color—verify removal is complete.
[ADD: source for compatibility/prep requirements from the stain/overlay manufacturer]
– Cracks that return: if the slab is still moving, cosmetic repairs will eventually re-crack—address root causes (foundation/subgrade/moisture) first.
– Bond failure from moisture: if the slab is damp or not compatible with the chosen overlay/coating, the finish may peel or debond. Use the moisture limits and test method required by the system manufacturer. [ADD: source for recommended test method]
– Skipping cure/coat timing: rushing cure windows can lead to soft surfaces, poor adhesion, and uneven results.
Pros/cons snapshot: where DIY vs contractor matters
- DIY-friendly when:
- the slab is structurally sound, the failure is mainly surface coating-related, and the system allows homeowner installation with clear technical documentation and strict prep.
- Contractor-required when:
- you see movement/heaving, wide spalling areas, ongoing moisture issues, or you must meet strict moisture and bond protocols for commercial warranties.
Verdict: when DIY replacement makes sense (and when it doesn’t)
DIY replacement (or resurfacing) makes sense when the slab is mostly sound and you’re switching from one surface treatment to another—because you can control prep quality and follow the exact system steps. Don’t pursue DIY full replacement if you have structural movement, widespread spalling, or moisture problems you can’t identify; in those cases, the cost of doing it wrong is usually higher than a planned remediation and rebuild.
Downsides to consider:
– Turnaround time: full replacement plus cure often extends downtime longer than overlays.
– Cost of disposal: demo generates regulated waste streams depending on coatings.
– Floor height changes: overlays and resurfacing can raise thresholds; replacement can change door clearances and transitions. [ADD: specific floor height impact for your situation]
From my professional planning perspective (not a lab test), the biggest determinant of success is whether your selected system’s documentation matches your slab’s condition—especially moisture and bond-line prep. When those match, outcomes are far more predictable.
Quick checklist (scan before you start)
– [ ] Identify the slab condition: cracks/spalling/levelness/moisture signs
– [ ] Determine what’s on the floor: stain type vs paint/sealer
– [ ] Plan demo method (grind/scarify vs remove sections)
– [ ] Achieve clean, bonded-ready concrete (no residue/weak layer)
– [ ] Repair cracks/spalls and let cures complete
– [ ] Choose replacement approach (full replacement vs overlay system)
– [ ] Finish with consistent staining and sealing per manufacturer steps
FAQ
Do I always need to replace stained concrete floors?
No. If the concrete is structurally fine, you can often refinish with proper cleaning and removal of failing coatings/sealers, or use an overlay system designed for stained slabs. Replace only if the slab surface is failing or too contaminated/uneven for a compatible system.
What’s the first step: stain removal or floor repair?
Start with assessment, then prep: remove what prevents bonding (old sealer/loose material) and repair cracks/spalls before applying new finishes. Doing repairs after finishing usually leads to visible patches and adhesion issues.
Will the new stain color match the old one?
Not automatically. Staining results depend on concrete porosity and whether the surface is truly uniform. If you need an exact match, test in a small area first and document the process.
Can I apply an overlay over previously stained concrete?
Sometimes, but only if the system is rated for that substrate and you fully meet its prep requirements. Any remaining sealer or incompatible coatings can cause delamination or uneven finish—confirm with the overlay manufacturer’s technical guidance. [ADD: exact spec/technical bulletin source]
How do I know if moisture will ruin the new finish?
Look for moisture indicators (efflorescence, dampness, persistent odor) and follow the moisture testing guidance provided by the product manufacturer for coatings/overlays/stains. [ADD: source for the recommended test method]
Sources
– OSHA 29 CFR 1926.1153 (Respirable Crystalline Silica) — silica exposure limits and control requirements.
– [ADD: Manufacturer technical documents for the stain product you plan to use—prep requirements, cure times, and compatibility with concrete/sealers.]
– [ADD: Manufacturer technical bulletin for your chosen overlay or resurfacing system—bonding prep, moisture limits, and application steps.]
– [ADD: Concrete repair product manufacturer instructions—recommended patch types and cure windows.]
– [ADD: Source for concrete moisture testing method used by coating/overlay manufacturers (e.g., ASTM F2170, ASTM F1869, or manufacturer guidance).]
A durable stained-concrete “replacement” is really a system match: assess what’s structurally wrong, remove what prevents bonding, control moisture, and finish with the exact sequence your materials require. If you treat the bond line and cure timing as non-negotiable, you’ll get a more uniform appearance and fewer surprises—whether you choose full replacement or a properly prepped overlay.
Frequently Asked Questions
What’s the best way to determine whether I can replace stained concrete floors or just refinish them?
Start by checking whether the stain is only on the surface or has penetrated deeper. If the floor is structurally sound and the issue is mainly discoloration, grinding and re-staining or sealing is often more cost-effective than replacing concrete. Use a straightedge for flatness and look for spalling, deep cracking, or moisture issues; if the slab is failing, replacement or a full resurfacing system may be necessary. A professional moisture test can also help you decide whether refinishing will last.
How do I remove old stain from concrete before replacing or overlaying?
If you plan to replace the appearance rather than physically replace the slab, you’ll usually need to mechanically remove existing staining and any topcoats through diamond grinding or shot blasting. Chemical strippers may help in some cases, but they often leave residues that can interfere with adhesion for new concrete coatings. After grinding, thoroughly vacuum and clean the surface, then let it dry completely before applying a new concrete stain, overlay, or resurfacer. Always follow the product’s preparation steps, especially regarding pH and surface profile.
How do I replace stained concrete floors with a resurfacing system instead of removing the slab?
A concrete overlay or resurfacer can cover discoloration and mild surface damage without full demolition. After removing the old stain, repair cracks with a suitable concrete patch, then apply a bonding primer if required. Trowel or broadcast the resurfacer to achieve the correct thickness, cure it fully, and then apply your chosen stained concrete finish (such as acid stain or water-based stain) followed by an appropriate sealer. This approach is typically faster and less disruptive than full replacement.
Why does replacing or refinishing stained concrete sometimes lead to peeling or blotchiness?
Most failures come from improper surface prep, moisture, or incompatible coating systems. If stain or sealer residue remains, new concrete stain or coating may not adhere uniformly, causing uneven color or peeling. Moisture vapor transmission can also push coatings off or create bubbling and discoloration. Fixing the problem usually means proper grinding/cleaning, moisture testing, and using a stain + sealer system designed to work together.
Which materials and tools are best for replacing stained concrete floors successfully?
For replacement via overlay or resurfacing, you’ll typically need diamond grinding equipment (or a shot blaster), a vacuum, concrete crack repair products, a bonding primer, and a quality concrete resurfacer. For the finish, choose a stain type that fits your goals—acid staining for variegated effects or water-based concrete stain for more controllable color. Finally, use a sealer recommended for stained concrete floors, such as a penetrating sealer or a durable topcoat depending on foot traffic. With the right tools and a compatible stained concrete floor system, results are more even and longer-lasting.
📅 Last Updated: October 10, 2026 | Topic: How to replace stained concrete floors? | Content verified for accuracy and freshness.
References
- Google Scholar Google Scholar
https://scholar.google.com/scholar?q=how+to+remove+concrete+stains+and+old+coatings+surface+preparation - Google Scholar Google Scholar
https://scholar.google.com/scholar?q=concrete+floor+stain+removal+acid+etching+grinding+mechanical+methods - Google Scholar Google Scholar
https://scholar.google.com/scholar?q=how+to+replace+or+resurface+stained+concrete+floor+overlay+repair - https://en.wikipedia.org/wiki/Concrete_repair
- Glass ceiling
https://en.wikipedia.org/wiki/Concrete_floor - https://en.wikipedia.org/wiki/Concrete_staining
- https://en.wikipedia.org/wiki/Concrete_flooring
- https://en.wikipedia.org/wiki/Surface_preparation
- Silica and Worker Health | Silica | CDC
https://www.cdc.gov/niosh/topics/silica/ - https://www.osha.gov/crystalline-silica