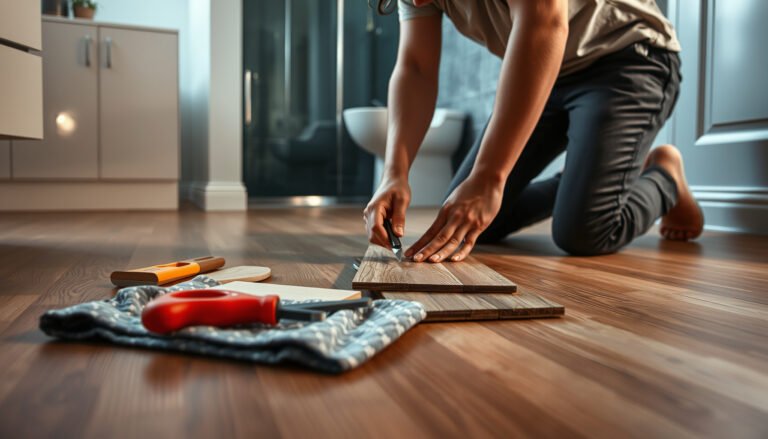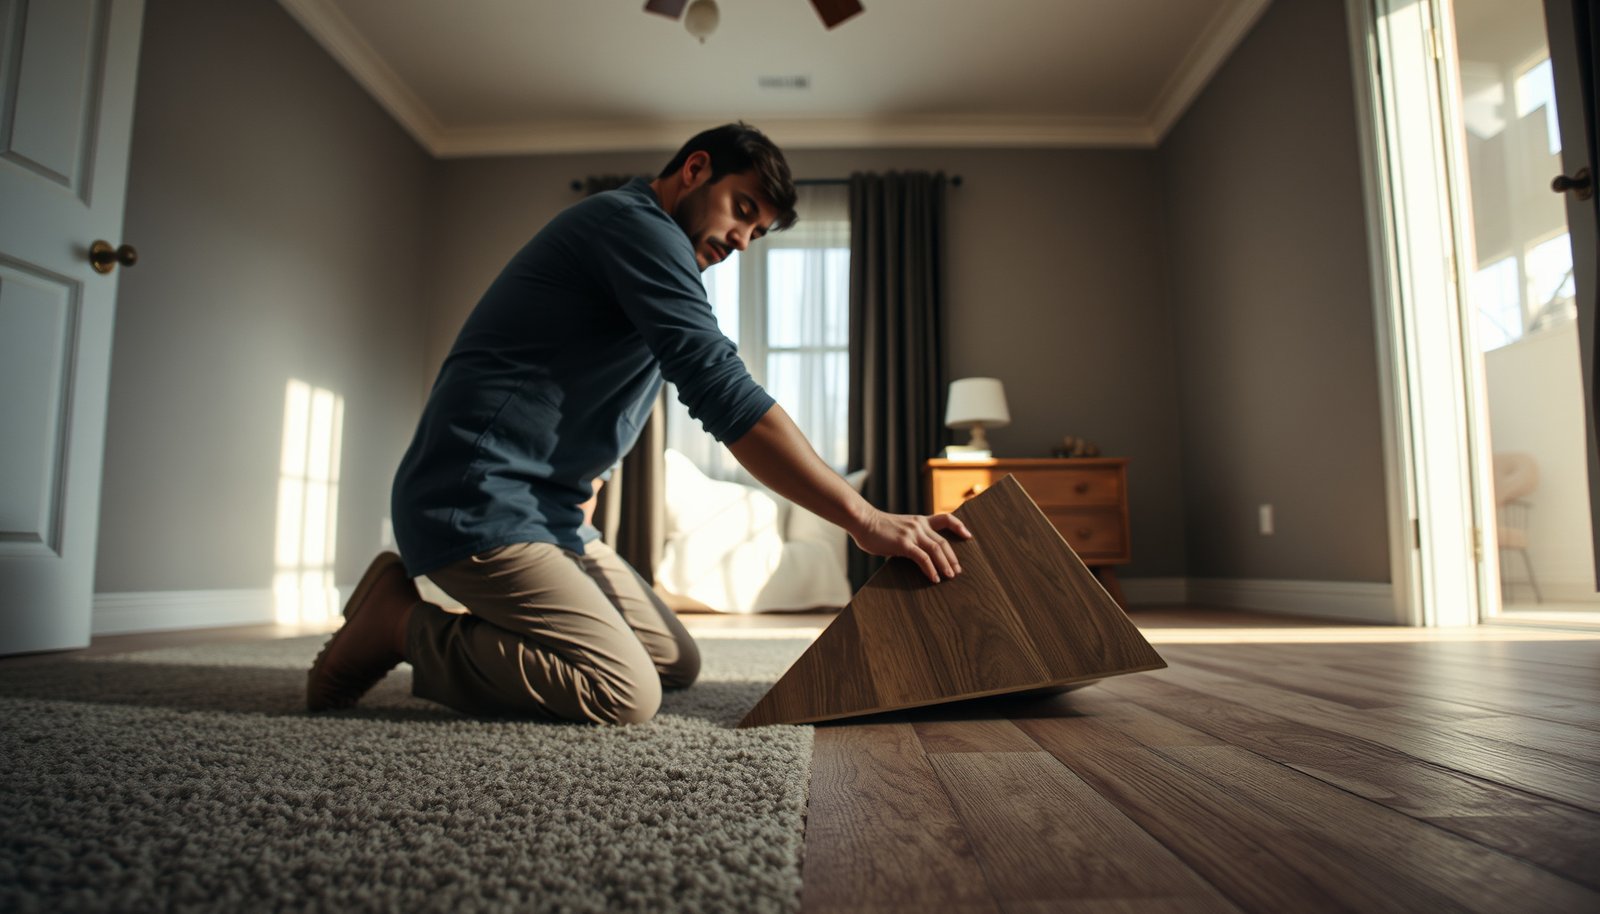

If you need to repair LVP floors in a bedroom, the fastest path to a clean, durable fix is to identify the exact damage—loose seam, raised plank, crack, or wear layer damage—and follow the matching step-by-step repair. This guide tells you exactly what to do in each scenario, from diagnosing the cause to replacing a damaged plank and restoring the floor to a flat, secure fit. By the end, you’ll know the quickest, most reliable method for fixing your bedroom LVP without making the problem worse.




If your LVP is damaged in a bedroom, the best repair usually depends on what’s broken: fix scratches/gouges with a filler kit, re-seat loose or raised planks by tapping them back into alignment, and replace planks that are cracked or badly swollen. You’ll learn how to quickly identify the damage type, choose the right repair method, and avoid common mistakes that can make the problem worse.
This guide is for homeowners (and careful renters) dealing with typical bedroom LVP issues like scuffs, separations at seams, loose click-lock planks, or one plank that needs replacement. If your flooring is heavily buckled, separated at seams across large areas, or there’s ongoing moisture, you may need a more complete repair than a plank-by-plank fix.
Assess the damage first (what’s actually wrong?)
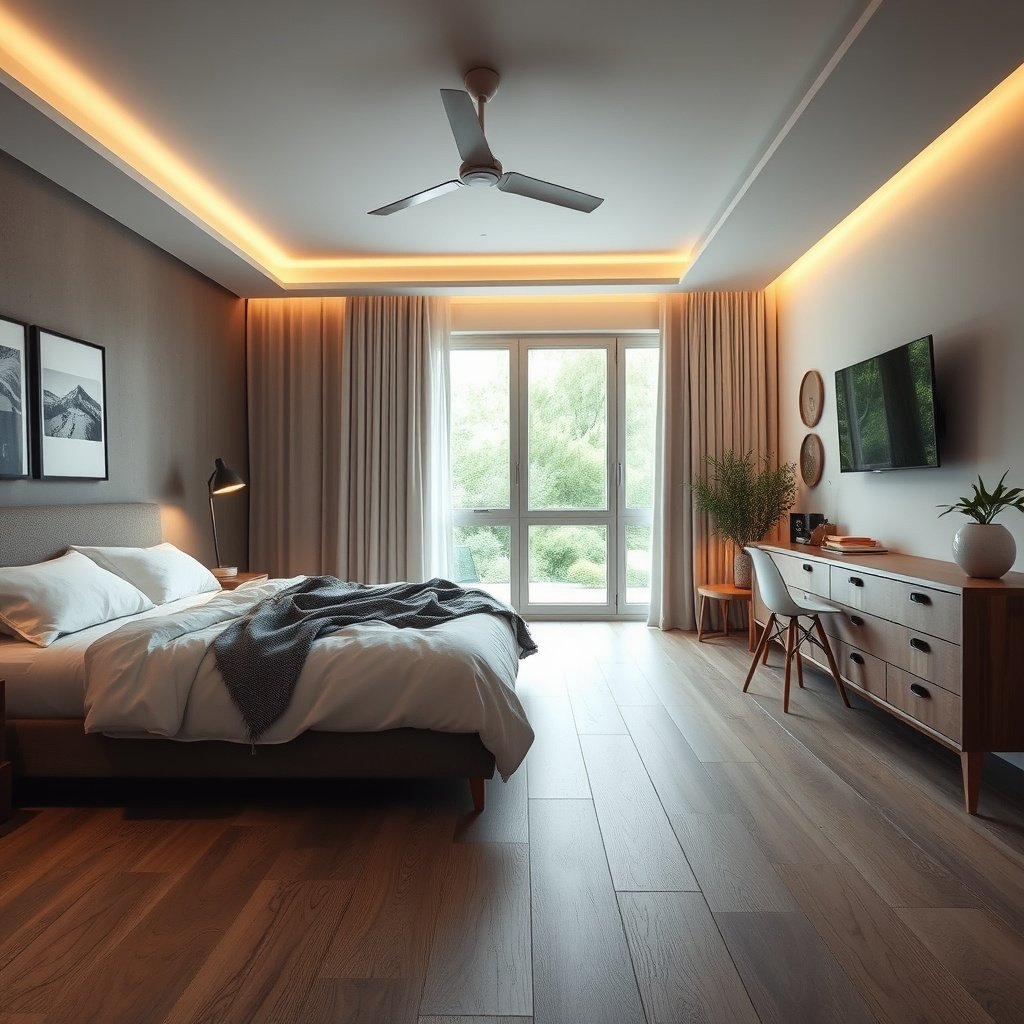
The fastest way to choose the right LVP repair is to identify whether the problem is only cosmetic or if the plank/core has failed. Most bedroom LVP repairs fall into three categories: surface wear (scratches/chips), mechanical joint failure (seams lifting), or plank-level damage (cracks/swelling).
Click-lock LVP is designed to “float” and relies on its mechanical locking joints; when those joints fail, the fix is usually re-seating or replacing planks—not gluing.
Glue-down LVP is installed with adhesive and requires adhesive-appropriate repairs; re-seating like a floating floor can worsen bond and edge stress.
Start by checking whether the issue is surface-only (the top wear layer) or plank-level (the plank feels compromised). Surface damage often looks localized—like a scuff, a shallow gouge, or a small edge chip. Plank-level problems tend to show up as raised edges, visible cracking through the wear layer, gaps that keep widening, or a “click” that no longer engages at seams.
Next, look for moisture indicators. In bedrooms, moisture most often comes from spills, damp mops, humid climates, or leaks that weren’t noticed right away. If you feel soft spots, persistent swelling, or a “spongy” underfoot feel, you’re not dealing with a simple LVP scratch repair—you’re dealing with a moisture pathway that can travel under the plank and into the subfloor.
Finally, confirm your installation type:
– Click-lock “floating” LVP: planks lock together and sit over an underlayment (no permanent glue bond to the subfloor).
– Glue-down LVP: planks bond to the subfloor using manufacturer-approved adhesive (repairs often require matching adhesive steps).
Quick rule for LVP decision-making: if the plank moves relative to its neighbors, start with joint alignment; if the plank is damaged internally (cracked/swollen), plan on replacement.
Prep the area and gather supplies
Before you touch the damaged LVP plank, prepare the area so the fix is controlled and repeatable. In a bedroom, that usually means clearing the furniture zone, protecting adjacent planks, and having the correct replacement/repair material ready.
Replacing or re-seating LVP works best when the floor can relax in place without rolling traffic or shifted furniture across the repair zone.
Having replacement planks (or at least one matching board) on hand reduces downtime and color mismatch risk in LVP repairs.
Start with a clear workspace:
1. Move furniture away from the damaged section (or at least lift it so no load is applied during the repair).
2. Remove transition pieces or base trim only if necessary to access the perimeter gap or to free a plank.
Gather the core supplies that match the likely LVP repair path:
– Replacement planks (same model, thickness, and finish if possible)
– Painter’s tape (to protect edges and control compound spread)
– Tapping block (to re-seat joints without damaging the plank)
– Pull bar / cold chisel (only for careful, minimal prying—especially near click-lock edges)
– Utility knife
– LVP/laminate repair putty or filler kit for scratches/gouges
– Clean cloths + appropriate cleaner for the LVP surface (use what the manufacturer approves)
Because LVP is sensitive to perimeter conditions, it helps to also have:
– Spacers for re-establishing expansion gaps *only if your perimeter gap is clearly wrong*.
– A straightedge for quick checks of any local unevenness.
Practical “repair path” map (what you should grab first)
LVP Bedroom Repair Path by Damage Type (Typical DIY Suitability)
| # | Damage type | First tool/material to use | Replace plank? | DIY suitability |
|---|---|---|---|---|
| 1 | Superficial scuff/scratch (top layer only) | Repair putty kit | No | ★★★★☆ |
| 2 | Small chip at edge (wear layer) | Repair putty + tape | No | ★★★☆☆ |
| 3 | Seam gap from minor joint lift (click-lock) | Tapping block | Sometimes | ★★★★☆ |
| 4 | Click-lock joint won’t engage after re-seat | Tapping block + pull bar | Yes (often) | ★★★☆☆ |
| 5 | Cracked plank (through wear layer) | Replacement plank | Yes | ★★★☆☆ |
| 6 | Swollen/cupped plank (moisture-affected) | Replacement + moisture check | Yes | ★☆☆☆☆ |
| 7 | Floor “trapped” at wall (base/trim pinning) | Perimeter spacers | Usually no | ★★☆☆☆ |
Repair minor surface damage (scratches and small gouges)
The best fix for minor LVP damage is a color-matched repair compound that fills only the wear-layer depression. This restores appearance, but it won’t reverse joint failure or moisture swelling in bedroom LVP.
Repair putty works best when the scratch is in the wear layer and the surrounding plank remains stable with no lifting at seams.
Avoid aggressive sanding on LVP: thinning the wear layer can make future scuffs more visible and reduce surface durability.
Step-by-step for typical scratches and small gouges:
1. Clean first. Remove dust, grit, and oils from the damaged area. Even small particles can prevent LVP repair putty from bonding cleanly.
2. Inspect depth. If the scratch is shallow and the surface is still smooth, you may not need sanding at all. If the spot is raised or rough, do a very light abrasion to level the surface—stop as soon as the high spot is gone.
3. Apply in thin layers. Fill scratches/gouges gradually. Thin layers are less likely to shrink or crack as they cure.
4. Wipe excess immediately. Most LVP repair compounds smear while wet; wiping off excess before curing improves the final finish.
5. Blend and match color carefully. Different LVP lines (even “same color”) can vary by tint. Test on a spare plank or hidden spot if you have one.
Color matching isn’t a “nice-to-have” in a bedroom. Bedroom lighting is often directional (table lamps, ceiling fixtures), so a slightly different putty tone can become obvious at night when shadows highlight texture changes. For the most consistent blend, work with a putty that’s explicitly made for LVP/laminate wear-layer repair (or follow your manufacturer’s approved compound list).
If the scratch is actually a chip through the wear layer and exposes a different substrate, compound can still help—but the appearance will be less perfect if the missing volume is significant. If the chip causes an edge to catch a sock or vacuum head, you may still need to replace the plank once the structural integrity of that edge is compromised.
Fix loose planks and raised seams
The quickest LVP seam repair is to re-seat click-lock joints (or, for glue-down floors, reassess whether the plank needs replacement). A raised seam usually means the locking profile is not engaged, the perimeter is stressed, or debris is preventing full contact.
For click-lock LVP, re-seating requires controlled pressure and correct alignment; forcing the seam can damage the locking edge and shorten plank life.
If multiple seams lift over a wider area, the cause is often subfloor movement or moisture—not a single “bad plank” fix.
Start with a movement check. Walk near the area (carefully) and watch which seams lift or open first. If the seam gap is localized to one plank, you can usually focus on that row. If gaps propagate across multiple rows, stop treating it as a one-plank issue.
Re-seat steps for click-lock LVP (floating floors)
1. Clear debris. Dust and micro-grit can stop a joint from locking fully. Wipe or lightly vacuum the seam line.
2. Use a tapping block. Place the block against the plank edge and apply light, even taps. The goal is alignment and full engagement, not brute force.
3. Work methodically. Re-seat the first joint that appears loose, then move outward. Don’t skip ahead if you see the seam “wants” to pop back up.
4. Avoid prying against the wear layer. A cold chisel can mark the top surface if you pry incorrectly—apply prying only where the manufacturer’s guidance would allow it.
Verify the perimeter gap (a common bedroom problem)
Even a correctly installed click-lock LVP can lift seams if the perimeter is trapped under trim. Bedroom baseboards can be reinstalled too tight, or remodelers can nail down trim after the floor has settled.
– Check walls and trim for signs of pinning.
– Ensure expansion gaps aren’t squeezed shut.
– If your perimeter is wrong, adjust the perimeter rather than repeatedly re-locking LVP seams.
For moisture-sensitive bedrooms, remember that swelling can create persistent seam gaps even after re-seating. If the seam opens again within days, you may be re-locking a plank that has already absorbed moisture—at which point, replacement and moisture investigation become the real repair.
Click-lock vs glue-down: how the repair approach changes
| Topic | Click-lock (floating) LVP | Glue-down LVP |
|---|---|---|
| What causes seam lift | Joint not fully engaged, debris in lock, or perimeter stress | Adhesive bond failure, subfloor irregularity, or moisture under the plank |
| First repair action | Re-seat with tapping block; check expansion gap | Assess bond; plan adhesive-compatible replacement if needed |
| What to avoid | Glue on a floor designed to float; forcing damaged locks | Re-floating with no adhesive plan; using wrong glue type |
| Likelihood of full DIY success | High for localized lifting with clean locks | Moderate to low if adhesive bond has failed widely |
Replace a damaged LVP plank (when filler won’t hold)
The right trigger for replacing LVP is when the plank is structurally compromised—cracked, chipped through the wear layer, or swollen from moisture. If the core is damaged or the locking edge is broken, putty won’t restore strength or prevent repeat problems.
A cracked or swollen LVP plank typically needs replacement because the movement and stress come from within the board, not just the surface.
Replacement planks for LVP should match the exact product line and thickness to keep seams aligned and avoid noticeable height differences.
Step-by-step removal for click-lock planks
1. Start from the correct edge. Click-lock boards release differently depending on which side of the lock you approach.
2. Release the locking joints. Work slowly at the seam so you don’t stress adjacent planks.
3. Lift the plank out without levering the neighbors. Use controlled tapping/pulling to free the joint rather than prying against finished surfaces.
Step-by-step removal for glue-down planks
Glue-down LVP repairs depend heavily on your manufacturer’s removal guidance and adhesive type. In many cases, you’ll cut the plank and remove sections carefully to avoid damaging subfloor and underlayment. If you don’t have the manufacturer’s instructions, it’s often safer to pause and consult a flooring professional—glue systems vary widely.
Install the replacement plank
For click-lock:
1. Align the locking edges exactly.
2. Press/lock in place using the method in your LVP instructions.
3. Reinstall any trim or transition pieces so the perimeter gap isn’t pinched.
For glue-down:
1. Prepare the subfloor and remove any adhesive residue per manufacturer steps.
2. Use only the adhesive specified for your flooring.
3. Set the plank and allow cure time before replacing traffic.
One important bedroom reality: replacement boards can look slightly different, especially under evening lighting. That mismatch risk is highest when you can’t match the exact tint and finish. If you only have partial stock or leftover planks from a different batch, test placement in the most visible area first.
Prevent repeat damage in a bedroom
The best way to keep LVP looking good is to prevent point pressure, manage humidity/moisture, and protect the perimeter from being pinched. Most repeat LVP “repairs” are actually repeat causes.
Felt pads and protective chair/wheel mats reduce localized stress that can cause seam gaps and wear-layer scuffs on LVP.
Water under LVP can spread beyond the visible spill area, so preventing moisture intrusion matters as much as repairing what you see.
Here are prevention steps that directly reduce common bedroom failures:
1. Reduce point pressure
– Use felt pads under bed frames, dressers, and nightstands.
– Avoid dragging chairs across LVP; lift and place them.
– For rolling items (office chair in a guest bedroom), use a plastic mat rated for hard floors.
2. Control moisture
– Keep HVAC stable and address humidity swings.
– Use a doormat at entry points near bedroom doors.
– Clean spills immediately and avoid soaking; wipe, don’t flood.
3. Keep perimeter conditions correct
– Ensure trim isn’t pinning the floor.
– Maintain expansion gaps around walls and pipes.
– After renovations, re-check that trim hasn’t been reinstalled tightly over the LVP perimeter.
Moisture investigation matters because even one damp plank can become a seam-lifter across time. If you suspect water intrusion but can’t find the original source, consider a moisture assessment before you do more cosmetic repairs. For example, moisture testing for resilient flooring commonly follows established methods such as ASTM test procedures, including in-situ relative humidity testing and calcium chloride testing. Also note that acceptable moisture thresholds vary by flooring and underlayment system, so follow your specific LVP manufacturer’s limits.
What can go wrong + Verdict / tip + scan checklist + FAQ
The most common DIY failure with bedroom LVP repairs is treating every problem like a cosmetic patch. The right move is to start least invasive (clean, re-seat, fill), then escalate to plank replacement when the core or locking edge is compromised.
Using the wrong adhesive (for example, gluing a floating click-lock floor) can prevent normal movement and lead to new lifting at seams.
Re-locking swollen LVP may feel “fixed” temporarily, but swelling often returns if moisture remains in the subfloor or underlayment.
What can go wrong (and how it shows up)
– Common mistake: using glue/adhesive where your floor is designed to float can prevent normal movement and lead to more lifting.
– Edge case: a plank swollen from moisture often won’t hold a seam correctly—re-locking may fail again quickly.
– Mismatch risk: replacement planks that don’t match the exact product/tint can be very noticeable in bedrooms with consistent lighting.
– Tool damage: prying too aggressively can chip the plank edges, making a replace-or-replace situation worse.
From my side, the most time-saving approach I’ve seen work in real homes is to pause after the first re-seat/fill step and inspect whether seams or edges are still unstable. If the LVP keeps “moving” after you’ve cleaned and aligned it, that’s the moment to stop repeating the same action and diagnose moisture, subfloor flatness, or the locking profile condition.
Verdict / tip
Start with the least invasive fix (clean + re-seat, then surface repair). Replace planks only when they’re cracked, chipped through the wear layer, or repeatedly lifting. Skip DIY and consider a flooring professional if you suspect hidden water damage, if the subfloor is uneven/soft, or if many boards across an area are separating at once. This is especially important in bedrooms where moisture can linger unseen under furniture for weeks.
Quick scan checklist (save this)
| What you see | Likely fix | Stop and reassess if… |
|---|---|---|
| Scratch/scuff | Repair putty/compound | The area stays raised or spreads after cleaning |
| Small chip | Fill + blend | The wear layer is lifting or edges are loose |
| Seam gap / lifting edge | Re-seat planks (click-lock) | Multiple seams lift across a wider section |
| Cracked plank | Replace that plank | Adjacent planks also feel loose or damaged |
| Raised/bubbled sections | Check for moisture first | Subfloor feels soft or swelling returns quickly |
| Gaps at wall | Adjust perimeter gap | The floor feels trapped under trim |
Frequently Asked Questions
How do I fix a lifted or buckled LVP plank in a bedroom?
Start by identifying what’s causing the lift—usually excess moisture, temperature changes, or debris under the plank. If the LVP is click-lock, you can sometimes remove the affected plank and reinstall it after cleaning the subfloor and checking the groove alignment. For glue-down LVP, you’ll typically need to carefully remove the damaged section, scrape old adhesive, and re-glue with the correct flooring adhesive. Always address the root moisture or subfloor flatness issue before repairing to prevent repeat buckling.
What should I do if there’s a scratch or scuff on my luxury vinyl plank bedroom floor?
For light scratches, clean the area first, then try an LVP scratch repair kit or vinyl floor repair putty that matches your plank color and texture. For deeper gouges, you may need to fill the damaged area, allow it to cure, and then buff it lightly for a smoother finish. Avoid abrasive cleaners or steel wool, which can dull the finish and make the damage more visible. Regular maintenance like felt pads under furniture can also reduce future scuffs in high-traffic bedroom areas.
Why is my LVP floor separating at the seams, and how can I repair it?
Seam gaps are often caused by improper installation, insufficient expansion space around the perimeter, or subfloor movement and unevenness. To repair, first determine whether the gap is minor (you can sometimes realign boards) or widespread (it may require partial disassembly). For click-lock LVP, reinstalling the planks can restore the locking connection once the subfloor is clean and flat. If the floor is too tight against walls or trim, create the proper expansion gap to prevent further seam separation.
How do I replace a damaged LVP plank without replacing the entire bedroom floor?
If the plank can be accessed (especially with click-lock LVP), you can remove it by carefully disconnecting neighboring planks and lifting the damaged section out. For glue-down LVP, you’ll usually need to cut out the damaged plank with a utility knife, remove old adhesive residue, and install a replacement plank using appropriate vinyl flooring adhesive. Dry-fit the new plank before final installation, then reinstall transitions and baseboards to ensure a clean finish. Work slowly to avoid damaging surrounding planks, and keep replacement material on hand for easier future repairs.
Which adhesive or repair method is best for fixing loose or peeling LVP in a bedroom?
The best method depends on whether your luxury vinyl plank is click-lock or glue-down: click-lock floors are repaired by cleaning and re-engaging the locking mechanism, not by adding adhesive to the seam. For glue-down LVP, use a flooring-appropriate adhesive recommended for vinyl planks and apply it to the correct substrate surface condition (clean, dry, and properly prepared). If peeling is widespread, it may be due to moisture, dust, or improper subfloor prep, so correcting those issues is essential. For the strongest, longest-lasting repair, always follow the manufacturer’s installation and repair instructions for your specific LVP product.
📅 Last Updated: October 27, 2026 | Topic: How to repair LVP floors in a bedroom? | Content verified for accuracy and freshness.
References
- Vinyl flooring
- Vinyl composition tile
- F1066 Standard Specification for Vinyl Composition Floor Tile
- F1700 Standard Specification for Solid Vinyl Floor in Modular Format such as Tile(s) or Plank(s)
- F710 Standard Practice for Preparing Concrete Floors to Receive Resilient Flooring
- F1869 Standard Test Method for Measuring Moisture Vapor Emission Rate of Concrete Subfloor Using …
- Lead Renovation, Repair and Painting Program | US EPA
- https://scholar.google.com/scholar?q=how+to+repair+luxury+vinyl+plank+floor+damaged+plank Google Scholar
- https://scholar.google.com/scholar?q=vinyl+flooring+repair+replacement+of+damaged+luxury+vinyl+plank Google Scholar
- https://scholar.google.com/scholar?q=lvp+lvt+flooring+repair+method+patching Google Scholar