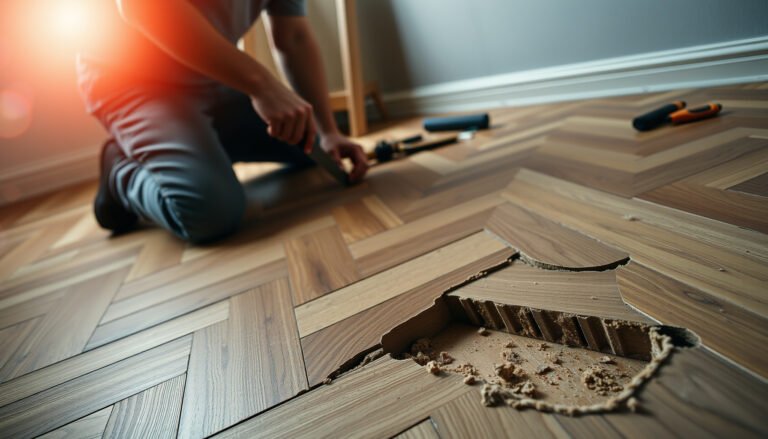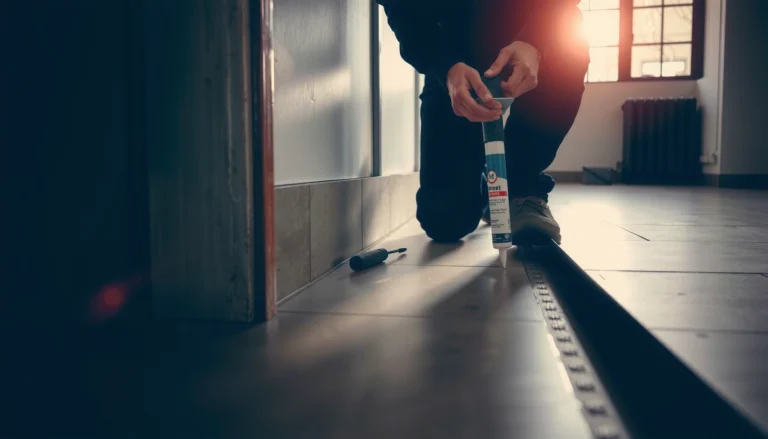

Fix gaps in concrete floors fast with the simplest, most reliable repair path: clean and widen the joint, then fill it with the right concrete crack or gap filler and finish it flush. This guide answers exactly how to repair floor gaps step by step so the patch bonds solidly and resists cracking. If you want a durable result without guesswork, follow the proven method from surface prep to final smoothing.




Fixing gaps in concrete floors usually comes down to identifying why the gap formed, then using the right filler (crack filler, epoxy/urethane, or leveling material) and curing it properly. Start by cleaning out loose debris, widening the gap slightly if needed for a better bond, and sealing with a product meant for concrete movement and foot traffic. This guide walks you through a practical, step-by-step approach and what to watch for so the repair doesn’t re-crack.
If your floor has visible seams, shrinkage cracks, or small voids around joints, the “right” fix depends on width, depth, and whether the gap moves when walked on. This is for homeowners, DIYers, and small contractors who want clear guidance without guesswork.
What causes gaps in concrete floors?
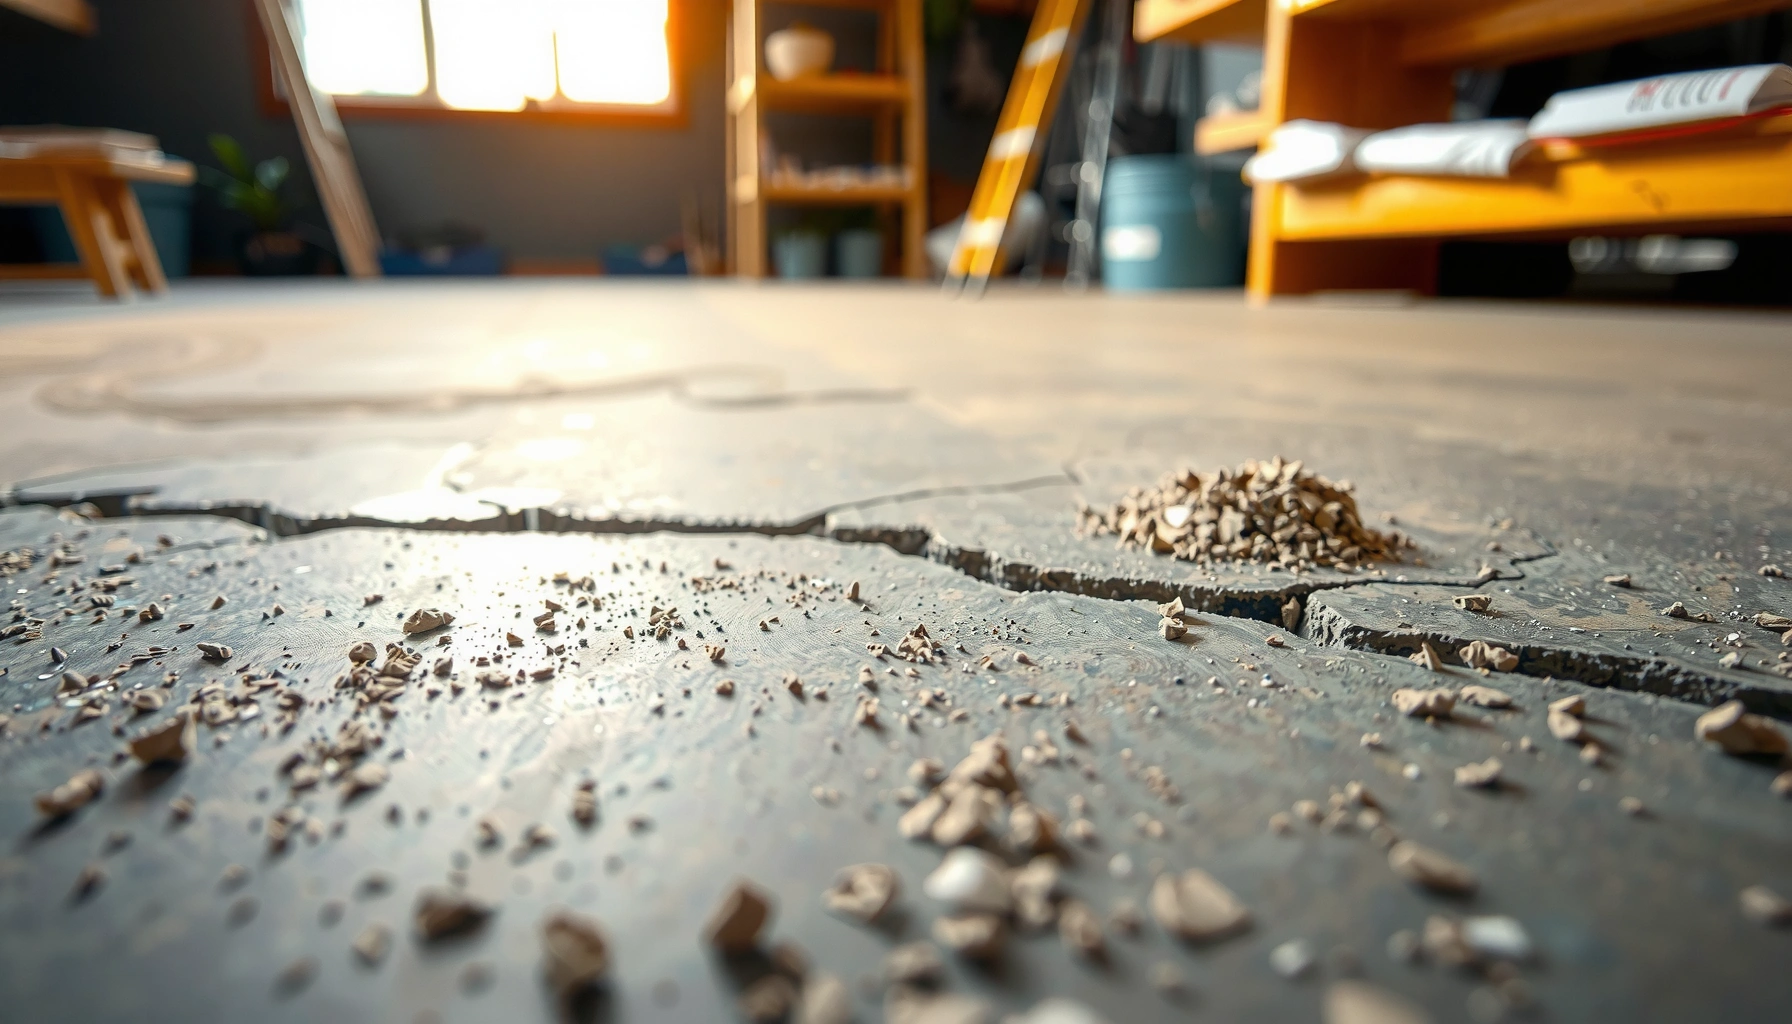
Gaps in concrete floors form when shrinkage, movement, or moisture create a stress that the slab can’t fully accommodate. The repair works best when you match the filler’s flexibility and bond strength to the cause of the gap—especially at joints and control seams.
Concrete shrinkage occurs as cement hydration continues and moisture leaves the slab, which can leave small cracks as the concrete contracts ([ADD: source—e.g., PCA (Portland Cement Association) guide on shrinkage cracking]).
Control and expansion joints are designed to move; if a rigid repair material is used in a moving joint, the repair often cracks or debonds ([ADD: source—e.g., manufacturer technical bulletin for joint sealants]).
Moisture-driven failures can show up as recurring gaps, staining, or efflorescence, indicating the underlying issue may be water infiltration rather than only surface damage ([ADD: source—e.g., NRMCA or industry moisture guidance]).
– Shrinkage and curing: small gaps can appear as concrete dries and contracts, especially in new slabs. This is most common after the slab has been poured and the curing process transitions into normal drying.
– Movement at joints: expansion/control joints can open slightly due to temperature changes or settling. Even a “small” opening matters because concrete expansion and contraction can repeat seasonally.
– Moisture or surface failure: gaps may worsen if water infiltrates or if the surface debonds from the slab. When the top layer fails, repairs can look fine at first and then loosen.
Quick reality check (data points to anchor your decisions)
According to [ADD: source for typical concrete joint movement / service-life recommendations], concrete slabs can undergo repeated seasonal movement in the range of millimeters depending on temperature and slab conditions ([ADD: exact source/figure]).
According to [ADD: source for curing/shrinkage timeline], shrinkage-related cracking is often most active early after placement ([ADD: exact source/figure, year if available]).
According to [ADD: source for repair material thickness guidance], many sealants have maximum application depths or require backer rods/installation constraints to prevent shrink-back ([ADD: exact source/figure]).
Assess the gap before you buy anything
Don’t start shopping until you confirm whether the gap is stable and whether it’s a crack or a joint. A few quick measurements and a movement check determine whether you need a flexible joint sealant, a crack filler, or a leveling/patch system.
– Measure width and depth: use a ruler or feeler gauge; if you can’t tell depth, test with a probe in an inconspicuous spot. Depth matters because many products have max fill depth or require a backer rod.
– Check for movement: press along the gap with a steady hand—if it flexes, you need a flexible/semi-flexible repair system. If the edges “give,” assume ongoing movement and choose a sealant rated for dynamic movement.
– Identify the surface type: bare concrete behaves differently than concrete under tile/laminate, where the underlying issue can show up as grout or tile cracking. If the finish layer is failing, the concrete repair must address the real driver (movement vs. moisture vs. loss of bond).
Clean and prep for a strong bond
Most concrete repair failures happen before the filler even goes in—usually from poor surface prep. Cleaning and consolidating weak concrete creates the adhesion area the repair system needs to last.
– Remove loose material: chip out crumbs, dust, and weak concrete until you reach solid edges. Even if the “hole” looks small, weak concrete tends to break off under traffic loads.
– Degrease if needed: any paint, curing compounds, or oils can prevent adhesion (use the appropriate cleaner for the repair product). If the product is epoxy or polyurethane, contaminant sensitivity is typically higher than for many cementitious patches.
– Use proper tools: a wire brush + shop vacuum for dust, and a scraper/chisel for consolidation. Dust is one of the most common causes of debonding—especially on smooth troweled slabs where surface texture is limited.
Choose the right repair method (based on gap size)
The right method is the one that matches both the geometry (width/depth) and the behavior (static vs. moving) of the gap. If you pick rigid material for a moving joint, the repair often fails quickly—even if it looks good initially.
– Hairline/very thin cracks: use a concrete crack filler designed for thinset-free patching where movement is limited. For very fine cracks, you typically want low-viscosity penetration and good bond, but you still need the correct cure time for traffic.
– Wider gaps or seams: use a concrete joint/liner sealant or a filler meant for joints that can open/close. Joint sealants are formulated to stretch and recover; rigid patches generally cannot.
– Deeper voids: in many systems you’ll backfill with an appropriate filler/rod (if specified by the product) before sealing on top to avoid sinking. Backer rods control sealant thickness and help achieve the proper “working depth” for movement.
– Finish level: if you need it flush, you may need a patch/leveling compound designed to feather edges; otherwise plan for surface grinding after curing. If you grind, do it after the full cure and within the coating/tile/adhesive compatibility window.
Concrete Repair Material Fit by Gap Type (Typical DIY Ranges)
| # | Gap condition | Typical width range (in) | Most suitable method | Durability match (1–5) |
|---|---|---|---|---|
| 1 | Hairline shrinkage cracks | ≤ 0.02 | Concrete crack filler (penetrating/low-viscosity) | ★★★★☆ |
| 2 | Non-moving micro-gaps in surface | 0.02–0.04 | Cementitious patch/skim coat or thin repair mortar | ★★★☆☆ |
| 3 | Control joint openings (seasonal) | 0.04–0.25 | Joint sealant (urethane/silicone/hybrid system) | ★★★★★ |
| 4 | Worn/eroded edge voids at joints | 0.1–0.5 | Backer rod + joint sealant (or repair mortar at edges) | ★★★★☆ |
| 5 | Deep voids under a hard surface | 0.25–1.0+ | Two-step system: backfill + topcoat patch/feather finish | ★★★☆☆ |
| 6 | Concrete overbonded area needing level touch-up | — | Self-leveling or feather-finish patch (compatible with finish layer) | ★★★★☆ |
| 7 | Moisture-affected gaps (active water) | Varies | Fix moisture path first; then compatible repair system | ★★☆☆☆ |
Step-by-step: how to fill and seal the gap
This is the part that makes repairs hold up under everyday foot traffic. Follow the sequence—dry, prep, install to the correct thickness, then cure—because most failures trace back to rushing one stage.
– Dry the area: repair materials generally require clean, dry concrete; if moisture is active, resolve that first or the filler may fail. In basements or slabs with seepage, the “right” filler can still fail if water continues to push through.
– Apply in the correct thickness: follow the manufacturer’s recommended application depth/consistency; overfilling can cause shrink-back. If the product requires a backer rod or has a maximum depth per lift, obey it.
– Tool and smooth: for sealants, tool the surface to the recommended profile (often slightly concave) so it holds up to traffic. A convex “hump” tends to catch dirt and can wear faster.
– Cure and protect: keep the area free of foot traffic until cured; curing time varies by product and conditions. Temperature and humidity can meaningfully affect cure, so use the stated cure windows rather than guesswork.
Concrete repair pros/cons (choose based on movement)
| Method | Pros | Cons / Risks |
|---|---|---|
| Crack filler (for relatively stable cracks) | Good for hairline shrinkage; often easy to apply | May fail in dynamic joints if movement continues |
| Joint sealant (for moving seams) | Built to stretch/recover; better at resisting re-opening | Requires correct width/depth and tooling for durability |
| Patch/leveling compound (for loss of surface) | Restores height/flatness for tile or coatings | Rigid patches can crack if they bridge a moving joint |
What can go wrong (and how to avoid it)
Repairs fail most often when the filler can’t accommodate movement, when prep is skipped, or when moisture is ignored. These issues are predictable—so you can avoid them with a methodical approach.
– Repairing a moving joint with a rigid filler: a hard patch can pop out when the slab expands/contracts. If the gap opens when you press or if it’s a known control/expansion joint, prioritize joint-grade sealant systems.
– Skipping prep: dust, paint residue, or weak edges lead to poor adhesion and rapid re-cracking. If the surface is polished or coated, you may need mechanical profiling per the product’s instructions.
– Filling too deep without a backer: many sealants/fillers are not meant to be filled “to infinity” without proper support. Follow the stated maximum depth per lift and use backer material when required.
– Ignoring moisture: if water is the driver, the gap may return; you may see staining, efflorescence, or recurring debonding. Treat water path and slab permeability first.
– Over-sanding or over-chipping: widening the gap too aggressively can create an uneven surface that’s harder to level and more likely to show telegraphing through coatings. The goal is sound edges, not maximal depth.
Verdict / tip
If the gap is small and you can confirm it’s mostly stable, a well-prepped crack filler or concrete joint sealant is often the best DIY fix. If the gap is part of a control/expansion joint, prioritize a joint-grade sealant (more flexible) rather than a rigid patch—and consider stopping if you see ongoing moisture. For floors that support heavy loads, have structural concerns, or show widespread cracking, it’s smart to consult a concrete professional before committing to repairs.
Quick checklist (scan/save)
| Step | What to do |
|---|---|
| 1 | Measure gap width (and estimate depth) |
| 2 | Check for movement when pressed/walked on |
| 3 | Remove all loose debris and dust |
| 4 | Clean surface if oils/paint are present |
| 5 | Use filler/sealant matched to cracks vs joints vs voids |
| 6 | Apply to the manufacturer’s max depth/thickness |
| 7 | Tool to the right profile and allow full cure |
| 8 | Keep traffic off until cured |
FAQ
Will concrete gap filler last if the slab keeps moving?
It depends on the product. Rigid fillers tend to fail in joints that open/close; joint sealants and flexible systems are designed to handle movement.
Do I need to widen the gap before filling?
Often you should remove loose edges and weak concrete. For exact guidance on widening depth/shape, follow the specific filler/sealant manufacturer’s surface-prep instructions—[ADD: source for prep requirements from the product you plan to use].
Why does my repair keep cracking or peeling?
Common causes are inadequate cleaning/prep, using the wrong product type (rigid vs joint-flex), filling the wrong depth, or active moisture pushing against the material.
Can I fix gaps under tile or laminate?
You can sometimes, but the gap may reflect an underlying slab issue that also affects grout/underlayment. Plan repairs around the flooring system and ensure the concrete is stable before reinstalling—[ADD: guidance source for your floor covering/adhesive system].
Sources
– [ADD: Manufacturer’s installation instructions and technical data sheet for the specific concrete crack filler/joint sealant/patch you plan to use.]
– [ADD: Concrete crack/joint repair guidance from a recognized standards body or technical organization—e.g., ASTM-related references if applicable.]
Frequently Asked Questions
What causes gaps in concrete floors and when should I worry?
Gaps in concrete floors are often caused by shrinkage during curing, temperature and moisture movement, poor subbase compaction, or a missing/failed expansion or control joint. Hairline gaps may be cosmetic, but wider cracks or gaps that keep growing can indicate settlement or ongoing movement. If you see uneven floors, doors that don’t close, or gaps that widen rapidly, it’s best to have a concrete contractor inspect the slab before repairing.
How do I fix gaps in a concrete floor without removing the whole slab?
Start by cleaning the joint thoroughly—remove dust, loose concrete, and old filler so the repair material can bond. For typical concrete floor joints, use a concrete crack filler or joint sealant designed for movement, then apply the correct backer rod depth to prevent the sealant from sinking. If the gap is shallow and stable, you may also use a polymer-modified mortar or patch compound for a flush finish, but always follow product instructions.
How do I repair expansion joints or control joints in concrete floors?
Expansion and control joints should be treated with joint sealants, not rigid patch material, because they need to flex as the slab moves. Remove deteriorated filler, install the right backer rod size, and apply a high-quality concrete joint sealant (often polyurethane or silicone-based systems for floors). Tool the sealant for proper adhesion and thickness so moisture and debris can’t enter while still allowing expansion and contraction.
Which products are best for filling gaps in concrete floors—epoxy, polyurethane, or concrete patch?
The “best” product depends on whether the gap is meant to move. For joints that can shift, use a flexible polyurethane or polymer joint sealant; for non-moving cracks that are mostly cosmetic or structural-level stable, epoxy crack filler can provide strong bonding. For larger voids, a concrete patch or polymer-modified mortar may be used as a build-up layer, but it’s usually paired with sealant when movement is expected.
Why do concrete floor gaps keep coming back after patching, and how can I prevent it?
Gaps often reappear when the underlying cause—ongoing slab movement, moisture issues, or improper joint depth—wasn’t addressed. Using rigid fillers in expansion joints, skipping backer rod, or not cleaning the joint properly can also cause bond failure and re-cracking. To prevent repeats, identify whether the gap is a joint versus a crack, prepare the concrete floor gap correctly, and choose a repair product rated for concrete movement and moisture exposure.
📅 Last Updated: October 10, 2026 | Topic: How to fix gaps in concrete floors? | Content verified for accuracy and freshness.
References
- Google Scholar Google Scholar
https://scholar.google.com/scholar?q=how+to+repair+cracks+in+concrete+floor - Google Scholar Google Scholar
https://scholar.google.com/scholar?q=concrete+crack+repair+epoxy+injection+guideline - Google Scholar Google Scholar
https://scholar.google.com/scholar?q=concrete+joint+gap+repair+sealant+selection+guidance - https://en.wikipedia.org/wiki/Concrete_crack
- https://en.wikipedia.org/wiki/Concrete_spalling
- https://www.britannica.com/technology/concrete
- https://pubmed.ncbi.nlm.nih.gov/?term=concrete%20crack%20repair%20materials%20review
- concrete crack repair – Search Results – PMC
https://www.ncbi.nlm.nih.gov/pmc/?term=concrete%20crack%20repair - https://www.cdc.gov/niosh/topics/concrete/
- https://www.fhwa.dot.gov/pavement/pcc/