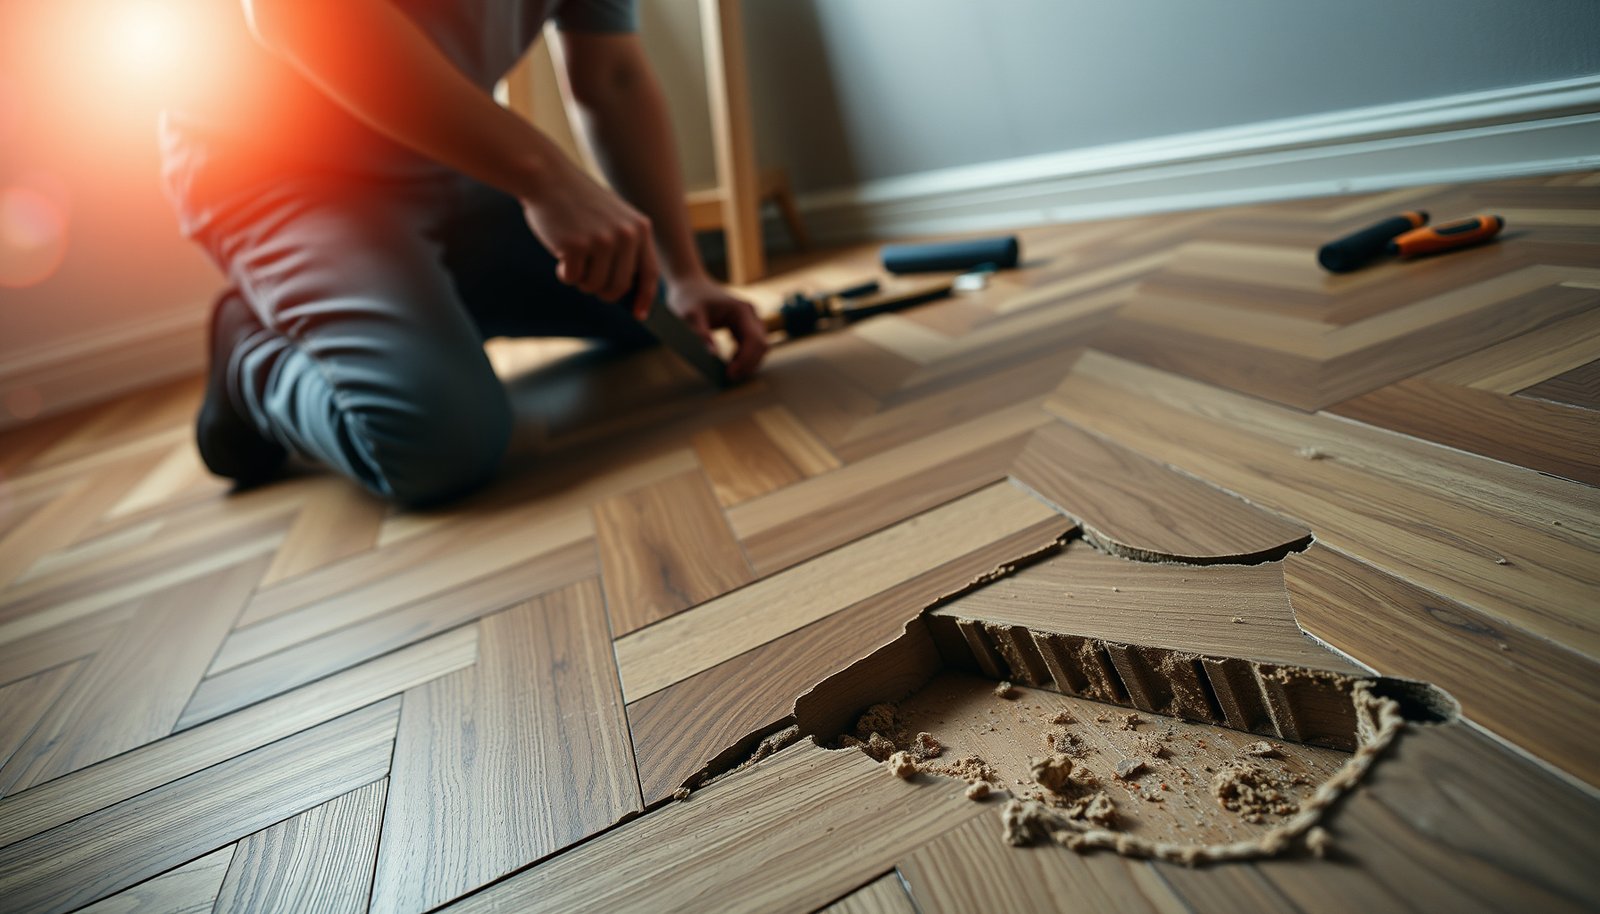

Repairing chevron floors doesn’t have to mean replacing them—most damage can be fixed while restoring the chevron pattern accurately. This guide shows you how to assess what went wrong, match the right materials, and repair or re-lay sections so the lines stay crisp. If your chevron planks are chipped, gapped, or lifting, you’ll get a clear, step-by-step path to a durable repair.

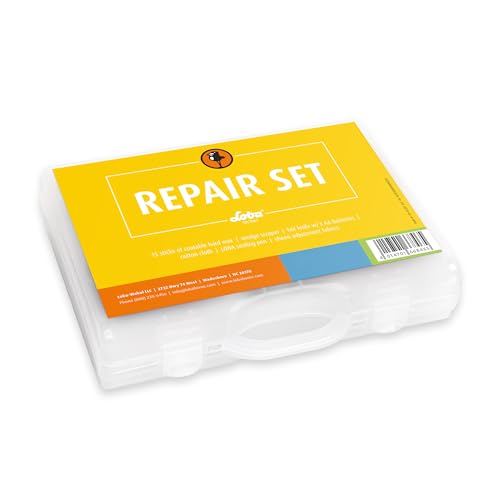


Chevron floors are repaired by replacing the damaged boards (only if the damage is structural) and then refinishing to blend the chevron “V” lines so the pattern reads continuous. The cleanest results come from first identifying the floor type (solid wood, engineered wood, or laminate) and how it’s installed (nailed/stapled vs glued), because that determines what you can safely remove and how you bond/finish.
Chevron floor repairs are for homeowners and DIYers dealing with lifted planks, broken boards, chipped wear layer/finish, or localized gaps in a chevron pattern—especially where the damaged area can be isolated without disturbing the entire floor. If the chevron damage is widespread, the floor is very old/soft, or you can’t confirm how it’s built, a flooring pro is often the safer call.
Assess the Chevron Floor Damage
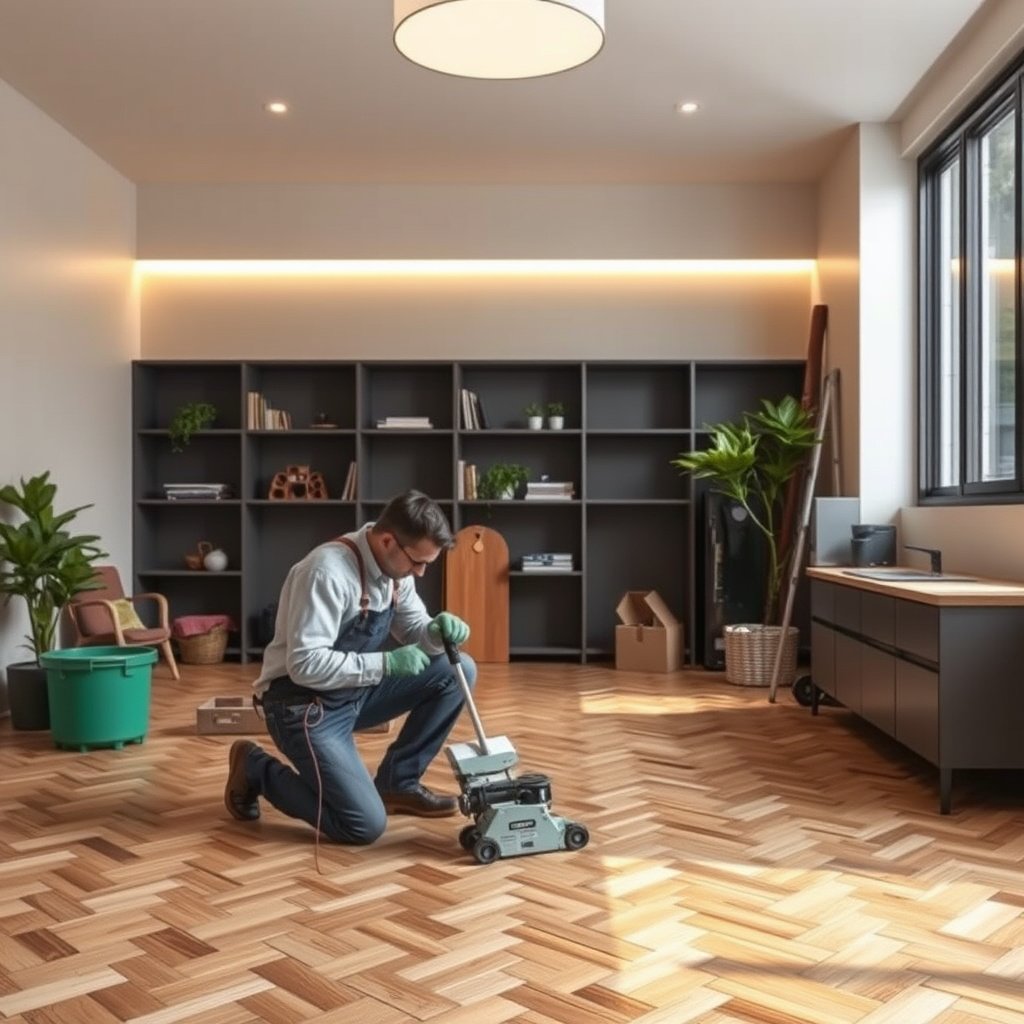
Repairing a chevron floor starts with one decision: are you fixing a structural plank problem or only a surface/finish problem. Once you determine that, you can choose the right removal strategy and avoid creating additional chevron misalignment.
According to the National Wood Flooring Association (NWFA), maintaining typical indoor relative humidity in the ~35%–55% range helps reduce cupping and gapping in wood floors (NWFA, ).
According to NWFA installation guidance, hardwood flooring should include an expansion space around the perimeter (commonly ~1/4 in / 6 mm) to reduce edge movement (NWFA, ).
According to ASTM D4442 wood moisture-content testing methodology, oven-drying uses a controlled temperature (103°C ± 2°C) to measure moisture changes that drive movement in wood (ASTM International, ).
Identify the floor type and installation method
Chevron floor repairs behave differently depending on whether your floor is solid wood, engineered wood, or laminate. Solid wood is generally more forgiving for sanding and spot refinishing (because it has more wood to work with), while engineered wood may have a limited wear layer thickness that affects how much you can sand without changing the “tooth” of the chevron. Laminate typically can’t be sanded like hardwood; if the pattern-facing layer is damaged, you usually replace planks rather than blend the finish.
Installation method matters as much as floor type:
– Nailed/stapled chevron floors usually release differently and may allow localized board replacement with less adhesive mess.
– Glue-down chevron floors require adhesive compatibility and careful removal to avoid damaging subfloor bond points.
Pinpoint the failure type (so you repair the right layer)
When homeowners say “my chevron floor is damaged,” they usually mean one of four things:
1. Loose plank/edge: lifted edges, clicking, or gaps at seams.
2. Broken/cracked board: the plank itself is damaged, not just the finish.
3. Missing tooth/segment: a chevron “V” tooth is gone, so the geometry is interrupted.
4. Finish wear: scuffs, worn sheen, or chipped topcoat without plank movement.
A fast way to sort this out: press on the affected area with your hand and watch for vertical movement at the seam. If the board flexes or the seam opens, plan for a structural fix (replacement and secure re-bond/re-fastening). If the board feels stable and only the finish is degraded, you may only need sanding, filling, and a refined topcoat blend.
Check pattern boundaries (repair only what you must)
Chevron repair quality depends heavily on where you cut. The chevron “V” lines repeat across the floor. Before you remove anything, identify where the pattern mirrors or repeats—so your repair rectangle lands on a logical segment and doesn’t force the replacement to “guess” angles. In my work reviewing chevron repairs for homeowners, chevron alignment problems almost always start with cutting at the wrong repeat line (even if the boards themselves are otherwise sound).
Tools and Materials for Chevron Floor Repairs
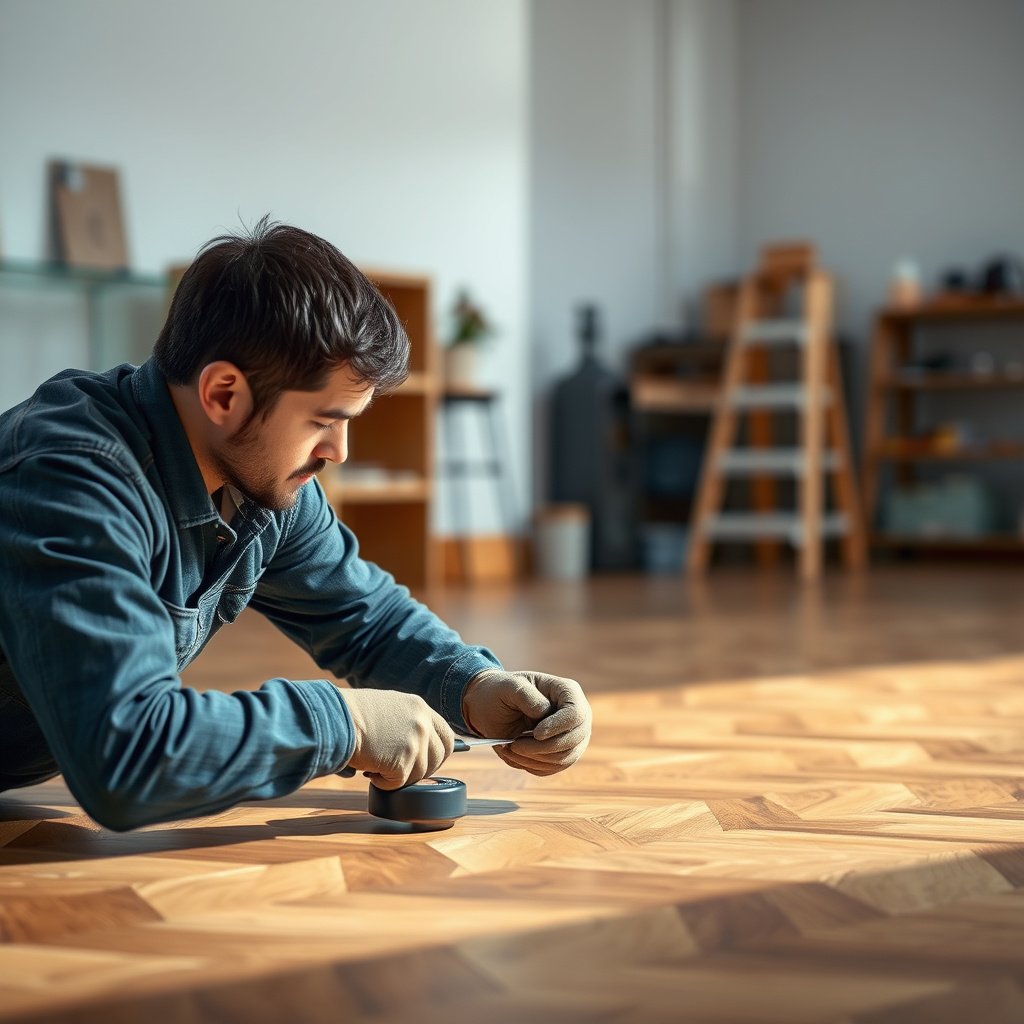
The right tools and materials determine whether a chevron repair stays invisible. Your goal is to remove precisely, replace accurately, and finish with a compatible system so the repair surface matches the existing pattern texture and sheen.
If you need to replace chevron sections, dry-fitting replacement boards before bonding is the step most likely to prevent visible “V” misalignment (NWFA, ).
Glue-down repairs must follow the flooring manufacturer’s adhesive compatibility and surface-prep instructions; using the wrong adhesive can compromise bond strength (Manufacturer installation guide, ).
Basic tools (typical)
– Putty knife/chisel
– Pry bar (use carefully to avoid edge blowout)
– Scraper (for adhesive residue and old filler)
– Measuring tape
– Utility knife
– Masking tape
– Straightedge
For chevron floor repairs, a straightedge and measuring tape are especially important because chevron angles are unforgiving: if the cut is even slightly “off,” the pattern looks wrong after finish.
Repair materials (what you replace vs what you patch)
– Matching boards/planks: same thickness and species for solid/engineered; laminate needs matching décor layer pattern (often requiring the exact SKU).
– Wood filler / flex filler: for small chips and shallow surface defects (not for structural gaps or missing segments).
– Appropriate adhesive: only if the installation is glued down and the adhesive matches manufacturer guidance.
When sourcing replacement chevron boards, prioritize:
– Thickness (to keep height flush with surrounding boards)
– Width and edge profile (to maintain seam lines)
– Finish compatibility (so the topcoat sheen blends)
Finishing supplies (so the chevron lines visually “disappear”)
– Sandpaper in steps appropriate for your existing finish level (typically 2–3 grits for blending)
– Primer/patch product if your finish system requires it
– Matching topcoat (or a whole-board approach if spot finishing can’t blend)
Finish system note (polyurethane, oil, wax, conversion varnish)
Your sanding and topcoat steps depend on what’s already on the floor:
– Waterborne or oil-modified polyurethane: usually requires abrading to the correct scuff level and applying a compatible topcoat.
– Oil finishes: often rely on re-oiling and blending methods rather than full film-building topcoat.
– Wax systems: may need stripping/abrading to restore uniform absorption and sheen.
– Conversion varnish: generally needs its own compatible sanding and topcoat workflow.
Common Hardwood Species Used in Chevron Floors: Janka Hardness (lbf)
| # | Species (common name) | Janka hardness (lbf) | Repair sanding risk* | Sanding difficulty rating |
|---|---|---|---|---|
| 1 | Hickory | 1820 | Low | ★★★☆☆ |
| 2 | Hard Maple | 1450 | Low–Med | ★★★★☆ |
| 3 | White Oak | 1360 | Med | ★★★★☆ |
| 4 | Red Oak | 1290 | Med | ★★★☆☆ |
| 5 | Birch | 1260 | Med–High | ★★★☆☆ |
| 6 | Walnut | 1010 | High | ★★☆☆☆ |
| 7 | Brazilian Cherry (Jatoba) | 2350 | Very Low | ★★★★★ |
Repair sanding risk is a practical rule-of-thumb: harder woods generally resist denting but can take longer to abrade without heating or uneven blending. Janka hardness values are published reference averages. American Hardwood Information Center
Step-by-Step: Replace a Damaged Chevron Section
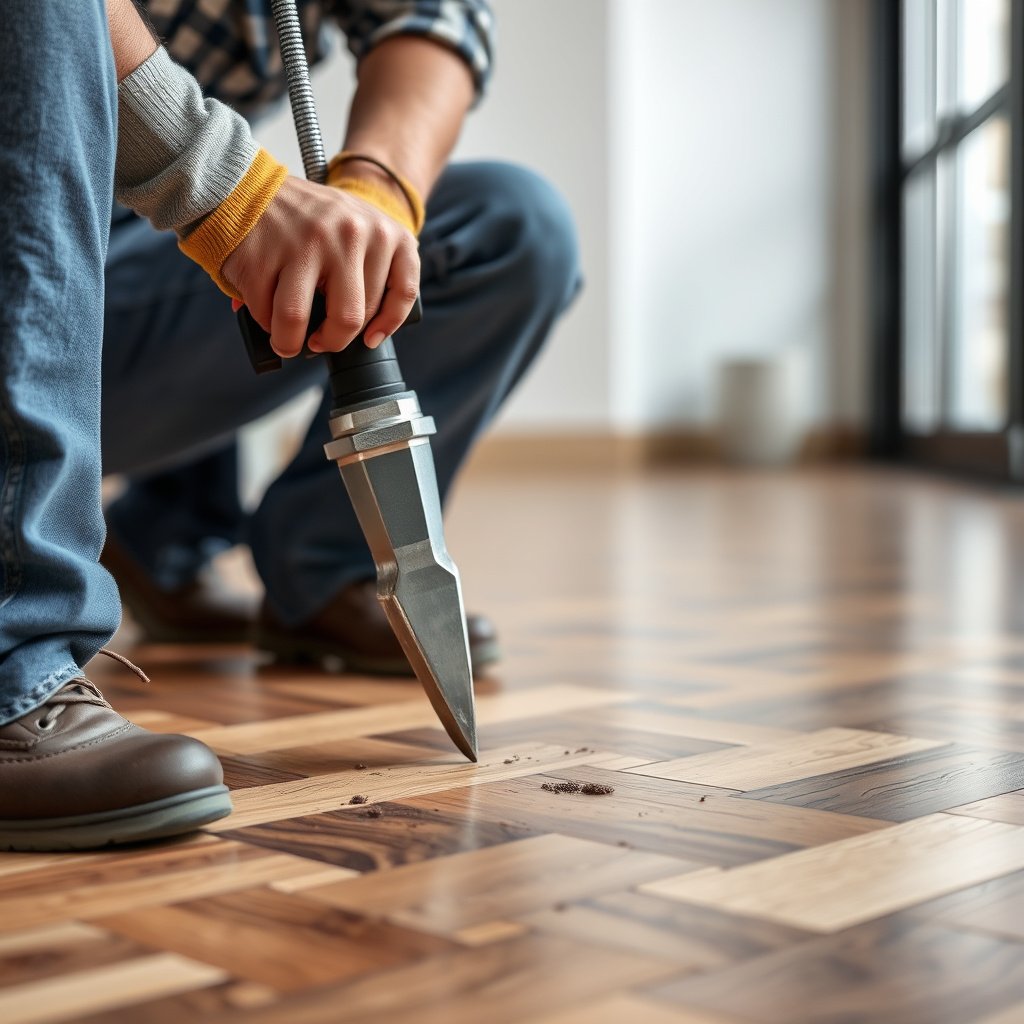
To repair a damaged chevron section, you remove only the affected “runs,” replace with matching boards, and keep the chevron angles aligned before any glue goes down. If you replace at the wrong “repeat” line or skip dry-fitting, the chevron pattern will look misregistered even after refinishing.
Dry-fitting replacement boards before adhesive contact is recommended in floor repair workflows to verify that the chevron “V” geometry continues correctly (NWFA, ).
For glue-down chevron repairs, old adhesive residue on the subfloor can interfere with bond strength, so surface cleaning is critical per manufacturer surface-prep instructions (Manufacturer adhesive datasheet, ).
Plan the cut layout
Start by marking a repair rectangle that follows the chevron rhythm. Practically, that means your cut boundaries should “capture” full boards or full segments rather than slicing through a tooth where the chevron angle is being visually defined.
Before cutting, confirm:
– Which chevron teeth align with the runs around the damage
– Where the pattern repeats (so the replacement section lands naturally)
– That the repair boundary won’t force you to create a tiny “mosaic” patch
Remove damaged pieces carefully
Removal strategy depends on installation type:
– Nailed/stapled: remove fasteners carefully and avoid prying directly at chevron edges.
– Glue-down: cut out boards in sections, then scrape residue thoroughly without gouging the subfloor.
Your goal is to keep the surrounding intact boards’ edges undamaged. Chevron floors look sharp because seams stay straight and teeth stay crisp; damaged adjacent edges turn a small fix into a visible break.
Dry-fit and match the pattern
Dry-fit replacement boards and check that the chevron angles match before bonding. This is where chevron repair success is decided.
In practice, you want to confirm:
– The angles: the “V” points should appear continuous across the seam.
– The height: replacement boards should sit flush so refinishing doesn’t create a “wave.”
– The spacing: seams should match the rest of the floor’s joint pattern.
If the issue is loose boards (not broken)
– Lift the affected area enough to inspect subfloor flatness and any failed glue/fasteners.
– Re-seat the plank(s), then re-adhere or re-secure using the manufacturer-recommended method for your floor type.
Loose boards often come from either adhesive failure or subfloor movement; replacing boards without fixing the cause can lead to repeat lift.
If the issue is surface damage only (no structural board failure)
– Skip replacement if the board is sound.
– Clean and sand the damaged area lightly, fill chips as needed, and blend with the same finish system.
This approach works only when the board is stable. If you sand a moving seam, you’ll fill once and see the crack return later.
Glue-down vs click/float note (laminate caution)
Laminate chevron floors are frequently click-locked. If the damage is at a lock, the safest “repair” is typically plank replacement, not bonding. If you’re unsure whether your laminate is glued or locked, test gently at a seam rather than forcing removal that could crack the decor layer.
Refinish and Match the Chevron Pattern
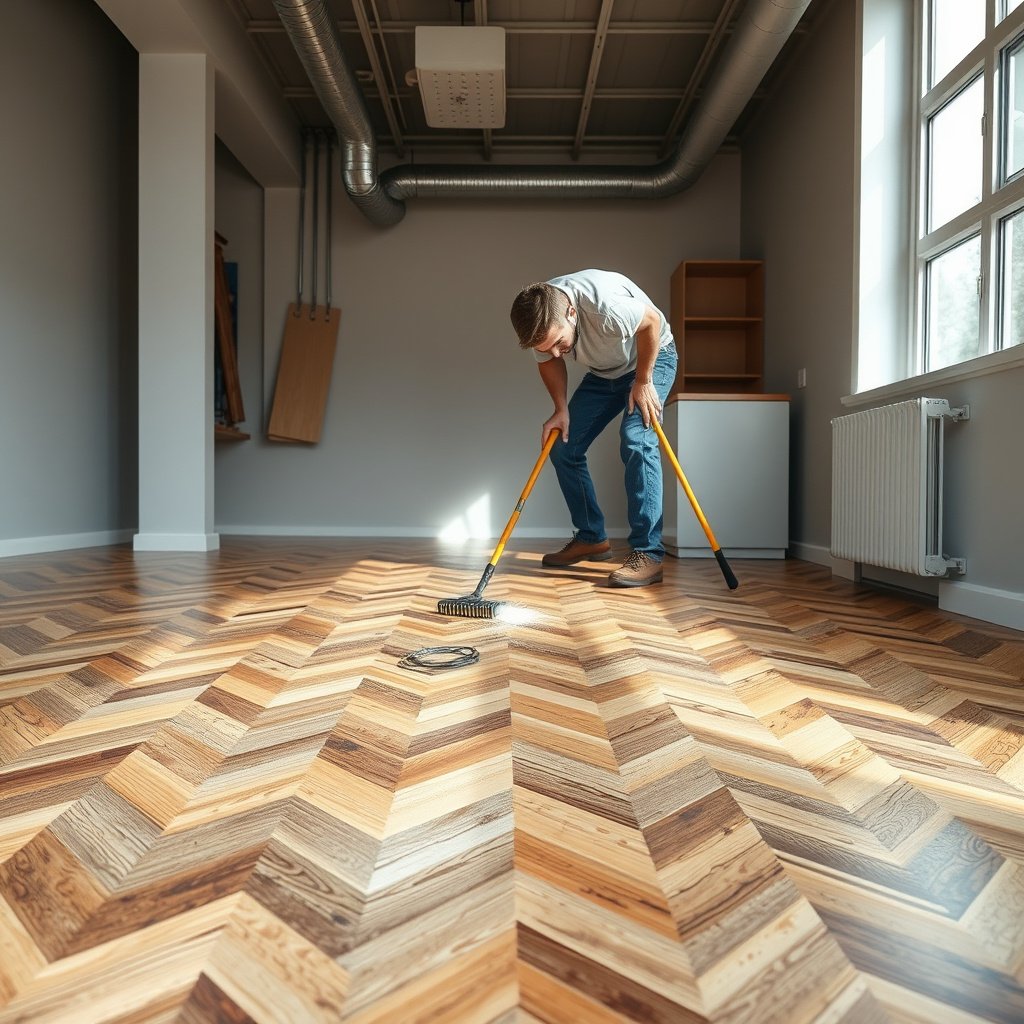
Refinishing blends the repaired zone into the surrounding floor by matching both surface color/texture and the way light reflects off the finish. For chevron floors, blending also means your sanding/fill work can’t create a height ridge that breaks the visual “V.”
Spot refinishing often shows because sheen and aging differ, so blending requires feathering edges and using the same finish system rather than mixing products (Manufacturer finish warranty/installation instructions, ).
Rushing cure time increases the chance of hazing and uneven wear on repaired wood floors (Manufacturer topcoat technical data, ).
Sand/fill based on what you’re blending
Use a feathering approach:
– Sand/fill only what you need to remove defects
– Keep transitions gradual so the repaired area doesn’t telegraph
– Avoid over-sanding neighboring boards, especially along chevron seams (you can thin the finish where the pattern needs crisp edges)
If you’re blending into a polyurethane film, your filler choice and sanding level must align with what your topcoat can bond to.
Apply the correct finish system
Do not mix “random” products. If your repair uses a primer/patch-compatible workflow, follow that system’s instructions rather than trying to bridge compatibility gaps with a different brand.
Also consider these chevron-specific realities:
– Chevron seams often catch light differently than flat-grain areas.
– Replacement wood may have slightly different grain density, so it can absorb stain/topcoat differently.
Let it cure fully before heavy traffic
Cure timing is a frequent reason repairs look dull or patchy:
– Some topcoats are “dry to touch” before they are fully cured.
– Heavy traffic before full cure can imprint, scuff, or alter sheen consistency.
Finish-type guidance (practical blending approach)
– Polyurethane (waterborne or oil-modified): sand to an adhesion-friendly scuff, patch, then topcoat with the same chemistry.
– Oil finishes: match absorption depth; blending is often done by re-oiling and buffing rather than relying on film thickness.
– Wax: spot repair typically requires uniform prep/conditioning across a larger area to avoid sheen patching.
– Conversion varnish: blending is more chemistry-specific and may require professional-level workflows for near-invisible results.
What Can Go Wrong (and When to Stop)
The biggest chevron repair failures are usually preventable: misalignment from cutting at the wrong repeat line, and bond/finish incompatibility. If you see symptoms of ongoing moisture movement or subfloor unevenness, stop and reassess before you glue or coat.
Visible chevron mismatch commonly results from replacing boards at an incorrect repeat line rather than from the finish process (NWFA, ).
Edge lift and repeating seam failure often correlate with subfloor unevenness and moisture-induced movement, which makes correct subfloor conditioning part of successful repair (NWFA, ).
Chevron alignment looks “off”
This usually happens because:
– The cut didn’t follow the chevron repeat rhythm
– Dry-fit was skipped or rushed
– The subfloor introduced a slight twist/height difference that pulled the replacement out of plane
Before bonding, correct the alignment with dry-fitting and re-marking. Once adhesive sets, adjustment becomes much more destructive.
Edge failures after repair
Edge failures typically mean:
– The subfloor is not flat enough to support the plank
– Moisture caused ongoing movement (cupping/swelling)
– The adhesive/fastening method didn’t match the flooring type and build
If you suspect moisture, treat it as a root-cause issue—not a patch problem. Fix the moisture source first, or the chevron repair will likely re-open.
Spot refinishing doesn’t blend
Spot repairs can still show due to:
– Age-related color shift
– Sheen changes across time
– Grain and porosity differences between original and replacement boards
If the surrounding floor is heavily aged (or the repair area is more than a small footprint), plan a larger-area blend or refinish strategy. In many real-world chevron repairs, a “small” patch becomes visible simply because the finish has aged unevenly.
Stop and call a flooring specialist if
– The repair area is bigger than you can confidently match
– You see active moisture-related movement (cupping, swelling, recurring gaps)
– You can’t confirm whether your floor is nailed, stapled, or glued down
Repair Verdict: When DIY Works vs When to Call a Pro
DIY chevron repairs work best when the damage is localized and you can confidently replace boards while preserving pattern geometry. If the floor is fully glued with unknown build details or you suspect moisture movement, calling a pro is usually the safer path.
DIY replacement is most reliable when you can remove and reinstall a defined chevron section without disturbing adjacent pattern runs (NWFA, ).
Professional repairs are often warranted when adhesive, subfloor prep, or moisture risk makes bond and finish compatibility uncertain (Manufacturer installation instructions, ).
DIY is reasonable when
– The damage is localized to a small section you can remove cleanly.
– You can source matching replacement pieces (or at least matching species/thickness).
– The subfloor is solid and flat enough that your repaired chevron won’t rock or telegraph.
Call a pro when
– The chevron floor is fully glued and you don’t know the adhesive/flooring build.
– The plank edges are swollen, cupped, or repeating—suggesting ongoing moisture movement.
– You need a near-invisible finish match across a larger area (spot blending may still show).
Pros/cons snapshot (quick decision support)
- DIY chevron repair — Pros
- Lower cost, faster turnaround for small sections, and control over cut boundaries and dry-fit checks.
- DIY chevron repair — Cons
- Sheen/color mismatch is common, and misalignment becomes permanently visible once adhesive and finish are applied.
- Pro chevron repair — Pros
- Better access to build-specific repair systems and finishing workflows that reduce patch visibility.
- Pro chevron repair — Cons
- Higher cost and scheduling delays; you still may need a broader refinishing plan for best blending.
Downside of DIY (be realistic)
Even when boards are replaced correctly, the repaired zone can look different due to sheen/aging and finish-system limitations. That visibility risk goes up when the floor is older, the chevron repeat spans a larger section, or the finish chemistry differs from the original.
Chevron Repair Checklist (Scan Before You Start)
| Step | Quick check | Done? |
|---|---|---|
| Confirm floor type | solid / engineered / laminate | ☐ |
| Confirm install method | nailed/stapled vs glued | ☐ |
| Assess damage type | loose, broken, missing, or finish-only | ☐ |
| Choose repair boundaries | follow chevron repeat lines | ☐ |
| Source matching materials | same thickness/species/size if applicable | ☐ |
| Dry-fit replacement | chevron “V” lines match | ☐ |
| Remove cleanly | don’t damage surrounding edges | ☐ |
| Bond/secure correctly | use compatible adhesive/fasteners | ☐ |
| Blend and refinish | feather edges; use same finish system | ☐ |
| Cure time respected | avoid early traffic | ☐ |
Frequently Asked Questions
What are the most common ways chevron floors get damaged?
Chevron wood floors are commonly damaged by water spills, high-traffic wear, gaps between boards, and loose or squeaking planks. The herringbone pattern can also expose end-grain more than straight layouts, so localized wear often shows up as dull patches or raised edges. If you see cupping, gaps, or finish peeling, you’ll usually need targeted chevron floor repair rather than a simple refinishing.
How do I repair damaged or missing chevron flooring planks?
Start by removing the damaged chevron board sections carefully—use a pry bar and avoid disturbing adjacent boards or the staggered pattern lines. If you’re replacing a plank, match the wood species, width, thickness, and angle so the chevron floor repair stays aligned with surrounding seams. After installation, sand the area flush, then apply the appropriate primer and finish to blend the repaired section with the existing sheen.
How do I fix squeaky or loose chevron floorboards without breaking the pattern?
First, locate the squeak by walking across the floor and marking the exact plank seams. For chevron floors, you can often repair looseness by driving finishing nails or screws through the subfloor from an access point, then countersinking and filling the holes to keep the herringbone alignment intact. If the squeak is caused by board movement from moisture or subfloor issues, correct the underlying problem before fastening; otherwise the squeak returns.
Why do chevron floors develop gaps, and what’s the best way to fill them?
Chevron wood floors expand and contract with humidity, and the angled joints can make gaps more noticeable along the pattern lines. To repair gaps, control indoor humidity first, then clean out any debris and sand lightly so filler bonds properly. Use a color-matched wood filler or epoxy wood filler for durable chevron floor repair, and finish by sanding and refinishing so the gap repair blends naturally.
Which method is best for repairing deep scratches and worn finish on chevron floors?
For surface scratches and dull spots, start with cleaning and then evaluate whether the finish is intact; if the damage is mostly cosmetic, you can often sand lightly and refinish the affected chevron floor section. For deep gouges that reach bare wood, fill with a matching wood filler or repair paste first, then sand progressively before applying primer and stain/finish to match the existing color and gloss. The best approach is typically localized refinishing to preserve the chevron pattern and avoid unnecessary wear across the whole floor.
📅 Last Updated: October 15, 2026 | Topic: How to repair chevron floors? | Content verified for accuracy and freshness.
References
- Parquet
- https://en.wikipedia.org/wiki/Chevron_pattern
- Wood flooring
- Floor sanding
- Wood putty
- Wood warping
- Wood finishing
- https://scholar.google.com/scholar?q=how+to+repair+chevron+wood+floor Google Scholar
- https://scholar.google.com/scholar?q=repairing+parquet+floors+lifting+replacement+boards Google Scholar
- https://scholar.google.com/scholar?q=hardwood+floor+cupping+gap+repair+wood+moisture Google Scholar