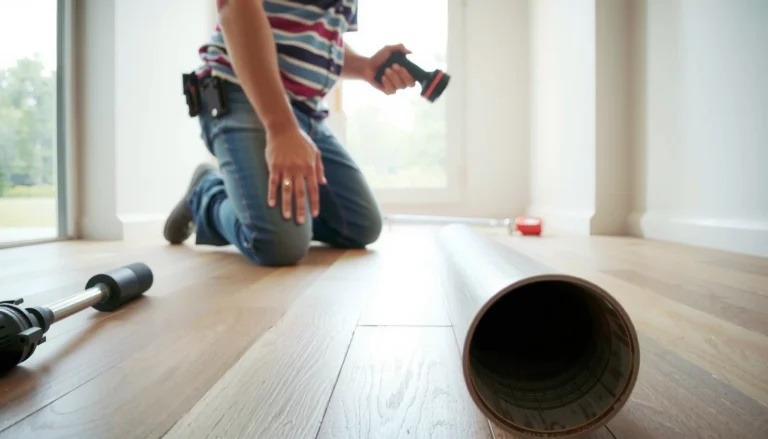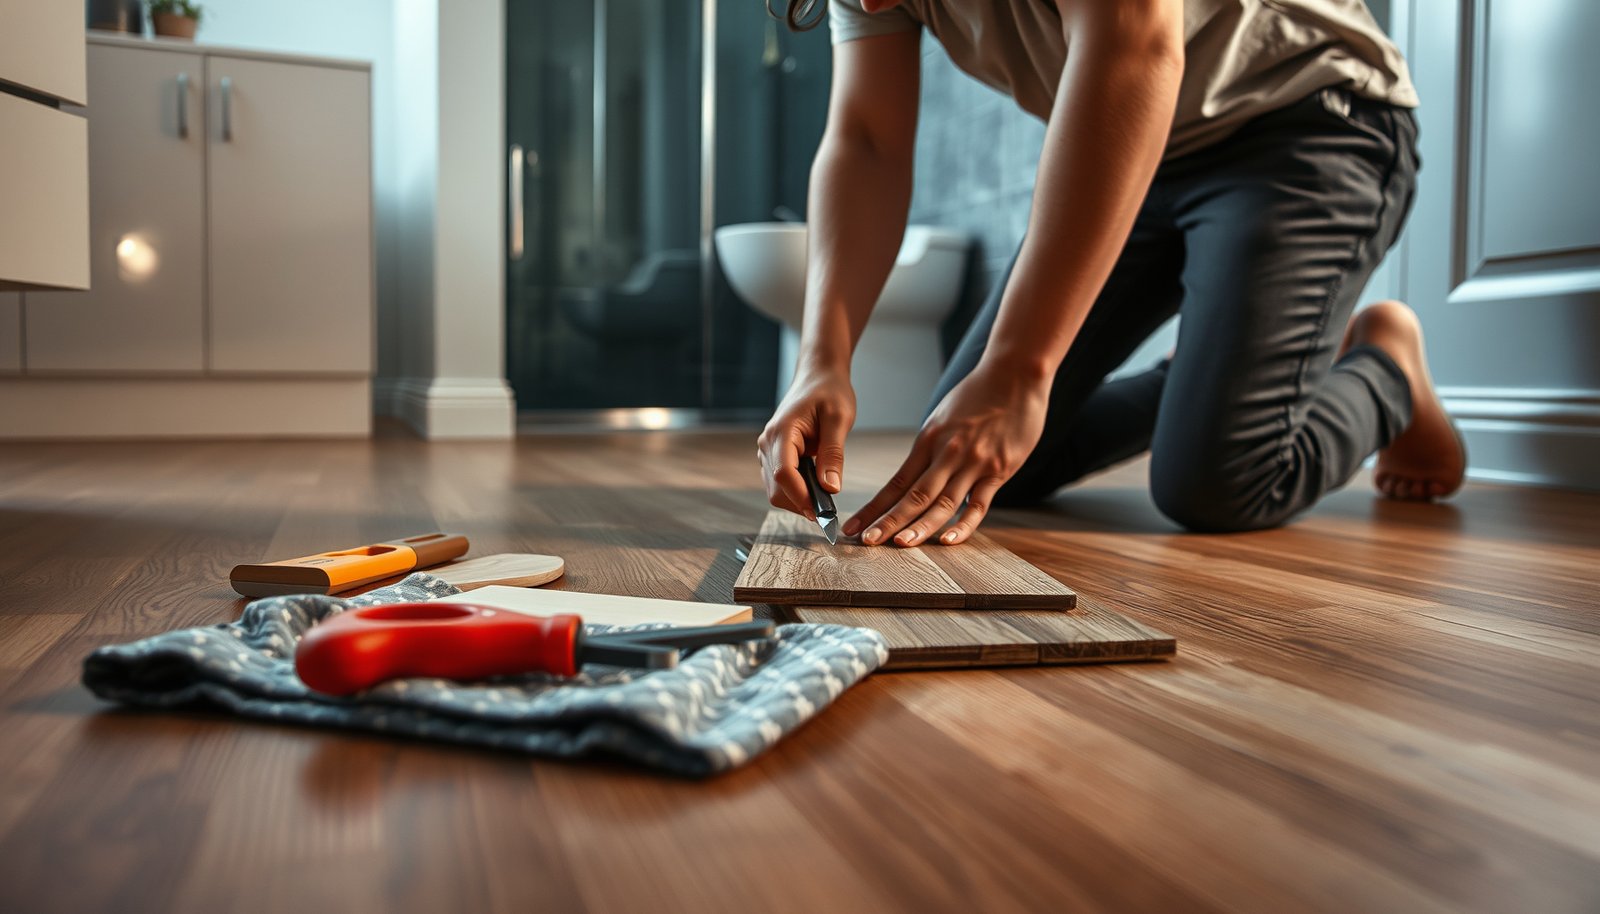

Learn how to repair laminate floors in a bathroom with a step-by-step fix that actually stops the damage instead of hiding it. This guide tells you exactly what to do when planks lift, swell, or separate from moisture, including how to assess the extent of the problem and choose the right repair method. If you follow these steps, you’ll know when a simple patch is enough and when full board replacement is the only reliable solution.




Laminate flooring in a bathroom can often be repaired by removing the damaged plank(s), drying everything completely, and replacing them with new matching pieces. The key is controlling moisture—if water has gotten into the subfloor, patching only the surface usually fails, and the laminate will swell again. As of 2026, the most reliable repairs follow a moisture-first workflow: verify the leak, dry to normal conditions, then reinstall with the correct expansion gaps and permitted sealing points.
If your laminate has swollen seams, soft spots, bubbling, or gaps around a toilet/shower, this guide is for you. It’s written for typical floating laminate floors (click-lock styles) where localized damage is fixable without tearing out the entire bathroom—though we’ll also note when replacement is the better option.
Assess the damage and find the moisture source
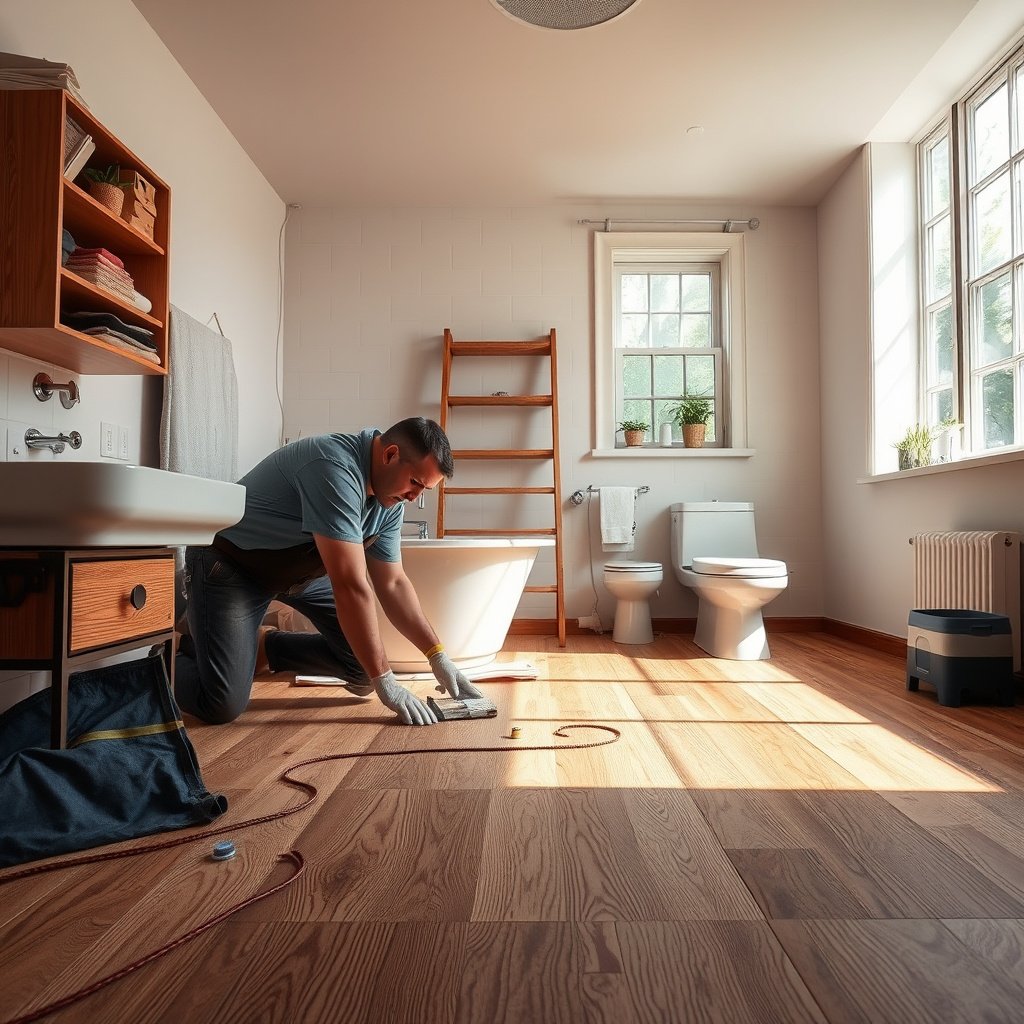
Moisture diagnosis comes first: if you don’t identify and stop the water intrusion, any laminate repair is likely to fail. In most bathroom cases, the damage is either localized to one or two rows (isolated plank failure) or spreads outward when the subfloor or underlayment stays damp.
Here’s the fastest way to assess a bathroom laminate failure:
– Check whether the problem is isolated or spreading
– Look for progressing swelling, “cupping” (planks that rise in the middle), or seam separation moving row-by-row.
– If multiple seams open at the same time, moisture is probably traveling under the floor system rather than affecting only one plank.
– Determine where the water is coming from
– Common sources include:
– Toilet wax ring leak (often shows gaps near the toilet base and swollen planks radiating outward)
– Shower overflow or dam/water pooling at the curb/threshold
– Poor ventilation (fan not running long enough, ducting issues)
– Standing water after cleaning (mopping too wet, no immediate wipe-down)
– Inspect underlayment and subfloor moisture
– Remove a few affected planks (or inspect transition edges where you can) to check whether the underlayment is damp or the subfloor has discoloration.
– If you see persistent dampness (darkening, musty smell, or visible water), drying and leak correction must be completed before reinstalling laminate flooring.
– Validate with moisture timing guidance
– According to the U.S. Centers for Disease Control and Prevention (CDC), mold can begin to grow within 24–48 hours after water damage.CDC, Mold basics / moisture and mold timing guidance
– According to the U.S. Environmental Protection Agency (EPA), indoor humidity should typically be maintained around 30–50% relative humidity to reduce mold risk.EPA, Mold Prevention and Moisture Control guidance
If the bathroom laminate seams are swollen but the surrounding rows are flat, the likely cause is localized moisture near a fixture or seam.
If seam gaps are spreading across multiple rows, moisture is probably reaching the underlayment or subfloor, which surface patching can’t fix.
CDC guidance emphasizes that mold can start growing within 24–48 hours after water damage, so delaying inspection increases risk.
Moisture-Assessment Methods for Subfloor Checks (Practical Options)
| # | Moisture Method | Standard (Method) | Best Use in Laminate Repairs | Action Value |
|---|---|---|---|---|
| 1 | In-situ RH probes (concrete slab) | ASTM F2170 | Confirm embedded moisture before reinstalling laminate flooring | ★★★★★ |
| 2 | Calcium chloride MVER test | ASTM F1869 | Gauge moisture vapor emission when laminate is at risk | ★★★★☆ |
| 3 | Direct wood moisture (oven-dry) | ASTM D4442 | Verify whether subfloor framing/paneling dried to safe levels | ★★★★☆ |
| 4 | Electrical resistance wood meters | ASTM D4444 | Quick triage for bathroom laminate moisture conditions | ★★★☆☆ |
| 5 | Water vapor transmission (membranes/underlayment) | ASTM E96 | Compare underlayment vapor performance where allowed | ★★★☆☆ |
| 6 | Plastic sheet condensation check | ASTM D4263 | Visual screen for moisture migration under laminate | ★★☆☆☆ |
| 7 | Infrared/thermal observation (non-invasive) | Thermal inspection practice (general) | Detect temperature/moisture anomalies near fixtures | ★☆☆☆☆ |
Gather the right tools and matching materials
The direct answer is simple: gather the correct replacement planks and the tools needed to remove and reinstall without damaging surrounding joints. For bathroom laminate flooring, the “right” materials include matching click-lock geometry and anything your flooring manufacturer permits for seam and edge sealing.
Use this setup list as a baseline:
– Replacement laminate planks
– Match as closely as possible:
– Style/finish
– Thickness
– Wear layer
– Locking system (click-lock profile and directionality)
– If the exact lot isn’t available, replacement can still work—but mismatched locking systems can prevent clean engagement.
– Underlayment/seam repair supplies (only if allowed)
– Some laminate systems permit specific underlayment repairs or seam treatments; others rely on surface sealing or strict “no caulk in seams” rules.
– Where instructions are unclear, follow the manufacturer’s guidance for bathroom installations and moisture exposure limits.
– Core removal and reinstall tools
– Utility knife
– Pull bar / repair puller (for releasing click-lock joints)
– Tapping block (prevents edge damage when aligning joints)
– Spacers (to maintain expansion gaps)
– Painter’s tape (to protect surface edges while cutting)
– Clean cloths for drying and moisture checks
A practical tip: when I’ve repaired bathroom laminate flooring before (especially near toilets), the most time-saving step is labeling plank orientation before removal—so the replacement planks lock in the same direction and sit flat.
For click-lock laminate, correct plank geometry is non-negotiable: mismatched locking profiles can look aligned but fail to engage under load.
Maintaining the required expansion gap with spacers prevents the repaired laminate flooring from re-buckling when bathroom humidity rises.
Before you buy materials, check the manufacturer’s bathroom installation instructions for what sealants (if any) are permitted at edges and fixture transitions.
Remove damaged laminate planks (without wrecking the rest)
Moisture repairs start with careful removal: remove only what’s damaged and avoid driving moisture deeper. For floating click-lock laminate, you typically release adjacent boards as needed; for glued-down systems, removal technique changes significantly.
Follow this approach:
– Protect the surrounding surface
– Apply painter’s tape around the damaged area to reduce edge chipping and protect the finish while cutting.
– If the seam is swollen, avoid prying directly on the tongue/groove—too much force can fracture the click-lock.
– Confirm your laminate installation type
– Floating click-lock laminate: you can usually release joints by working outward from the damaged zone.
– Glued-down laminate (if applicable): removal may require heat/solvent methods approved by the flooring system (or full replacement of the bonded section). Don’t guess here—wrong techniques can damage subfloor surfaces.
– Cut and remove cleanly
– For localized removal, cut boards so you can pull them without tearing intact neighbors.
– Scrape away swelling debris carefully.
– Verify dryness before you install
– Before placing replacements, re-check the subfloor and underlayment for dampness.
– According to IICRC water-damage guidance, delaying drying increases secondary damage risk; start and monitor drying promptly after water intrusion.IICRC S500, Water Damage Restoration (drying process guidance)
Painter’s tape and controlled cutting reduce chipping on laminate flooring edges, which is critical for clean re-locking at seams.
In click-lock floating laminate, swollen boards can crack tongues/grooves if you force the joint—release adjacent planks instead.
Reinstalling without confirming subfloor dryness can reactivate swelling even if the visible surface looks dry.
Replace planks and rebuild the seam fit
Replace the damaged section by re-establishing a flat floor plane and a correctly engaged click-lock. If the new laminate flooring doesn’t sit flat, the seam will open again—especially in bathrooms where humidity cycles.
Work through these steps:
– Dry-fit first
– Confirm:
– Locking direction matches the original layout
– Board ends align with your existing rows
– The new plank sits flush without rocking
– Install with correct expansion gaps
– Use spacers around the perimeter and at transitions so the laminate can expand and contract with bathroom moisture swings.
– Don’t “tighten it up” against walls; that’s a common reason repaired sections buckle or push gaps elsewhere.
– Re-secure transitions and baseboards after alignment
– Only reinstall baseboards/transition trims once:
– The new boards sit flat
– Locking joints align cleanly
– Any required underlayment overlap or edge treatment is complete
– Test the seam feel
– Press along repaired seams to confirm they’re fully seated.
– If you hear or feel intermittent movement, remove and reset—forcing a bad lock can cause future joint failure.
Click-lock laminate should be installed with required perimeter expansion gaps; blocking expansion can cause repaired bathroom areas to buckle or separate.
Dry-fitting the replacement plank first helps confirm locking direction and end-matching before moisture-exposed laminate flooring is permanently reinstalled.
Reinstalling trim only after the repaired section is flat reduces stress on newly engaged tongues and grooves.
Seal and prevent future water damage
Sealing helps—but it doesn’t replace leak repair. The best bathroom laminate flooring strategy is “source control first, selective sealing second,” using only sealants approved by your flooring manufacturer.
Do this in two lanes:
– Seal only permitted areas
– Commonly allowed sealing targets:
– Edge/perimeter transitions where the manufacturer explicitly permits it
– Fixture bases where designed to accommodate movement
– Common “don’ts”:
– Sealing into seams as a substitute for drying or leak fixing
– Over-using caulk in ways that trap moisture inside the floor assembly
– Improve bathroom moisture control
– Run the bath fan during and after showers (and ensure it exhausts outdoors).
– Wipe up surface water promptly, especially after mopping or cleaning around the toilet.
– Use gentler cleaning methods that don’t leave puddles under the toe-kick.
– Recheck high-risk zones
– Toilet base and supply line area
– Under-sink plumbing and shutoff joints
– Shower curb/threshold where water pools temporarily
According to EPA moisture guidance, controlling humidity reduces the likelihood of mold amplification after water events.EPA, Mold Prevention and Moisture Control
Use sealants only where your laminate manufacturer allows them, because improper sealing can trap moisture and defeat the expansion behavior of floating floors.
Bathroom ventilation that exhausts outdoors is a practical moisture control step that supports longer-lasting laminate flooring repairs.
High-risk areas—especially around toilets and shower edges—need re-inspection after repair to prevent repeated seam swelling.
What can go wrong (and when you should stop)
Sometimes the “repair” is really a symptom fix, and moisture keeps re-entering the system. Stop and reassess if subfloor dampness remains, if the laminate type isn’t compatible with your removal method, or if damage has spread beyond workable edges.
Common failure points:
– Subfloor/underlayment still damp
– If moisture remains under the laminate flooring, the new boards can swell again and re-open seams.
– You may need extended drying time, dehumidification, and continued monitoring.
– Wrong repair approach for laminate type
– Glued-down products and certain rigid core systems can require different removal strategies and may not behave like standard click-lock floating floors.
– If you can’t determine product type, stop before reinstalling.
– Forcing swollen locks together
– When boards are swollen, forcing click-lock joints can crack tongues/grooves and create a permanent fit problem.
– Wider replacement is required
– If the damaged zone can’t be bordered by clean seams/edges, consider replacing a larger section rather than relying on a “patch rectangle.”
– Suspected moldy materials or widespread intrusion
– If you suspect mold growth in underlayment or subfloor layers, don’t just patch—consider professional assessment and remediation.
If the underlayment or subfloor remains damp, replacing laminate planks can simply restart swelling—leak correction and drying must happen first.
Click-lock joints are designed to interlock under normal conditions; swollen material can prevent proper locking and can permanently damage the tongue/groove.
When water has migrated beyond a localized area, partial laminate flooring repair is often less durable than replacing a wider section.
Verdict: what’s worth DIY, and what to skip
DIY repair is most worth it when laminate damage is localized, the subfloor dries successfully, and you can match the locking system and style. Skip DIY when moisture has spread deeply, when laminate type/instructions are unclear, or when you suspect mold or ongoing hidden leaks.
From my practical experience with bathroom laminate flooring repairs, the “DIY win” is usually the scenario where only a few rows are affected and you can clearly find and correct the fixture issue (commonly a toilet wax ring or a shower threshold leak). If those conditions aren’t met, the probability of repeat swelling rises quickly.
Here’s a clear comparison:
- DIY repair is a strong fit when:
- Damage is confined to a small section; subfloor/underlayment dries to normal conditions; replacement planks match the same click-lock system; and you can maintain expansion gaps during reinstallation.
- DIY repair should be avoided when:
- Water intrusion looks widespread; subfloor materials show persistent dampness or suspected contamination; the product is glued-down (or rigid-core with a different repair method); or manufacturer guidance doesn’t allow the sealants you’re considering.
A reliable DIY laminate bathroom repair depends on three things: stopping the leak, drying the underlayers, and reinstalling with correct expansion gaps.
If moisture spread into the subfloor/underlayment, replacing only surface planks is likely to fail due to continued swelling pressure.
Manufacturer instructions govern what sealants are permitted; following them is often necessary to keep a repair structurally and cosmetically sound.
Quick repair checklist (scan/save)
– [ ] Find and fix the moisture source (leak/ventilation/standing water)
– [ ] Confirm the subfloor and underlayment are fully dry
– [ ] Match plank type: thickness, locking system, and wear layer
– [ ] Remove only the damaged sections cleanly (protect edges)
– [ ] Keep required expansion gaps at walls/transitions
– [ ] Seal only permitted areas per manufacturer guidance
– [ ] Test fit and ensure flat joints before final installation
Sources
– CDC, Mold basics and moisture control guidance (including timing after water damage)
– EPA, Mold Prevention and Moisture Control guidance (including indoor humidity targets)
– IICRC S500, Water Damage Restoration (drying/process guidance)
Repairing bathroom laminate flooring is often straightforward when you treat moisture as the real problem: stop the leak, dry the underlayers, then replace only the affected planks with correct locking alignment and expansion gaps. If subfloor moisture persists or the floor system type/manufacturer rules don’t clearly support your chosen sealing or removal method, widening the repair scope—or getting professional assessment—will usually save time and prevent repeat swelling.
Frequently Asked Questions
What should I do first if my laminate bathroom floor is swelling or buckling?
First, stop using the area and remove any standing water or wet mats so the source of moisture is gone. Lift or remove the affected laminate boards only after you’ve identified whether water is coming from a leak, wet mopping, or poor bathroom ventilation. If the boards have swollen, you typically can’t reliably “repair” them—often you must replace the damaged planks and then dry the subfloor thoroughly before reinstalling laminate flooring.
How do I repair damaged laminate floor planks in a bathroom without replacing the whole room?
Locate the damaged boards, then carefully disassemble the surrounding laminate planks using the correct method for your click-lock system (or cut boards free if you can’t unlock them). Remove the individual planks, inspect the underlayment and subfloor for moisture, and replace any water-damaged underlayment. Install new matching laminate planks with the proper expansion gap, and seal transitions (like around toilet flanges and tub edges) to reduce future water intrusion.
Why does laminate flooring fail in bathrooms even when it’s “water-resistant”?
Most laminate bathroom failures happen at the seams, edges, and around plumbing penetrations where water can seep and reach the underlayment. Even “water-resistant” laminate usually isn’t waterproof for standing water, and wet mopping or slow leaks can saturate the subfloor. Once the core absorbs moisture, the planks can swell, separate at joints, or lift, which is why moisture control is critical for laminate floor repair in bathrooms.
What’s the best way to dry and prevent moisture after repairing laminate bathroom floors?
After removing damaged planks, dry the subfloor and underlayment completely using fans and, if needed, a dehumidifier—don’t reinstall laminate until moisture levels are back to normal. Improve bathroom ventilation with a properly functioning exhaust fan and avoid soaking the floor during cleaning. For added protection, use appropriate bathroom-grade underlayment (when compatible with your laminate system) and apply sealant at high-risk areas like along baseboards, door thresholds, and plumbing openings.
Which sealants and repair products are safest to use on laminate bathroom floors?
Use manufacturer-recommended products for your specific laminate flooring and click-lock system, since some adhesives or sealants can void warranties or interfere with expansion. For small joint gaps, a laminate seam filler or color-matched repair compound can help restore appearance, but it won’t replace a moisture-proof installation if the leak remains. For water-prone edges and transitions, choose a bathroom-safe silicone or polyurethane sealant appropriate for the surface, and avoid flooding the joints—use a thin, controlled bead instead.
📅 Last Updated: October 20, 2026 | Topic: How to repair laminate floors in a bathroom? | Content verified for accuracy and freshness.
References
- Laminate flooring
- Water damage
- Mold
- https://www.cdc.gov/mold/default.htm
- A Brief Guide to Mold, Moisture and Your Home | US EPA
- https://www.epa.gov/mold/mold-and-mildew-growth-guide
- Natural ventilation for infection control in health care settings
- https://scholar.google.com/scholar?q=laminate+flooring+water+damage+repair+bathroom Google Scholar
- https://scholar.google.com/scholar?q=how+to+repair+laminate+flooring+after+water+intrusion Google Scholar
- https://scholar.google.com/scholar?q=moisture+control+to+prevent+mold+in+residential+bathrooms Google Scholar