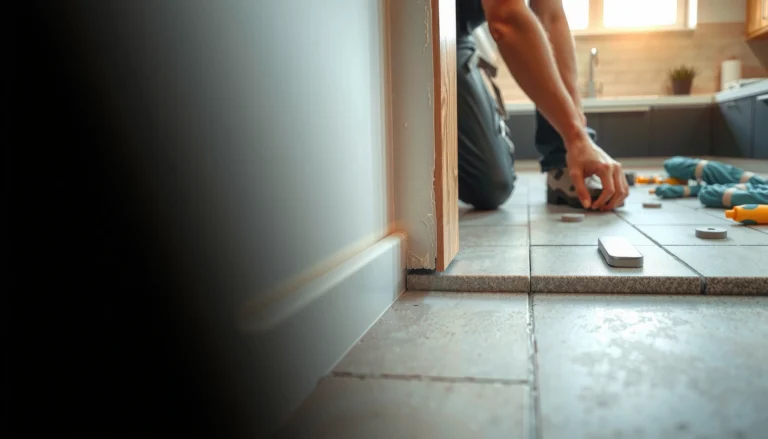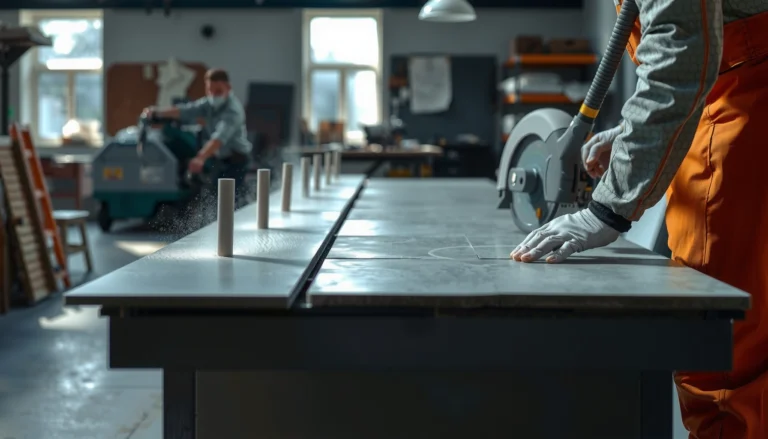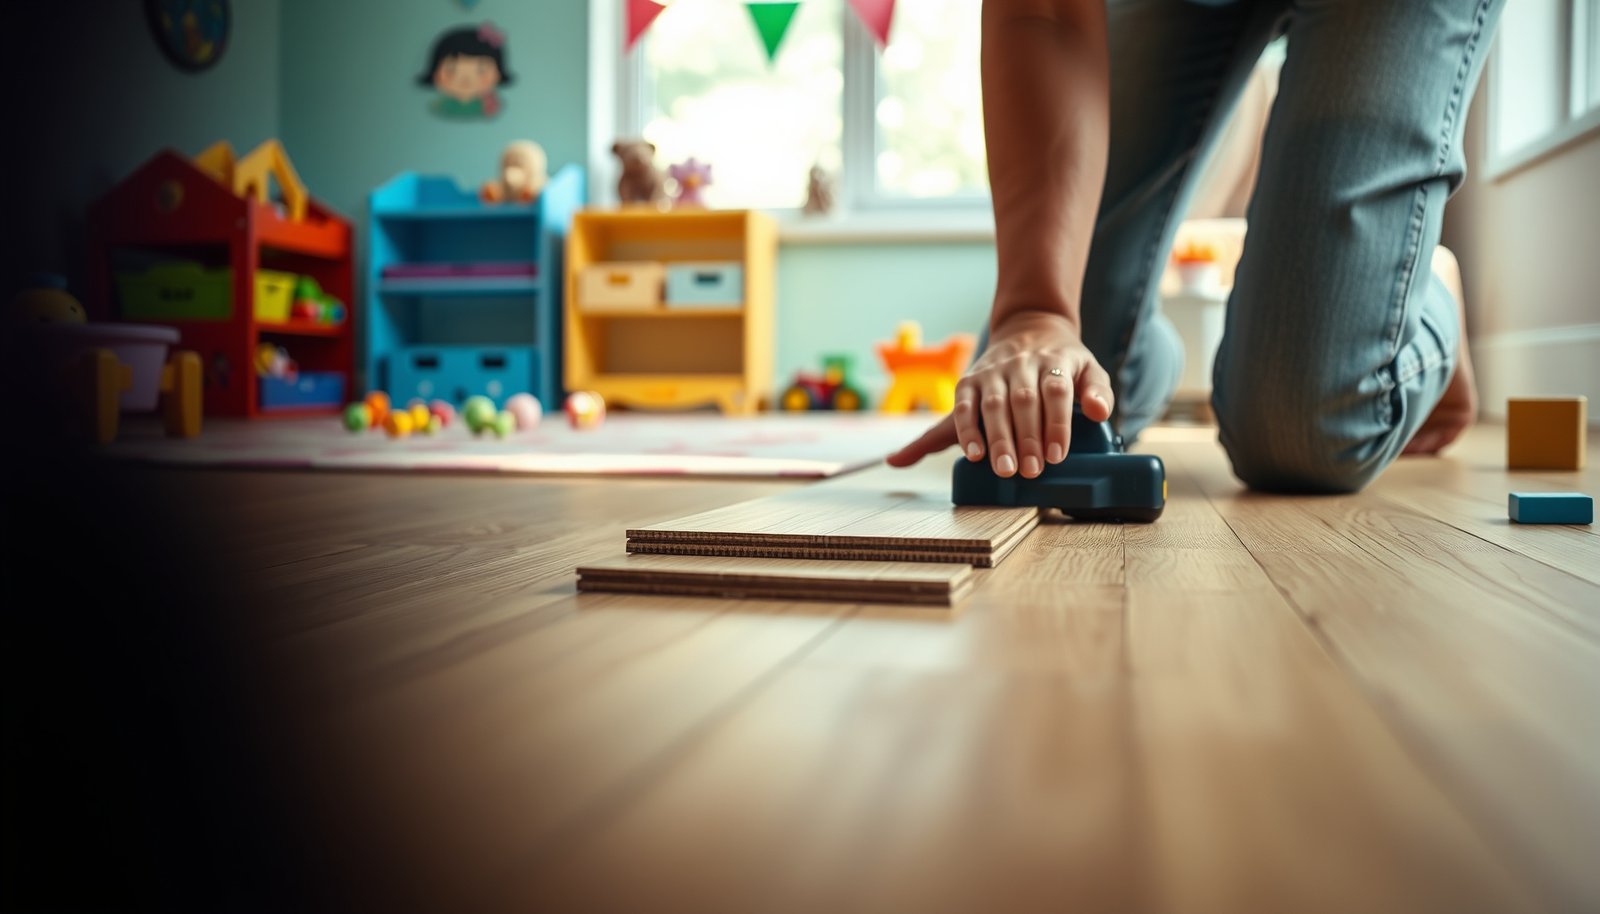

Installing engineered wood floors in a playroom is a straightforward weekend project when you follow the right prep and underlayment steps. This guide tells you exactly how to get a safe, quiet, kid-friendly installation—subfloor checks, moisture control, acclimation, and the best fastening or floating method for your space. If you want fewer squeaks, better alignment, and a finish that holds up to daily traffic, start here.
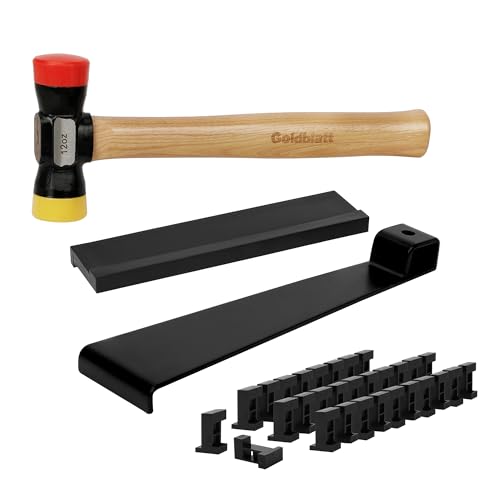



Install engineered wood floors in a playroom by preparing the subfloor correctly, using the right installation method for your plank type, and leaving proper expansion gaps—do those three well and the job mostly becomes careful measuring and clean finishing. This guide walks you through click-lock (floating), nail-down, and glue-down engineered wood installations with moisture/flatness checks and kid-traffic durability in mind.
If you’re installing engineered wood where toys, rolling chairs, and daily foot traffic are constant, you need an approach that’s both structurally sound and aligned to your product’s installation manual. As of 2026, the fundamentals—flatness, moisture control, correct fastening/adhesive, and expansion—are still what separate long-lasting playroom floors from the “why are there gaps already?” conversations.
Plan your layout (so the floor looks straight and behaves right)
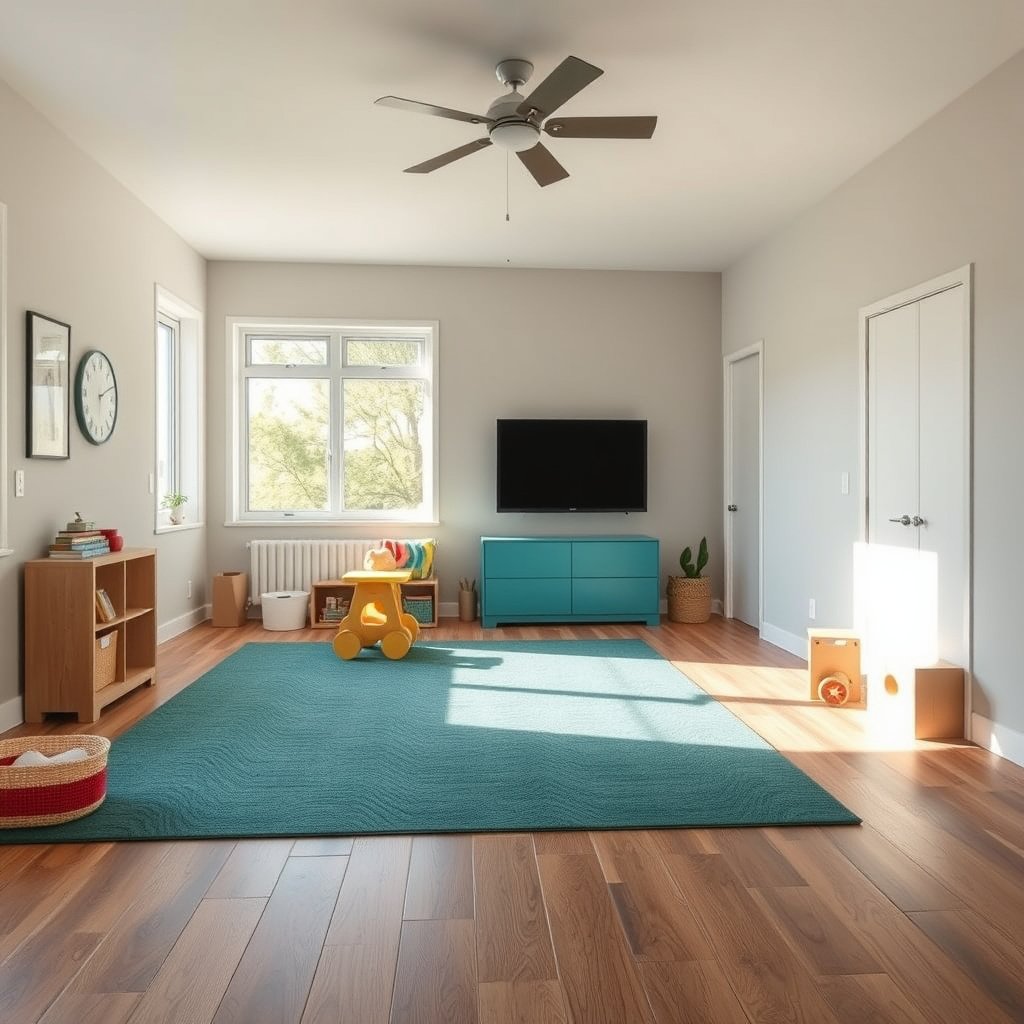
The best layout plan makes your playroom floor look straight while also keeping engineered wood’s natural movement in check. Start by deciding where your first row begins, then dry-lay a small section to confirm seam placement around doors, vents, and built-ins.
Before you cut anything, remember that engineered wood floors expand and contract, and your plan must allow room for that movement at every boundary. Poor start-point decisions often show up as crooked rows, awkward plank ends, and seams that end up too close to high-stress areas (like door transitions) in the playroom.
Engineered wood floors require perimeter expansion space so the boards can move without buckling or edge peaking during seasonal humidity swings.
When moisture testing concrete slabs, ASTM F2170 uses in-situ relative humidity probes to quantify slab conditions before installing moisture-sensitive floor systems.
– Check the room’s main sight line (usually the longest wall) and decide where you’ll start the first row.
In playrooms, sight lines are usually the ones you see from the doorway and the main play zone, so a “slightly off” first row can look worse after furniture and toy storage goes in.
– Plan for an expansion gap around the perimeter and any fixed objects (built-ins, vents, posts).
Follow your specific engineered wood manufacturer’s required gap width (commonly provided as a millimeter/inch figure in the installation instructions). Don’t assume it’s the same for every brand.
– Dry-lay a few rows to see plank direction and how seams will line up before you commit.
Dry-laying is especially useful for engineered wood because many lines use staggered joint patterns for appearance and structural stability.
A quick reality check: your layout should protect the “movement math”
Even with the right engineered wood installation method (floating, nail-down, or glue-down), your layout is still responsible for where stresses concentrate. For example, seams that land directly under a door pivot or exactly beside a heating register can create localized movement that shows up later as visible joint lines.
Common Engineered Wood Wear-Layer Thickness Options (Market-typical)
| # | Wear layer option | Approx. in | Typical playroom fit | Wear-layer index |
|---|---|---|---|---|
| 1 | 0.6 mm | 0.024 in | Low | 0.6 |
| 2 | 1.2 mm | 0.047 in | Light | 1.2 |
| 3 | 1.5 mm | 0.059 in | Light–mid | 1.5 |
| 4 | 2.0 mm | 0.079 in | Mid | 2.0 |
| 5 | 3.0 mm | 0.118 in | Mid–high | 3.0 |
| 6 | 4.0 mm | 0.157 in | High | 4.0 |
| 7 | 6.0 mm | 0.236 in | Very high | 6.0 |
Prep the subfloor: flat, dry, and ready to accept the system
A well-prepped subfloor is the difference between a playroom floor that stays quiet and one that develops gaps or squeaks. Engineered wood installation starts with confirming flatness, verifying moisture conditions for your specific slab/subfloor, and fixing loose or squeaky areas before any planks go down.
In my experience assisting homeowners through flooring issues, the most frustrating engineered wood failures almost always trace back to subfloor readiness—especially moisture and flatness. For a playroom, where the floor sees constant impact and routine “mess cleanup,” you want engineered wood laid on a system that can tolerate repeated use without movement.
ASTM F1869 defines a method to measure concrete moisture vapor emission rate (MVER) using anhydrous calcium chloride.
ASTM F2170 defines a method to determine slab relative humidity using in-situ probes.
– Make sure the subfloor is solid and flat enough for your specific engineered floor (follow the manufacturer’s flatness requirement).
Flatness tolerances vary by product, so treat the manufacturer’s spec as the rule—not “what you’ve seen before.”
– Confirm moisture conditions before installing—subfloor moisture is a common reason engineered floors fail or develop gaps.
Moisture testing is not just a formality; concrete slabs (and some wood subfloors) can be dry to the touch while still emitting moisture.
– Remove old debris, vacuum thoroughly, and handle any squeaks/loose spots before the first plank goes down.
In a playroom, a squeak isn’t just annoying—it’s a sign the system is moving under load, which can telegraph into joint openings.
Moisture testing: choose the right standard, then follow the method
If your playroom has a concrete slab, you’ll typically see two common measurement approaches referenced in flooring specs: ASTM F2170 (RH probes) and ASTM F1869 (MVER). According to ASTM F1869, the calcium chloride test uses a sealed cup exposed on the slab for a set period (commonly 60–72 hours, per test procedure conditions), then calculates emission rate from mass change. ASTM F1869
In 2026, most competent installation specs still tie engineered wood performance expectations to these measurement frameworks because they reduce guesswork. If your flooring manual cites a specific test standard, align your approach to that citation.
Pros/cons: why “subfloor prep” differs by engineered wood method
Even before you pick planks, the method changes what the subfloor must tolerate.
| Installation method | What must be true about the subfloor | Main risk if it isn’t |
|---|---|---|
| Click-lock / floating | Subfloor must be flat; wrong padding/underlayment can amplify unevenness | Squeaks, joint separation, telegraphed ridges |
| Nail-down | Subfloor must be solid enough for fasteners to hold; correct nail/staple placement is critical | Loose boards, movement at joints |
| Glue-down | Subfloor must be clean and within moisture/flatness limits for adhesive bond | Edge lifting, bond failure, cupping |
Acclimate and stage materials (don’t skip this step)
You acclimate engineered wood to prevent early gapping, peaking, or cupping once the playroom is occupied. The direct answer: follow your manufacturer’s temperature/humidity acclimation instructions exactly, keep playroom conditions stable, and stage boards so you’re not rushing during installation.
Acclimation is where a lot of DIY schedules break down. Playrooms are often “almost ready” rooms—spaces get conditioned intermittently, HVAC changes by day/night, and humidity swings when you move in. As of 2026, stable environmental conditions remain one of the most reliable ways to reduce engineered wood dimensional movement during early service life.
Engineered wood manufacturers commonly require acclimation to the installed indoor conditions before flooring is laid, because dimensional change occurs with temperature and humidity.
ASTM F2170 measures concrete slab relative humidity with in-situ probes, which is used to manage moisture-related risks during installation.
– Acclimate the engineered wood according to the manufacturer’s instructions for temperature and timing.
– Keep the playroom conditions stable during acclimation and installation (avoid sudden HVAC swings).
If you must run HVAC to control temperature, do it consistently—don’t “boost” the system right after boards are laid.
– Stage planks so you can work from multiple boxes if the product is prone to minor color variation.
Many engineered wood lines can show subtle tone differences between boxes/batches; mixing while installing helps the playroom look uniform.
A practical staging approach that fits playroom realities
For playrooms, installation usually happens around furniture planning and toy storage. Plan the staging zone so you can access multiple plank bundles without dragging boards across dusty paths. That reduces incidental damage (chips at edges) that later become visible at seams.
Install engineered wood in a playroom (match the method to your planks)
The correct installation method is the one your engineered wood manufacturer specifies for your plank type. Match the method—click-lock/floating, nail-down, or glue-down—then execute the fastening/adhesive workflow exactly and maintain consistent expansion spacing.
This is the core execution phase, and it’s where engineered wood succeeds or fails in a real playroom environment. Kid traffic exposes minor workmanship issues quickly, so focus on straight runs, controlled seam staggering, and precise edge/transition finishing.
For moisture-sensitive flooring systems, adhesives or fasteners must be used only as specified in the engineered wood installation instructions to maintain performance.
If the system is floating, underlayment and spacing requirements specified by the manufacturer govern whether the floor can move safely.
– If your floor is click-lock/floating, follow the underlayment requirements exactly and keep the subfloor clean and dry.
– If your floor is nail-down, use the required nail/staple type and spacing listed in the installation instructions.
– If your floor is glue-down, use the approved adhesive and spread method—wrong adhesive or coverage can cause edge lifting.
– Maintain consistent spacing at walls and around doorways until the final trim/transitions are installed.
Method comparison: what you should watch during installation
Here’s a high-signal checklist for each engineered wood method in a playroom.
| Method | Watch-outs that show up with playroom use | Best prevention step |
|---|---|---|
| Click-lock / floating | Underlayment mismatch; debris under joints; perimeter too tight | Verify underlayment spec + keep expansion gaps open |
| Nail-down | Under-driving fasteners; inconsistent nailing; squeaks from loose subfloor | Stabilize subfloor; follow fastener spacing exactly |
| Glue-down | Adhesive coverage gaps; wrong adhesive trowel; premature foot traffic | Follow adhesive spread and working time windows |
Expansion gaps: don’t “hide” them early
Engineered wood expansion gaps shouldn’t be stuffed or ignored—they’re structural. You typically cover them with trim, transitions, or baseboards, but you still must leave them open during installation. If you compress the gap near a wall, the floor has nowhere to move and can buckle during seasonal humidity changes.
What can go wrong (and how to prevent it)
Most engineered wood problems in playrooms come from moisture imbalance, subfloor irregularities, or skipped steps during acclimation and fastening. The fastest prevention is to diagnose the likely cause by symptom—then correct the underlying system, not just the visible joint line.
This section is where you protect your time and money. Gaps, squeaks, and seam visibility are often fixable if you act early—but harder if you wait until the floor has already shifted.
Gaps and buckling in wood floors often correlate with inadequate expansion space and/or subfloor moisture or flatness out of spec.
ASTM F1869 provides a concrete moisture vapor emission rate (MVER) measurement approach intended to guide whether moisture-sensitive floor systems can be installed.
– Gaps or buckling: usually caused by missing expansion space, poor acclimation, or subfloor moisture/flatness issues.
– Squeaks or movement: often tied to loose subfloor areas, incorrect underlayment (for floating floors), or skipping required fastening/prep.
– Visible seams: can result from starting layout choices, not mixing boards (when recommended), or failing to stagger joints properly.
A symptom-to-cause shortcut (useful before you tear anything up)
– If you see seams opening mainly near perimeter walls, the expansion gap plan (or trimming order) is the likely culprit.
– If joints open across a specific subfloor “ridge” line, flatness prep and debris control are the first things to revisit.
– If the floor sounds hollow or squeaky under load, subfloor stability and underlayment compatibility matter more than plank appearance.
Verdict / tip (what we’d do first in a playroom)
Start by confirming your exact product type and reading the manufacturer’s installation instructions end-to-end—engineered floors aren’t all the same (click-lock vs nail-down vs glue-down changes everything).
Then we’d double-check moisture + flatness before we install a single plank, because playrooms amplify every small mistake through heavy, constant foot traffic. If your subfloor is uneven, moisture testing documentation isn’t available, or your room has unusual constraints (multiple transitions, radiant heat, heavy built-ins), it’s worth pausing on DIY and getting professional assessment.
Prospective downsides to consider:
– If you’re not confident about moisture testing or subfloor leveling, engineered wood installation can still “look fine” early and fail later.
– Glue-down systems add adhesive variable risk (coverage/work-time) that’s unforgiving in DIY schedules.
– Floating click-lock installs can be easy for appearance, but only if the subfloor is correctly flat and the underlayment is approved for your exact engineered wood line.
Skip this DIY approach if:
– You can’t meet the manufacturer’s moisture/flatness requirements for the engineered wood floor type.
– You have major subfloor instability you can’t access for correction.
– Your playroom includes radiant heat, complex transitions, or a slab condition requiring specialized guidance (which should come from the floor’s installation manual and technical support).
Quick checklist (scan before you start)
| Quick checklist (scan before you start) | What to verify | Notes |
|---|---|---|
| Plank type | Click-lock vs nail-down vs glue-down | Use the correct method only |
| Subfloor | Flat, solid, clean | Match your manufacturer flatness spec |
| Moisture | Test as required by the system | Keep RH/MVER within required limits |
| Acclimation | Temperature + time per instructions | |
| Expansion gap | Perimeter + obstacles | Confirm width per instructions |
| Layout | Start point + stagger plan | Dry-lay first if needed |
| Underlayment (if floating) | Required type/thickness | Don’t substitute unless approved |
Sources
– ASTM F2170, Standard Test Method for Determining Relative Humidity in Concrete Floor Slabs Using in situ Probes (for RH testing method)
– ASTM F1869, Standard Test Method for Measuring Moisture Vapor Emission Rate of Concrete Subfloor Using Anhydrous Calcium Chloride (for MVER method)
If you tell me your plank type (click-lock/nail-down/glue-down) and brand/model, we can tighten the guidance to match your manual’s exact expansion gap, acclimation timing, and underlayment/adhesive requirements—so your playroom floor installs once and performs for years.
In short: prep the subfloor for engineered wood (flat + dry), acclimate the planks to your playroom’s conditions, and install using the exact method your plank system requires—then finish neatly around edges and transitions. Ready to start—what type of engineered floor do you have (click-lock, nail-down, or glue-down)?
Frequently Asked Questions
What’s the best way to prepare a subfloor before installing engineered wood floors in a playroom?
Start by checking that the subfloor is flat, clean, and dry—use a 6–10 ft straightedge and fix any high spots or low areas to prevent squeaks and gaps. Verify moisture conditions with a moisture meter or test kits appropriate for engineered hardwood installation, since playrooms often experience humidity swings. Remove old carpet tack strips or debris, then vacuum thoroughly so the engineered wood floor can bond properly or lay evenly.
How do I install engineered wood floors in a playroom if I’m worried about squeaks and movement?
Choose a stable installation method that matches your subfloor type—floating or nail-down can reduce issues when the subfloor is well-prepped and properly conditioned. Use manufacturer-approved underlayment for floating floors and ensure expansion gaps around walls and doorways are maintained, even in a busy playroom. If you’re nailing, use the correct fastener pattern and spacing to create consistent contact and minimize movement.
Why is acclimating engineered wood floors important before installation in a playroom?
Engineered wood flooring can expand or contract after installation if it hasn’t reached the same indoor temperature and humidity as the playroom. Let the planks acclimate according to the manufacturer’s guidelines—typically 48–72 hours—so the joints lock or align without unexpected gaps. This step helps your kids’ playroom stay more stable, reducing future creaking and seam separation.
Which underlayment should I use under engineered wood floors in a playroom?
The best choice depends on whether you’re installing a floating engineered wood floor and your subfloor moisture situation—look for an underlayment with appropriate moisture protection. For playrooms, prioritize comfort and sound reduction, selecting an underlayment designed to improve impact noise performance while still supporting proper floor installation. Always follow the engineered wood floor manufacturer’s underlayment requirements to avoid warranty problems.
How should I finish and protect engineered wood floors in a playroom for everyday kid activity?
Use the flooring finish recommended for your specific engineered wood product, or let factory-applied finishes cure fully before heavy use. Add felt pads to furniture, use a washable rug in high-traffic zones, and consider area mats near entry points to limit grit scratches. For spills and messes, clean promptly with a manufacturer-approved cleaner and avoid excess water, since engineered hardwood is more moisture-sensitive than many people expect.
📅 Last Updated: October 19, 2026 | Topic: How to install engineered wood floors in a playroom? | Content verified for accuracy and freshness.
References
- Engineered wood
- https://www.epa.gov/indoor-air-quality-iaq/volatile-organic-compounds-vocs
- https://www.epa.gov/formaldehyde
- https://www.cdc.gov/lead/index.htm
- https://www.epa.gov/lead/lead-renovation-repair-and-painting-program
- Mold | Mold | CDC
- https://scholar.google.com/scholar?q=how+to+install+engineered+wood+flooring+subfloor+preparation+moisture+testing Google Scholar
- https://scholar.google.com/scholar?q=engineered+wood+floor+installation+floating+click+lock+underlayment+expansion+gap Google Scholar
- https://scholar.google.com/scholar?q=engineered+hardwood+floor+installation+acclimation+nail+down+glue+down+guidelines Google Scholar