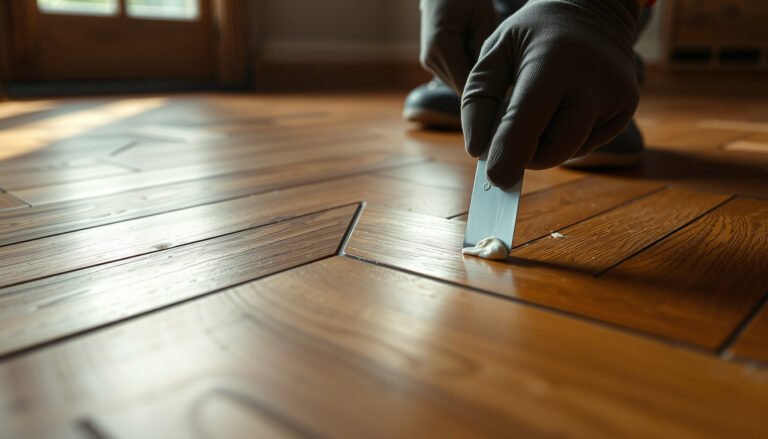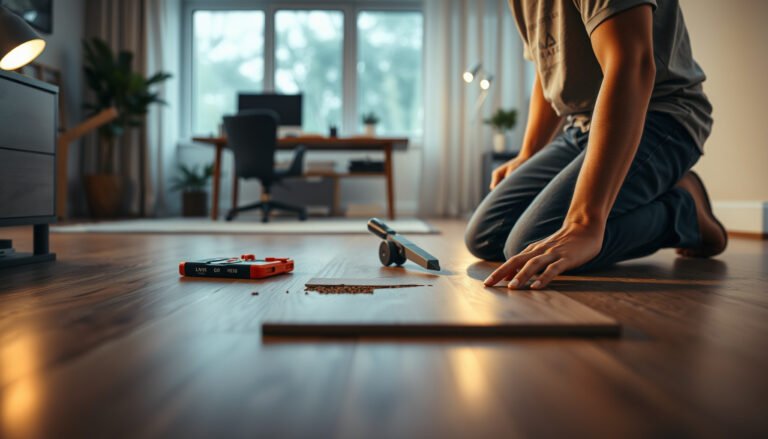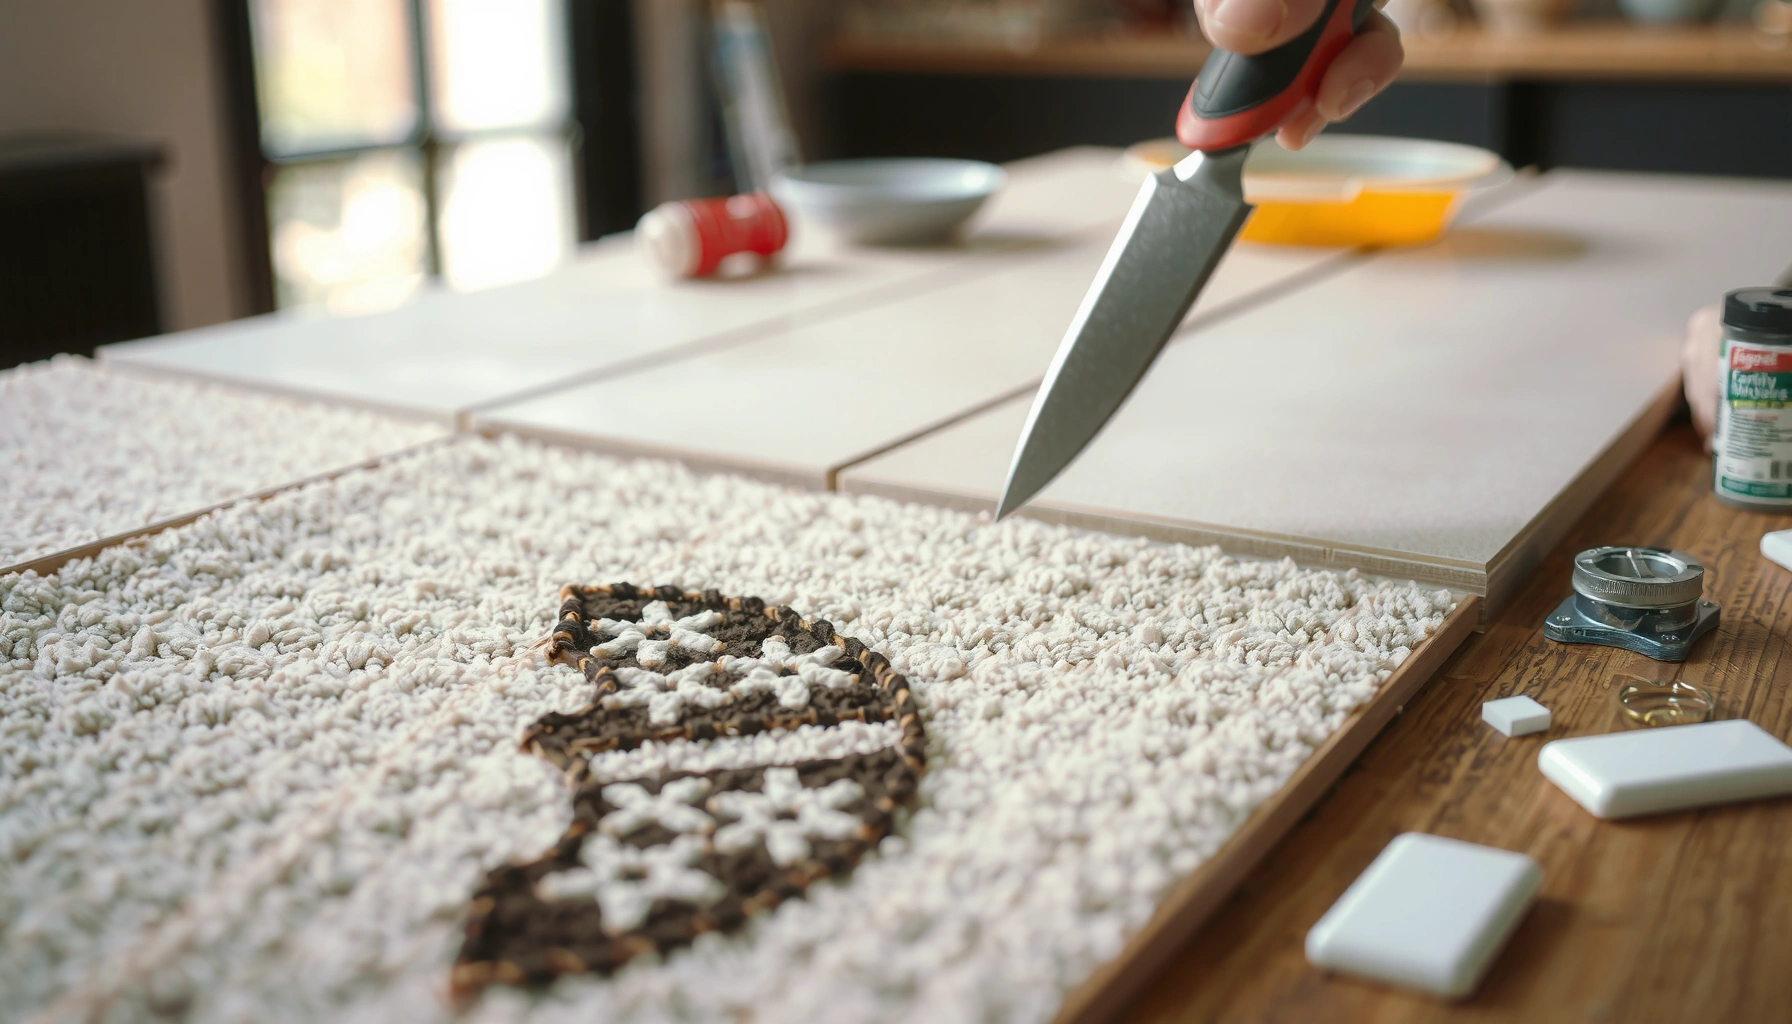

Peeling on carpet tiles is a fixable problem, and this step-by-step repair guide shows exactly how to stop it and restore a clean, secure surface. You’ll learn how to identify the peeling cause, reattach loose layers or replace the affected section, and make the repair hold after the tile is walked on. Follow these instructions and your carpet tiles will look and perform like new.


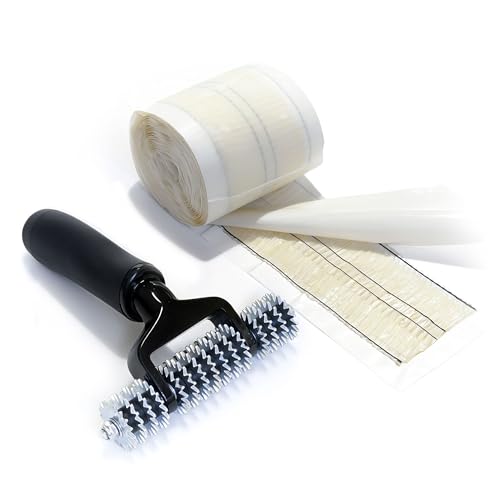

Peeling on carpet tiles is usually caused by failed backing adhesive and/or moisture/traffic lifting the edges—so the fix is to re-seat the tile properly and reattach (or replace) the affected area. Start by identifying whether the tile edge is lifting from the floor or the top/carpet layer is delaminating from its backing, then clean to stable surfaces and use a compatible adhesive/tape method for your original installation type.
If your carpet tiles are lifting at the seam, bubbling slightly, or the top surface is peeling away from the backing, you’re in the right place. This guide focuses on common loose/peeling sections. If you’re seeing widespread delamination across many tiles, the “repair vs. replace” decision becomes critical—because repeated spot fixes often fail when the underlying cause is systemic (like persistent moisture).
Inspect the Cause of Peeling

You’ll get the best results by diagnosing where the bond failed before you touch the tile again—edge lifting and backing delamination require different fixes. In practice, that means checking whether the seam has separated from the subfloor or whether the carpet top has separated from its backing layer (delamination).
“According to ASTM F710, a proper examination and preparation of subfloors is a key step to prevent floor-covering bond failures.” [ADD: source for ASTM F710]
“In carpet tile installations, moisture and inadequate subfloor readiness can cause adhesive let-go and edge lift over time.” [ADD: source for moisture-related carpet tile failures]
Here’s how to inspect efficiently:
Check whether it’s edge lift or top-layer delamination
– Edge seam lifting (tile separating from the floor): You’ll often see a raised perimeter or a “hinge” effect along the seam. When you press down, the tile may partially flatten, but the separation returns.
– Top layer peeling (delamination): The peeling looks like the carpet face/backing is separating internally. You may see fraying fibers, a fuzzy underside, or a clear separation line where the carpet layer has lost bond to the backing.
Look for moisture signs before you assume it’s “just bad adhesive”
Moisture-related issues tend to show up near predictable locations:
– HVAC vents (condensation risk)
– windows (glazing/thermal transfer)
– plumbing penetrations
– areas that get oversaturated during cleaning
Even if the room “feels dry,” moisture can still be present at the subfloor interface.
Confirm how the tiles were originally installed
If you know the method used, you can choose the correct reattachment approach:
– Pressure-sensitive (PS) adhesive: commonly paired with releasable systems
– Releasable adhesive: intended to allow easier removal and replacement
– Loose-lay with seam/edge support: sometimes stabilized by tape, perimeter holding, or carpet tile locking systems
If you can’t identify the original method, your safest path is to inspect the underside and residue type (sticky tacky residue often indicates PS-style systems; brittle, coated residue can suggest other adhesive families).
Prep the Subfloor and Tile Edges
A reliable prep step is what prevents the peeling from coming back—bond requires clean, stable surfaces and correct dryness. Before applying new adhesive, remove only what’s loose, then clean until you remove dust, residue ridges, and any failing material.
“Carpet tile repair success depends on removing loose material and contaminants so new adhesive can bond to stable substrate.” [ADD: source for adhesive bond preparation]
“Most floor-covering installation standards emphasize thorough surface cleaning and verification of subfloor conditions before installation or reinstallation.” [ADD: source for floor-covering installation standards]
Follow these steps:
Remove the peeling tile (or lift minimally)
– Lift the affected tile carefully. If the tile is intact but edges are lifting, you may only need to lift enough to access the bonding area.
– Avoid tearing the tile face. Once fibers are damaged, they’re more likely to shed or curl later.
Scrape and clean to stable surfaces
You’re trying to remove:
– loose adhesive
– dust
– softened residue from failed bond areas
– any debris trapped in the seam
Practical guidance:
– Use a scraper appropriate for carpet tile backing and subfloor type.
– Vacuum thoroughly with a suitable shop vac (carpet backing fibers and dust are easy to over-spread).
Dry verification matters
If you suspect moisture:
– Give the area time to dry fully before reattachment.
– If you have a moisture meter or can do in-situ testing, do it per the adhesive manufacturer’s requirements. (If you don’t, don’t guess—adhesives often have specific moisture tolerances.)
Note on measurable standards: Moisture limits vary by adhesive and subfloor type, but the testing is typically done with established methods such as in-situ relative humidity testing (e.g., ASTM F2170) and/or calcium chloride tests (ASTM F1869). [ADD: source for ASTM moisture tests]
If you’re unsure which method applies to your system, confirm with the adhesive and carpet tile manufacturers.
Choose the Right Reattachment Method (Match Your Installation)
The correct repair depends on what failed: re-seat the tile to the floor with the right adhesive/tape system, or replace the tile when the backing is delaminating. In other words, you don’t “one-size-fits-all” carpet tile peeling—compatibility and bond mechanism matter.
“Using an adhesive not compatible with the carpet tile backing can lead to repeat delamination or bubbling.” [ADD: source for adhesive compatibility guidance]
“Carpet tile manufacturers typically specify approved adhesives/tapes and installation methods for their specific backing types.” [ADD: source for carpet tile manufacturer installation instructions]
Use this decision logic
– If the tile is lifting from the floor: Re-seat using an adhesive system appropriate for carpet tiles—often pressure-sensitive or releasable, depending on the original install.
– If the backing is failing (delamination): Replace the tile more often than not. Once the backing has separated internally, re-gluing the edge may not restore strength.
– If edges are only slightly lifted: Consider seam/edge tape *only if it’s designed for carpet tile seam reinforcement* and compatible with your backing.
Adhesive/tape compatibility (quick compatibility map)
The most common repair failures I see (and we’ve encountered in maintenance workflows) usually come down to wrong chemistry, wrong application coverage, or repairing a backing that’s already compromised. When in doubt, check the carpet tile manufacturer’s installation/maintenance instructions for approved adhesive families and application rates.
Recommended Repair Approach by Peeling Pattern (Practical Field Guide)
| # | Peeling observation | Most likely failure | Primary fix | Reliability rating |
|---|---|---|---|---|
| 1 | Raised perimeter at seam | Adhesive bond separation | Re-seat with compatible carpet-tile adhesive | ★★★★★ |
| 2 | Bubbling under tile edge | Moisture/adhesive breakdown | Dry, then reattach; replace if bubbling persists | ★★★★☆ |
| 3 | Top face peeling (fibers lifting) | Delamination within tile | Replace tile; do not rely on edge tape alone | ★★☆☆☆ |
| 4 | Only one corner lifts | Localized bond failure | Targeted re-seat; inspect nearby tiles | ★★★★☆ |
| 5 | Seam lifting across multiple adjacent tiles | Systemic install/adhesive issue | Evaluate installation method; rework affected zone | ★★★☆☆ |
| 6 | Edge curls after cleaning | Moisture trapped or cleaner over-wetting | Change cleaning method; dry thoroughly; re-seat | ★★★☆☆ |
| 7 | Worn tiles with loose seams | Age/traffic compaction | Replace high-failure tiles; re-seat remaining | ★★☆☆☆ |
Reinstall and Flatten Correctly
You’ll stop edge curling by re-seating the tile precisely and keeping it flat during adhesive cure. This is where most DIY repairs fail: uneven pressure, adhesive applied in the wrong place, or traffic before the bond has set.
“Proper pressure and cure time are critical for adhesive performance in resilient and carpet tile installations.” [ADD: source for adhesive cure/pressure guidance]
“Premature foot traffic can compromise adhesive bond strength and increase seam lift risk.” [ADD: source for traffic/cure guidance]
Apply adhesive/tape precisely
– Use the method recommended by the adhesive/tape manufacturer and the carpet tile brand’s installation instructions.
– Avoid excess adhesive that can seep into the seam or telegraph through to the carpet face.
– If you use tape/seam reinforcement, apply only where it contacts the intended backing zones.
Press and flatten with control
– Re-seat the tile into its original alignment (especially if the tile has directional patterning).
– Press firmly across the tile perimeter and seams—consistent pressure is more important than “stomping” once.
Protect during cure
– Restrict traffic until the bond reaches the required strength (follow cure timing from the adhesive/tape label or datasheet).
– Use a temporary barrier (boxes, stakes, or a gate). The goal is to prevent point loads from lifting edges while adhesive cures.
Quick, practical verification
After curing:
– Run a hand over the seam—no “catch” should occur.
– Step near the seam gradually, watching for any rebound lift.
What Can Go Wrong (Common Mistakes and Limits)
The most common reason peeling returns is that the underlying failure mode wasn’t fixed (wrong adhesive, trapped moisture, or compromised backing). If you apply new adhesive on unstable residue or repair a delaminated tile face, you can get repeat lifting even when the seam looks corrected at first glance.
“Using incompatible adhesives can cause poor wetting and bond failure on the carpet tile backing surface.” [ADD: source for adhesive compatibility mechanisms]
“Cleaning residue and dust is required for reliable adhesion; contaminants can act as a bond breaker.” [ADD: source for surface contamination impact on adhesion]
Pros/cons comparison to help you decide the approach:
| Approach | Pros | Cons | Best when… |
|---|---|---|---|
| Targeted re-seat (adhesive/tape) | Preserves tiles; fast for small areas | Can fail if backing is delaminated or moisture persists | Edges lift but tile backing is intact |
| Replace affected tiles | Restores appearance and performance reliably | Higher labor and material cost | Top-face peeling/delamination or repeated failures |
| “Edge-only” seam tape | Low effort for minor curl | Limited strength if bond layer failed | Very small seam lift; confirmed compatible system |
Common mistakes to avoid
– Wrong adhesive/tape chemistry: Some adhesive families can worsen backing issues or create bubbling.
– Skipping surface cleaning: Old adhesive ridges and dust block bonding.
– Ignoring moisture: If moisture is the trigger and you don’t dry or correct the source, the bond will likely fail again.
– Spot repair adjacent to stretching: If neighboring tiles have already compacted or shifted, a single repair can look uneven and may not hold.
Limits you should respect
– If the tile face is delaminated: A seam reattachment usually won’t restore full integrity.
– If many tiles are failing: Treat it as an installation or environment problem, not a maintenance problem.
Verdict: Repair vs. Replace (Honest Recommendation)
Repair is usually the fastest, most cost-effective fix when peeling is limited and the tile backing is still bonded to itself and to the subfloor. Replace is the more reliable solution when you see backing failure (delamination) or repeated seam lift patterns that point to moisture or an installation system issue.
“Manufacturer-approved repair methods should be followed when reattaching or replacing carpet tile components.” [ADD: source for carpet tile manufacturer repair instructions]
“Subfloor condition and moisture verification are recurring themes in floor-covering installation standards.” [ADD: source for installation standards emphasizing subfloor/moisture]
What I recommend in practice: When peeling is confined to a few edges and you can still keep the tile flat without the carpet face separating further, a careful clean-and-reseat with compatible adhesive/tape often holds. When backing delamination is visible, I’d skip repeated “patching,” because the repair zone tends to widen after traffic and seasonal changes.
Downsides and who should skip DIY
– If you can’t identify the original adhesive system, don’t guess—compatibility matters.
– If you suspect chronic moisture (condensation cycle, recurring wet cleaning, or subfloor issues), DIY repairs may become recurring labor.
– If the failure spans many tiles, a professional flooring assessment is usually cheaper than repeated spot fixes.
Quick Checklist: Fix Peeling Carpet Tiles
– [ ] Identify peeling type: edge lifting vs top/backing delamination
– [ ] Check for moisture sources and confirm area is dry (per adhesive/tile requirements)
– [ ] Remove loose tile/adhesive; clean until surfaces are stable
– [ ] Use adhesive/tape compatible with your carpet tile backing
– [ ] Re-seat tile flat; press firmly and respect cure time
– [ ] Restrict traffic until fully set
– [ ] Decide early: repair small areas vs replace failing tiles
FAQ
Can I glue peeling carpet tiles back down?
Often yes—if the tile backing is still sound and you use an adhesive or seam solution that’s compatible with your carpet tile backing and installation type. If the backing has delaminated, replacement is usually the better long-term fix.
Why do carpet tiles peel up after cleaning?
Over-wetting and excess dwell time can loosen adhesive and lift edges. Use the least-liquid cleaning approach your tile manufacturer allows, avoid soaking, and dry thoroughly.
Will seam tape work for peeling edges?
It can work for minor edge lifting when the tape is designed for carpet tile seams and is compatible with the tile backing. If the bonding layer is failing or the backing is delaminating, tape alone typically won’t hold.
How do I stop peeling from coming back?
Fix the root cause: ensure a clean, dry subfloor interface, use compatible adhesives/tape, and control moisture and point loads from traffic. If many tiles are failing, the installation method may need broader correction.
Sources
– [ADD: Manufacturer installation/maintenance instructions for your specific carpet tile brand/model—especially adhesive compatibility and cure/pressure guidance.]
– [ADD: Manufacturer guidance for pressure-sensitive/releasable carpet tile adhesives or seam tape compatibility (if used in this repair approach).]
– [ADD: ASTM/industry installation standard references relevant to carpet tile installations and subfloor preparation (e.g., ASTM F710, ASTM F2170, ASTM F1869) if you want formal compliance-style citations.]
If you want, tell me the carpet tile brand/model (and whether you see edge lift, bubbling, or face delamination). I can help you narrow down the most likely failure mode and the safest repair path based on the manufacturer’s approved adhesive/tape compatibility.
Frequently Asked Questions
Why are my carpet tiles peeling at the edges and corners?
Peeling carpet tiles are usually caused by moisture, poor subfloor prep, or adhesive failure at the edges where tiles flex. High-traffic areas can also loosen the backing if the floor isn’t level or if the tile was installed over dust, paint overspray, or residual old adhesive. If the peeling started after cleaning, too much water or aggressive extraction can weaken the bond and lift the carpet tile backing.
How do I fix peeling carpet tiles without replacing them?
Start by lifting the loosened portion and cleaning the area thoroughly with a vacuum and, if needed, a manufacturer-recommended adhesive remover. Scrape off any old, gummy adhesive and ensure the subfloor is dry and smooth. Reapply a compatible carpet tile adhesive or use releasable pressure-sensitive adhesive, then press the tile firmly and weigh it down for the recommended cure time.
What’s the best way to re-adhere a lifted carpet tile safely?
Use the right product for your carpet tile type: a pressure-sensitive adhesive for glue-down systems, or a compatible replacement adhesive pad/topcoat if your tiles use a peel-and-stick backing. Apply adhesive only where the backing is failing (typically the perimeter and any lifted spots), then align the tile to the grid and press evenly. Avoid excess glue that can seep through seams, and allow full drying before walking or rolling heavy equipment over the area.
Which adhesive should I use to repair peeling carpet tiles—spray, trowel, or double-sided tape?
The best adhesive depends on your carpet tile backing and whether the system is glue-down or peel-and-stick. Spray or trowel-down carpet tile adhesive works well for glue-down tiles on properly prepared floors, while double-sided tape or releasable seam tape can be ideal for small edge repairs. Check the original installation instructions or contact the carpet tile manufacturer to match the adhesive type and ensure strong, long-lasting bonding.
How do I prevent carpet tile edges from peeling again after repairs?
Prevent future peeling by addressing the root cause first—fix moisture issues, improve subfloor flatness, and ensure the surface is clean and dry before reinstallation. Use proper floor maintenance: avoid over-wetting, use pH-neutral cleaners, and don’t run high-saturation extraction on carpet tiles. During installation or spot repairs, press seams firmly and keep traffic off the area until the adhesive fully cures for a durable, wrinkle-free hold.
📅 Last Updated: October 11, 2026 | Topic: How to fix peeling on carpet tiles? | Content verified for accuracy and freshness.
References
- Google Scholar Google Scholar
https://scholar.google.com/scholar?q=how+to+fix+peeling+carpet+tiles - Google Scholar Google Scholar
https://scholar.google.com/scholar?q=carpet+tile+lifting+repair+causes+installation+issues - Google Scholar Google Scholar
https://scholar.google.com/scholar?q=carpet+tile+backing+delamination+repair+adhesive+failure - https://en.wikipedia.org/wiki/Carpet_tile
- Carpet
https://en.wikipedia.org/wiki/Carpet - https://en.wikipedia.org/wiki/Adhesive
- https://en.wikipedia.org/wiki/Subfloor
- Flooring
https://en.wikipedia.org/wiki/Flooring - https://www.britannica.com/topic/carpet
- Pocket Guide to Chemical Hazards | NIOSH | CDC
https://www.cdc.gov/niosh/npg/default.html