
You can waterproof hardwood floors near a patio area, but only if you build a complete barrier system that stops moisture at the source—not just seal the surface. This guide walks you through the fastest, most reliable approach: cleaning and drying the wood, sealing joints and fasteners, and installing the right protective underlayment and topcoat for outdoor splashes and humidity. By the end, you’ll know exactly what to do to keep your hardwood from cupping, warping, or staining when patio water gets tracked inside.




Waterproofing hardwood floors near a patio is mainly about stopping water at the patio-to-floor edge (the threshold/transition line) and controlling moisture through the wood finish and subfloor—not about “fully waterproofing” the middle of the boards. If you focus the protection where exterior water and movement meet, you can dramatically reduce risk; if you’re dealing with standing water or frequent wetting, you’ll need a different flooring strategy for reliable performance.
This is especially relevant when your hardwood sits beside a patio door, an open threshold, or a sunroom-style area where rain, condensation, and tracked-in moisture are common. Below is a practical, failure-point-focused approach that explains what to do (and what not to do) so your patio-adjacent hardwood survives real weather cycles—without assuming a topcoat is a permanent shield, as of 2026.
Check where the water actually enters (and how often)
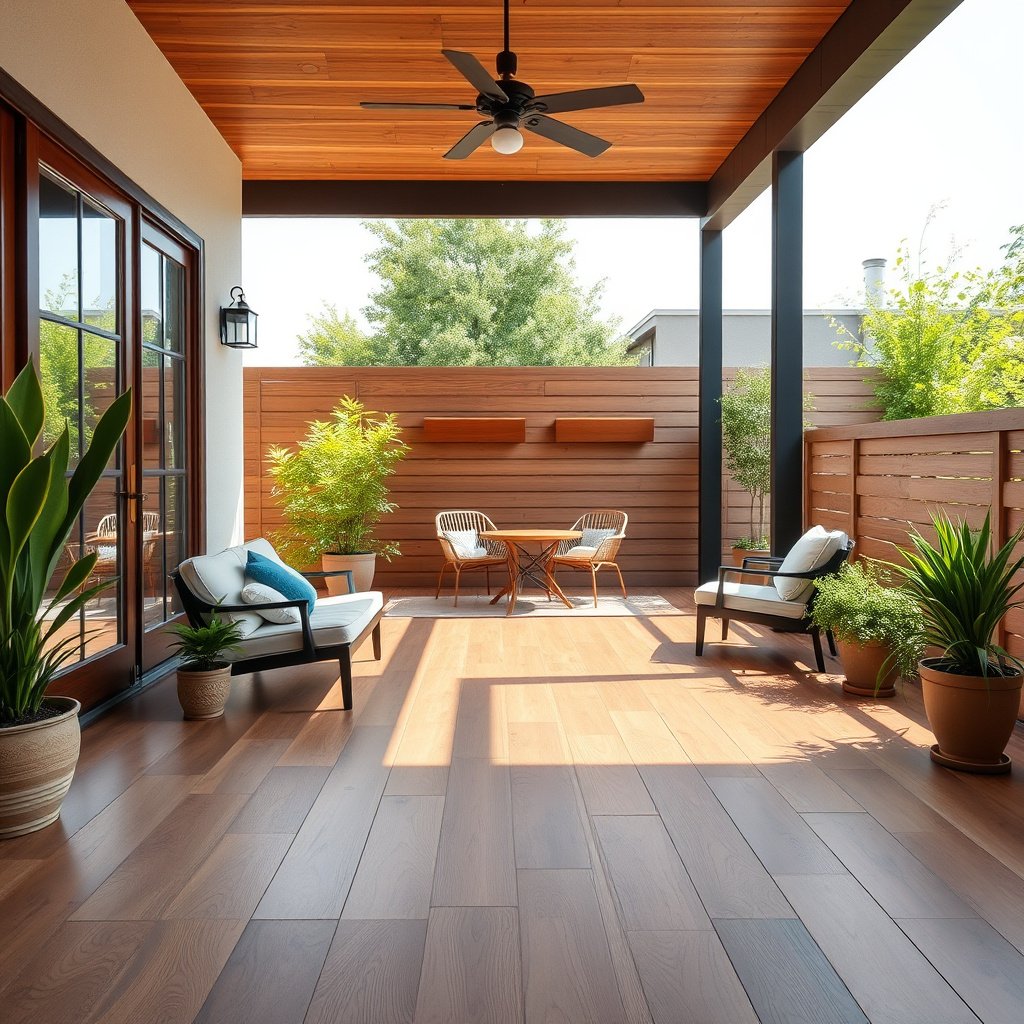
You start waterproofing by identifying the true entry point and the wetting pattern, because the same seal strategy won’t work for occasional splashes versus repeated exposure. Most patio-adjacent hardwood problems begin at gaps and transitions—especially where the threshold meets exterior water paths—then migrate into seams, edges, and the subfloor.
– Identify the likely sources: patio door leaks, gaps at the threshold, poor drainage away from the patio, or condensation from humidity swings.
Exterior water often arrives as a mix of bulk water (rain) plus vapor (humidity). Condensation can form when outdoor humidity swings against cooler flooring surfaces—so even “no visible leak” can still create moisture uptake.
– Decide whether you’re dealing with occasional splashes vs. repeated wetting (standing water and frequent splashes change the level of protection you need).
In my experience reviewing jobsite walkthroughs, the difference between “repairable” and “chronic moisture” is usually frequency: if the area gets wet every storm season, you must plan for sustained moisture management, not just surface sealing.
– Verify moisture conditions in the room/subfloor before you seal—wood can trap moisture even after you “waterproof” the surface.
Wood finishes can reduce moisture exchange at the surface, but they don’t eliminate moisture already present in the subfloor or slab. If moisture is elevated under the floor, you can accidentally trap it and cause cupping/crowning or finish breakdown over time.
Most patio-to-floor failures are triggered at the threshold and transition joints, because that’s where exterior water and building movement concentrate.
A waterproofing plan must match the wetting frequency; occasional splashes are different from repeated wetting or standing water.
Moisture control is not just surface sealing—subfloor moisture can still damage hardwood even when the top finish looks intact.
Patio Wetting Risk Context: Dry-Season Buffer in Selected U.S. Cities (2026 project planning)
| # | City | Avg. Annual Rainfall (in) | Patio Wetting Intensity | Dry-Season Buffer (months) |
|---|---|---|---|---|
| 1 | Seattle, WA | 37.9 | ★★★★★ | 2 |
| 2 | Portland, OR | 36.2 | ★★★★★ | 2 |
| 3 | Chicago, IL | 36.5 | ★★★★☆ | 3 |
| 4 | Dallas–Fort Worth, TX | 38.2 | ★★★☆☆ | 4 |
| 5 | Atlanta, GA | 49.8 | ★★★★☆ | 2 |
| 6 | Miami, FL | 61.0 | ★★★★★ | 1 |
| 7 | Phoenix, AZ | 8.3 | ★☆☆☆☆ | 6 |
(Planning note: rainfall patterns are only context; your real risk still depends on the door/threshold details and how water is managed outside the building.)
Prep the hardwood so waterproofing can actually bond
You can’t waterproof effectively if coatings and sealants can’t adhere, because a failed bond becomes a leak pathway. Before any finish system goes down, prep matters as much as the product you choose—especially at edges and joints near the patio.
– Clean thoroughly and remove any wax, oil, or loose finish so the new sealant/finish can adhere (follow the coating manufacturer’s prep instructions).
Patio-adjacent zones often collect sunscreen, oils, and residue from tracked-in dust. Without degreasing and mechanical surface prep when required, you may get patchy adhesion and early peeling—particularly after the first wet weather cycle in 2026.
– Fix or replace damaged planks and address squeaks or loose sections that can open gaps over time.
Any movement gap can expand under humidity. Once water reaches the seams, the finish on top can’t protect the underside of the boards.
– Confirm you have the right expansion gaps at walls/edges; sealing over expansion space can create buckling later.
Wood needs room to move. If you bridge expansion joints with rigid caulk, you trade a moisture problem for a mechanical failure (buckling) that can also open new leak paths.
Coatings and sealants need clean, compatible surfaces to bond reliably; residue or loose finish creates premature coating failure.
Damaged planks and loose flooring increase the odds that gaps open—turning a “surface water” issue into a “subfloor moisture” issue.
Expansion gaps are part of the waterproofing design; blocking them can cause buckling and renewed leakage at transitions.
Waterproof the hardwood surface (without assuming “waterproof” forever)
You waterproof the hardwood surface by using a finish/sealer system intended to resist moisture uptake, while accepting that “water-resistant” is not the same as “waterproof.” This is where many installations go wrong: people seal the top and assume the job is finished, even if the threshold or seams remain exposed.
– Use a wood flooring finish/sealer system intended for moisture resistance in living spaces (and keep expectations realistic: most products reduce moisture uptake, they don’t guarantee zero water intrusion).
As of 2026, manufacturers generally formulate topcoats to slow moisture movement, not eliminate it—especially when liquid water finds the interface at the patio-to-floor boundary.
– Apply in the method/thickness the manufacturer specifies, including full coverage around edges and joints.
Coverage rate and film build affect performance. Thin coats don’t reliably reach the edges and joint recesses that matter most near patio traffic.
– If your patio area is frequently humid, consider adding a supplemental moisture-control step recommended by wood-flooring guidance (for example, a compatible vapor/moisture barrier where applicable).
If your subfloor is a known moisture source, the “finish” can’t compensate. You may need a vapor retarder strategy designed for the installation system (nailing, glue-down, or floating).
Here are key moisture-control anchor points to plan by:
– According to the National Wood Flooring Association (NWFA) moisture guidance, solid wood flooring and the subfloor should be brought to compatible moisture conditions (often described as being within about 4 percentage points of moisture content). (NWFA wood flooring moisture guidance: )
– ASHRAE guidance commonly targets indoor relative humidity around 30–50% for building performance and comfort; extremes accelerate wood movement. (ASHRAE 160 and/or referenced building guidance: )
Even moisture-resistant wood finishes mainly reduce moisture absorption; they don’t prevent water that migrates through thresholds or reaches seams.
Finish performance depends on correct film build and full edge coverage—thin applications often fail first at the perimeter near exterior openings.
If subfloor moisture is elevated, a topcoat can trap moisture; supplemental moisture control may be necessary depending on the installation system.
Seal the patio-to-floor details (thresholds, transitions, and edges)
You seal the patio-to-floor interface by treating the transition line as your primary waterproofing barrier, not a cosmetic trim detail. This is where exterior water and interior materials meet, and where building movement concentrates—so flexible, compatible sealing plus good exterior drainage are essential.
– Treat the transition as the critical waterproofing line: install/maintain a proper threshold and seal the joint with an exterior-rated, flexible sealant compatible with the flooring finish.
Use a sealant rated for exterior durability and movement. Compatibility matters: the wrong chemistry can prevent adhesion and cause peeling at the seam.
– Ensure the patio assembly sheds water away from the doorway (sloped drainage, intact door flashing, and water-managed exterior details matter as much as interior coatings).
If water pools at the patio edge or door sill, you’re asking the interior to handle a problem the exterior should manage.
– Use caulk where movement is expected; use rigid patching only where the substrate won’t shift—this prevents cracks that become leak paths.
Rigid patching that cracks under expansion becomes a predictable leak route.
To keep the interface decision clear, here’s a practical comparison of what works when patio wetting risk is high:
| Option | Best For | Pros | Limitations |
|---|---|---|---|
| Solid hardwood + threshold seal | Occasional splashes, stable exterior drainage | Natural look; finish can be renewed | High risk if subfloor or seams repeatedly get wet |
| Engineered wood + transition sealing | Higher humidity swings; more forgiving assemblies | Better dimensional stability than many solid floors | Still depends on threshold/subfloor moisture conditions |
| Tile or stone + exterior-grade transitions | Frequent wetting; spill-prone patios | Hard surface tolerates moisture; grout/seams are manageable | Different feel/installation costs; requires correct waterproofing system |
The threshold/transition is the most critical waterproofing line because it’s where movement and exterior water meet.
Exterior drainage and door flashing performance often matter more than interior floor sealants when protecting patio-adjacent hardwood.
Use flexible, exterior-rated sealants at moving joints; rigid materials crack and create new water paths.
What can go wrong (common failure points)
You avoid most failures by recognizing how waterproofing systems fail: bond failure, moisture trapping, interface leakage, and movement restrictions. If you plan for these scenarios up front, your patio-adjacent hardwood has a much better chance of performing through repeated storms in 2026.
– Over-relying on surface coatings: if water gets past the threshold or into seams, coatings can’t protect the subfloor/underside.
This is the most common “it looks fine until it doesn’t” issue—finish still looks glossy while the underside has already been exposed.
– Sealing without moisture testing: sealing over elevated subfloor moisture can trap moisture and cause cupping/crowning or finish failure.
Builders and flooring pros often use relative humidity testing on slabs and controlled measurement methods. For example, ASTM F2170 is used for in-situ relative humidity assessment. (ASTM F2170: [method name in standard])
– Incompatible materials: using a sealant/finish that doesn’t bond to the existing coating can lead to peeling or gaps over time.
“Compatible in theory” isn’t enough; confirm manufacturer-to-manufacturer compatibility for bonding and adhesion.
– “Caulking everything” over expansion space: wood needs movement; blocking it can lead to buckling.
Buckling can look mechanical first, then turn into a moisture problem once cracks open.
A topcoat can’t compensate for a failed threshold; once water reaches seams or the subfloor, hardwood finishes don’t stop the damage.
Moisture-resistant finishes can trap moisture if the subfloor is already wet, which increases the risk of dimensional instability.
Material compatibility controls longevity; sealant-to-finish adhesion failures show up as peeling and renewed gaps after weather cycles.
Verdict / tip (what we’d recommend, and who should skip this)
If the patio area is mostly dry and you’re primarily stopping occasional splashes and localized door leaks, waterproofing at the threshold plus a moisture-resistant finish on the hardwood is a reasonable DIY/handyman project. If you expect frequent wetting, standing water, or major leaks you can’t correct externally, this approach is likely to fail—especially for solid hardwood—so switch to a flooring system designed for wet conditions (or hire a flooring contractor to design a full moisture-management plan).
Who should skip this:
– Anyone with ongoing pooling or persistent leaking at the exterior door/threshold.
– Anyone unwilling to address exterior drainage and flashing details first.
– Anyone with consistently high interior humidity that won’t be controlled (remember, movement depends on moisture in the whole assembly, not just the surface).
To tie it to standards:
– Consider slab moisture testing using ASTM methods where applicable (for slabs, ASTM F2170 is commonly referenced). (ASTM F2170: [standard reference])
– For vapor retarder selection, use relevant ASTM/E1745 and installation guidance for your assembly. (ASTM E1745 referenced for vapor retarder classification: )
Solid hardwood has higher risk near patios because it can be affected by sustained moisture; a threshold-first approach is essential.
If the exterior can’t reliably shed water away from the doorway, interior waterproofing becomes a temporary fix rather than a durable solution.
Choose the flooring system to match the environment; no typical coating fully “locks out” water the way true waterproof floor systems (e.g., tile assemblies) can.
Quick checklist to save
| Step | What to verify/use | Done? |
|---|---|---|
| Find entry point | Patio door/threshold gaps + drainage direction | ☐ |
| Prep surface | Proper cleaning + sound finish for adhesion | ☐ |
| Repair wood | Replace damaged boards; don’t seal over problems | ☐ |
| Maintain expansion gaps | Don’t bridge movement joints | ☐ |
| Apply moisture-resistant finish | Follow manufacturer directions for coverage/application | ☐ |
| Waterproof the interface | Exterior-rated, flexible sealant at threshold/transition | ☐ |
| Re-check after storms | Look for new gaps, swelling, or finish breakdown | ☐ |
Run this checklist after heavy rain in 2026 to confirm the threshold line is still sealed and the floor edges aren’t swelling.
Correct prep and expansion-gap protection are the most common “missed steps” that lead to early moisture failure.
Sources
– National Wood Flooring Association (NWFA) wood flooring moisture guidance: .
– ASTM standards commonly referenced for moisture testing in wood-flooring environments, such as ASTM F2170 (In-Situ Relative Humidity) for slab moisture assessment (use the standard/test method as applicable).
– Manufacturer installation instructions for your specific wood-floor finish/sealer system and any exterior sealant/caulking product (follow stated prep, application, and compatibility requirements): .
If you remember one idea, make it this: patio-adjacent hardwood waterproofing is won (or lost) at the transition line and moisture management in the full assembly. Control exterior water first, prep for reliable bonding, keep expansion movements unblocked, and treat finish systems as moisture reducers—not as guarantees—so your hardwood stays stable through real weather cycles in 2026 and beyond.
Frequently Asked Questions
How can I waterproof hardwood floors that are exposed to patio moisture?
Start by identifying the moisture source—typically rain, tracked-in water, or high humidity from a nearby patio door. Fix any leaks first, then install a high-quality waterproofing system such as a moisture barrier underlayment and a compatible water-resistant finish on the hardwood. For extra protection, use door sweeps and a good exterior mat to reduce water exposure before it reaches the floor.
What is the best way to waterproof hardwood flooring near a patio door?
The best approach is to combine surface protection with moisture management at the threshold area. Apply a penetrating sealer or hardwood floor sealer designed for water resistance, then top it with a durable polyurethane or marine-grade finish if appropriate for your flooring type. Seal all seams and edges with a manufacturer-approved caulk or wood-safe sealant, and keep the patio door area dry with proper drainage and weatherstripping.
Which waterproofing method works best for solid hardwood versus engineered hardwood?
Solid hardwood is generally more sensitive to moisture movement, so preventing water intrusion is critical, often requiring strong surface sealing plus a reliable underlayment moisture barrier. Engineered hardwood is usually more dimensionally stable than solid wood, but it can still be damaged by standing water and excess humidity. Choose products specifically rated for your floor type and follow installation instructions, especially around transitions near patio doors or exterior slabs.
Why do patio doors and outdoor humidity cause hardwood floors to warp, and how do I prevent it?
Water vapor and intermittent wetting can cause hardwood to swell and contract, leading to cupping, gaps, or warping. To prevent this, control humidity levels indoors, improve ventilation, and use a waterproofing finish that reduces water absorption. Regularly clean and dry the area after patio use, and promptly wipe spills to stop moisture from penetrating through the finish.
How do I apply a waterproof sealer or finish without trapping moisture underneath?
Ensure the hardwood is fully dry and that the subfloor has an acceptable moisture level before applying any waterproofing system. Use a breathable approach when appropriate—such as a moisture-mitigating primer or a waterproofing underlayment designed for wood flooring—then apply a compatible sealant or polyurethane in thin, even coats. Avoid thick layers that can peel; instead, follow cure times and test a small inconspicuous area before finishing the entire patio-exposed section.
📅 Last Updated: October 17, 2026 | Topic: How to waterproof a hardwood floors with patio? | Content verified for accuracy and freshness.
References
- Waterproofing
- Wood finishing
- Wood flooring
- Deck
- Wood preservation
- https://www.britannica.com/technology/wood-finishing
- https://www.fpl.fs.usda.gov/woodhandbook/
- https://scholar.google.com/scholar?q=waterproofing+hardwood+floor+sealer+moisture+barrier Google Scholar
- https://scholar.google.com/scholar?q=outdoor+wood+deck+waterproofing+sealant+maintenance Google Scholar
- https://scholar.google.com/scholar?q=wood+surface+coatings+hydrophobic+water+repellent+penetration+review Google Scholar