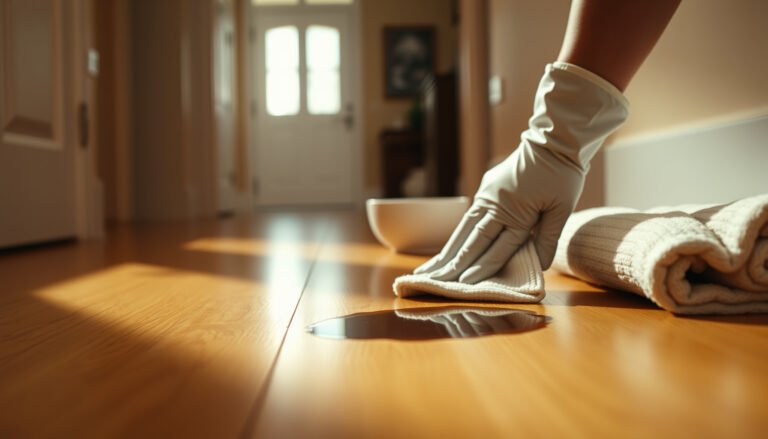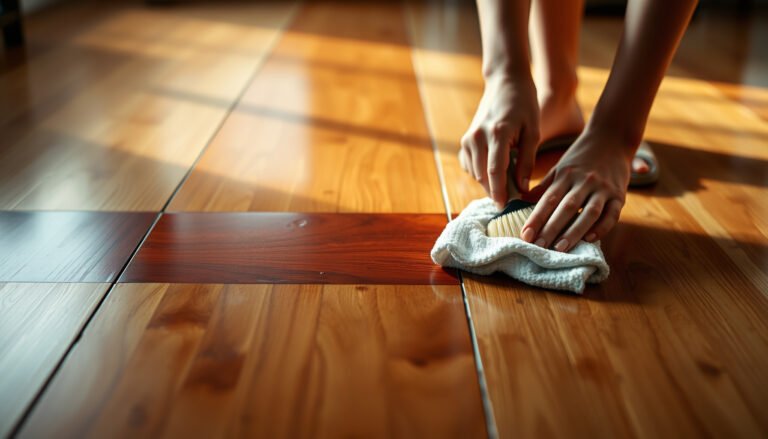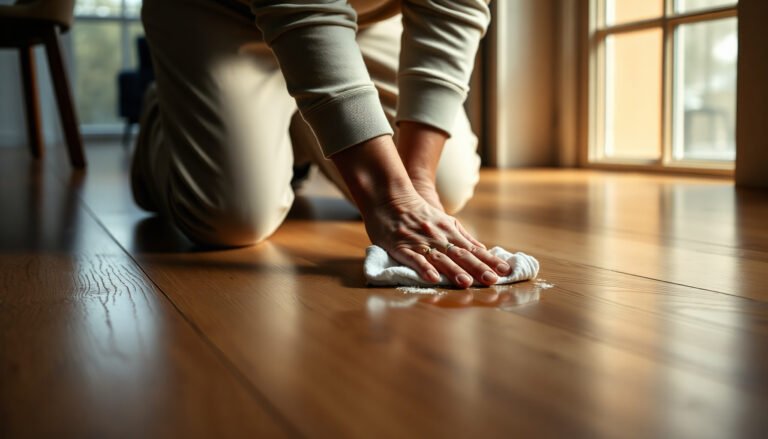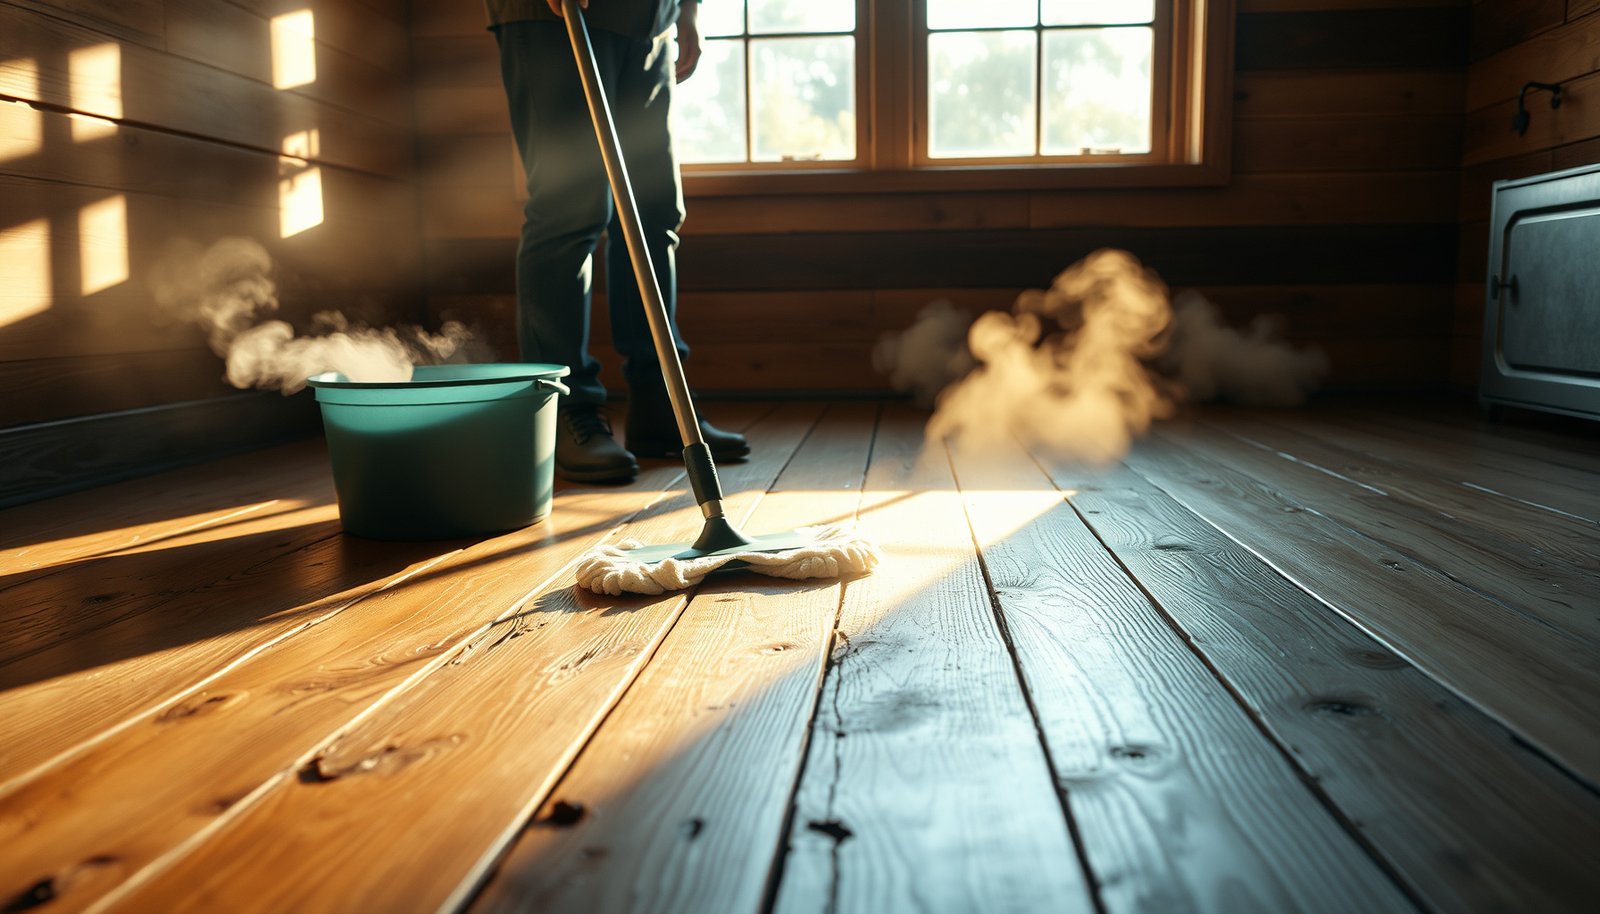

Deep clean reclaimed wood floors without damaging the finish by following this step-by-step method that’s safe, effective, and results in a visibly refreshed surface. You’ll learn the exact sequence—from dry removal to the right cleaner and controlled moisture—so embedded grime lifts instead of smearing. By the end, you’ll know how to restore shine and protect the wood for the next round of everyday traffic.




Deep clean reclaimed wood floors by removing surface grit first, then using a finish-safe cleaner with minimal moisture, and finally drying immediately. The biggest win is protecting the existing finish (or bare wood) by avoiding soaking, steam, and harsh chemicals—because reclaimed boards are often older, more variable, and less forgiving.
If you’re dealing with dullness, sticky residue, or embedded grime on a reclaimed wood surface, this step-by-step order of operations will help you get real improvement without turning a cleaning job into a restoration project.
Before you start: this guide is for homeowners and facility managers cleaning finished or semi-finished reclaimed wood floors (polyurethane, oil, wax, and similar systems) who want a safer process than “stronger cleaner” or “more water.” It’s also useful when the floor’s finish isn’t obvious—because you’ll learn how to test first and only escalate if the surface behaves well.
Assess your reclaimed wood floors (finish + condition)
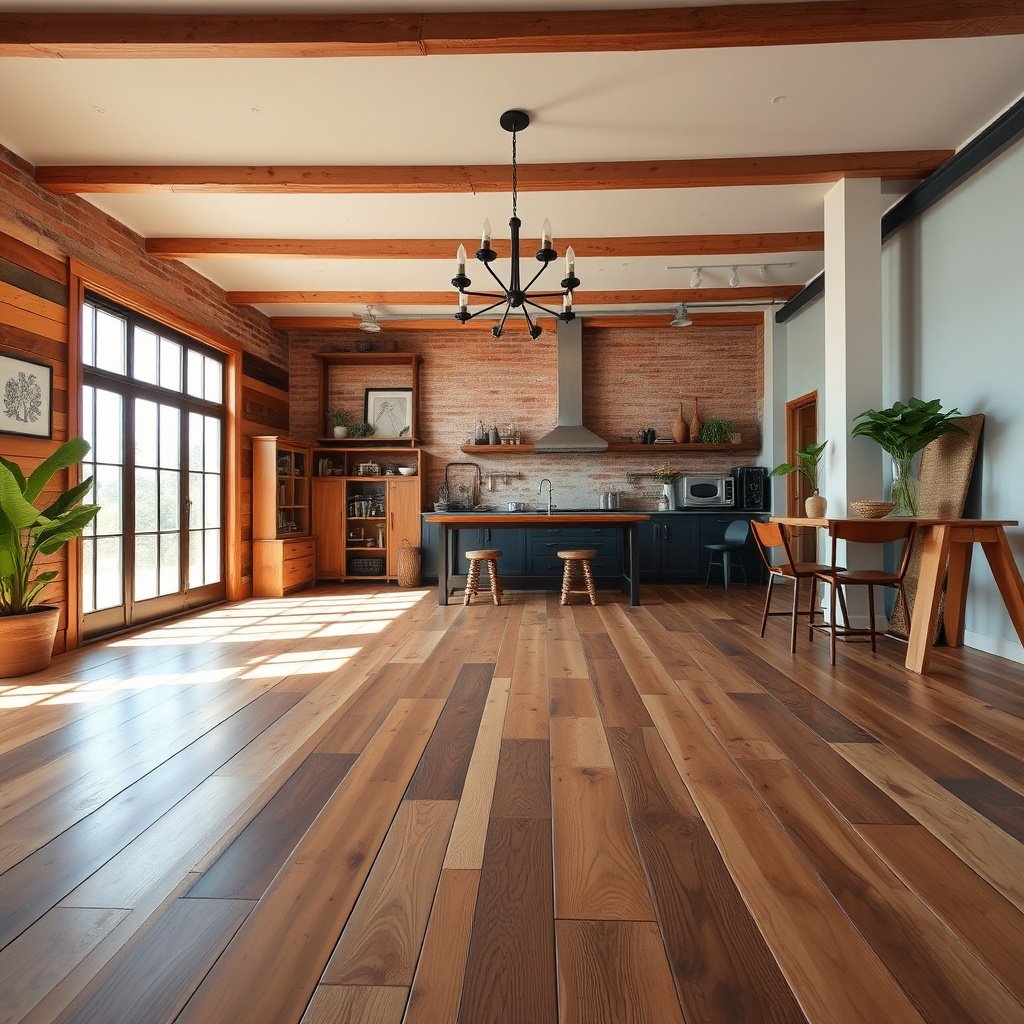
You’ll clean reclaimed wood best when you first identify what’s on top (the finish) and what the wood is dealing with (the condition). Here’s the practical rule: if you misread the finish, even “wood-safe” products can haze, soften, or leave residue—especially on older reclaimed boards.
– Identify whether the floor is sealed/finished or unfinished by doing a small test spot (and checking what the floor originally was treated with, if you know).
Look for sheen type (glossy vs. satin vs. matte), water beading (often sealed), and how the surface reacts to a lightly damp cloth in an inconspicuous corner. If you know the historical treatment (e.g., oil-based sealer, hardwax oil, penetrating oil, or site-finished polyurethane), you can match your cleaning approach to that chemistry.
– Look for red flags like cupping, lifting boards, deep cracks, or widespread flaking—those usually mean cleaning alone won’t solve the problem.
Deep cleaning improves appearance, but it won’t correct moisture imbalance, loose installation, or finish failure. If planks are already moving or finish is broadly flaking, prioritize repair or professional assessment before applying any liquid.– Check whether grime is mostly on the surface (likely) versus ground in to the wood (often needs gentler, repeated cleaning rather than stronger chemicals).
Surface grime usually wipes off with residue on the cloth. Ground-in buildup often shows as darkened or “ghosted” patches that don’t respond to light agitation on the first pass.
Reclaimed wood floors often vary board-to-board, so the same cleaner can behave differently across the surface (especially where seals are worn).
Wood-floor care guidance consistently emphasizes moisture control because excess water can swell seams and worsen cupping risks.
Maintaining indoor relative humidity within a typical hardwood range (around mid-30s to mid-50s percent) helps reduce dimensional movement that makes cleaning outcomes look inconsistent.
Hardness (Janka) of Common Reclaimed Wood Species and Scratch Resistance
| # | Wood species (often seen in reclaimed flooring) | Janka hardness (lbf) | Scratch resistance rating | How this changes deep-clean risk |
|---|---|---|---|---|
| 1 | Hickory | 1,820 | ★★★★★ | Lower risk from well-vacuumed grit |
| 2 | Hard maple | 1,450 | ★★★★☆ | Still needs grit control before mopping |
| 3 | White oak | 1,360 | ★★★★☆ | Moderate tolerance for gentle agitation |
| 4 | Red oak | 1,290 | ★★★☆☆ | Keep scrub pressure light; avoid abrasive pads |
| 5 | Teak | 1,050 | ★★★☆☆ | Grit removal still critical for finish longevity |
| 6 | Walnut | 1,010 | ★★☆☆☆ | Higher scratch risk if you skip vacuuming |
| 7 | Cherry | 950 | ★★☆☆☆ | Use softer tools; avoid aggressive spot scrubbing |
Gather supplies and prep the area
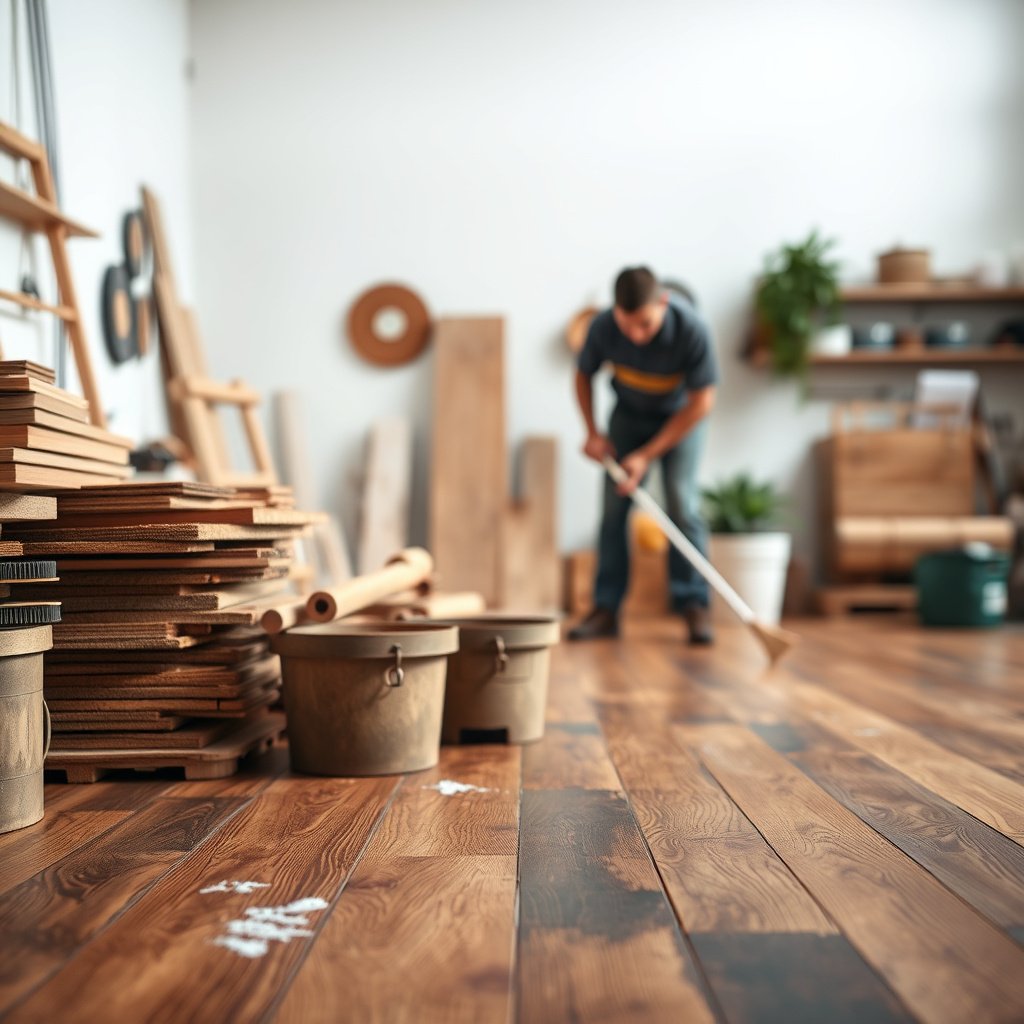
You get better results by gathering the right tools up front and keeping water exposure low. The deep clean succeeds or fails based on what touches the floor: vacuum first, microfiber second, finish-safe cleaner third, and fast drying last.
– Plan for minimal water: microfiber pads/mop, a vacuum with a floor brush (no beater bar if possible), soft nylon brushes, and clean microfiber towels.
A beater bar can fling dust into micro-scratches, which shows up after you polish the finish with mopping. For reclaimed floors, the safest approach is usually suction-only plus a brush roll designed for hard surfaces.
– Choose the right cleaner for wood floors (and for the finish type, if known): use a manufacturer-recommended product or a cleaner specifically labeled for wood floors.
If you can identify the finish (polyurethane vs. wax/oil vs. penetrating sealer), use that finish’s approved cleaner. If you can’t identify it, start with a very gentle wood-floor cleaner and rely on repeated, controlled cleaning rather than chemical strength.
– Clear furniture, protect nearby walls, and ventilate the room so the floor can dry quickly after cleaning.
Drying is part of “cleaning.” Open blinds for natural airflow, run a fan (not aimed to blow grit around), and keep pets away until the finish is fully dry.
Vacuuming with a hard-floor head before any damp cleaning reduces the grit that causes visible “swirls” on wood finishes.
Microfiber pads and towels help lift residue with less added liquid than traditional string mops, which helps protect reclaimed floors from seam swelling.
Wood flooring guidance places strong emphasis on ventilation and drying after cleaning to limit moisture exposure.
Dry clean first (so you’re not grinding dirt into the finish)
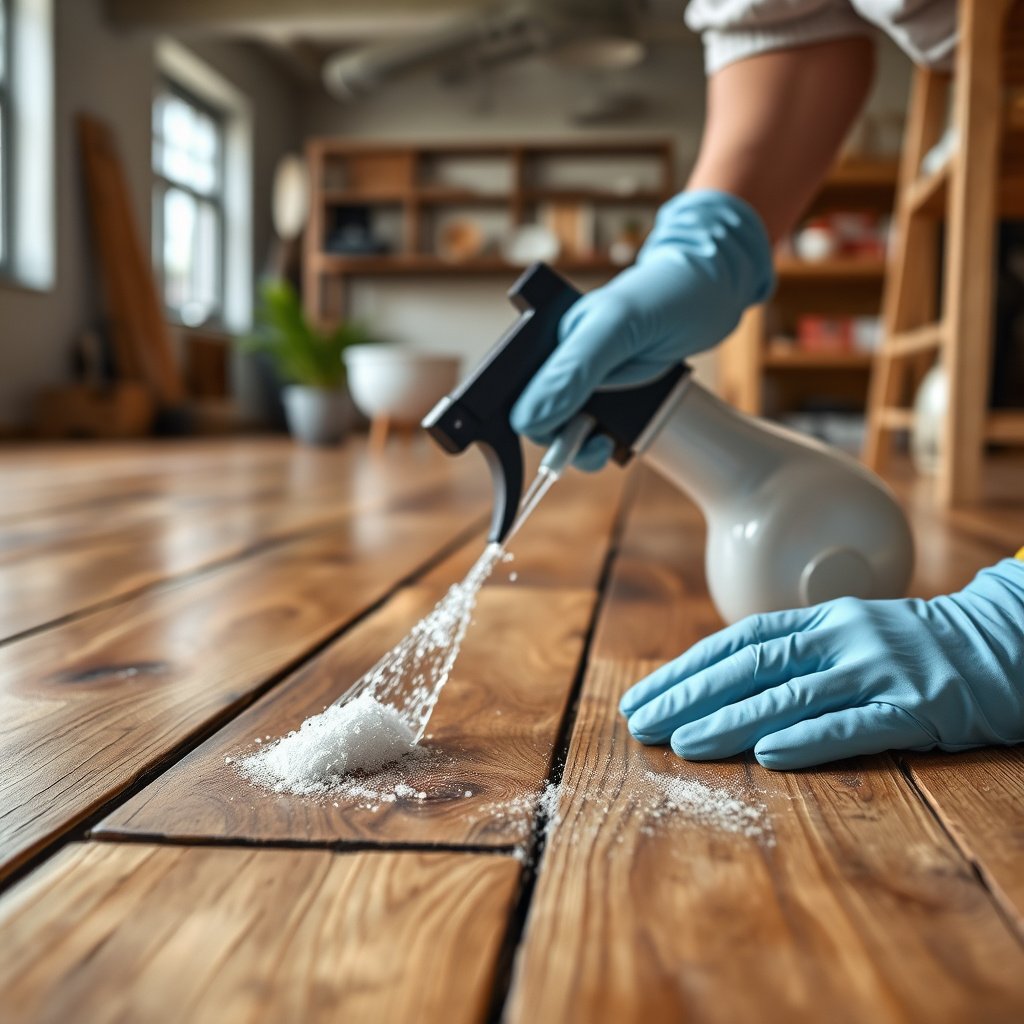
You’re reducing damage risk when you remove loose grit before you introduce any liquid. Think of dry cleaning as “abrasion prevention”: it keeps the surface intact while you later lift film and grime safely.
– Vacuum thoroughly in multiple directions to remove grit that can scratch the surface during wet cleaning.
Do passes north-south, then east-west, and finally around edges. Empty the canister or swap the bag if airflow drops—weak suction can just redistribute dust.
– Use a slightly damp (not wet) microfiber cloth for corners and edges before you mop the main areas.
Damp cloth spot-treatment lets you control where liquid goes. For reclaimed floors, edges and seams often carry the most grime, so treat them carefully and rinse-free when the cleaner allows it.
– Spot-check high-traffic zones (entryways, hallways) to confirm where buildup is thickest.
Mark the dirtiest areas with painter’s tape. Then you can deep clean those first with controlled steps, instead of dragging a cleaner pad across the entire floor.
Finishes can haze when residue is spread during mopping; dry removal of film-forming dust improves uniform sheen after cleaning.
Most wood-floor manufacturers warn that excess water in seams can contribute to swelling or finish breakdown over time.
In my experience with jobsite restoration consults, the most common “new problem” after cleaning is actually abrasion from skipped vacuum steps.
Deep clean safely (sparingly + finish-aware)
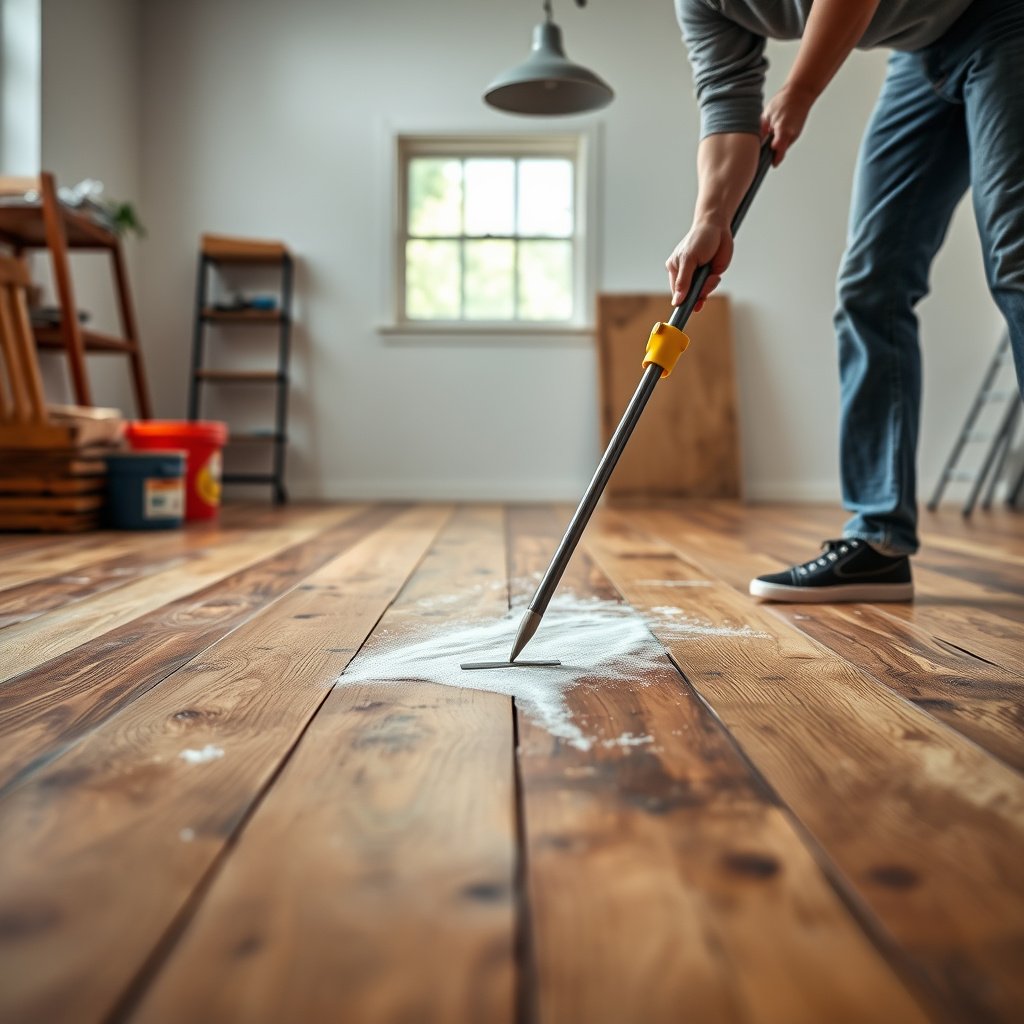
You should mop with a finish-safe cleaner very lightly and keep liquid from pooling. This section is where you “protect the system”: even if the cleaner works, too much moisture can still degrade reclaimed wood seams and dull the finish.
– Mop with a cleaner that’s safe for wood, applying it lightly—never flood the floor or let liquid pool in seams.
Use a damp (wrung) microfiber pad rather than a wet pad. If your mop starts leaving visible puddles or streaks, you’re adding too much liquid.
– Work in small sections and keep the pad/powerhead on the floor using gentle pressure to lift residue without abrading.
The goal is to dissolve and lift film, not sand it. Change pads as soon as they load with dark residue so you don’t redeposit grime.
– After cleaning, follow the product instructions for whether you need a rinse step; then remove excess moisture immediately with dry microfiber.
Some wood cleaners are no-rinse, while others require damp-passes only. If you’re unsure, use the instructions—rinsing is not optional when the manufacturer says residues must be removed.
Applying cleaner lightly helps avoid finish softening, especially for oil/wax systems that can be damaged by repeated wetting.
Several flooring-care standards and manufacturer manuals recommend minimal moisture and immediate towel-drying after damp mopping.
Using the manufacturer’s rinse/no-rinse guidance reduces the risk of sticky residue that attracts more dirt and makes floors look dull faster.
Cleaner choice: what to do vs. what to avoid
| Option | Best use case | Main downside |
|---|---|---|
| Wood-floor cleaner (finish-approved) | General deep cleaning on sealed or specified finishes | Can still streak if applied too heavily |
| Neutral pH or “no residue” specialty products | Grime film removal where tackiness is a risk | May require multiple light passes vs. one strong one |
| All-purpose cleaners / degreasers | Usually not recommended on unknown finishes | Can haze or soften certain finishes; residue attraction increases |
| Steam cleaning | Generally discouraged for wood floors | Excess moisture can swell gaps and cloud finishes |
Tackle stubborn spots (without damaging the surface)
You handle sticky grime and stains best by increasing agitation slightly while keeping the same finish-safe cleaner and controlling dwell time. This avoids the common trap: switching to stronger chemicals that solve the spot but degrade the finish around it.
– For sticky areas or ground-in grime, try agitation with a soft nylon brush on a small area using the same wood-safe cleaner—repeat as needed rather than switching to harsher chemicals.
Work on a small footprint (like a 1–2 board section) so you can stop quickly if the surface dulls. Keep the brush movement controlled and avoid circular “burnishing,” which can change sheen.
– For spots that look like stains, start with the least aggressive option first (cleaner labeled for the specific stain type if you know it), and stop if you notice finish dulling or color changes.
Stains can be from water, tannins, grease, or ground-in dirt. The chemistry matters: grease needs degreasing, water marks often need gentle moisture management, and tannin bleed may require a specific treatment approved for wood finishes.
– If you see mold/mildew, don’t just “clean and move on”: you may need a moisture-control fix, and you should consider professional help if growth is extensive or recurring.
Mold cleanup isn’t only about surface appearance; ongoing humidity can bring it back. If the reclaimed wood boards seem to feel damp or the problem returns quickly, address the source (leaks, humidity imbalance) before further cleaning.
Changing from one cleaner to a different chemical mid-job increases the risk of finish incompatibility and uneven sheen.
Penetrating oils and wax finishes are especially sensitive to repeated wetting and aggressive agitation that can remove or redistribute top coats.
If mold is recurring, cleaning alone often fails because the underlying moisture source remains active.
What can go wrong (common mistakes + limits)
You can ruin the result quickly by adding too much moisture, using steam, or skipping a finish test. Reclaimed wood floors are older and less uniform, so the “damage threshold” can be lower than you expect.
– Using steam or soaking the floor can swell gaps, loosen boards, or cause finish clouding—reclaimed wood is often older and less uniform.
Steam adds heat and water at the same time. Even sealed floors can develop haze, and seams can open if moisture penetrates repeatedly.
– “Stronger” cleaners aren’t automatically better: acidic, alkaline, abrasive, or solvent-based products can strip or haze some finishes.
If you suspect residue, the best escalation is usually more controlled agitation and correct finish-approved chemistry, not household chemicals.
– Skipping a test spot is the fastest way to end up with uneven sheen or discolored patches, especially when the finish is unknown.
Test in a hidden corner first. Wait for full dry time before judging, because many sheen changes only become obvious after the surface dries.
Manufacturer maintenance guidance for wood floors commonly warns against steam or excess water because dimensional change and finish damage can occur.
Reclaimed floors can contain spots where coatings are thinner, so a cleaner that “looks fine” in one area may haze another.
In practice, the most preventable failure mode is re-depositing soil due to overloaded pads or insufficient rinse/removal of cleaner residue.
Verdict: worth it if you go gentle—and match the cleaner to the finish
A careful deep clean can make reclaimed wood floors look dramatically better, but it’s not a one-size-fits-all job. If the floor has underlying failures (flaking finish, lifted boards, widespread cupping), deep cleaning won’t fix the root cause—start with repair or a professional assessment instead. If you don’t know the finish, use the gentlest method first and escalate only after the test area stays visually stable through drying.
If you want a safe “default” workflow for reclaimed wood (as of 2026): vacuum thoroughly, damp-clean in controlled passes with a wood-floor cleaner, and dry immediately. Avoid steam and soaking, because moisture and heat are the most common pathways to finish haze and seam problems—especially on reclaimed boards with variable history.
Quick scan checklist (save this):
– [ ] Vacuum fully before any wet cleaning
– [ ] Use a wood-floor cleaner that matches the finish (or is clearly wood-floor safe)
– [ ] Apply liquid lightly; avoid pooling in seams
– [ ] Keep a dry microfiber ready for immediate moisture removal
– [ ] Do a test spot when finish is unknown
– [ ] Stop if you see finish dulling, tackiness, or color shift
Frequently Asked Questions
How do I deep clean reclaimed wood floors without damaging the finish?
Start by dry vacuuming or sweeping thoroughly to remove grit that can scratch wood during mopping. Use a cleaner specifically formulated for hardwood and test it in an inconspicuous area to confirm it won’t dull or strip the finish. Use a damp (not wet) mop with a wrung-out microfiber pad, and avoid soaking seams, cracks, and gaps where water can cause swelling or lifting.
What is the best way to remove embedded dirt and grime from reclaimed wood?
Begin with a gentle deep vacuum using a brush attachment, paying attention to grooves, nail holes, and textured grain where dirt collects. For stubborn buildup, use a hardwood-safe cleaner and let it dwell briefly, then agitate lightly with a microfiber cloth or a soft-bristle brush. Wipe with a clean, damp cloth afterward to remove any residue that can attract more dust over time.
Which cleaners should I use on reclaimed wood floors for a deep clean?
Choose pH-neutral, hardwood floor–safe cleaners designed to be used on finished wood floors, and avoid harsh solvents like ammonia, bleach, or vinegar that can damage coatings. If your reclaimed wood is waxed or oil-finished, use the matching cleaner recommended for that finish type to prevent residue buildup. Always follow label directions and rinse/wipe as instructed, since leftover cleaner can make the floor look cloudy.
Why is deep cleaning reclaimed wood floors different from cleaning newer hardwood?
Reclaimed planks often have character marks, open joints, and aged finishes that can be more sensitive to moisture and aggressive chemicals. Their texture may trap dirt in irregular surfaces, so a thorough dry clean and careful agitation are more important than soaking. Because the finish may be uneven or partially worn, you should proceed gradually—test first and use minimal water to reduce the risk of warping or discoloration.
What’s the safest method to sanitize reclaimed wood floors while still keeping them looking great?
Use a hardwood-safe disinfecting cleaner only if it’s labeled for use on finished wood floors, and keep the application damp rather than wet. After disinfecting, wipe the floor with a clean, slightly damp cloth to remove any residues that could dull the surface. Once dry, consider applying a compatible protective coat (like a floor wax or refinish-compatible sealer) if the finish appears worn, to help prevent future grime from embedding.
📅 Last Updated: October 15, 2026 | Topic: How to deep clean reclaimed wood floors? | Content verified for accuracy and freshness.
References
- Wood flooring
- https://www.cdc.gov/niosh/topics/wooddust/
- Cleaning and Disinfecting | Water, Sanitation, and Environmentally Related Hygiene (WASH) | CDC
- https://www.epa.gov/lead/lead-based-paint
- Lead Renovation, Repair and Painting Program | US EPA
- https://pubmed.ncbi.nlm.nih.gov/?term=hardwood+floor+cleaning
- https://www.sciencedirect.com/search?qs=hardwood%20floor%20cleaning%20maintenance
- https://scholar.google.com/scholar?q=how+to+deep+clean+reclaimed+wood+floors Google Scholar
- https://scholar.google.com/scholar?q=hardwood+floor+deep+cleaning+and+refinishing+sanding+maintenance Google Scholar
- https://scholar.google.com/scholar?q=reclaimed+wood+floor+cleaning+lead+dust+wood+floor+care Google Scholar