
Need to remove paint from engineered wood floors without damaging the finish? The fastest, safest approach depends on whether the paint is water-based or oil-based, and you’ll see exactly what to do for each. Follow the right solvent-and-technique combo, and you can lift stubborn paint while protecting the veneer layer.
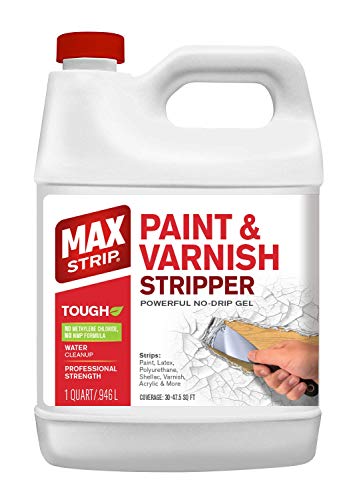



Remove paint from engineered wood floors by starting with the gentlest method that matches the paint stage—warm water plus mild soap for fresh spots, then careful scraping with plastic tools for dried paint. If a remover is truly needed, use one labeled safe for wood/finish, test it in an inconspicuous area first, and stop immediately if you see hazing or coating lift.
Engineered wood floors (including click-lock floating styles and glued-down plank systems) are built with a protective wear layer on top, so the “best” removal method is the one that removes the paint without attacking that top finish. This guide is written for homeowners and renters handling spills, drips, or older paint marks who want a finish-aware approach rather than aggressive sanding that can change the look or compromise the wear layer.
Identify the paint type and floor finish first
The fastest way to avoid damage is to identify whether the paint is latex/water-based or oil-based, then match your approach to the floor’s surface finish. Paint bonds differently to sealed/varnished surfaces, and the wrong chemical or too much moisture can cause finish haze or seam swelling.
Latex (water-based) paint generally softens with water and mild cleaners, while oil-based paint typically resists water and may require a purpose-labeled solvent approach.
Engineered wood wear layers are only as durable as their protective finish, so removal steps should be controlled to avoid lifting or dulling that coating.
Most manufacturers recommend avoiding steel abrasives and soaking the floor, because engineered boards can be affected at seams and edges by excessive moisture.
How to tell latex vs. oil-based (quick indicators)
– Fresh paint feel and behavior: If the paint smears or transfers easily with gentle moisture and doesn’t “set” hard, it often behaves like latex. If it feels slick, tacky, and persists without responding to water, it may be oil-based or contain stronger binders.
– Drying and hardness: Latex commonly dries to a more rubbery/soft surface that can be re-softened more readily. Oil-based paint often dries harder and more glassy.
– What caused it: Water-based indoor wall paint (latex) is common for drips from paint jobs; oil-based paints (or enamel/alkyds) show up in trims, doors, and certain specialty coatings.
Why the floor finish matters
Engineered wood may be finished with factory-applied urethane, aluminum oxide, oil, or varnish-style coatings, and each responds differently:
– A sealed/varnished surface usually allows “lift and scrape” techniques.
– An oil-finished or less film-forming top can absorb some solvents and change sheen if you apply the wrong chemical.
To reduce risk, look for:
– The floor brand/model (often on the original box, installation paperwork, or plank underside).
– Any care instructions your floor came with—especially rules about solvents, steam, and cleaners.
> Fact-anchor (maintenance framework): The safest workflow mirrors risk-management approaches used in surface restoration—identify compatibility first, then test in an inconspicuous area before applying to the full surface. (Use your manufacturer’s documented care guidance as the primary compatibility source.)
Important: If you cannot determine paint type or finish, you’ll likely get the best outcome by doing controlled softening and scraping first (no aggressive chemicals) and stopping if you see any coating disruption.
Start with the least aggressive removal (safe for most finishes)
The most reliable strategy is a “gentle-first” ladder: treat fresh paint with minimal moisture and mild cleaner, then move to plastic scraping as the next step. This reduces the chance you’ll dull the wear layer, lift the finish, or push paint into seams.
For fresh paint, blotting first and using warm water with a small amount of mild dish soap typically limits spread and keeps chemical intensity low.
When paint is semi-dried, controlled softening followed by plastic scraping is usually less damaging than immediate solvent use.
Keeping tools clean prevents cross-contamination, so you don’t smear loosened paint across more of the engineered wood.
For fresh or tacky paint (best-case scenario)
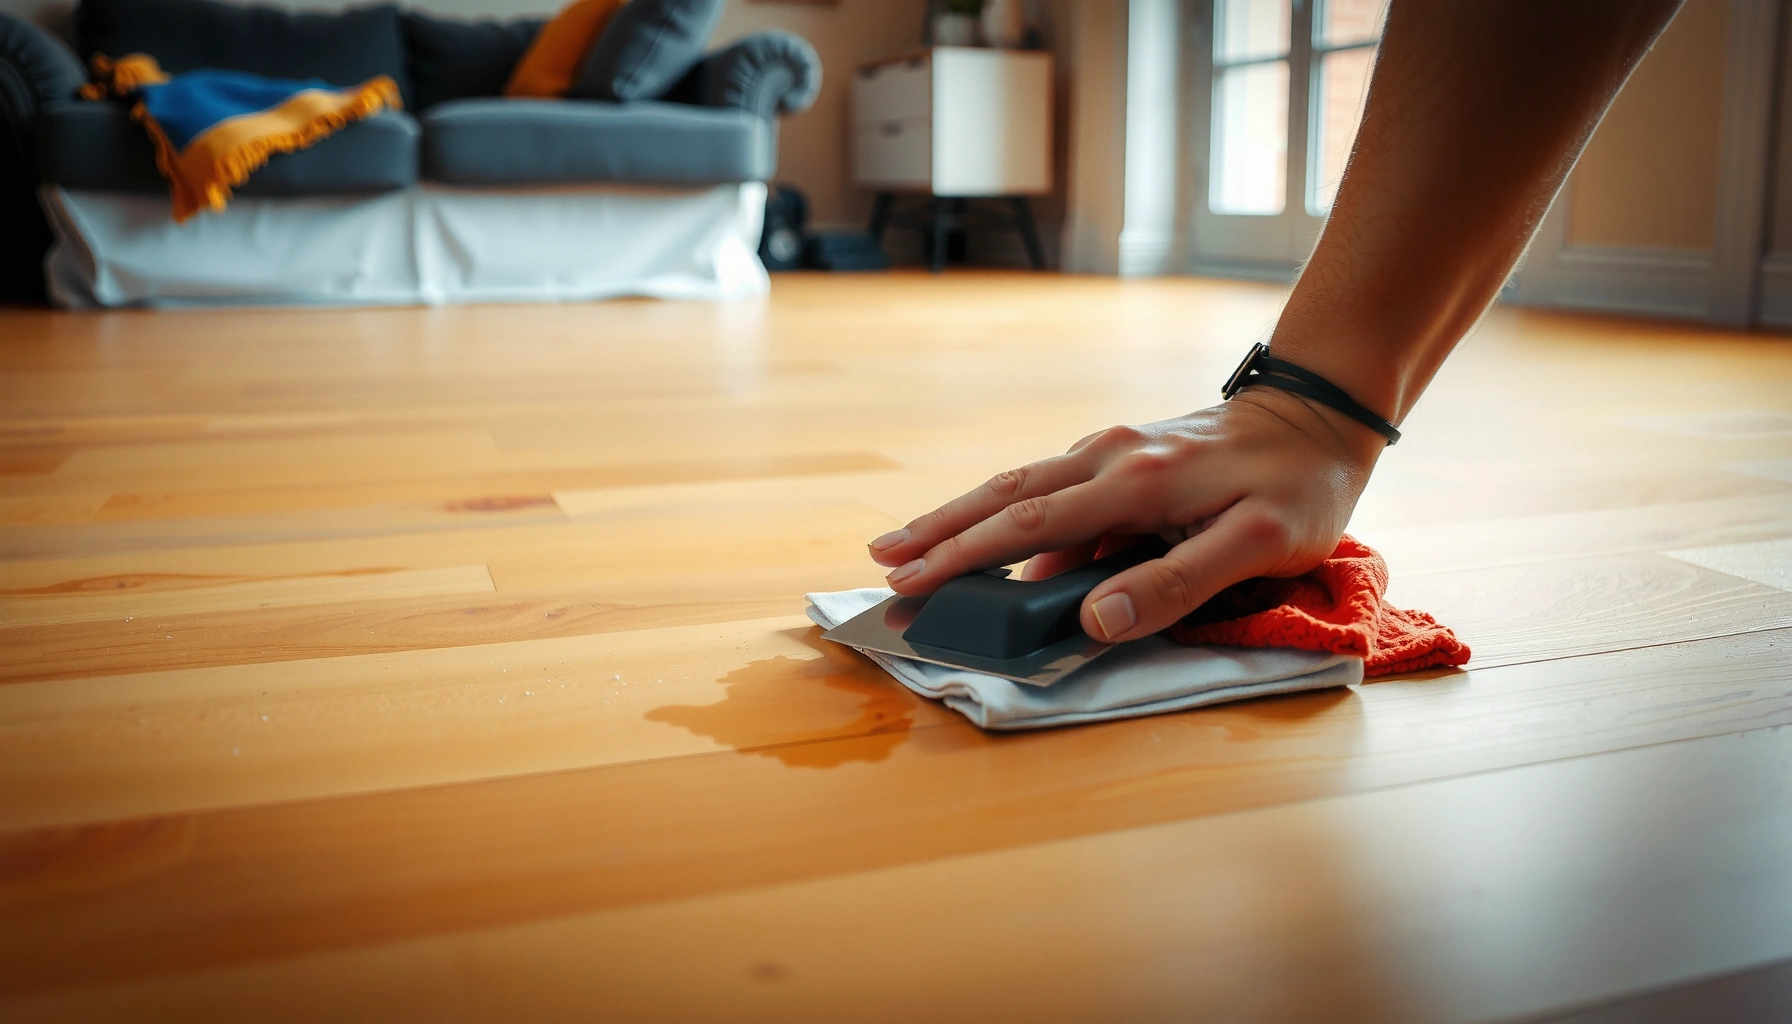
1. Blot, don’t wipe: Use a clean microfiber cloth or paper towel to lift excess paint. Wiping spreads the paint film.
2. Prepare a gentle solution: Use warm water plus a small amount of mild dish soap (not concentrated degreaser).
3. Wipe gently: Lightly dampen the cloth, wipe the paint area, and immediately remove moisture with a dry cloth.
4. Repeat in short cycles: Fresh paint removal works best in multiple controlled passes rather than one wet “soak.”
For semi-dried paint (when it won’t blot off)
– Soften briefly: Use the least aggressive cleaner approach consistent with your floor’s care instructions. Follow label directions if you use a spot cleaner.
– Lift with plastic: Use a plastic scraper (or a plastic edge tool) to lift paint rather than digging in.
– Watch the finish: If the paint starts removing but the sheen changes, stop and reassess—your remover step may need to change.
What to avoid at this stage
– Do not flood the area. Engineered wood can experience edge/seam issues if liquid migrates.
– Avoid mixing chemicals. If you later decide on a solvent, don’t combine products already on the floor (rinse/wipe first).
Quick reference: finish risk vs. method (scan-friendly)
Paint-Removal Approaches for Engineered Wood (Finish Safety & Fit)
| # | Method | Best for paint stage | Estimated finish risk | Outcome likelihood |
|---|---|---|---|---|
| 1 | Warm water + mild dish soap (blot/wipe) | Fresh/tacky latex | Low | ★★★★☆ |
| 2 | Damp spot softening + plastic lift | Semi-dried latex | Low–Medium | ★★★☆☆ |
| 3 | Plastic scraper only (dry paint lift) | Light dried paint | Medium (scrape pressure dependent) | ★★★☆☆ |
| 4 | Finish-safe remover (label-compatible) + dwell time | Dried latex or enamel* | Medium–High | ★★★☆☆ |
| 5 | Solvent not labeled for wood/finish (riskier) | Unknown or oil-based | High | ★☆☆☆☆ |
| 6 | Steel wool / hard abrasives | Any (generally avoid) | Very High | ☆☆☆☆☆ |
| 7 | Professional spot refinement/refinish (if needed) | Large/old spots | Depends on plan | ★★★☆☆ |
“Enamel” is often oil/alkyd-based; compatibility still depends on the specific coating and your floor’s finish.
Remove dried paint carefully without damaging the top layer
The goal with dried paint is to remove pigment and binder while preserving the engineered wood’s wear layer. Use low-angle lifting tools and re-soften in small batches so you don’t grind paint into the finish or gouge the surface.
Plastic scrapers reduce the chance of gouging compared with metal blades, especially when paint is rigid and pressure increases.
Softening in small sections helps you stop when you reach paint residue rather than pressing into the floor’s clear coat.
Hard abrasives like steel wool can permanently dull engineered wood coatings, even when the paint “comes off.”
The safest scraping technique (practical mechanics)
– Tool choice: Use plastic scrapers or a wood-safe razor-style tool designed for surface work. Avoid metal tools.
– Angle: Hold the scraper at a low angle so the edge “lifts” rather than “cuts.”
– Pressure: Use light, repeated passes. If you need heavy force, the paint is probably still too hard—switch back to controlled softening.
Work in small sections and monitor the coating
Paint removal should be incremental:
1. Lift a small area.
2. Wipe off loosened residue.
3. Reassess sheen and texture.
4. Only then move to the next section.
If you see hazing, dull patches, or coating lift, stop scraping—those are signs the finish is being disturbed, not just paint.
Pros/cons: scraping vs. chemical removal (why the order matters)
| Approach | Pros | Cons |
|---|---|---|
| Plastic scraping (controlled) | No added chemicals; preserves finish if pressure stays light | Slow on thick/hardened paint; risk of scratches if edge is metal or pressure is high |
| Finish-safe remover (label-compatible) | Better for older/alkyd/enamel spots; can dissolve paint films | Can haze/discolor if incompatible; requires dwell time and thorough residue removal |
Moisture control (especially around seams and edges)
Engineered boards are sensitive to excess liquid migration:
– Use a damp cloth, not soaking.
– Wipe dry promptly after softening.
– Keep liquid away from click-lock seams where water can travel.
If chemicals are needed, use a finish-safe solvent/paint remover
The right chemical is the one specifically labeled safe for the wood/finish system you have—and only after a spot test. When paint is old, oil-based, or too thick to lift mechanically, a finish-safe remover (used exactly per label) is often the difference between “no progress” and “clean removal.”
Use a remover that explicitly states suitability for wood finishes, and follow dwell time exactly as written to limit finish damage.
Ventilation and gloves are standard safety requirements when working with paint removers and solvents, because vapors and residue can irritate skin and airways.
Spot testing in an inconspicuous area is the practical safeguard against hazing, discoloration, or coating lift.
How to select a safer remover
Look for product labeling that says it’s appropriate for:
– Wood finishes / sealed wood
– The type of paint you suspect (latex vs. enamel/alkyd)
– Compatible with the floor’s coating category (manufacturer terms vary)
If the label doesn’t address wood/finish compatibility, don’t guess—use the gentler methods longer or consult the flooring manufacturer.
How to apply (finish-aware workflow)
1. Spot test first: Choose a hidden area (under a chair, near a baseboard) and wait the full label time.
2. Follow dwell time: Don’t “soak longer” if paint isn’t lifting. Too much contact can haze or soften coatings.
3. Remove residue thoroughly: Many removers leave films that attract dirt or dull the sheen if not fully wiped/rinsed.
4. Rinse/wipe as directed: Use clean water or the product’s recommended cleanup method and wipe dry.
Safety basics you should not skip
– Ventilate the area (open windows, use fans where appropriate).
– Wear gloves and avoid skin contact.
– Keep children/pets away until fumes and residues are cleared.
> Fact-anchor (safety standards): Many solvents and paint removers are regulated under hazard communication requirements, with specific PPE and ventilation guidance typically found on the Safety Data Sheet ([ADD: source for OSHA Hazard Communication standard / SDS guidance]). Follow the SDS for the exact product you use.
Three practical data points to keep your expectations realistic
– According to the U.S. Environmental Protection Agency (EPA), many coatings products are subject to safety and disposal requirements, including careful handling to avoid environmental release ([ADD: EPA source about hazardous waste or paint disposal guidance]). This matters because residue disposal is often overlooked.
– According to ASTM guidance on wood/finishes testing, finish compatibility is best validated by controlled testing before broad application ([ADD: ASTM source covering coatings compatibility testing or surface prep]).
– According to manufacturer care instructions, avoiding soaking and using minimal moisture helps prevent edge/seam problems in engineered wood floors ([ADD: your flooring brand care instructions source]).
(Replace the placeholders with the exact documents for your specific floor brand and any remover/SDS you intend to use.)
What can go wrong (and how to prevent it)
Even when you follow the “right” method, paint removal can go sideways if dwell time is excessive, tools are too aggressive, or moisture migrates into seams. The good news: most damage is preventable by stopping early and staying controlled.
Finish haze or dulling usually indicates solvent incompatibility or prolonged dwell time, so immediate stop-and-rinse is often the safest recovery step.
Gouges typically come from metal blades, razor edges used like chisels, or high pressure; swapping to plastic and reducing force prevents permanent marks.
Swelling or seam issues are linked to excess liquid; using a barely-damp cloth and wiping dry promptly reduces moisture travel.
Common failure modes
– Finish haze, peeling, or color change: Often caused by harsh solvents, too-long contact, or scrubbing residue into the topcoat.
– Gouges and scratches from scraping: Usually comes from metal tools or aggressive angles. If you feel “catching,” you may be digging.
– Warping/swelling near seams: Happens when you flood edges. Engineered wood can tolerate cleaning when moisture is controlled—but not when it’s saturated.
– Paint smear instead of lift: Means the paint film is softened and spreading rather than being removed. Let it re-set briefly (within minutes), then re-approach with controlled lifting.
What to do if you see problems
– Stop immediately if you notice coating lift or hazing.
– Rinse/wipe according to remover instructions (or plain clean water if you were only using mild soap).
– If the floor look changes after remover spot testing, don’t proceed—switch strategies or consult a pro.
Verdict: safest path + when to stop and call a pro
For most painted spots, the safest route is: gentle cleaning/softening first, then careful plastic scraping, and only if needed a finish-safe remover with strict spot testing. Skip DIY chemical removal if you’re dealing with a large area, unknown paint type, or a floor with a delicate/unstable finish—because refinishing engineered wood may be limited by wear-layer thickness and manufacturer restrictions.
If you cannot confidently identify paint type or floor finish, the “cheapest” decision can be the one that avoids visible damage. In many cases, a professional assessment prevents the need for partial replacement or an expensive refinishing attempt that the floor manufacturer may not approve.
Quick checklist you can save
Engineered Wood Paint Removal Checklist
- Confirm paint stage: fresh/tacky vs. semi-dried vs. fully dried.
- Identify likely paint type: latex/water-based vs. oil/enamel (if known).
- Locate care guidance: find the floor brand/model and follow its chemical/moisture rules.
- Start gentle: warm water + small amount of mild dish soap for fresh marks; wipe dry.
- Use plastic tools: prioritize plastic scrapers; avoid metal and hard abrasives.
- If using a remover: pick one labeled safe for wood/finish and spot test first.
- Follow dwell time exactly: don’t extend contact time to “force it.”
- Remove residue completely: wipe/rinse as the label directs, then dry.
- Stop early: if you see haze, coating lift, or sheen loss.
FAQ
Can I sand engineered wood to remove paint?
Sanding can damage or permanently alter the top wear layer and finish, especially if the paint removal approach requires removing more coating than expected. If you’re considering sanding, check the floor manufacturer’s guidance first—[ADD: source for engineered wood sanding limits from your floor maker].
Will acetone or paint thinner damage the floor finish?
Many strong solvents can dissolve or dull finishes and may cause discoloration or coating lift. If you’re using any solvent, follow product label compatibility for wood finishes and do a spot test first—[ADD: source for solvent compatibility recommendations from your floor manufacturer].
How do I remove paint from seams or edges?
Use minimal moisture and avoid soaking gaps. For stubborn spots near seams, prefer controlled softening and careful scraping rather than flooding—[ADD: source for seam moisture guidance from floor manufacturer].
What if the paint is too old to lift?
Old paint often needs chemical softening or multiple controlled passes. If repeated attempts start affecting the finish (hazing, peeling, roughness), stop and consider professional help.
Sources
– [ADD: manufacturer care/cleaning instructions for engineered wood finishes and any “chemical/solvent” compatibility notes from your floor brand]
– [ADD: official label instructions for the specific paint remover/solvent you plan to use, including dwell time and wood/finish compatibility statements]
– [ADD: official guidance from the floor manufacturer on scraping/sanding do’s and don’ts for engineered wood wear layers]
If you want, tell me your floor brand (and finish type if you know it) plus whether the paint spot is latex or enamel (or what it came from), and I’ll help you choose the safest step order and what to avoid for your specific situation.
Frequently Asked Questions
What’s the safest way to remove dried paint from engineered wood floors?
Start by identifying whether the paint is latex or oil-based, because oil-based paint may require stronger solvents. Try loosening the paint with a plastic scraper and warm water/paint remover made for wood-compatible surfaces, then wipe immediately to avoid soaking the engineered wood core. Avoid metal scrapers, harsh abrasives, or prolonged moisture, which can damage the top veneer and protective finish.
How do you remove paint splatters from engineered hardwood without damaging the finish?
For fresh splatters, gently blot with a damp cloth, then use a mild soap solution before the paint cures. If the paint has dried, soften it with a manufacturer-recommended remover for hardwood finishes, apply sparingly, and scrape with a non-abrasive plastic tool. Finish by cleaning the area with a damp cloth and fully drying, since trapped moisture can cause uneven sheen or finish problems.
Why should you avoid sanding engineered wood floors to remove paint?
Engineered wood has a thin wear layer, so sanding can quickly wear through the veneer and permanently alter the floor thickness and appearance. Paint removal methods that rely on sanding also increase the risk of uneven surface texture, especially over joints and edges. In most cases, chemical softening and careful scraping are safer than sanding for removing paint from engineered hardwood.
Which paint remover is best for engineered wood floors—acetone, mineral spirits, or a gel stripper?
The “best” option depends on the paint type: mineral spirits or odorless paint thinner often works better for oil-based paint, while latex paint is typically easier to lift with warm soapy water or a water-based remover. Gel strippers can be effective because they stay in place longer with less spreading, reducing the chance of solvent soaking into seams. Always spot-test in an inconspicuous area first, follow product instructions closely, and use the least aggressive method that removes the paint.
How do you clean and refinish engineered wood after paint removal?
After removing paint from engineered hardwood, clean the area with a damp cloth to remove any residue from the paint remover or solvent, then dry thoroughly. If the finish looks dulled or slightly changed, consider using a matching wood floor cleaner and, if necessary, a refinishing product formulated for the existing finish type (polyurethane, urethane, or prefinished top coat). For large or deep damage, consult a flooring professional to ensure the engineered wood floor is restored without damaging the wear layer.
📅 Last Updated: October 07, 2026 | Topic: How to remove paint from engineered wood floors? | Content verified for accuracy and freshness.
References
- Google Scholar Google Scholar
https://scholar.google.com/scholar?q=remove+paint+from+wood+floor+stripping+heat+chemical+methods - Google Scholar Google Scholar
https://scholar.google.com/scholar?q=engineered+wood+floor+paint+removal+refinishing+finish+compatibility - Google Scholar Google Scholar
https://scholar.google.com/scholar?q=lead+paint+removal+guidelines+wood+surfaces+safe+work+practices - Lead Renovation, Repair and Painting Program | US EPA
https://www.epa.gov/lead/renovation-repair-and-painting-program - 25red-About Lead-based Paint | HUD.gov / U.S. Department of Housing and Urban Development (HUD)
https://www.hud.gov/program_offices/healthy_homes/healthyhomes/lead - https://www.cdc.gov/lead/index.htm
- Lead in the Workplace | Lead | CDC
https://www.cdc.gov/niosh/topics/lead/ - Lead – Overview | Occupational Safety and Health Administration
https://www.osha.gov/lead - https://en.wikipedia.org/wiki/Paint_stripping
- Paint stripper
https://en.wikipedia.org/wiki/Paint_stripper