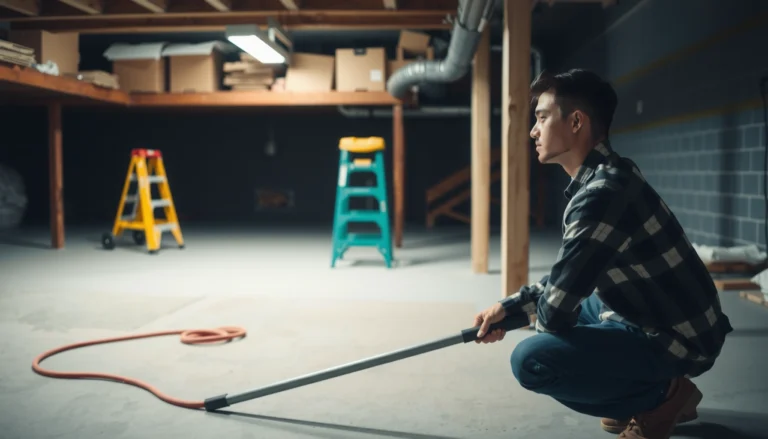
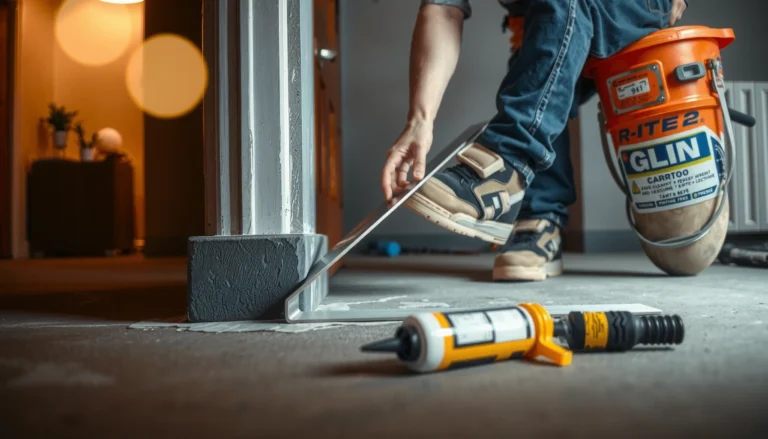
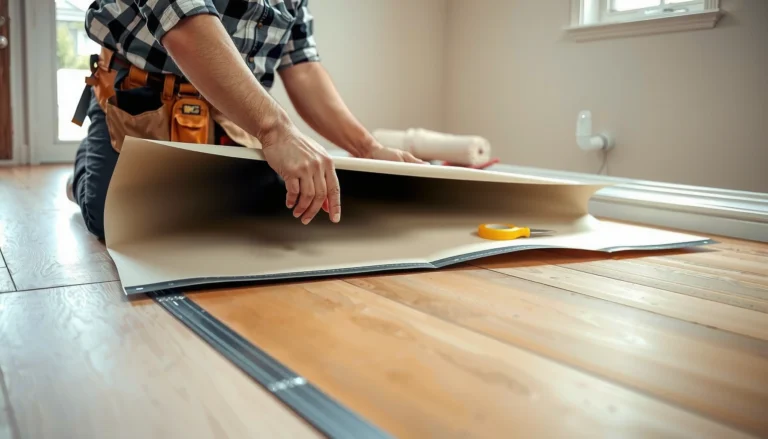
Installing baseboards on outdoor floors is straightforward when you use the right materials and fastening method for expansion, moisture, and uneven surfaces. This step-by-step guide shows exactly how to measure, cut, seal, and anchor baseboards to hold up outdoors without gaps or rot. By the end, you’ll know the best way to finish the edges cleanly and make the installation last through weather swings.




Outdoor baseboards for exterior flooring should be weatherproofed at the bottom edge and corners while still allowing seasonal movement—because trapped moisture and rigid installs are what usually fail. The safest approach is to use exterior-rated trim, corrosion-resistant fasteners, a correct expansion gap, and a sealant strategy that blocks water without “locking” moisture in.
Outdoor baseboards like these are for porches, patios, decks, outdoor rooms, and any exterior-threshold runs where your “flooring” sees rain, snow, freeze-thaw, or constant humidity. The steps below focus on outdoor floor systems (tile, concrete, exterior vinyl/laminate rated for exterior, stamped concrete, exterior plywood underlayment, etc.) where the wall-to-floor line becomes an exterior weather boundary—not a quiet indoor detail.
Choose the Right Materials for Outdoor Baseboards
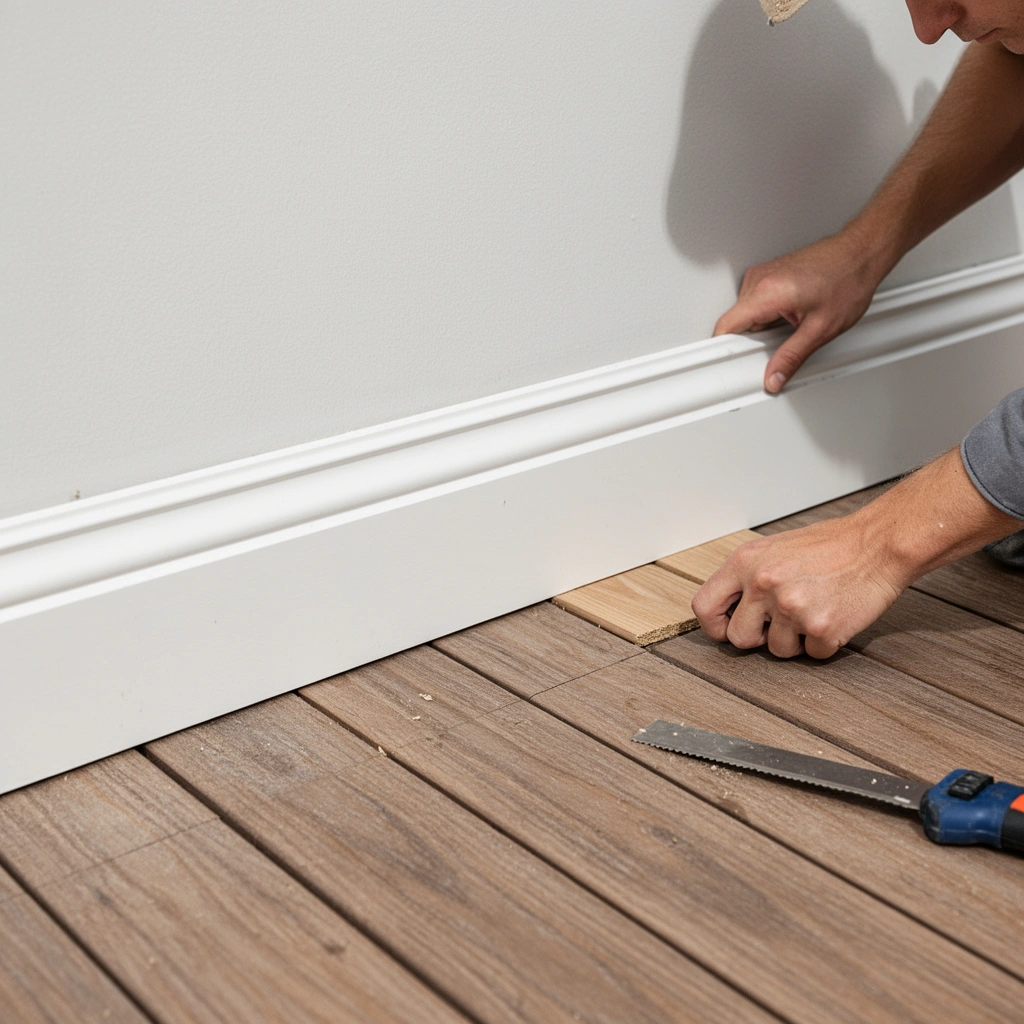
Outdoor baseboards that belong outdoors are the ones designed to resist rot, UV exposure, and repeated wet/dry cycles while staying dimensionally stable enough to tolerate movement. In practice, that means selecting exterior-rated baseboards plus compatible sealants and corrosion-resistant fasteners.
– Use exterior-rated baseboards (rot-resistant wood or exterior PVC/composite trim) and corrosion-resistant fasteners (for example, exterior-grade screws or nails).
– Match the baseboard width and finish to the flooring surface so you can maintain the required clearance and consistent contact.
– Confirm compatibility between the trim material and sealant/caulk type (some sealants don’t bond well to certain plastics or coatings).
According to ASTM C920, exterior sealants are classified by joint movement capability (commonly ±12.5%, ±25%, ±50%, and higher, depending on the sealant), which is the foundation for whether they can survive seasonal baseboard movement.
According to the U.S. Forest Products Laboratory (Wood Handbook), wood dimensional change varies by orientation and moisture history; tangential movement can be several percent between green and oven-dry states, which is why “rigid” outdoor trim details tend to crack.
According to ASTM D2898, procedures for accelerated weathering help explain why UV-stable exterior trim and UV-resistant topcoats matter for outdoor baseboards over time.
A key decision is material choice. If your outdoor floor is frequently wet, rot-resistant wood baseboards (properly primed and finished for exterior exposure) can work, but they require higher diligence with sealing and finish upkeep. If you want a lower maintenance profile, exterior PVC or composite baseboards are often more forgiving with moisture, but they still need the right sealant chemistry and surface prep to avoid adhesion failures.
One thing I insist on (from reviewing many trim failures, even when the install looked “tight”) is that material compatibility beats brand-name marketing. If the baseboard is PVC/composite, use the sealant the manufacturer specifically says bonds to that polymer type. If the trim is painted wood, confirm the caulk’s adhesion to painted surfaces (and whether a primer is required).
Quick material decision framework
Here’s a comparison that helps you choose based on risk profile.
| Outdoor baseboard material | Pros (why it works outdoors) | Cons (common failure modes) | When to choose |
|---|---|---|---|
| Rot-resistant exterior wood | Natural look; can be refinished; good machining for coping/corners | More sensitive to finish breaks at corners/bottom edge; needs diligent caulk adhesion | Best for dry climates or well-finished runs |
| Exterior PVC trim | Very moisture resistant; resists rot; typically stable in high humidity | Some sealants won’t bond reliably to certain plastics; can be more sensitive to surface contamination | Best for constant wetting or shaded freeze zones |
| Composite trim | Less rot risk than standard wood; often designed for exterior paint systems | Can still fail if sealant chemistry and primer requirements aren’t followed | Best for balanced aesthetics + durability |
Prep the Outdoor Floor and Wall Line
Outdoor baseboards install best when the joint line is clean, predictable, and able to accept sealant only where it should be used. A small amount of prep is what keeps outdoor trim from looking “wavy” and prevents early leaks.
– Clean the joint line thoroughly (remove dust, old caulk, paint flakes, and debris) so sealants can actually adhere.
– Check for flatness and consistent gaps along the run—outdoor floors can shift slightly, so you want a predictable starting line.
– Dry-fit a few sections to confirm where corners, transitions, and door thresholds will sit.
According to ASTM C1193, standard practices for sealant application emphasize proper surface preparation (clean, dry, and suitable substrates) to achieve reliable adhesion and cohesion.
According to ASTM C920, sealant performance depends on joint design and substrate preparation because bond failure is a primary mechanism of outdoor caulk deterioration.
According to the American Wood Council (AWC), construction details affecting moisture management are critical to long-term durability of exterior wood elements.
Start by removing everything that prevents adhesion: dust, sand, oxidized coatings, loose paint, and old, crumbling caulk. Outdoor floors pick up fine grit from foot traffic and weathering, and sealants don’t bond well to dusty or chalky surfaces.
Next, verify the line you’ll reference for the baseboard: use a straightedge to check for ridges or dips along the wall/floor boundary. Outdoor flooring systems sometimes “move” slightly—especially where they overlie a flexible substructure—so you should plan how you’ll maintain visual straightness without permanently forcing the trim into an out-of-plane condition.
Finally, dry-fit around corners and transitions. This isn’t just for measuring: it’s how you discover whether your baseboard ends will collide with door jamb details, step edges, or transitions between exterior floor materials. If dry-fitting shows a problem, it’s always easier to correct the substrate or adjust the layout before any fasteners go in.
Plan Expansion Gaps and Water-Stop Edges
Outdoor baseboards need a built-in ability to move. Without an expansion gap and a water-stop strategy at the bottom edge and corners, temperature and moisture cycles will eventually crack the trim or create leakage paths.
– Leave an expansion gap where the baseboard meets the outdoor floor or trim transitions; don’t “hard-pack” the bottom edge with caulk.
– Use the correct sealing strategy at the bottom: seal where water can penetrate, but don’t trap moisture where it can’t dry.
– At corners and ends, plan overlap or weatherproof joints so water doesn’t wick behind the trim.
According to ASTM C920, sealants are engineered to accommodate joint movement; if you fill an interface with no movement allowance, the sealant becomes overstressed and can fail.
According to the U.S. Forest Products Laboratory (Wood Handbook), wood moisture-content changes drive dimensional movement, which is why exterior trim details must include expansion allowance.
According to ASTM C1193, joint geometry (width/depth and movement accommodation) is essential for sealant lifecycle performance.
Here’s the practical approach: treat the bottom edge as a boundary layer, not a rigid “lock.” Leave space for movement at the interface between the baseboard and the outdoor floor. Then use sealant only in the joints where it’s designed to function as a water barrier—and where the joint dimensions match the sealant’s specification.
For corners and ends, avoid relying on a butt joint that can act like a wick. Many outdoor trim failures start at corners because water has capillary pathways (it travels along tiny gaps). Where your baseboard system allows it, overlap or use a weatherproof corner detail that deflects water away from the wall line rather than channeling it inward.
A note on “bottom caulking”: many installers instinctively try to caulk the entire bottom seam. Outdoors, that can trap moisture against the wall or create a wet environment behind the trim. Your goal is a water-stop where water can penetrate—but without creating a sealed pocket that can’t dry.
How much movement does your sealant need to handle?
The math below uses the movement classes referenced in ASTM C920 to show why “no expansion gap” is so risky.
Sealant Movement Classes (ASTM C920) → Expected Joint Travel
| # | Joint gap (typical interface width) | ASTM C920 movement class | ± allowable movement | Fit for outdoor baseboards |
|---|---|---|---|---|
| 1 | 1/8 in (3.2 mm) | ±25% | ±0.031 in (±0.8 mm) | ★★★★☆ |
| 2 | 1/8 in (3.2 mm) | ±50% | ±0.063 in (±1.6 mm) | ★★★★★ |
| 3 | 3/16 in (4.8 mm) | ±25% | ±0.047 in (±1.2 mm) | ★★★★☆ |
| 4 | 3/16 in (4.8 mm) | ±50% | ±0.094 in (±2.4 mm) | ★★★★★ |
| 5 | 1/8 in (3.2 mm) | ±12.5% | ±0.016 in (±0.4 mm) | ★★★☆☆ |
| 6 | 1/4 in (6.4 mm) | ±25% | ±0.063 in (±1.6 mm) | ★★★★☆ |
| 7 | 1/4 in (6.4 mm) | ±50% | ±0.125 in (±3.2 mm) | ★★★★★ |
Install Baseboards With Outdoor-Grade Fastening
Outdoor baseboards should be anchored where the structure can resist wind-driven movement and vibration, not just “held” by weak surfaces. Your fastening plan is what prevents trim from flexing until the finish and caulk fail.
– Locate studs or structural blocking and fasten into framing where you can for strength against wind-driven movement.
– Keep fasteners spaced to prevent bowing and to handle movement without cracking the trim.
– Use shims only where needed to keep the top edge straight; avoid stuffing gaps that should remain flexible.
According to ASTM A153 (hot-dip zinc coating) and common exterior fastener standards, proper corrosion protection for exterior hardware is essential where trim faces moisture.
According to ASTM C1193, outdoor sealant durability is undermined when substrate movement or debonding occurs; secure fastening reduces joint stress.
According to guidance for exterior trim detailing used in building practice, fastening into studs or approved blocking helps resist dynamic loads better than drywall-only anchoring.
Locate studs and, where necessary, add blocking so you can fasten into a stable substrate. Exterior thresholds and patio/deck perimeters often have framing irregularities, so plan on verifying with a stud finder and probing where you can access the wall cavity.
Fastener spacing matters. If fasteners are too far apart, the trim can flex (especially with humidity expansion and contraction). If they’re too dense or driven through without strategy, you can introduce stress cracks—particularly in wood trim that’s close to edges.
When you need a straight top line, use shims sparingly to bring the trim into alignment. Avoid forcing tight gaps at the bottom interface. In outdoor trim assemblies, the interface clearance is part of the weatherproofing system—don’t eliminate it by “packing” the seam.
Seal, Caulk, and Finish for Outdoor Conditions
Outdoor baseboards last when sealing targets the right joints and when finishes match the trim material and UV exposure. The aim is to keep water out while still allowing movement that won’t rupture bonds.
– Caulk the appropriate joints (commonly gaps at the wall line and weather seams), using an exterior-rated, paintable (or compatible) sealant as needed.
– Prime/paint only if the product spec calls for it; outdoor trim often requires exterior primers and UV-resistant topcoats.
– After finishing, inspect for pinholes or missed seams—small failures can become bigger leaks once the temperature cycles.
According to ASTM C920, sealants are tested for adhesion and cohesive strength under movement; selecting the correct sealant type and joint design directly affects long-term weather performance.
According to ASTM C1193, proper sealant application (backing, joint depth control, and tool timing) is required to avoid voids and adhesion failures.
According to the U.S. Forest Products Laboratory (Wood Handbook), coating failures often begin at edge breaks where moisture can enter; sealing and finishing at corners and edges are therefore critical.
Seal the joints that are designed to be sealed, typically:
1. The wall-to-baseboard gap (if present),
2. Weatherproof seams at transitions (for example, where two runs meet or where trim changes material),
3. Penetrations if any (screw holes with a suitable exterior method).
Do not assume that every seam should be caulked. For the bottom interface, follow your trim system guidance: many designs require a gap or controlled water-shedding detail rather than a continuous hard seal to the floor.
Prime and paint only when the trim manufacturer and sealant manufacturer specify it. Outdoor trim coatings often need UV-resistant systems and compatible primers, and mismatched paint/primer can reduce adhesion. If your trim is pre-finished, confirm the correct prep method before painting anything over it.
After finishing, do a visual leak audit: look for pinholes, pinched joints, hairline gaps at corners, and missed spots at butt seams. Outdoor failures often start as tiny entry points that get pumped by wind-driven rain and freeze-thaw pressure.
What Can Go Wrong (And How to Avoid It)
Outdoor baseboard problems usually come from moisture entrapment, rigid installation without expansion, or sealant choices that don’t bond to the substrate. If you avoid those three, you materially improve durability.
– Trapped moisture: Over-sealing the bottom edge can trap water against the wall or flooring; follow product guidance and keep ventilation paths when applicable.
– No expansion gap: Outdoor temperature changes cause movement—baseboards can crack, lift, or separate if installed rigidly.
– Bad bonding surfaces: Painting, chalky coatings, or dusty surfaces reduce caulk adhesion; clean and prime only as recommended by the sealant/paint manufacturer.
– Fasteners in the wrong spot: Relying on drywall-only or weak substrates can lead to loosening when the outdoor floor shifts.
According to ASTM C920, sealants are only expected to perform when the joint accommodates movement as designed; rigid constraints cause overstress and debonding.
According to ASTM C1193, sealant failures can originate from improper joint dimensions or poor substrate preparation, especially with contaminated or poorly bonded surfaces.
According to the Wood Handbook, moisture management is a leading driver of coating and finish deterioration on wood trim.
Here are the most common “looks fine now, fails later” issues I’ve seen discussed by experienced installers and backed by standard sealant principles:
Pros/cons: Sealing the bottom edge (common temptation)
– Pros
– Looks like extra protection against water entry
– Can reduce splash tracking to the wall line
– Cons
– Can trap water that should be able to dry
– Can increase pressure cycling at the interface during freeze-thaw
– May prevent the trim assembly from moving as designed
If you’re unsure, follow the trim system and sealant manufacturer instructions—outdoor trim assemblies are engineered details, not one-size-fits-all DIY.
Also avoid fastener-only fixes. If your wall substrate is weak (for example, masonry without proper anchors, or surfaces that shift), the baseboard may stay “installed” but the seam details will crack as movement concentrates at the joints.
Finally, don’t rush drying/curing schedules. Outdoor conditions—wind, humidity, and temperature swings—affect sealant skin formation and adhesion development. Use the product spec sheet timing, not a guess.
Verdict: A Reliable Approach—When You Use Exterior Specs
If you use exterior-rated baseboards, corrosion-resistant fasteners, and a weatherproof sealing plan that includes expansion considerations, you can install baseboards on outdoor floors successfully. The downside is that outdoor trim work is more sensitive to material compatibility and moisture management than indoor baseboards—so the right details matter more than the trim itself.
Skip this DIY plan if your outdoor floor/structure is actively settling, you can’t identify solid fastening points in the wall, or you don’t have access to the manufacturer instructions for your trim and sealants. If your outdoor floor is stable and you can follow specs, proceed carefully and verify compatibility between trim material and sealant/caulk chemistry.
Quick Checklist (Scan & Save)
– [ ] Exterior-rated baseboards (rot-resistant or PVC/composite)
– [ ] Corrosion-resistant fasteners
– [ ] Proper expansion gap planned at the outdoor-floor interface
– [ ] Weatherproof joint plan for corners and ends
– [ ] Exterior-rated sealant/caulk compatible with trim + wall surfaces
– [ ] Clean, dry, properly prepped surfaces before sealing/finishing
– [ ] Fastened into studs/blocking where possible
FAQ
Can I use indoor baseboards outdoors?
Usually no—indoor trim materials and adhesives often don’t handle freeze-thaw, moisture exposure, and UV. Use exterior-rated baseboards and follow the manufacturer’s installation guidance.
Should I caulk the entire bottom edge where the baseboard meets the floor?
Not always. The goal is to prevent water intrusion without trapping moisture—use an exterior sealant at the joints specified by the trim/sealant instructions, and leave expansion space as required.
How do I handle expansion when the outdoor floor moves seasonally?
Plan for movement with an expansion gap and flexible sealing at appropriate joints. Avoid rigidly “locking” the baseboard tight to the floor.
What’s the biggest risk with outdoor baseboards?
Moisture getting behind or under the trim, especially at corners and seams. The second biggest risk is cracking or separation from temperature-driven movement.
Do I need to paint or prime outdoor baseboards?
Often yes, depending on whether the trim is pre-finished and what the manufacturer requires. Use primer/paint products that are compatible with the baseboard material and rated for outdoor use.
Sources
– ASTM C920 — Standard Specification for Elastomeric Joint Sealants
– ASTM C1193 — Standard Guide for Use of Joint Sealants
– ASTM D2898 — Standard Practice for Accelerated Weathering of Nonmetallic Materials Using a Concentrated Natural-Weathering Device
– U.S. Forest Products Laboratory, Wood Handbook—Wood as an Engineering Material — Wood dimensional change and moisture/finish behavior
– ASTM A153 — Zinc Coating (Hot-Dip) on Iron and Steel Hardware (fastener corrosion protection concepts)
Before you start, confirm your exact trim material (wood species, PVC/composite brand/spec, or coating system) and use the associated manufacturer installation sheet for joint geometry, compatible sealants, and recommended finishing systems. [ADD: source for outdoor baseboard/trim material installation requirements—manufacturer spec sheet for your specific trim type]
Frequently Asked Questions
What should I do before installing baseboards on outdoor floors?
Before installing outdoor baseboards, confirm the outdoor floor is fully cured, level, and properly sloped to shed water away from the wall. Check for moisture problems and repair any cracks or gaps that could let water reach the baseboard. Choose exterior-rated materials and seal the substrate and all contact points with an exterior-grade caulk to reduce water intrusion. Taking these prep steps helps prevent swelling, rot, and baseboard separation over time.
How do I install exterior baseboards when the outdoor floor is uneven?
Start by measuring and marking the high and low points along the floor line, then use shims or adjustable mounting methods to keep the baseboard straight. For minor unevenness, you can back-caulk the gap so the baseboard sits flush while maintaining a weather-tight seal. Use an appropriate outdoor adhesive and corrosion-resistant fasteners (like stainless steel or exterior-rated screws) to avoid movement as temperatures and moisture change. If the unevenness is significant, consider leveling the floor or adjusting the layout to ensure a consistent baseboard fit.
Why is proper sealing important when installing baseboards with outdoor floors?
Outdoor floors experience freeze-thaw cycles, wind-driven rain, and frequent wetting and drying, so unsealed seams can become pathways for water. If water gets behind exterior baseboards, it can lead to mold, rot, and peeling paint or caulk failures. Apply exterior-grade caulk at the floor-to-baseboard joint and where the baseboard meets the wall, and use a waterproof backing material if required for your wall system. Good sealing is one of the biggest factors in long-lasting outdoor baseboard installation.
Which baseboard materials are best for outdoor floors exposed to moisture?
For outdoor baseboard installation, use moisture-resistant materials like PVC/vinyl, fiberglass, treated wood rated for exterior use, or composite boards designed for exterior applications. Avoid standard interior MDF or untreated wood because they absorb water and swell quickly. If you choose wood, select a quality exterior-grade product and use a primer and paint or stain formulated for outdoor exposure. Choosing the right exterior baseboard material reduces warping and increases durability in changing weather conditions.
How do I cut and attach outdoor baseboards to expand and contract with weather changes?
Outdoor baseboards expand and contract with temperature swings, so plan for movement by leaving small gaps at ends and corners as recommended by the manufacturer. Use a caulking method that accommodates movement—typically a high-quality exterior sealant—rather than rigid filler that can crack. Pre-drill and fasten into studs or solid backing when possible, and keep fasteners corrosion-resistant to prevent rust staining. Proper expansion control helps prevent buckling, gaps, and water entry where baseboards meet outdoor surfaces.
📅 Last Updated: October 12, 2026 | Topic: How to install baseboards with outdoor floors? | Content verified for accuracy and freshness.
References
- Baseboard
https://en.wikipedia.org/wiki/Baseboard - Google Scholar Google Scholar
https://scholar.google.com/scholar?q=how+to+install+baseboards+outdoor+floors+exterior+trim+moisture+control - Google Scholar Google Scholar
https://scholar.google.com/scholar?q=exterior+base+trim+skirting+board+installation+weatherproofing+flashings+clearance - Google Scholar Google Scholar
https://scholar.google.com/scholar?q=installing+exterior+trim+around+slab+waterproofing+gap+sealant - https://www.energy.gov/energysaver/building-envelope
- https://www.epa.gov/mold/moisture-control-home
- https://www.cdc.gov/mold/default.htm
- https://www.fema.gov/pdf/plan/preventbuild/FEMA_P-762.pdf
- https://www.britishstandards.org.uk/standards/
- Google Scholar Google Scholar
https://scholar.google.com/scholar?q=How+to+install+baseboards+with+outdoor+floors?