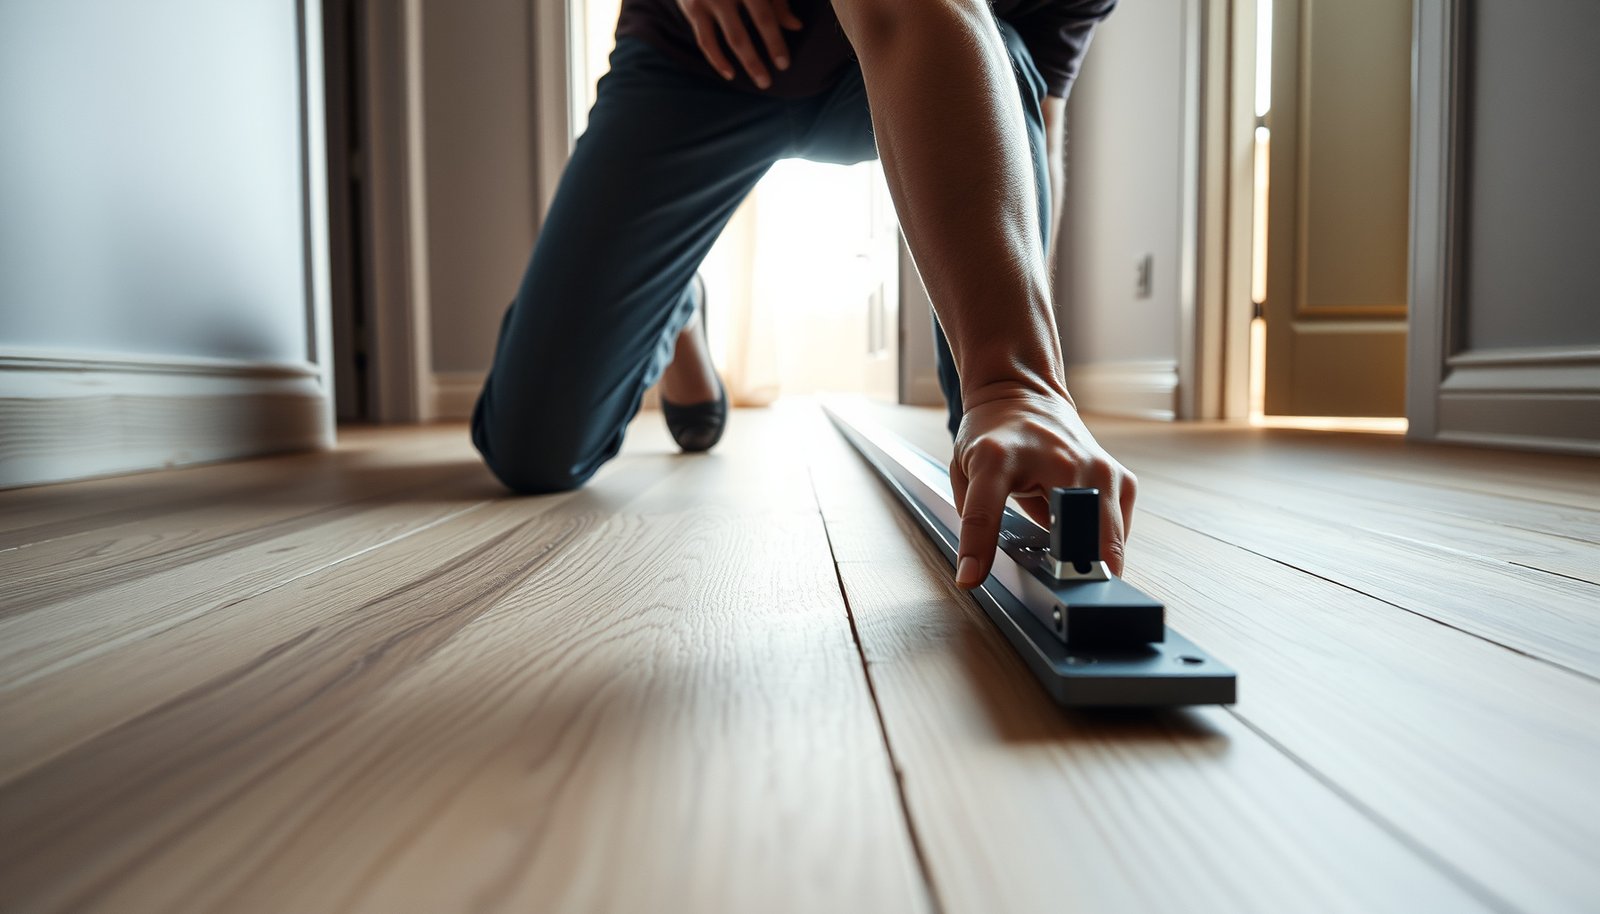

Want to know how to level laminate floors before installing an entryway so the doorway doesn’t buckle or leave gaps? The fastest, cleanest method is to find the high and low spots, correct them with a compatible self-leveling underlayment or floor patch, and then recheck the flatness before the first plank and threshold go in. Follow this approach and you’ll get a tight, professional fit at the entryway the first time.




Level your laminate for an entryway by first making the subfloor flat (not just “smooth”), then correcting low/high spots within your laminate manufacturer’s flatness limits using the proper patching or leveling product. Because the entryway is the first place you’ll feel bounce, see seam gapping, and notice threshold problems, spending time on flatness here pays off immediately—and it protects the rest of the install too.
This guide is for homeowners and installers preparing a laminate floor in an entryway over concrete or plywood/OSB, where you want stable clicks, tight seams, and doors/thresholds that close normally. If your goal is “level enough,” this post helps you reach the standard that laminate actually needs.
Check the subfloor flatness and moisture first
You don’t level laminate effectively until you confirm the subfloor is flat within the laminate’s own limits and that moisture won’t undermine the bond. The fastest way to avoid rework is to measure flatness first, then verify moisture—especially over concrete—before you buy patch or self-leveler.
ASTM F710 is a primary reference for preparing concrete floors for finish flooring, emphasizing the importance of surface condition before installation (ASTM F710).
ASTM F2170 uses in-situ probes to determine concrete relative humidity, reporting results as %RH rather than “guessing” from appearance (ASTM F2170).
Moisture-vapor emission tests (e.g., ASTM F1869) report results in lb/1000 sq. ft. per 24 hours, which helps installers decide whether the substrate is acceptable for flooring systems (ASTM F1869).
Start by using a long straightedge (commonly 6 ft or 10 ft) and dragging it across the entryway area in multiple directions. Mark high spots (where the straightedge rocks) and low spots (where you can slide a feeler gauge under it). Then compare what you measure to the exact flatness/variation limit listed in your laminate installation instructions—this spec is what determines whether click seams hold up long-term.
Next, verify moisture. On concrete, surface appearance isn’t enough—some problems are invisible until after installation. If you see dampness, unusual darkening, odor, or efflorescence, stop and test. For plywood/OSB, also look for soft spots, water staining, or movement at fasteners; structural movement can make “leveling” ineffective.
Finally, identify the substrate. Concrete and plywood/OSB require different primers, different leveling products, and different expectations about what you can correct with compound. This is also where you decide whether your plan is “patch localized lows” or “rebuild flatness across a wider entryzone.”
Find high spots and mark low areas
You fix laminate problems faster when you systematically map where the floor is high and where it’s low—before you start mixing anything. High spots drive rocking and stress seams; low spots create the gaps and feel-bounce you notice in an entryway first.
A practical flatness workflow is to mark highs and lows with a straightedge map so leveling work stays within product thickness limits (ASTM E1155 principles of flatness evaluation).
If you shave/sand a concrete high spot, you must still meet the leveling product’s prep requirements (including cleaning and, if required, primer/feather readiness) (product technical data sheets).
Measuring low-spot depth prevents underfilling (voids/telegraphing) and overbuilding (debonding or cracking) because most leveling compounds have minimum/maximum application thickness (manufacturer installation/technical data).
Work in the exact entryway path where the flooring transitions and the first laminate rows will land. Draw a simple grid across the entry area and label each cell with the measured condition (high/low). This may feel methodical, but it prevents “random fill” that wastes material and can still miss the flatness spec.
For high spots: only remove material if your substrate allows it and your leveling/primer system is compatible with that surface preparation. On many concretes, careful sanding/grinding can help create a flatter plane; on plywood/OSB, shaving is often limited by coating, fastener heads, and the risk of thinning structural sections.
For low spots: measure how deep each dip is relative to your reference plane. Write down the depth in mm or inches so you can select the right product (and decide whether you need patch vs. a pour). This step matters because the entryway is commonly a transition zone—if you underfill low areas there, the first laminate rows can feel springy, and seam lines can open sooner.
Choose the right leveling method (patch vs. self-leveler vs. shims)
You’ll get the best result when you match the leveling approach to both the size of the problem and the cause of the problem. Patch/skim, self-leveling underlayment, and shims solve different issues—using the wrong one is a common reason entryway installs fail.
Self-leveling underlayment typically performs best for multiple lows across a wider area, but it depends on correct primer use and strict mixing (manufacturer technical data sheets).
Patch/skim compounds are usually intended for localized dips and surface imperfections when the rest of the substrate is already near-flat (manufacturer technical data sheets).
Shimming is only appropriate when the substrate is stable and the issue is alignment/height—not ongoing structural movement that compound can’t correct (flooring installation best practices and manufacturer guidance).
Here’s a quick comparison to keep your decision grounded:
| Method | Best for | Key limitation | Result if chosen correctly |
|---|---|---|---|
| Patch/skim compound | Small localized dips and feather-level surface flaws | Can be inefficient if the area is broadly out of flat | Tighter local flatness for seams and thresholds |
| Self-leveling underlayment | Multiple lows across a wider entryzone | Requires proper priming, mixing, and strict thickness rules | Broad-plane flatness that click systems tolerate |
| Shims / structural correction | Height alignment when the floor structure is stable | If the subfloor flexes, no compound will “fix” the root cause | Usually fails if movement continues |
From my experience planning installs (not as a substitute for manufacturer requirements), the biggest “miss” is trying to level over a substrate that’s still moving. If plywood/OSB has squeaks or bounce, secure or repair the subfloor first. If you skip that and pour a compound, you may still end up with telegraphed texture or seam gapping because the substrate isn’t truly stable.
Next, follow product guidance on thickness, primer requirements, and recoat/overlayment windows. For entryways, recheck flatness right after curing—don’t assume the pour “must be flat” because it flowed.
Substrate + Leveling Approach Fit for Entryway Laminate Prep
| # | Subfloor condition | Most common leveling choice | Why it fits | Entryway suitability |
|---|---|---|---|---|
| 1 | Concrete slab, near-flat with a few shallow lows | Patch/skim compound | Localized feathering keeps overall build manageable | ★★★★★ |
| 2 | Concrete slab with multiple lows across entry path | Self-leveling underlayment | Creates a broad plane across seam-critical areas | ★★★★☆ |
| 3 | Plywood/OSB subfloor with minor height variation, stable panels | Patch + sanding/feather (if allowed) | Maintains a stable substrate under click joints | ★★★★☆ |
| 4 | Plywood/OSB with local fastener pops, stable framing | Spot patch + re-screwing/repair first | Fixing the point of failure prevents future movement | ★★★★☆ |
| 5 | Subfloor movement/bounce (squeaks, deflection), any material | Structural correction first (then leveling) | Compound can’t stop flexing panels | ★★☆☆☆ |
| 6 | Concrete with elevated moisture risk (untested/unknown) | Test first; use compatible moisture mitigation if required | Moisture can destroy results even if flat | ★☆☆☆☆ |
| 7 | Transition strip zone near a threshold (needs tight height control) | Controlled patching/feathering + recheck | Keeps door/threshold spacing and click-lock support | ★★★★☆ |
Prep the entryway area and apply leveling correctly
You’ll only “lock in” flatness if prep, primer (when required), and curing are handled exactly as the leveling product specifies. In an entryway, where floors see constant traffic and door movement, small shortcuts show up quickly.
Skipping the correct primer step is a known failure mode for many self-leveling underlayments because it affects bond and surface absorption (manufacturer technical data sheets).
Cured product flatness must be rechecked with a long straightedge in the exact installation path before laminate goes down (flatness verification best practices and ASTM flatness evaluation methods).
Expansion gap guidance for floating laminate systems is part of installation instructions and must be preserved even when you level the subfloor (your laminate manufacturer’s installation manual).
Before mixing anything, remove debris and obstacles and plan transitions. If you know where the threshold or transition strip lands, keep the expansion gap around the perimeter intact. Levelling compound should not eliminate the system’s ability to float.
Clean thoroughly. Concrete dust and curing residue reduce adhesion; plywood/OSB dust and contaminants do the same. Vacuum well and follow the leveling product’s surface prep requirements (some require mechanical scarification; others demand specific cleaning agents).
Prime when required. If you’re using a self-leveler and the technical data sheet says “prime,” treat it as mandatory. Also follow primer recoat timing. Too early or too late can cause bond issues that are hard to see until later.
After the compound cures (use the exact cure window on the label), recheck flatness in the entryway travel lane. Measure again with the straightedge where the first laminate rows will be—and specifically where seams will fall. If the cured surface doesn’t meet the laminate’s flatness limit, you must correct it now; installing underlayment over a failed flatness plan doesn’t restore the needed tolerance.
What can go wrong when leveling laminate for an entryway
The most expensive entryway failures come from problems that leveling can’t solve—especially moisture, movement, and out-of-spec flatness. If you see bounce, seam gaps, or threshold interference later, the root cause usually started during leveling decisions.
Even when a floor looks flat by eye, laminate click joints typically require a specific flatness tolerance; exceeding it can lead to seam stress and gapping (your laminate manufacturer’s installation instructions).
Moisture-related failures can occur even with “level” substrates, which is why concrete moisture testing methods like ASTM F2170 focus on %RH (ASTM F2170).
Over-thick or underfilled leveling work can crack or debond because many products have min/max application thickness rules (self-leveler/patch technical data sheets).
Over- or under-filling is common. If you fill deeper lows too aggressively, you may exceed thickness limits, creating shrinkage cracking or weak bonds. If you underfill, the substrate still rocks in the seam area—exactly where entryway traffic causes the most repeated stress.
Ignoring moisture is another high-impact mistake. On concrete, you may need a compatible moisture mitigation strategy before installing laminate, even if the surface seems dry. On plywood/OSB, you may need to fix water intrusion or replace damaged subfloor rather than covering it.
Treating bumps as “good enough” is also a trap. Laminate click systems generally depend on being installed on a substrate that meets the manufacturer’s flatness requirement. In an entryway, the first rows experience door traffic and heavier impact loads; seam gapping and “click creep” show up sooner there.
Finally, leveling over loose or flexing subfloor will not fix the root problem. If the subfloor flexes, the compound can be perfectly flat initially and still become “out of flat” once the structure moves. Secure squeaks, confirm fastener spacing, and address movement before you patch or pour.
Pros/cons summary for common failure points
– Overbuilding leveling
– ✅ Improves low spots quickly
– ❌ Raises risk of cracking/debonding if beyond product thickness rules
– Underbuilding leveling
– ✅ Saves material
– ❌ Leaves rocking that telegraphs through laminate seams
– Skipping moisture checks
– ✅ Faster timeline
– ❌ Increases risk of failure even with correct flatness
– Leveling over flex
– ✅ “Feels” like progress
– ❌ Doesn’t stop movement, so seam/threshold issues return
Verdict: level it yourself only if you can follow the specs
Level your entryway laminate yourself if the subfloor is intact, moisture is acceptable, the flatness error is within what your chosen patch/self-leveler can correct, and you can follow primer, mixing, and cure times precisely. If you can’t meet those conditions, professional help is often cheaper than replacing an entire install.
DIY leveling is usually appropriate when the substrate is stable, moisture is verified, and you can follow primer/mixing/cure instructions from the leveling product’s technical data sheet (manufacturer documentation).
If the subfloor flexes or has structural defects, leveling compound won’t correct movement, so you should fix the substrate first per flooring installation guidance (your laminate manufacturer’s instructions).
Moisture test methods such as ASTM F2170 measure in-situ concrete RH (%RH), helping installers decide whether the substrate can support flooring systems (ASTM F2170).
The downside of DIY is time: you may need multiple cure cycles and rechecks, especially if lows are spread across the entryway or if priming/recoat windows constrain your schedule. Another downside is uncertainty—if your measurements don’t match your laminate’s flatness limit, you can’t rely on “it looks flat.”
Who should skip DIY and involve a pro:
– The concrete moisture test indicates elevated moisture, or you see active dampness.
– The subfloor moves, squeaks, or shows structural deterioration.
– Your flatness issues are large enough that you’d likely exceed leveling product thickness limits.
– You’re unsure which leveling system is compatible with your substrate and laminate manufacturer requirements.
Quick scan checklist (save this)
| Step | What to check | Quick notes |
|---|---|---|
| Flatness | Long straightedge results in entryway | Match *your laminate* max variation spec |
| Moisture | No dampness + acceptable moisture reading | Use appropriate test method/spec |
| Substrate | No loose or flexing areas | Fix movement before leveling |
| Product choice | Patch vs self-leveler matches low area size | Stay within thickness limits |
| Prep | Clean + primer when required | Follow label/recoat rules |
| After cure | Recheck flatness again | Don’t install laminate on guesswork |
FAQ
Do I have to level the whole floor or just the entryway area?
Start with the entryway zone—where the boards and transitions will be installed. Still, if the problem continues beyond that area, leveling only a strip can leave nearby seams under stress. Follow your laminate manufacturer’s instructions.
Can I level laminate over existing flooring (like tile or vinyl)?
Usually no without the manufacturer explicitly allowing it. For laminate, you typically need a suitable, stable, properly prepped substrate (often flat concrete or plywood/OSB), not an uncertain surface.
What’s the safest way to handle small low spots?
Use a compatible patch/skim compound for small dips, then sand/feather per the product directions and confirm flatness with a straightedge.
How thick can self-leveler be?
Thickness depends entirely on the specific self-leveler product. Check the manufacturer’s datasheet/label for min/max thickness and layering rules—don’t assume.
Sources
– ASTM F710 (Standard Practice for Preparing Concrete Floors to Receive Resilient Flooring / preparation principles relevant to concrete surface prep)
– ASTM F2170 (Standard Test Method for Determining Relative Humidity in Concrete)
– ASTM C627 (Standard Test Method for Evaluating Chemical Resistance of Mortars/Grouts—useful background for compatibility when selecting products; specifics should come from the leveling manufacturer)
– ASTM F1869 (Standard Test Method for Measuring Moisture Vapor Emission Rate of Concrete Subfloor Using Anhydrous Calcium Chloride)
– ASTM E1155 (Standard Practice for Determining FF Floor Flatness and FL Floor Levelness Numbers)
– Your laminate flooring manufacturer’s installation instructions (flatness/variation limits, underlayment requirements, expansion gap guidance, and approved leveling materials)
– Self-leveler/patch product technical data sheet (primer requirements, mixing ratios, thickness limits, cure times)
Leveling an entryway laminate floor is a specification-driven process: measure flatness, verify moisture, choose the right method for the scale of the lows, and recheck after cure before underlayment and the first rows. If you follow those steps, you’ll prevent the early symptoms—bounce, seam gaps, and threshold issues—that make entryways feel “wrong” long before the rest of the floor reveals a problem.
Frequently Asked Questions
What’s the best way to check if my entryway subfloor is level before installing laminate floors?
Start by cleaning the entryway subfloor and removing any debris, nails, or old adhesive residue. Use a 6–10 ft level and a straightedge to measure the floor for high spots and low spots, and mark them with painter’s tape. Also check for moisture issues with a moisture meter or by following your laminate manufacturer’s testing requirements, since unevenness can worsen after installation.
How do I level a laminate floor before installing an entryway without damaging the subfloor?
Identify whether the problem is minor high spots or broader low areas, because the fix differs. For small ridges or high spots, carefully sand them down (or use a floor grinder if needed), then vacuum thoroughly. For low areas, use an appropriate self-leveling underlayment or patch/skim compound designed for laminate flooring, applying in layers as directed and allowing full cure time before laying planks.
Why does leveling matter specifically in an entryway when installing laminate flooring?
Entryways experience heavy foot traffic, door transitions, and frequent moisture exposure from shoes and weather, so any unevenness becomes more noticeable and can cause creaking or gapping. Laminate requires a flat, stable surface to lock properly; if the subfloor dips or rises, joints may separate and the click-lock system can fail prematurely. Leveling also helps ensure smooth transitions at thresholds and reduces trip hazards.
Which leveling method is best for small dips versus larger uneven areas in a hallway entryway?
For small dips or shallow irregularities, a floor patch, feather-finish compound, or skim coat is often the fastest and most cost-effective approach. For larger uneven areas or widespread low spots, a self-leveling underlayment provides a more uniform surface, especially when measured with a straightedge. Always use products approved for floating laminate installation, and confirm the thickness and flatness limits recommended by your laminate manufacturer.
What flatness tolerance should I aim for when leveling the floor before laying laminate in my entryway?
Most laminate manufacturers require a very flat subfloor—commonly around 3/16 in over 10 ft (or 1/8 in over 6 ft), but the exact number varies by brand. Measure flatness with a long level or straightedge and recheck after patching or self-leveling before installing underlayment and planks. Following the manufacturer’s tolerance helps prevent gapped seams, squeaks, and premature wear in the entryway.
📅 Last Updated: October 21, 2026 | Topic: How to level a laminate floors before installing entryway? | Content verified for accuracy and freshness.
References
- Laminate flooring
- Floor
- Underlayment
- Self-leveling concrete
- https://en.wikipedia.org/wiki/Floor_flatness
- F710 Standard Practice for Preparing Concrete Floors to Receive Resilient Flooring
- F2170 Standard Test Method for Determining Relative Humidity in Concrete Floor Slabs Using in sit…
- https://scholar.google.com/scholar?q=laminate+flooring+subfloor+leveling Google Scholar
- https://scholar.google.com/scholar?q=self-leveling+underlayment+installation+flatness Google Scholar
- https://scholar.google.com/scholar?q=laminate+floor+installation+subfloor+preparation+uneven+floor Google Scholar