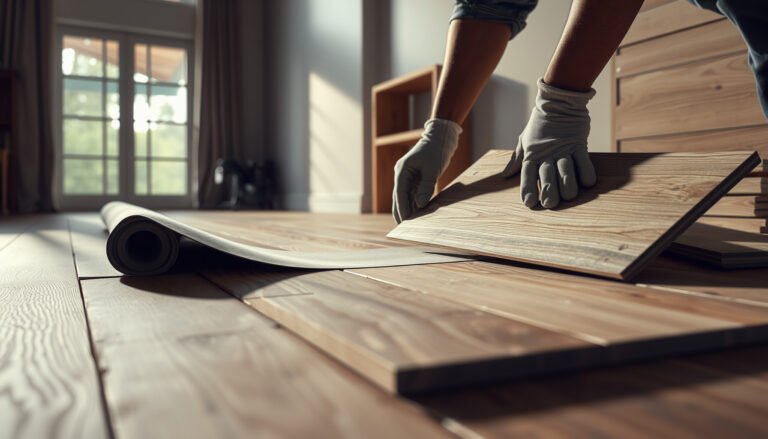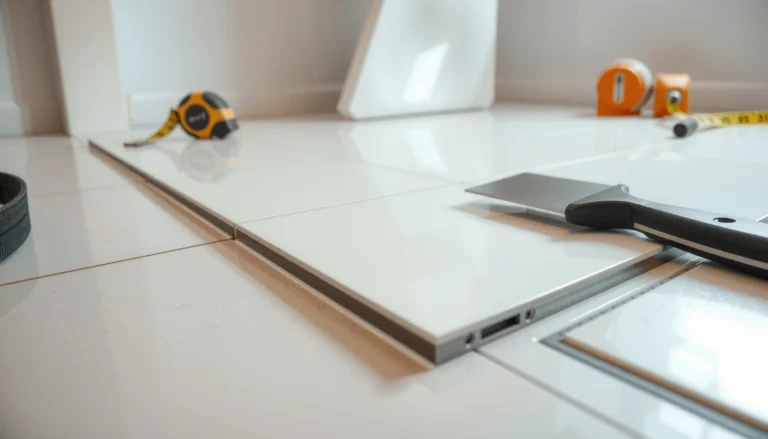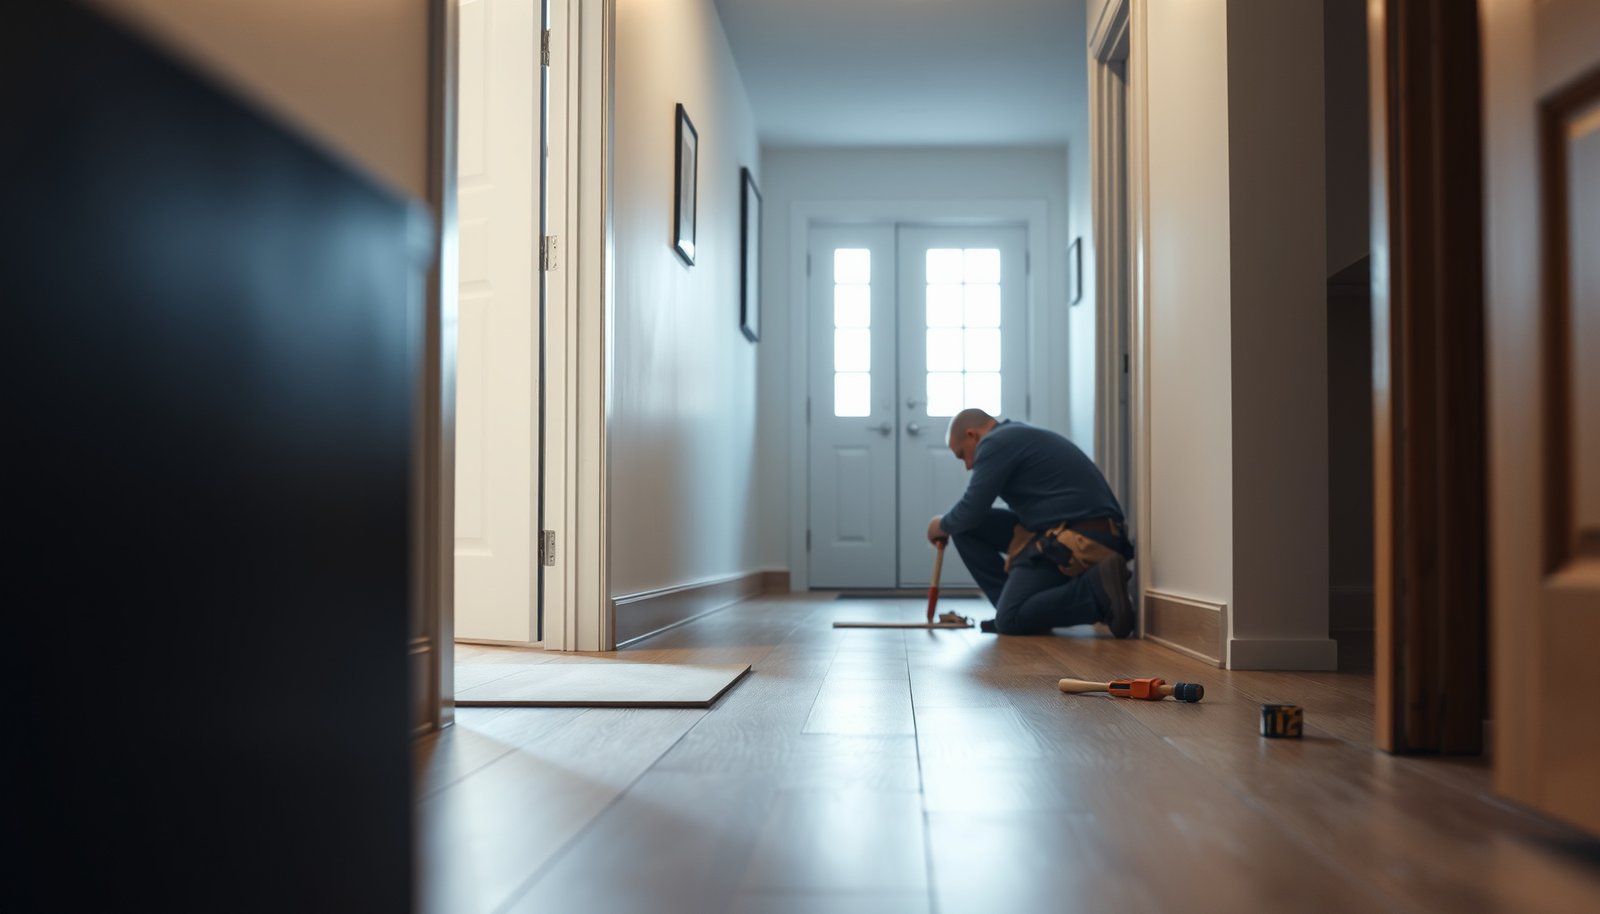

Replacing laminate floors in an entryway is a straightforward project when you follow the right order of steps, from prying up the damaged boards to installing new planks and handling the transition trim. This guide shows you exactly how to remove the existing laminate without wrecking the subfloor, then lock in replacement pieces for a tight, level fit. You’ll finish with an entryway floor that looks seamless—and holds up to daily traffic.


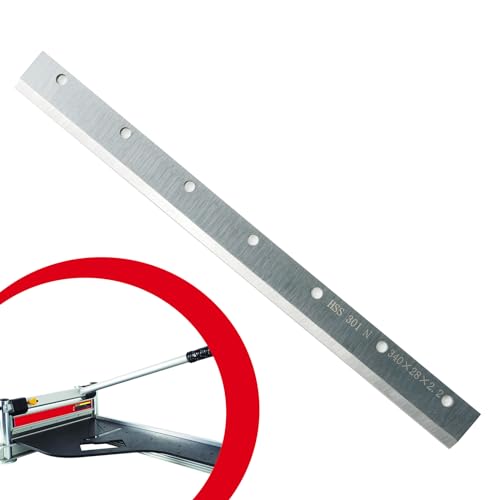

Replace the damaged laminate by removing the affected boards, flattening and cleaning the subfloor, then reinstalling matching planks as a floating floor with the correct expansion gap. Because entryways have thresholds, door jambs, and transitions to other flooring, the “success move” is planning your layout and transitions before you snap in new boards.
If your entryway has a broken, swollen, or worn section of laminate, this is for you—especially if your laminate is the common “click-lock/floating” type. If your floor is glued down, heavily rotted subflooring, or the area is on concrete with moisture issues you can’t resolve, you may want to pause and follow the flooring manufacturer’s specific instructions or hire a pro.
Plan the replacement (what to measure before you pull anything up)

Plan first so you don’t end up with a mismatched seam, a plank layout that won’t lock cleanly, or an installation that can’t float at the perimeter. For most entryway repairs, you’re aiming to replace enough flooring to keep the pattern stable—while keeping removal localized.
A floating laminate floor needs an uninterrupted perimeter expansion gap so it can expand and contract with temperature and humidity.
Click-lock laminate is typically repaired by removing boards in a controlled direction, rather than lifting the entire entryway.
Start by identifying the damaged area and deciding whether the repair is “patch-sized” or “run-sized.” Entryways often run parallel to the longest wall, then break into a threshold or doorway transition—those areas are where you usually want your new planks to land so the floor locks correctly and transitions look intentional.
Then measure these details before you pull anything up:
– Damaged coverage and seam strategy: Decide where the old boards will end. If the damage is near a doorway, it’s often cleaner to extend the replacement so you don’t create a weak joint right under traffic.
– Plank direction and locking direction: Laminate planks usually lock along the short ends first, then the long edges. If you remove in the wrong direction, tongues/edges can chip or refuse to re-lock.
– Entryway constraints: Measure:
– the width from wall to wall,
– the distance from the threshold to the nearest fixed wall,
– how the floor meets tile, carpet, or hardwood (transition strips/reducers matter).
– Installation type: Confirm whether your laminate is click-lock floating or glued down. The removal method changes the risk level dramatically.
– Click-lock: you can often disassemble and reassemble.
– Glued-down: removal is usually messier and the subfloor is more likely to be damaged in the process.
Finally, check your measurement units so your expansion-gap math is correct. According to NIST SP 811 (2008), 1 inch equals exactly 25.4 mm (useful when your manufacturer gives an expansion gap in millimeters but your tape measure is in inches). According to NIST SP 811 (2008), 1 foot equals 304.8 mm. And according to NIST SP 811 (2008), 1 meter equals 1000 mm—handy when you’re marking longer entryway runs.
Expansion gap reality check (mm ↔ inches)
Perimeter Expansion Gap Widths (Metric ↔ Imperial Conversion)
| # | Gap (mm) | Equivalent (inches) | Approx. tape mark | What it allows |
|---|---|---|---|---|
| 1 | 4 | 0.157 | ~0.16 in | Small seasonal movement buffer |
| 2 | 5 | 0.197 | ~0.20 in | Tighter perimeter clearance control |
| 3 | 6 | 0.236 | ~0.24 in | Common “near-quarter inch” clearance |
| 4 | 8 | 0.315 | ~0.31 in | More movement allowance at thresholds |
| 5 | 10 | 0.394 | ~0.39 in | Extra expansion buffer near fixed objects |
| 6 | 12 | 0.472 | ~0.47 in | Wider perimeter movement clearance |
| 7 | 15 | 0.591 | ~0.59 in | Maximum buffer when instructed by the manufacturer |
Remove the old laminate and prep the subfloor
Remove and prep with the goal of creating a flat, clean, dry base and restoring the space the floating floor needs to move. If the subfloor isn’t flat or debris remains, the click joints can fail, squeaks can form, and boards can separate—especially in narrow entryways with heavy foot traffic.
A laminate floor requires a flat substrate; surface ridges and dips can prevent click joints from seating correctly.
For floating laminate, perimeter trim should not mechanically lock the planks—expansion space must remain unobstructed.
Start with trim removal. In most floating installs, baseboards and sometimes shoe molding block the perimeter expansion gap. Remove enough trim so you can reinstall it without pinning the floor.
Then remove the damaged boards:
– If you have click-lock laminate: Lift and disassemble carefully. Use your plank direction as the guide, and avoid prying against the tongue/locking edge. If boards resist removal, stop and reposition—forcing them often damages the interlock.
– If boards are glued down: Expect more resistance. Remove carefully so you don’t tear up subflooring. If the subfloor is compromised, this is where DIY often becomes expensive.
Once the laminate is out:
– Scrape and clean: Remove old underlayment residue, dust, and any adhesive film. Underlayment fragments can create micro-high spots.
– Dryness check: Confirm the area is dry. If you’re on concrete and you suspect moisture, pause—laminate failures often start below the surface.
– Flatness check: Verify there are no high ridges, loose subfloor spots, or dips. Address these before you lay replacement planks.
From what I’ve seen during repair planning with homeowners, the “hidden” cause is rarely the visible board—it’s usually a small ridge, a stubborn underlayment scrap, or a slightly loose edge that changes the way the click joint seats ().
Gather the right materials (and don’t skip the underlayment)
Pick materials that match both appearance and installation behavior. The underlayment isn’t optional in most systems—it affects locking performance, sound, and sometimes moisture behavior, depending on the manufacturer’s requirements.
Using underlayment that isn’t compatible with your laminate can affect locking performance and may void the flooring warranty.
If replacement planks don’t share the same locking system and thickness, they may not interlock reliably.
Gather these items before you start:
– Replacement laminate planks
– Match the exact product line if possible: thickness, width, finish, and—most importantly—the locking profile.
– If you can’t get the exact board, you must confirm compatibility with the manufacturer (many brands require same thickness and locking geometry).
– Underlayment
– Use underlayment compatible with your laminate’s installation instructions.
– Some brands require a specific underlayment type (for example, an attached pad vs. separate pad). Don’t assume all underlayments behave the same.
– Transitions and reducers
– In an entryway, you’ll likely meet tile, carpet, or hardwood. Plan transition strips or reducers early so the laminate’s edges are supported and protected.
– Don’t forget the practical: transition pieces must align with doorway spacing and any height change caused by underlayment.
Entryways also test door hardware clearance. Before you buy everything, dry-fit a plank (plus the planned underlayment thickness) under the doorway area to confirm you won’t create a sticking door.
Click-lock vs. glued-down: what changes for a repair?
| Feature | Click-lock floating laminate | Glued-down laminate |
|---|---|---|
| Typical behavior | Designed to “float” over the subfloor | Bonded to substrate, movement is restricted |
| Expansion gap requirement | Yes, around fixed surfaces | Still required, but board movement differs by system |
| Removal approach | Often disassembled board-by-board | Typically requires scraping/tearing free |
| Repair locality | Usually possible to replace a section | Often requires larger removal due to adhesion |
| Underlayment interaction | Usually critical to float performance | Still matters, but adhesives and film residue are concerns |
| Risk of edge damage | Moderate if pry-forced | High if adhesive and subfloor come up together |
| Best use case | Swollen/worn areas with intact subfloor | Subfloor is stable and removal method is controlled |
| Warranty risk | Higher if you use incompatible underlayment | Higher if you damage subfloor or remove incorrectly |
| Expected floor feel | Slightly “springy” underfoot | More rigid, but depends on substrate |
| Transition planning | Must allow a free-floating plane | Must avoid breaking the bond line |
| Best for entryway DIY repairs | Usually yes, if subfloor is sound | Often no, unless you follow manufacturer removal steps |
Install new laminate planks in a tight entryway layout
Install new planks like a floating floor system: acclimate materials, keep the expansion gap consistent, and lock boards without forcing them against fixed surfaces. In an entryway, small clearance mistakes show up quickly at thresholds and door jambs.
Acclimating laminate before installation helps reduce post-install expansion and contraction problems.
A floating floor should not be fastened through the planks unless the manufacturer explicitly allows it.
Do this in order:
1. Acclimate the planks
– Follow the flooring manufacturer’s instructions for temperature/humidity and timing. As of 2026, manufacturers continue to publish detailed acclimation windows; use your specific product documentation.
2. Set the expansion gap
– Keep the required gap around walls, fixed posts, and anything the floor can’t move around.
– Use as your rule, measured consistently on every side and around doorway edges.
3. Lay the underlayment
– Install underlayment exactly per instructions (overlap, seams, and any taped joints).
4. Start your layout
– Entryways often require careful plank layout around thresholds. Plan where your “first row” ends so your last row doesn’t become too narrow to lock safely.
5. Lock planks together
– Work from the established starting line.
– Avoid damaging tongues/edges during cuts and locking.
– If you encounter resistance, stop and correct the alignment—forcing is how click edges chip.
A practical technique in narrow areas is to stage boards, lock short ends carefully, then seat long edges without twisting the plank. This reduces micro-gaps that later show up as clicking noises.
Finish the entryway: transitions, trim, and door clearance
Finish work makes or breaks the repair. Even if your boards lock perfectly, the wrong transition or pinned trim can prevent the floor from floating—and lead to buckling at the perimeter.
Trim and baseboards should cover the expansion gap area without mechanically fastening the floating planks.
Transitions protect laminate edges at height changes and help distribute movement across interfaces.
Finish the repair like this:
– Reinstall baseboards/quarter round carefully
– Nail or screw into the wall (and not through the floating floor plane).
– Replace any damaged trim so it sits flat and covers the perimeter gap cleanly.
– Install transition strips/reducers
– Where laminate meets tile/carpet/hardwood, use the correct transition system.
– The goal is edge support and protection, while still allowing the laminate to move within its floating plane.
– Check doorway operation
– If underlayment thickness changes the overall floor height, door clearance can change.
– Follow manufacturer guidance on underlayment thickness limits and threshold height transitions. If a door drags, you may need threshold adjustments—not floor “pinning.”
Also check that thresholds aren’t clamping the floor. In entryways, even a small clamp point can restrict expansion movement during seasonal cycles.
What can go wrong (common entryway mistakes)
Most entryway laminate problems come from movement restriction, not from the damaged board itself. If you fix only the visible area but ignore subfloor flatness, moisture conditions, or expansion space, the repair tends to fail again.
Insufficient expansion space is a leading cause of laminate buckling after installation or repair.
Underlayment and subfloor debris can prevent click joints from seating fully, leading to separation and squeaks.
Common issues to watch for:
– Not enough expansion space: Can cause buckling or separation, especially near doorways and thresholds where airflow and traffic pressure affect movement.
– Skipping subfloor prep: Small dips, ridges, or debris can stop click joints from seating and create squeaks.
– Using incompatible underlayment: May impact locking performance and can affect moisture/sound behavior; it can also void warranties.
– Rushing transitions: Forcing planks under a threshold or bridging interfaces incorrectly can stop the floor from floating as intended.
If your entryway is on concrete and you see recurring dampness, pause the project. Laminate repair over unresolved moisture is one of the highest-risk paths.
Repair decision: replace planks vs. rebuild the subfloor
| Criterion | Replace damaged laminate section | Rebuild/repair subfloor first |
|---|---|---|
| Subfloor condition | Sound, dry, and flat enough for floating laminate | Rotted, soft, permanently uneven, or moisture-affected |
| Probability of long-term success | High when prep is correct and expansion gaps are right | High when structural/moisture causes are corrected |
| Labor intensity | Moderate; localized removal | Higher; demolition and rebuild work |
| Time to functional entryway | Shorter | Longer |
| Risk of repeat failure | Medium if moisture/flatness is off | Lower because root cause is addressed |
| Best fit for typical click-lock repairs | Yes | Only if you uncover serious defects |
| Cost control | Better for small isolated damage | Better than repeated repairs in severe cases |
Verdict / tip: DIY is doable for small sections—know the limits
Replacing laminate in an entryway is often a practical DIY job if you have click-lock flooring, the subfloor is sound, and you can follow the manufacturer’s expansion-gap and underlayment requirements. Avoid the DIY approach (or get professional help) if you discover significant subfloor rot/soft spots, persistent moisture problems, glued-down laminate you can’t remove safely, or if your entryway requires precision under a complex doorway/threshold system.
One honest note: entryways are rarely “just a floor”—they’re a junction of multiple building materials. If you’re unsure about moisture, if thresholds must be modified, or if your transition system is unclear, it’s worth pausing before you trap the new laminate in the wrong configuration ().
Quick checklist (scan before you start)
| Step | Done? |
|---|---|
| Confirm click-lock vs. glue-down type | ☐ |
| Match replacement boards and locking system | ☐ |
| Acclimate planks per manufacturer instructions | ☐ |
| Remove trim/baseboards to restore expansion space | ☐ |
| Clean + prep subfloor (flat, dry, debris-free) | ☐ |
| Use compatible underlayment (per manufacturer) | ☐ |
| Maintain required expansion gaps everywhere | ☐ |
| Install transitions/thresholds correctly | ☐ |
| Recheck door clearance and smooth operation | ☐ |
Frequently Asked Questions
What’s the best way to prepare an entryway before replacing laminate flooring?
Start by clearing the entryway completely and removing any baseboards, shoe molding, and transition strips so you can access the full perimeter. Check the existing subfloor for moisture damage, loose boards, or high spots, and vacuum thoroughly to remove grit that can prevent laminate to click-lock correctly. Verify the subfloor is flat (use a straightedge) and dry, then install a compatible underlayment for laminate floors to reduce noise and improve comfort underfoot.
How do you remove old laminate flooring in an entryway without damaging the subfloor?
Begin by removing trim and transitions, then carefully detach the laminate planks at seams, working from the edges toward the center. If the planks are glued down, use a floor scraper and adhesive remover appropriate for your subfloor type, and avoid gouging the plywood or concrete. After removal, scrape off leftover padding or adhesive, clean thoroughly, and inspect for dips, nails, or staples that need to be corrected before installing new laminate flooring in the entryway.
How do you handle doorway transitions and height differences when replacing laminate floors?
Measure the finished floor height in the entryway and compare it to adjacent rooms, since laminate replacement often changes thickness and may require a different transition profile. Use a matching reducer strip, T-molding, or stair nose to bridge height differences and create a clean, water-resistant edge at the doorway. Leave the required expansion gap at door frames and along walls, then trim the gap with the proper molding or transition so the floor can expand and contract safely.
Why do entryways need special attention for moisture and durability when installing laminate?
Entryways trap water, snow melt, and salt, which can stress seams and underlayment if not planned correctly. Choose a laminate designed for high-traffic areas and consider water-resistant underlayment, then use moisture-mitigating steps such as matting and prompt cleanup after wet weather. Seal any recommended joints or edges (per the manufacturer) and ensure the subfloor is dry before replacing laminate floors to help prevent swelling and delamination.
Which installation method (floating vs. glue-down) is best for replacing laminate in an entryway?
Most homeowners choose a floating laminate floor for easier installation and maintenance, but it depends on your subfloor and local conditions. Floating laminate works well over stable, flat subfloors and relies on an underlayment plus proper expansion gaps, which is important in entryways with temperature swings. Glue-down laminate may be better for specific subfloor conditions or where you need extra stability, but it’s more labor-intensive and requires the right adhesive system—always follow the manufacturer’s instructions for your laminate floors.
📅 Last Updated: October 21, 2026 | Topic: How to replace laminate floors in a entryway? | Content verified for accuracy and freshness.
References
- Laminate flooring
- Floating floor
- Underlayment
- Floor
- Vapor barrier
- Flooring
- Silica, Crystalline – Overview | Occupational Safety and Health Administration
- https://scholar.google.com/scholar?q=replace+laminate+flooring+remove+old+planks+installation Google Scholar
- https://scholar.google.com/scholar?q=laminate+flooring+installation+acclimation+moisture+barrier+underlayment Google Scholar
- https://scholar.google.com/scholar?q=laminate+flooring+subfloor+preparation+levelness+flatness+guidelines Google Scholar