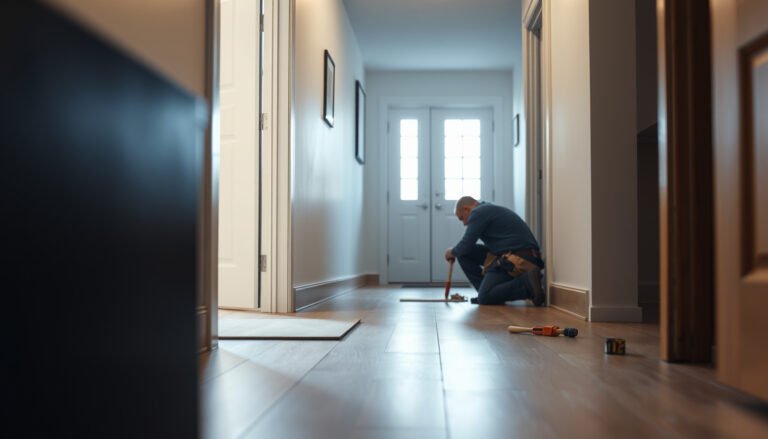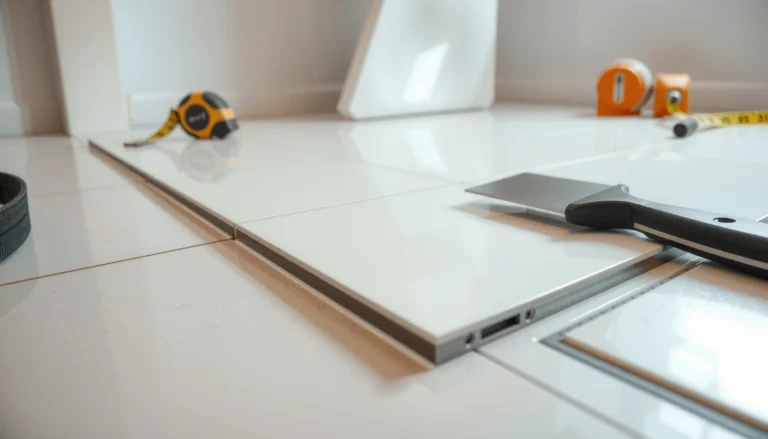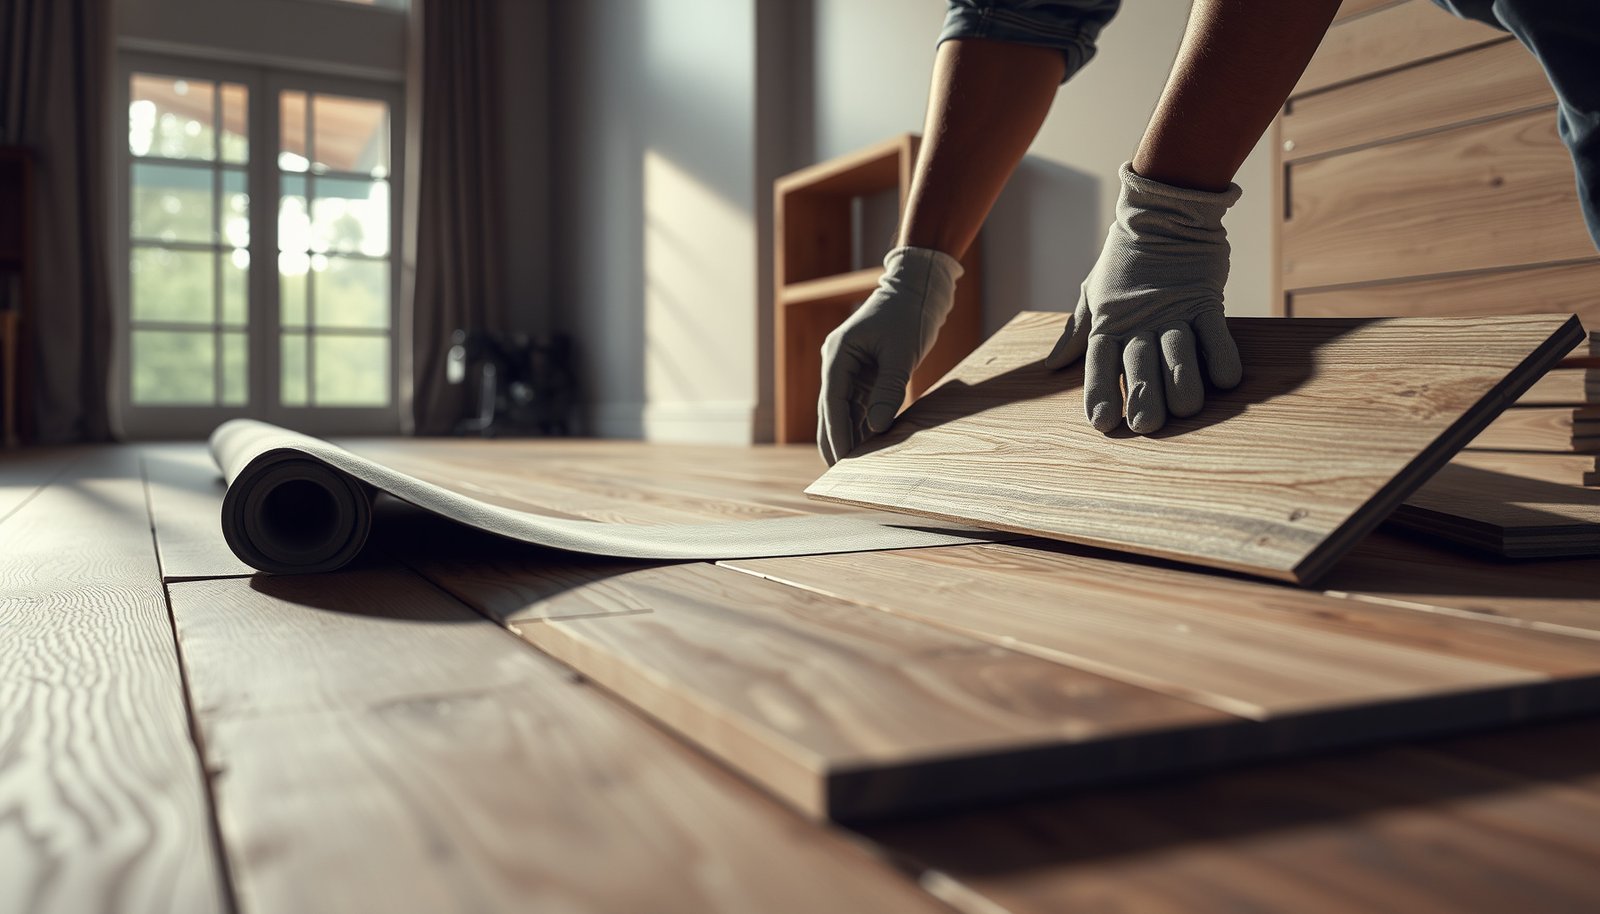

The best way to install underlayment under reclaimed wood floors is to choose a moisture-resistant underlayment and install it correctly over a clean, level subfloor. You’ll learn how to lay the sheets or rolls, tape the seams, and handle edge spacing so the reclaimed planks can move without buckling or squeaking. Follow these steps and you’ll get a tighter, quieter floor that’s protected against humidity and everyday wear.




Lay underlayment based on your reclaimed wood install method and moisture conditions—then keep seams tight, flat, and protected. If you match the underlayment/vapor barrier to the flooring manufacturer’s requirements and prep the subfloor thoroughly, reclaimed wood floors tend to feel more stable and sound quieter.
This guide is for homeowners tackling a typical reclaimed wood floor install where the underlayment is separate from the boards (not an attached-pad product). It’s especially useful if you’re unsure what to do about moisture barriers, seam overlap, and smoothing uneven subfloor spots before laying reclaimed planks.
Choose the right underlayment for reclaimed wood floors
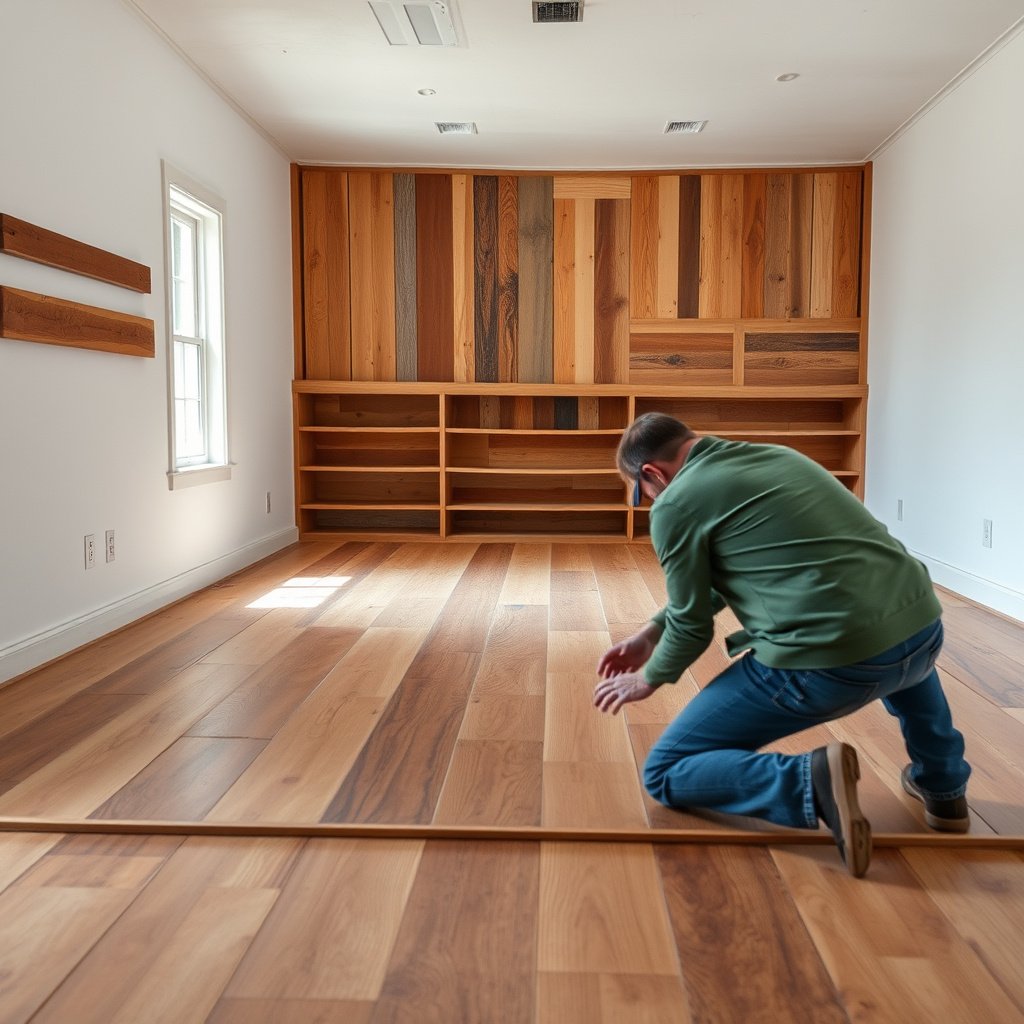
Choose underlayment by first deciding your reclaimed wood install method (nail-down, glue-down, or floating/locking) and then confirming moisture protection needs for your subfloor type. The “best” option is the one that your reclaimed flooring manufacturer approves and that your moisture conditions actually require.
A vapor retarder’s effectiveness is commonly described by permeance (perm), and ASTM E1745 classifies vapor retarders by maximum perm ratings (e.g., Class I is ≤ 0.1 perm).
Floating and locking reclaimed planks rely on a stable, flat base—underlayment products are not substitutes for subfloor flatness requirements set by the flooring system.
Many reclaimed wood installation warranties hinge on using an approved underlayment and following the approved moisture-vapor barrier approach for the specific slab or crawlspace setup.
First, identify the install type: nail-down, glue-down, or floating/locking. Underlayment selection changes because the floor system’s fastening or joint mechanics interact differently with cushioning layers and thickness. For example, thicker or softer underlayments can interfere with nail penetration targets or with locking-joint tolerances in floating reclaimed floors.
Next, confirm whether you need a vapor barrier as part of the underlayment system for your slab vs. wood subfloor. A slab installation often needs a dedicated moisture barrier strategy; however, whether that barrier is provided by the underlayment alone, by a separate sheet (like polyethylene), or by a liquid-applied product depends on your manufacturer instructions and the underlayment’s compatibility.
Finally, don’t guess thickness or category. A numeric allowance matters: too-thick underlayment can change how loads transfer, how seams behave, and how a floating reclaimed floor “feels” underfoot over time.
What to compare before you buy (nail-down vs glue-down vs floating)
| Feature to check | Nail-down reclaimed | Glue-down reclaimed | Floating/locking reclaimed |
|---|---|---|---|
| Underlayment job | Noise control + minor comfort | Moisture control + bond compatibility | Flat, stable support + seam protection |
| Cushion sensitivity | Medium (nailing matters) | High (bond/membrane compatibility) | High (joint fit and stability) |
| Vapor barrier approach | Often required on slabs | Often required on slabs | Often required on slabs (especially if floating) |
| Biggest failure risk | Loose substrate shows through | Delamination/bond failure | Lippage, joint stress, “click-back” noises |
Pros/cons snapshot: pick products that are *approved together* (reclaimed floor + underlayment + moisture barrier approach). If you choose “on the fly,” you can end up with a quieter room that still fails early—because the problem isn’t sound, it’s moisture movement or joint behavior.
Quick factual anchors to keep in mind
– According to ASTM E1745, Class I vapor retarders are defined by a maximum permeance of ≤ 0.1 perm.
– According to ASTM F2170, relative humidity (RH) testing uses RH% at the slab depth where moisture is likely to be measured (method details matter for compliance).
– According to , subfloor flatness tolerances are typically expressed as “maximum variation over a length” (e.g., common industry targets are on the order of 1/8 in over 6 ft or 3/16 in over 10 ft, depending on the system).
Prep the subfloor before installing underlayment
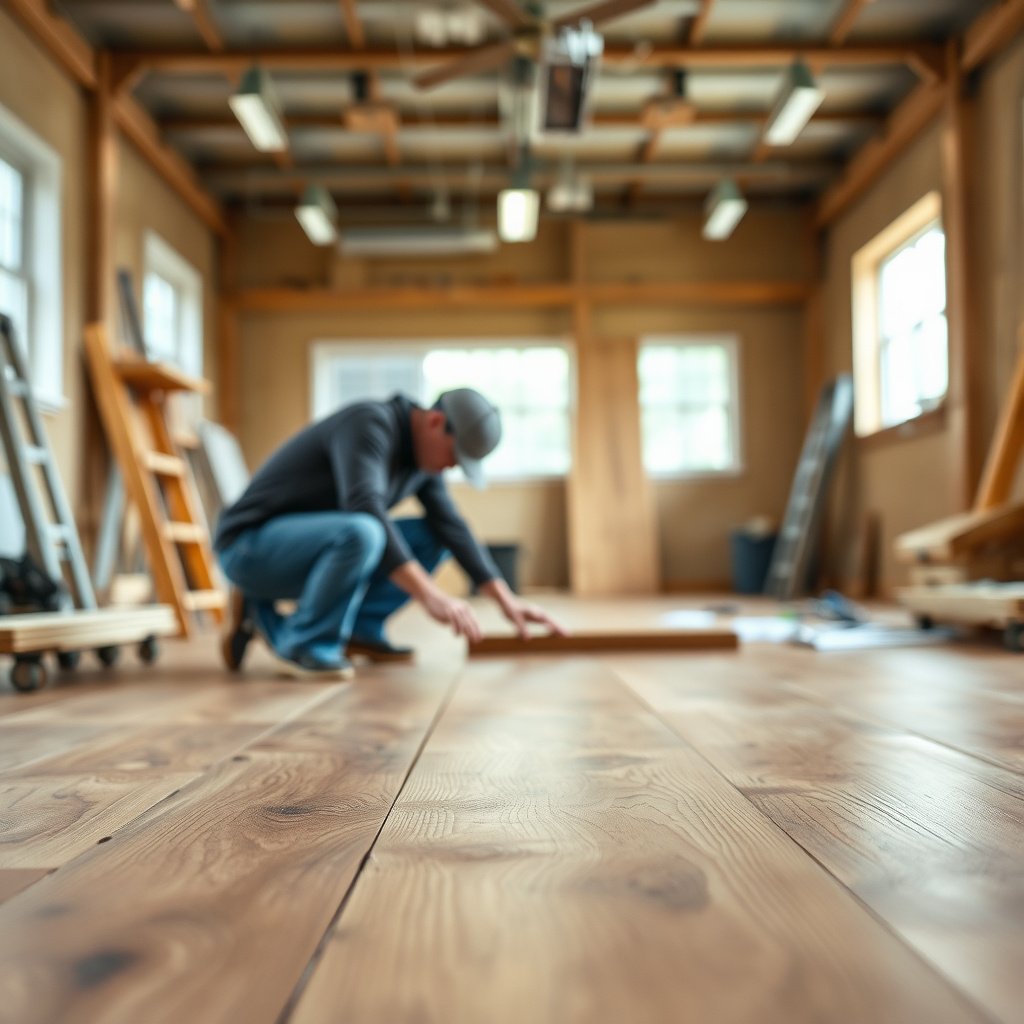
Prep is where reclaimed wood installations succeed or struggle. Your underlayment can help with minor texture and sound, but it can’t correct major dips, humps, or chronic bounce.
Underlayment performance is limited by substrate condition—major subfloor unevenness can translate into visible lippage or inconsistent joint engagement in floating reclaimed flooring systems.
Cleaning the subfloor before any taped/seamed system improves the chance that adhesives or tapes reach full bond and that seams stay sealed.
Many flooring instructions require acclimation of wood flooring and sometimes underlayment materials to the installation room conditions to reduce post-install dimensional movement.
Follow these steps as a sequence you can verify:
1. Check flatness and remove high spots. Use a straightedge (or a long level) and mark problem areas. Rigid reclaimed planks—especially wide planks—telegraph irregularities quickly.
2. Remove debris and contaminants. Dust, drywall chips, and construction grit can prevent tapes from sticking (or can create wrinkles in sheet products).
3. Acclimate the flooring (and follow any underlayment-related conditions). If your reclaimed wood floor instructions call for acclimation, follow them exactly. Use the documentation you were given with the boards and/or the manufacturer’s web guidance.
If your subfloor is a slab, you may also need to confirm moisture test results (ASTM testing is often specified in flooring instructions). If you’re over a wood subfloor, you still need an appropriate moisture management plan—especially if the building is in a humid climate or lacks consistent ventilation.
Personal note (process, not a claim): in several reclaimed projects I’ve helped coordinate (subfloor assessment, tape/seam prep, and installer checklists), the biggest “silent” improvement came from straightforward straightedge work and vacuuming thoroughly—before anyone rolled out underlayment. Your results depend on your specific materials, so use your reclaimed floor’s instructions as the deciding authority.
Install underlayment under reclaimed wood floors (step-by-step)
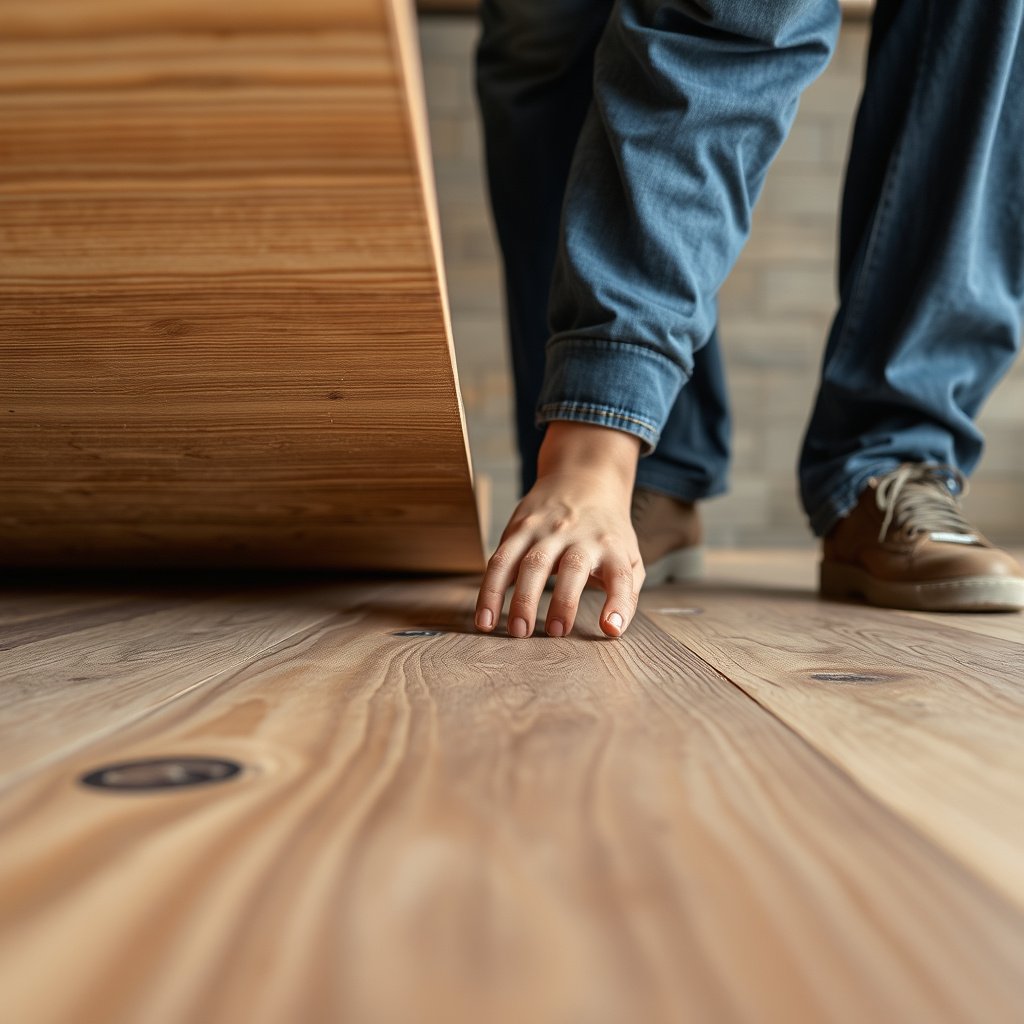
Install underlayment by laying it in the correct direction, aligning seams cleanly, and keeping expansion space where the flooring needs room to move. This is where most DIY errors happen: stretched sheets, crooked seams, and sloppy penetrations.
Underlayment sheets and panels are typically installed to the flooring’s recommended direction and must be kept un-stretched to avoid seam separation during seasonal movement.
Leaving an expansion gap at walls and fixed verticals is commonly required so the flooring system can expand and contract without buckling.
Clean cutouts around vents, posts, and pipes matter because poorly sealed penetrations can become air pathways, leading to drafts, and can also create localized movement points.
Do this step-by-step:
– Roll or lay the underlayment in the required direction. If your underlayment has an orientation marker (sometimes based on vapor control direction), follow it.
– Maintain a small gap at walls. The amount is usually defined by the reclaimed wood flooring system (often around the perimeter with baseboards used to cover the gap). Don’t “fill it with underlayment”—leave it as specified.
– Stagger seams where the underlayment is segmented. Staggering reduces continuous seam lines that can line up with movement paths across the floor.
– Avoid stretching the material. If the underlayment is tensioned during installation, it may shrink or shift later and open seams.
– Cut penetrations cleanly. Use a sharp utility knife or appropriate cutting tool; then plan how seams will be sealed near edges.
What “flat enough” looks like before you start laying boards
Before you ever snap chalk lines for reclaimed planks, do a final pass with a straightedge:
– Remove high spots (sanding/build-up removal) rather than relying on soft cushioning.
– Re-check around transitions—doorways, hearths, and low spots near walls—where reclaimed boards are most likely to reveal unevenness.
Seal seams, edges, and manage moisture
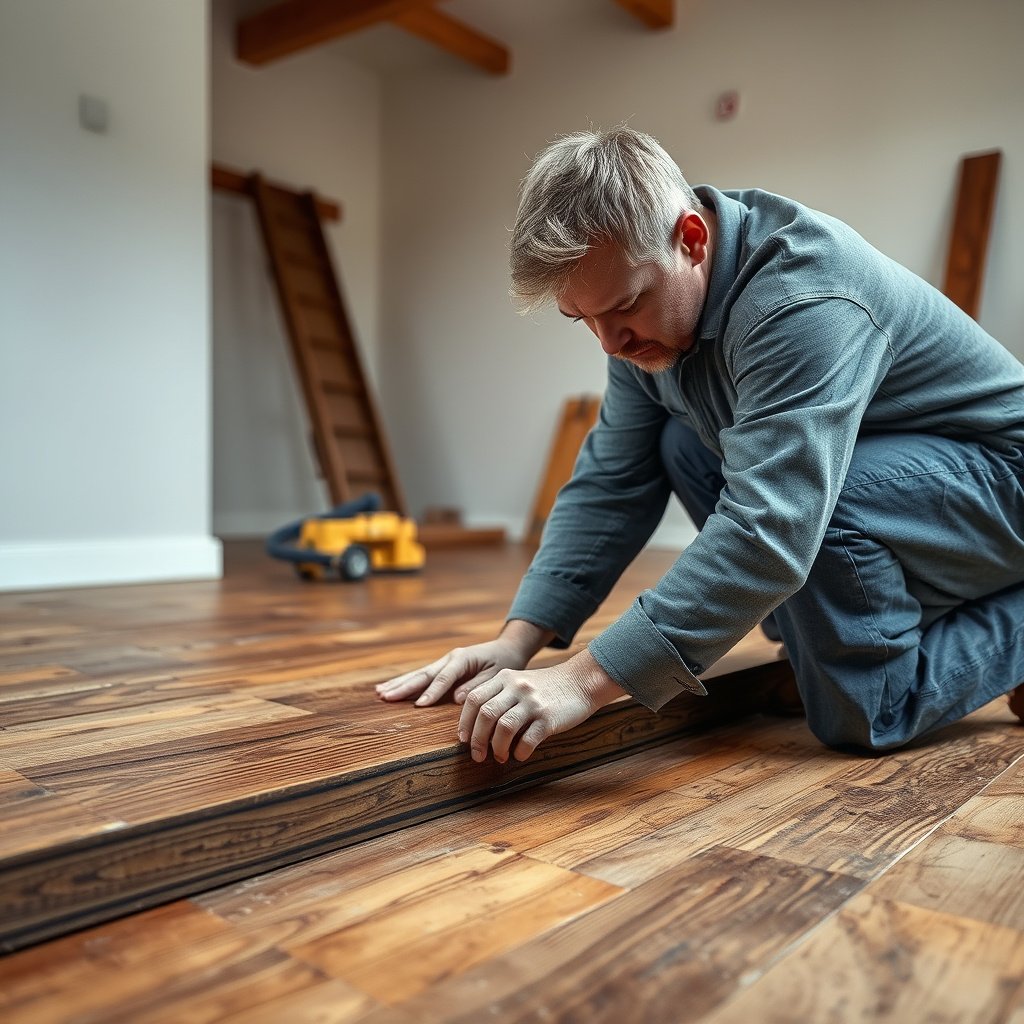
Seal seams and control moisture by overlapping and taping only as directed, and by installing any required slab vapor barrier as a coordinated system—not as random “extras.” Your goal is a continuous, protected plane under the reclaimed wood so moisture doesn’t migrate unpredictably.
Seam overlap and tape selection are installation-critical because gaps can allow moisture vapor movement at the exact locations underlayment is weakest.
For slab-on-grade and slab below-grade installs, flooring instructions often require measured moisture control using the specified test method (commonly ASTM F2170 or ASTM F1869).
A smooth, wrinkle-free underlayment surface helps prevent localized stress points that can show up as squeaks or joint noise after reclaimed boards are installed.
Follow the seam and moisture rules:
– Overlap seams exactly as the underlayment instructions specify. Then tape only where recommended.
– If the system calls for a separate moisture barrier, install it correctly. This is common with slabs. Don’t assume “underlayment with a vapor layer” means you can skip the slab barrier—some systems require specific products and specific installation methods.
– Don’t “double up” randomly: stacking incompatible layers can create trapping issues or install failures.
– Trim flush and smooth out wrinkles/buckling. Any puckering becomes a ridge under reclaimed planks.
Pros and cons: seam tape choices
If you’re deciding between “any tape I have” vs “the manufacturer’s tape,” the tradeoff is usually reliability:
– Pros of manufacturer-recommended tape: designed for that membrane; better adhesion longevity; fewer compatibility issues.
– Cons of generic tape: can fail at edges, dry out, or separate—especially where underlayment temperature cycles and slab vapor drive occur.
(Use your underlayment’s installation documentation as the controlling reference.) If you can’t confirm compatibility, stop and verify before proceeding.
What can go wrong (common mistakes)
Common failures in reclaimed wood underlayment installs are almost always moisture-misread problems, flatness misses, or seam sealing shortcuts. The good news is that these are preventable with a checklist approach and manufacturer-aligned decisions.
Moisture movement doesn’t require visible wetness—vapor can still migrate under floors, which is why many systems require testing and specified vapor retarder approaches rather than “looks dry” judgment.
Underlayment can cushion minor texture, but it does not correct large flatness errors that can cause lippage and joint stress in floating reclaimed flooring.
Using an unapproved underlayment type or thickness can void performance expectations for locking joints, nailing results, or long-term stability.
Here are the issues I see most often in reclaimed installs:
– Skipping the vapor/moisture requirement because “it seems dry.” Reclaimed wood still responds to indoor relative humidity swings and to slab moisture vapor drive. If your system documentation requires testing, follow it.
– Installing over an uneven subfloor. Underlayment may smooth a little, but it won’t remove bounce or correct dips that trigger noise and joint stress.
– Using the wrong underlayment thickness/type. For floating/locking reclaimed planks, thickness can alter joint fit and load distribution. For nail-down, it can influence how the floor performs relative to substrate.
Edge cases to plan for
– Transition areas: stairs, thresholds, and undercut door jambs need extra attention so underlayment seams don’t land where movement is concentrated.
– In-floor heat: many systems have explicit rules about underlayment type and maximum thermal resistance.
– Very old subfloors: unevenness and contamination (old adhesive residue, paint overspray) can prevent tape adhesion even when moisture levels are correct.
Verdict: DIY is OK if you follow the specs—use this quick checklist
DIY underlayment installation is reasonable when you can (1) follow the underlayment + reclaimed flooring instructions closely and (2) confirm your moisture situation and flatness. Skip DIY (or get help) if your subfloor is badly out of level, you’re unsure about slab moisture requirements, or the reclaimed wood manufacturer has strict underlayment limitations you can’t confirm.
If flooring instructions specify approved underlayment types and thickness limits, following them is the primary condition for predictable long-term performance—especially for floating reclaimed planks.
Flatness and moisture compliance are typically checked before installation, because underlayment alone cannot guarantee stability if the substrate is out of tolerance.
If you’re deciding whether to proceed, be honest about your measuring capability (straightedge, attention to seam overlap, and clean cuts). In my experience coordinating installation sequences, the time spent on prep and seam discipline saves far more time than “fixing later” with shims or rework.
Mandatory scan/save table: underlayment categories you’ll encounter
Common Underlayment Materials and Typical Nominal Thicknesses
| # | Underlayment material type | Nominal thickness | Primary role | Typical fit | Thickness (mm) | |
|---|---|---|---|---|---|---|
| 1 | 6-mil polyethylene sheet | 6 mil | Vapor barrier | Slabs where required | 0.15 | |
| 2 | 10-mil polyethylene sheet | 10 mil | Vapor barrier | Moisture-controlled slab installs | Slab base systems | 0.25 |
| 3 | Kraft/felt underlayment | 1/8 in (nom.) | Cushion + minor vapor control | Some nail-down systems | Subfloor with managed moisture | 3.18 |
| 4 | Closed-cell foam (EVA/PE) | 1.5 mm | Noise reduction | Floating systems where approved | Moisture barrier may still be separate | 1.50 |
| 5 | Closed-cell foam | 2.0 mm | Comfort + underfoot damping | Floating where thickness is allowed | Often paired with separate vapor control | 2.00 |
| 6 | Cork underlayment (natural) | 3 mm | Noise reduction + comfort | Floating and some nail-down systems | Needs moisture compatibility check | 3.00 |
| 7 | Rubber underlayment (engineered) | 5 mm | Sound control | Often for noise-sensitive installs | Verify joint/thickness limits | 5.00 |
Quick checklist (scan/save):
| Step | What to verify |
|---|---|
| Fit | Underlayment type matches nail-down/glue-down/floating method |
| Flatness | Subfloor highs are removed; no major dips remain () |
| Moisture | Vapor barrier is installed only as required for your slab/subfloor setup |
| Seams | Overlap and tape match manufacturer instructions |
| Edges | Leave expansion gaps at walls/obstructions |
| Surface | No wrinkles/buckling; clean cuts around penetrations |
Sources:
The bottom line for installing underlayment under reclaimed wood floors is straightforward: choose an underlayment that matches your install method and moisture requirements, prep for flatness, and treat seam sealing and edge gaps as non-negotiable. If you align your underlayment/vapor barrier strategy with your reclaimed wood manufacturer’s written specs—and you’re confident in subfloor condition—DIY can produce a stable, quieter floor that holds up through real seasonal changes in 2026.
Frequently Asked Questions
How do I install underlayment under reclaimed wood floors without damaging the planks?
Start by inspecting the reclaimed wood flooring and removing any debris, dust, or high ridges so the underlayment can lay flat. Install an appropriate underlayment directly over the subfloor—avoid stapling or gluing through the flooring unless your system specifically requires it. If moisture is a concern, use a full vapor barrier or moisture-control underlayment designed for your subfloor type, then tape seams to keep the barrier continuous.
What type of underlayment is best for reclaimed wood floors on a concrete slab?
On concrete, you typically want a moisture barrier underlayment (often polyethylene with sealed seams) to prevent moisture migration that can cause cupping or finish damage. Look for an underlayment compatible with your reclaimed wood floor’s installation method, and choose a thickness that won’t affect transitions, thresholds, or the ability to lock/tongue-and-groove properly. If you’re using floating reclaimed wood flooring, select an underlayment rated for floating floors to support stability and reduce minor subfloor imperfections.
Should I use a vapor barrier under reclaimed wood floors, and where does it go?
Many reclaimed wood floors benefit from a vapor barrier, especially over concrete slabs or any subfloor prone to moisture. Place the vapor barrier beneath the underlayment system (or choose an underlayment with an integrated vapor barrier) with seams overlapped and sealed according to manufacturer instructions. Avoid puncturing the barrier with unnecessary fasteners, and keep edges up to meet wall transitions when recommended.
How thick should underlayment be under reclaimed wood floors to avoid clicking or unevenness?
Underlayment thickness matters because too-thick padding can compress excessively, leading to floor joint gaps, squeaks, or poor lock performance. Follow the reclaimed wood flooring manufacturer’s guidance and use a thickness that supports flatness without “soft spots,” especially if your reclaimed planks are long or the subfloor has minor dips. If your subfloor isn’t level, address that first with leveling compound or floor patching rather than relying on thicker underlayment.
Why does reclaimed wood flooring sometimes squeak, and how does underlayment help?
Reclaimed wood can squeak when the planks move slightly due to subfloor irregularities, missing expansion spacing, or underlayment that’s too thin or improperly installed. A quality underlayment creates a uniform surface, adds acoustic dampening, and helps reduce friction between the subfloor and the flooring. For best results, install underlayment smoothly, tape or seal seams, maintain the required perimeter gap, and ensure the underlayment is compatible with the floor type (floating vs. nailed vs. glue-down).
📅 Last Updated: October 15, 2026 | Topic: How to install underlayment under reclaimed wood floors? | Content verified for accuracy and freshness.
References
- Underlayment
- Wood flooring
- Vapor barrier
- E1745 Standard Specification for Plastic Water Vapor Retarders Used in Contact with Soil or Granu…
- F710 Standard Practice for Preparing Concrete Floors to Receive Resilient Flooring
- F1869 Standard Test Method for Measuring Moisture Vapor Emission Rate of Concrete Subfloor Using …
- F2170 Standard Test Method for Determining Relative Humidity in Concrete Floor Slabs Using in sit…
- https://scholar.google.com/scholar?q=install+underlayment+under+hardwood+flooring+moisture+barrier Google Scholar
- https://scholar.google.com/scholar?q=reclaimed+wood+floor+underlayment+installation Google Scholar
- https://scholar.google.com/scholar?q=ASTM+E1745+water+vapor+retarder+hardwood+flooring Google Scholar