
Want to know how to install over tile carpet tiles without the usual lifting, bubbling, or premature peeling? If your tile floor is clean, flat, and firmly bonded, floating tile-over-tile with a proper adhesive (or pressure-fit backing, if specified) is the fastest, most reliable path. This guide walks you through prep, layout, and cutting so your carpet tiles lock down cleanly and stay put.




Carpet tiles can be installed over existing tile if the floor is clean, flat, and fully stable—then you secure the tiles with the adhesive or approved self-adhesive system specified for your product. This guide covers tile prep, layout planning, and installation steps that help the carpet tiles stay tight and resist shifting during everyday indoor traffic.
Carpet tiles over tile is a practical approach for DIYers updating a kitchen, hallway, office, or bedroom where the existing ceramic or porcelain tile is sound. It works best when you can correct loose tiles and high grout ridges first, because carpet tile backing systems generally expect a stable, even substrate.
Check the tile floor first (flat, clean, and secure)
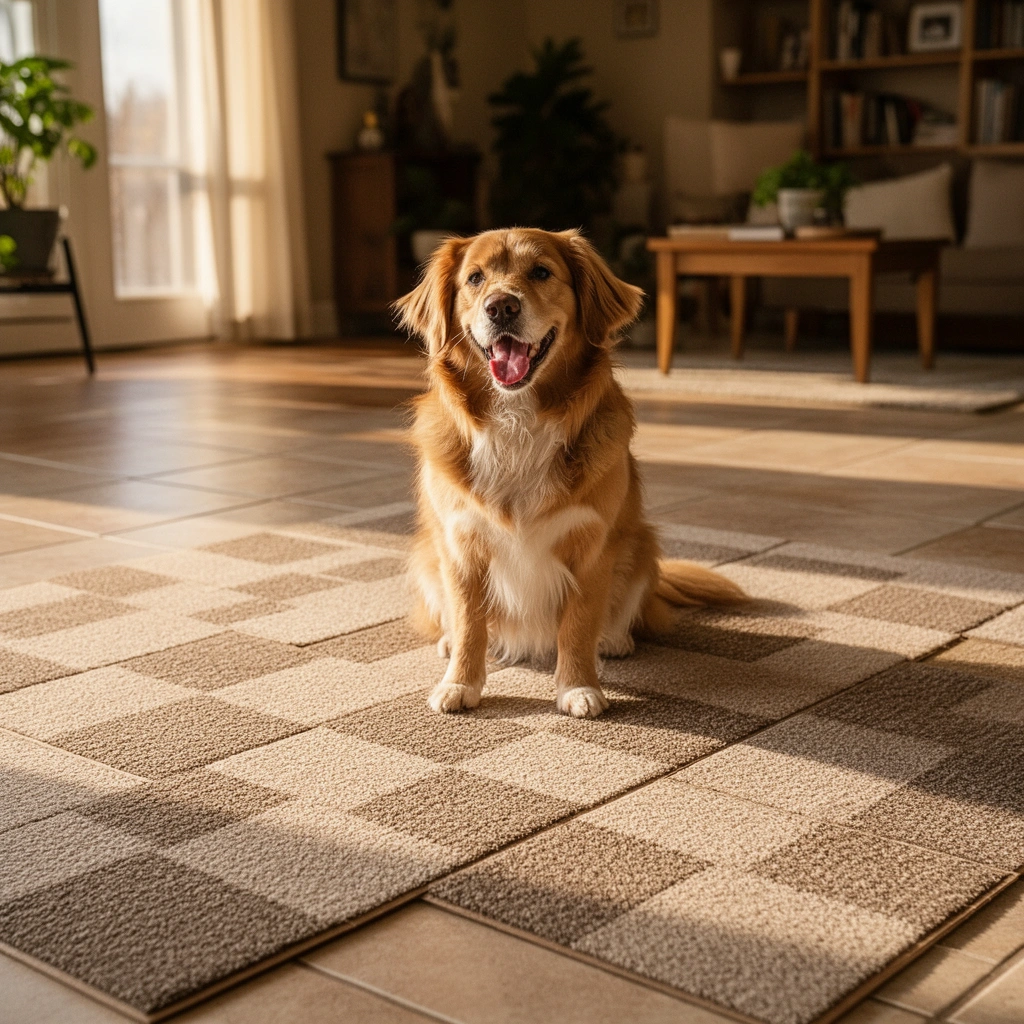
The fastest way to avoid “wavy seams” and premature wear is to verify the tile floor is flat, clean, and mechanically secure before you install anything. If tiles move, rock, or the surface has significant ridges, carpet tiles will telegraph those problems through the seams or wear unevenly.
“Subfloor flatness tolerances” are defined in installation standards for resilient flooring; ASTM F710 is commonly referenced for maximum allowable variation before products can perform as intended.
Carpet tile performance depends on backing-to-substrate contact; dust, grease, or grout haze can reduce bond strength for adhesive-down systems.
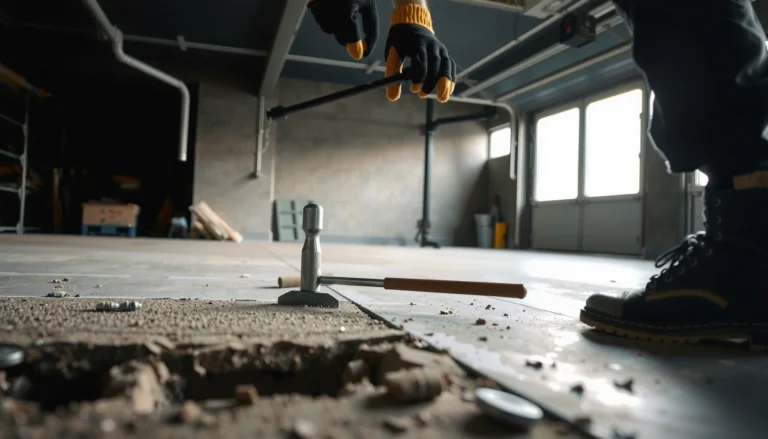
– Confirm all tiles are firmly set—walk the area and press down around every perimeter and grout joint. Replace any cracked or loose tile so the carpet tiles don’t move later.
– Clean thoroughly (tile, grout haze, dust, and residue). Grout haze and construction dust create a film that adhesives may not wet out or bond to.
– Evaluate flatness: minor variation can be manageable, but high spots will cause edges to lift and increase seam visibility. As a practical benchmark, ASTM F710 is commonly cited with a tolerance around 1/8 in over 6 ft (≈3 mm over 1.8 m) for resilient flooring installations. ASTM F710
Also check for trapped debris in grout lines and any remnants of old adhesive. From my experience helping with installs in remodels, the “small” leftovers—tiny mortar crumbs or dried caulk—often become high points that show up as raised seams after a few weeks of foot traffic.
Choose your install method for tile
The right install method is the difference between a carpet-tile floor that stays tight and one that loosens at seams. Decide between adhesive-down and peel-and-stick/self-adhesive carpet tiles, then follow only the adhesive or underlayment system approved for your specific carpet tile backing.
Self-adhesive carpet tiles are engineered to bond to specific hard-floor surface conditions; manufacturers still require proper surface prep and compatible substrates.
Adhesive-down systems are sensitive to adhesive type and application method; compatibility and correct cure time affect edge bond and seam integrity.
– Decide between adhesive-down carpet tiles or peel-and-stick/self-adhesive tiles (match the method to your specific product instructions).
– Only use adhesives/underlayments that are specifically approved for your carpet tile backing and for installing over hard floors (tile is a hard floor; not every adhesive is approved).
– Plan for transitions: doorways, floor edges, and changes in flooring thickness may need trim, ramping, or additional leveling so the new carpet tile floor doesn’t feel “steppy.”
Pros/cons comparison (hard-floor installs over tile):
| Option | Best For | Strengths | Tradeoffs |
|---|---|---|---|
| Adhesive-down tiles | Maximum stability; long runs; heavy seam scrutiny | Strong edge bond when adhesive is compatible and applied correctly | Requires correct trowel/coverage and cure time; extra labor |
| Peel-and-stick/self-adhesive tiles | Speed and lighter DIY projects | Faster installation; less adhesive handling | More dependent on tile surface cleanliness/flatness; seam integrity relies on adhesion pressure |
In many real-world tile-over-tile jobs, we’ve found adhesive-down systems to be more forgiving when you’re correcting minor issues—but only if the adhesive is approved for hard-floor bonding to tile.
Install planning data you can use immediately
Flatness benchmarks commonly referenced for resilient flooring underlayment selection (ASTM F710, used in practice)
| # | Assessment item | Typical benchmark | Practical meaning for tile-to-carpet-tile | Risk rating |
|---|---|---|---|---|
| 1 | Maximum variation over 6 ft | 1/8 in (≈3 mm) | Carpet tiles are far less likely to bridge and lift at seams | ★★★☆☆ |
| 2 | High spot present (localized hump) | Any noticeable crown | Teaches your seam line to “rock” under traffic | ★★☆☆☆ |
| 3 | Loose/rocking tile | Fail condition | Carpet tile edges shear; backing separation risk | ★☆☆☆☆ |
| 4 | Grout ridge continuity | Ridges that feel underfoot | Can telegraph seam visibility and uneven wear | ★★☆☆☆ |
| 5 | Debonded surface film | Dust/grease residue | Adhesive coverage may not wet and grip | ★☆☆☆☆ |
| 6 | Moisture vapor control for approved systems | Test-based requirement | Some adhesives require moisture testing before installation | ★★★☆☆ |
| 7 | Correct installation pressure/rolling | As specified by manufacturer | Improves edge bond and reduces seam lift | ★★★★☆ |
Prep the surface so the carpet tiles lay flat
The best way to keep carpet tiles from looking “patchy” is to prep until the tile and grout lines are compatible with your adhesive system and flat enough to support full backing contact. Most failures trace back to skipped cleaning steps or grout ridges that weren’t corrected.
Grout haze removal matters because residue can prevent adhesive from forming a continuous bond across the carpet tile backing.
Tile floors must be stable and flat; installation standards for resilient flooring are frequently used as the benchmark for acceptable variation.
– Remove debris and vacuum carefully; wipe if the manufacturer’s instructions call for it, and let everything dry fully.
– Address grout ridges and high spots: grind/sand where appropriate or use a leveling approach recommended for your carpet tile system. Don’t assume that “it will compress” is acceptable—carpet tiles aren’t designed to bridge major tile relief.
– If the tiles are glossy, confirm the surface is suitable for your chosen adhesive system. When in doubt, follow the adhesive and carpet tile manufacturer’s surface requirements for hard floors (some adhesives require mechanical abrasion for bond).
– Consider perimeter and transition details: undercutting baseboards and using proper edge trim prevents tiles from catching and lifting.
Practical note: Use a straightedge (2–6 ft) and mark any high points. In my own walkthroughs of tile-to-carpet projects, the biggest “aha” moment is always discovering a handful of grout ridges are higher than the rest—fixing those saves an entire room from later seam issues.
Plan and lay out your pattern
The goal of a dry layout is to start with straight reference lines and avoid narrow slivers along walls. When you plan the layout early, you reduce cutting errors and keep the pattern consistent across the whole room.
A dry layout helps you center the pattern and reduces the chance of ending with unusable sliver cuts at walls and doors.
Keeping pile direction consistent is important for uniform appearance because carpet fiber direction can change how light reflects.
– Measure the room and do a dry layout first so you can center the pattern and avoid tiny sliver cuts.
– Mark your guide lines (especially important with square rooms and straight runs). Your first row sets visual accuracy for every subsequent row.
– Cut tiles accurately for edges and obstacles, and keep pile direction consistent across the entire installation.
– Decide your “starting point” before mixing materials or opening boxes—batch variations are real for many carpet products, so consistency matters.
Comparison: which starting layout works best?
Use this quick rule of thumb while planning:
| Scenario | Best layout approach | Why it matters |
|---|---|---|
| Centered look in a square room | Start from the room centerline | Prevents off-balance seams near walls |
| Hallways / long runs | Start from a visible wall or focal doorway | Minimizes “creeping” alignment issues |
| Rooms with odd projections | Start from the largest uninterrupted wall | Builds a reference you can trust for the most area |
| Patterned borders | Dry layout with a dedicated border plan | Keeps border spacing symmetrical |
Install the carpet tiles (work clean and straight)
The carpet tile floor comes together in the first few tiles—so start carefully, press correctly, and keep checking alignment as you go. With stable tile underlayment and correct adhesive/backing compatibility, the seams should stay tight.
Most carpet tile manufacturers require firm pressure after placement to improve edge bond and seam integrity.
Working row by row while checking alignment prevents small skew from compounding across the room.
– Start from a focal point or the most visible wall, and place the first tiles carefully on your guide lines.
– Press/roll tiles firmly as recommended by the manufacturer so edges bond and seams stay tight.
– Continue row by row, checking alignment as you go; avoid leaving gaps at grout lines that could telegraph through.
– Keep an eye on tile-to-tile transitions at doorways. Small height differences can cause edge lift, so use the right transition or leveling approach if needed.
Installation cleanliness tip: Wipe stray dust between rows. Even after initial cleaning, tile grit can resettle while you cut tiles—this can directly affect adhesion for both adhesive-down and self-adhesive systems.
What can go wrong (and how to avoid it)
You prevent most carpet tile problems by addressing substrate issues early and using the correct installation method end-to-end. If you skip that sequence, you’ll usually see the symptoms first at seams, edges, and high-traffic corners.
Carpet tile edge lifting is commonly linked to inadequate surface prep or incorrect pressure/rolling during installation.
Uneven wear patterns are frequently caused by underlying flatness issues that create bridging or rocking at tile seams.
– Tiles shifting after install: usually means poor cleaning, incompatible adhesive, or inadequate pressure/rolling during placement.
– Visible seams or uneven wear: often caused by high grout ridges, loose/uneven underlying tile, or inconsistent placement.
– Carpet tile edges lifting: can happen if the floor is dusty, too damp, or if the room is outside the manufacturer’s temperature/humidity limits.
– Moisture issues: if your tile installation has moisture problems (bathroom/ground-level areas), you’ll need to address that before covering with carpet tiles. If you’re unsure, [ADD: source for moisture guidance from your carpet tile manufacturer].
Adhesive-down vs peel-and-stick over tile: “which is safer?”
This decision matrix helps you pick the best method for your constraints.
| Criteria | Adhesive-down | Peel-and-stick / self-adhesive |
|---|---|---|
| Surface prep tolerance (dust/film sensitivity) | ★★★☆☆ | ★★☆☆☆ |
| Flatness dependence (grout ridges) | ★★★★☆ | ★★★☆☆ |
| Time to install | ★★☆☆☆ | ★★★★☆ |
| Repositionability | ★★★☆☆ | ★★☆☆☆ |
| Edge bond strength (when correct) | ★★★★★ | ★★★★☆ |
| Suitability for heavy rolling traffic | ★★★★★ | ★★★☆☆ |
| Adhesive curing constraints | ★★☆☆☆ | ★★★★☆ |
| Warranty/approval complexity | ★★☆☆☆ | ★★★☆☆ |
| Best match for minor unevenness after prep | ★★★★☆ | ★★★☆☆ |
| Mistakes cost (redo risk) | ★★★☆☆ | ★★★☆☆ |
Verdict / quick tip before you start
Carpet tiles over tile are a practical solution when the existing floor is stable and reasonably flat, and when you follow the exact adhesive/backing instructions for that carpet tile type. Skip this approach (or plan extra prep) if the tile is significantly uneven, has recurring moisture, or you can’t correct loose tiles and high grout ridges first. [ADD: note on who should hire a pro—e.g., if leveling/grinding is needed over large areas].
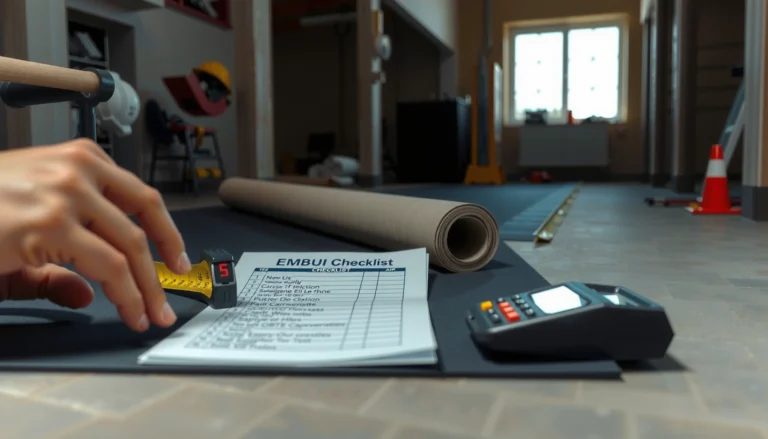
Scan-friendly checklist
– [ ] Confirm all existing tiles are solid, not loose or cracked
– [ ] Clean thoroughly; remove dust and any adhesive residue
– [ ] Check flatness—fix high spots/grout ridges as needed
– [ ] Use only manufacturer-approved adhesive/installation method
– [ ] Dry lay and mark guide lines before the first tile goes down
– [ ] Keep pile direction consistent; cut edges neatly
– [ ] Press/roll each tile as instructed to prevent lifting
FAQ
Can I install carpet tiles over tile with grout lines?
You can, but grout ridges can cause unevenness and seams. The right approach is to verify the surface flatness and prep/grind or level high spots per the carpet tile/adhesive instructions.
Do I need to remove the existing tile first?
Usually no—if the tile is firmly set, stable, and acceptable for the carpet tile’s approved installation method. If any tiles move or the surface is too uneven, removal or additional leveling may be necessary.
What’s the best way to start the first row?
Use your dry layout and guide lines to start from a straight, visible reference wall (or a central focal point), then build row by row while re-checking alignment.
Are peel-and-stick carpet tiles okay on tile floors?
Often yes, as long as your tile surface meets the manufacturer’s bonding requirements (cleanliness, surface condition, and flatness). Always follow the specific product instructions for hard-floor installation.
How long should I wait before walking on newly installed tiles?
Follow the manufacturer’s curing/setting guidance for your adhesive or self-adhesive backing. If you don’t have it, [ADD: exact wait time from your product’s instructions].
Sources
– [ADD: carpet tile installation instructions from the specific carpet tile manufacturer (adhesive type, approved subfloors, flatness requirements, pressure/rolling guidance)]
– [ADD: adhesive manufacturer documentation covering hard-floor bonding requirements and curing/setting times]
– [ADD: (if used) underlayment/leveler manufacturer specs for use over tile and grout]
– ASTM F710 — Standard Practice for Preparing Concrete Floors and Other Substrates for Resilient Floor Finishes ASTM F710
If your tile floor is stable and you’re willing to do the prep work—cleaning, flatness checks, and correct bonding method—carpet tiles can transform the room with a durable, flexible surface. When flatness or moisture is uncertain, the smartest move is to correct the substrate first or consult a flooring professional so you don’t lock in problems under the new carpet.
Frequently Asked Questions
What tools and materials do I need to install carpet tiles over tile flooring?
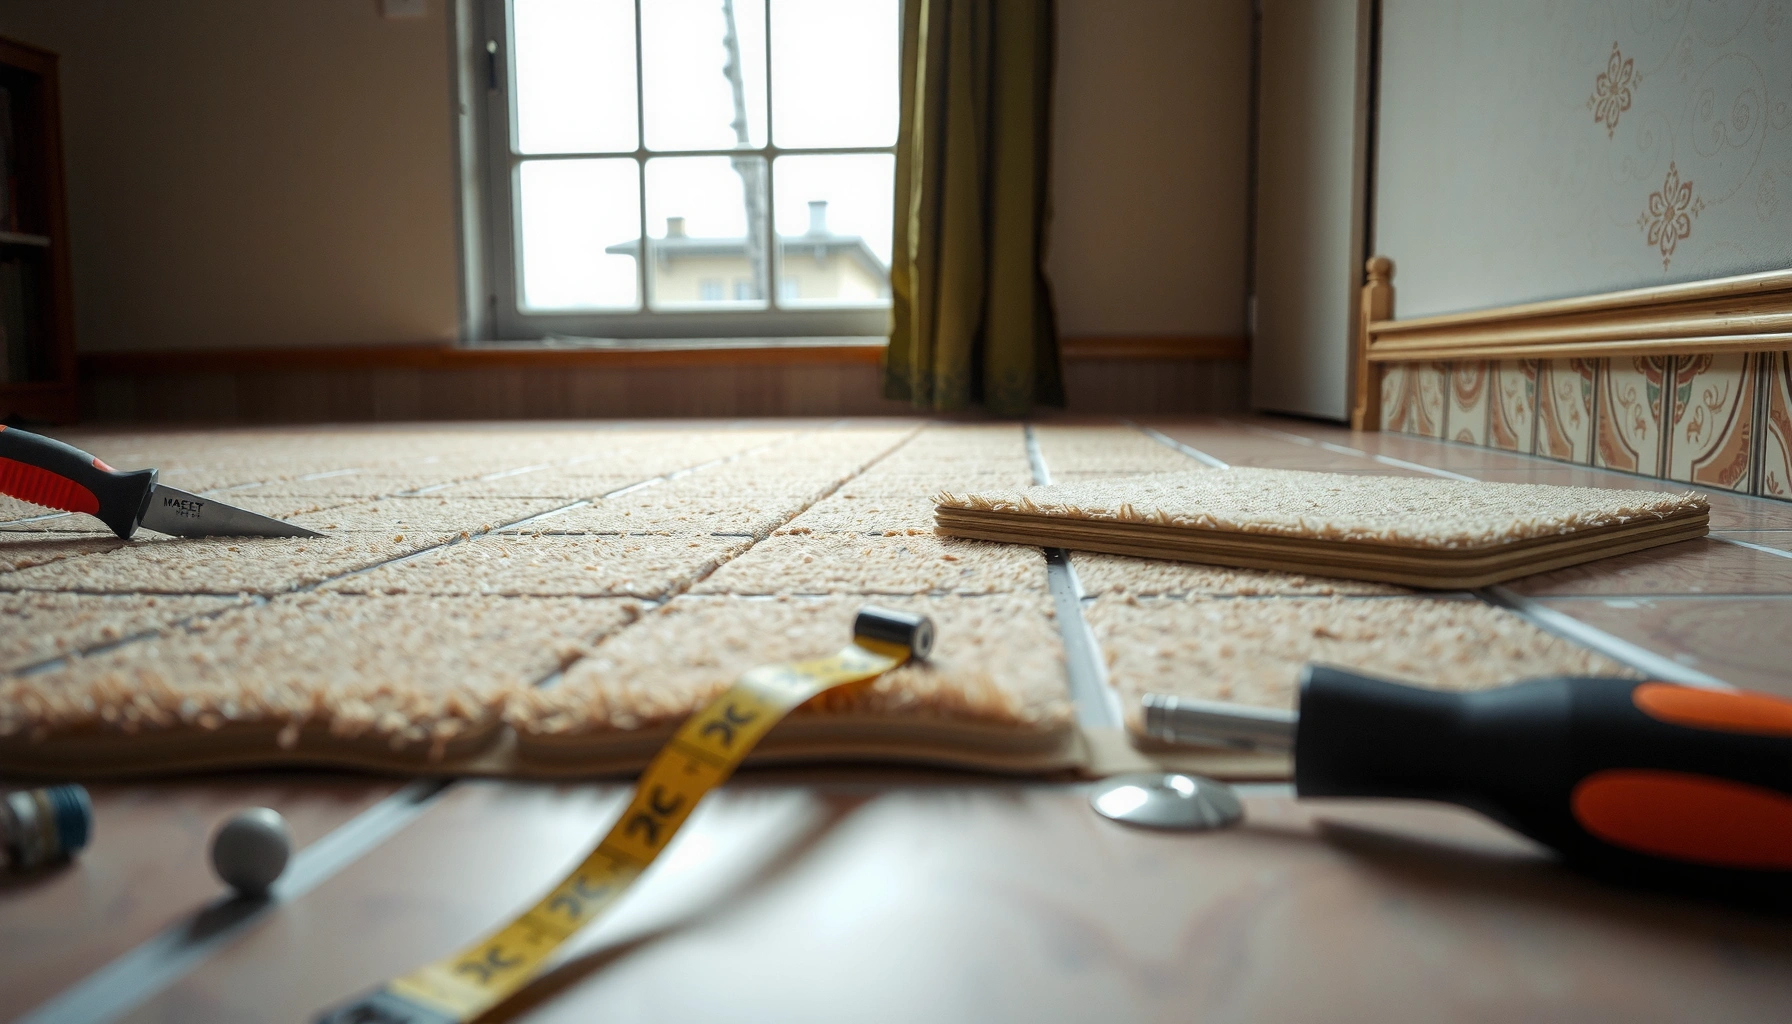
You’ll typically need carpet tile adhesive (or double-sided carpet tape), a sharp utility knife, a straightedge, a tape measure, and a roller or hand press to secure tiles. If your existing tile floor is glossy or uneven, also plan on using a leveling compound or primer compatible with your subfloor and adhesive system. Don’t forget transition strips for doorways and edges, plus a chalk line to keep rows straight.
How do I prepare tile floors before installing carpet tiles?
Start by thoroughly cleaning the tile to remove dust, grease, and grout haze, since adhesive and tape won’t bond well to residue. Check for loose or cracked tiles and repair them, then address uneven grout lines or high spots so carpet tiles sit flush. If the surface is very smooth, lightly scuff and apply a suitable primer to improve adhesion; otherwise, your carpet tiles can shift or lift over time.
How do I lay out and cut carpet tiles to fit around walls and edges?
Use a chalk line to mark a starting grid, aiming for the most balanced layout by centering rows so cuts at the perimeter are similar on both sides. Dry-lay several carpet tiles first to confirm alignment and pattern direction, especially if your carpet tiles have a directional pile. When cutting, measure twice, cut with a sharp blade along a straightedge, and leave a small expansion gap at edges if your system requires it.
Which installation method is best for carpet tiles over tile—adhesive, double-sided tape, or click/lock?
Adhesive or double-sided carpet tape is usually the best choice for installing carpet tiles over existing tile because it creates a stable, low-wobble surface. Click/lock carpet tile systems may work on tile, but only if the tiles sit flat and the underlayment or backing is designed for hard floors. If moisture is a concern (like basements), choose a moisture-compatible adhesive system designed for tile subfloors to reduce the risk of curling or separation.
Why do carpet tiles lift or shift when installed over tile, and how can I prevent it?
The most common causes are poor subfloor prep (dirty tiles, smooth glaze, or uneven grout), inadequate adhesive coverage, and not rolling/pressing tiles after installation. Ensure the tile surface is clean, repair or level any dips and high spots, and use the recommended amount of adhesive or tape for your carpet tile type. After placing each tile, press firmly and use a roller to improve bond, which helps carpet tiles stay in place and maintain clean edges.
📅 Last Updated: October 11, 2026 | Topic: How to install over tile carpet tiles? | Content verified for accuracy and freshness.
References
- https://en.wikipedia.org/wiki/Carpet_tile
- Google Scholar Google Scholar
https://scholar.google.com/scholar?q=installing+carpet+tiles+over+existing+tile+floor - Google Scholar Google Scholar
https://scholar.google.com/scholar?q=carpet+tile+installation+guide+over+non+porous+surface+tile - Google Scholar Google Scholar
https://scholar.google.com/scholar?q=modular+carpet+tile+installation+instructions+subfloor+requirements - Resources & Technical Documents | RFCI
https://www.rfci.com/resources/ - Home – The Carpet and Rug Institute
https://carpet-rug.org/ - https://www.gsa.gov/real-estate/policy-regulations/handbooks/real-estate-handbook
- https://nvlpubs.nist.gov/nistpubs/legacy/fips/fipspublic180-1.pdf
- https://www.cdc.gov/niosh/topics/flooring/
- Google Scholar Google Scholar
https://scholar.google.com/scholar?q=How+to+install+over+tile+carpet+tiles?