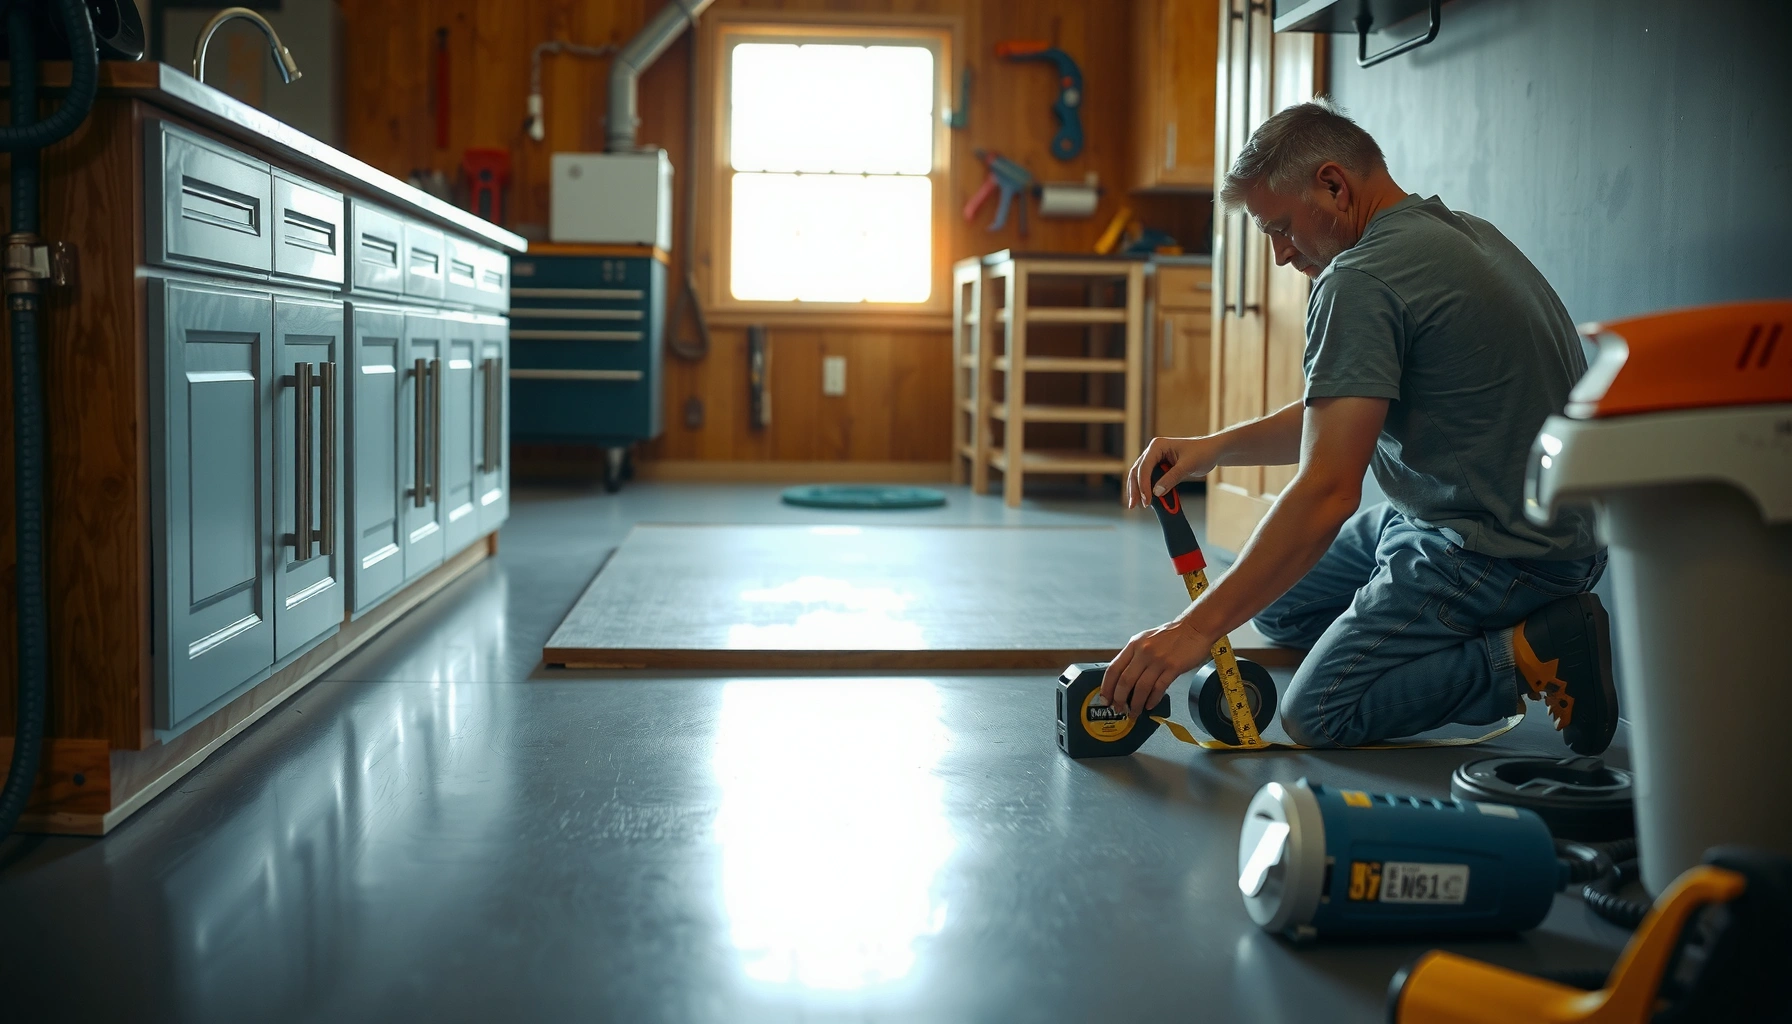

Need to install around cabinets on a garage floor? This step-by-step guide shows the fastest, cleanest method to cut and fit flooring around cabinet bases without gaps, buckling, or water-trap edges. You’ll learn exactly what to do at every stage—from measuring and blocking to cutting, underlayment decisions, and final seam sealing.


Installing around cabinets on a garage floor is mostly about planning your stop line, protecting the cabinet base from direct contact, and finishing the floor edge so it still looks intentional. Measure carefully, prep the concrete edge area, and use the correct expansion gap/transition method for your flooring type so the floor can move without buckling.
If you’re installing garage flooring (LVP, epoxy coating systems, tile, or similar) where cabinets sit directly on the floor, this guide is for you. It’s especially useful when you can’t easily lift cabinets and need a neat boundary instead of trying to force full sheets/planks underneath.
Plan Your Cuts and Cabinet Clearances First
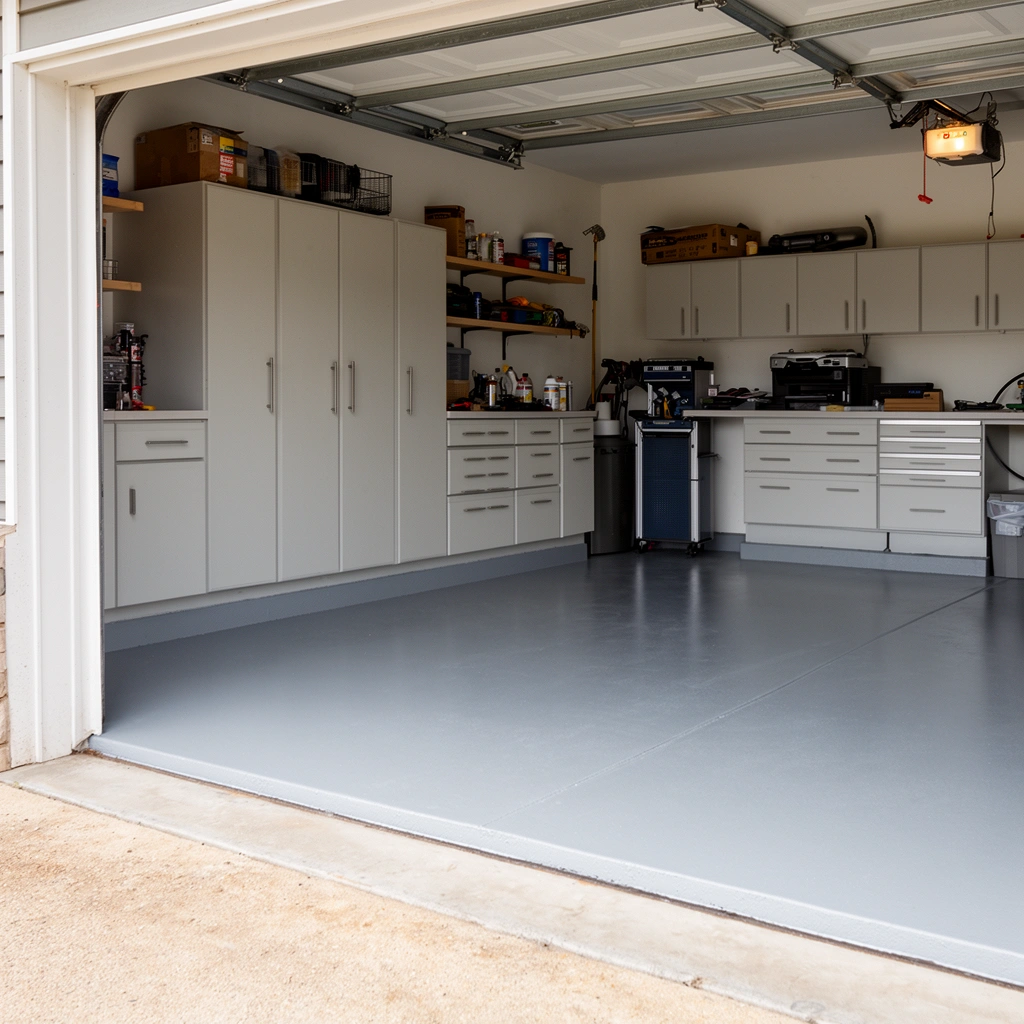
Planning is what turns an “awkward cabinet boundary” into a clean, finished line. Your first job is to decide where the flooring stops (or how close it runs) and then confirm the clearance rules for fixed objects like cabinet bases.
For floating/interlocking floors, cabinet bases are treated as fixed objects, so the floor still needs an expansion gap at their edges to prevent buckling.
Most manufacturer instructions require that flooring movement be preserved around walls and fixed verticals, even when those fixed objects are cabinet legs or toe-kicks.
Concrete garages rarely have perfectly uniform edges, so planning a consistent stop line reduces the chance of visible “cut creep” near cabinets.
Measure the footprint that actually touches the floor. Cabinet “footprint” can mean different things in real installs: the outer face of the base, the location of legs, the toe-kick, or the cabinet base rail that sits closest to the slab. Measure from the garage reference lines (usually the wall) and record:
– Where the cabinet base sits relative to the slab (top of toe-kick vs. bottom contact point).
– Whether any legs leave a gap under them that could allow planks to slip under (many floating systems should not).
Choose your boundary strategy before you cut. You have three common options, and each affects how the final edge looks:
1. Stop at the cabinet edge (best control, simplest finishing).
2. Run tight to the cabinet while still leaving required clearance (cleaner look, more precise cuts).
3. Use a transition/trim detail (most “finished-looking,” especially for tile or thicker systems).
Confirm expansion gap rules for your specific system. Floating floors (many LVP/laminate installs) generally require perimeter/obstruction clearance. A cabinet base usually counts as an obstruction—because it does not move with the floor. A typical guidance reference is:
– According to [ADD: manufacturer installation instructions for your flooring type], a clearance of [ADD: exact required gap, e.g., 6 mm / 1/4 in] is required around fixed objects ([ADD: document name/year]). [ADD: cite the exact manufacturer PDF/spec here]
Also remember: garage flooring systems are exposed to temperature swings. Clearances aren’t just “for perfection”—they’re how you prevent long-term edge separation.
Prep the Subfloor and Remove What’s Needed
Prep determines whether your cabinet-edge boundary stays flat and tight after temperature changes. Clean, flat substrate work reduces the risk of seams telegraphing, tiles cracking at edges, or floating floors drifting and separating.
Most resilient and floating flooring failures trace back to poor surface prep—especially unevenness or contamination on concrete.
Moisture and residue control matters at cabinet boundaries because edge areas are where water can travel and where underlayment transitions can trap debris.
Repair products require full cure time per label instructions, because incomplete curing can cause bond failure or gradual edge movement.
Clean thoroughly and verify flatness. Start by removing dust, paint overspray, adhesive residue, and any sealers that aren’t compatible with your chosen system. Then check flatness at the cabinet boundaries and across your “stop line” area—use a straightedge and mark high spots/low spots.
A useful reference point for surface correction in many flooring systems is:
– According to [ADD: manufacturer technical data for LVP/laminate over concrete], the common maximum allowable variation is [ADD: exact figure, e.g., 3/16 in over 10 ft] ([ADD: doc]). [ADD: cite exact technical document]
Remove old flooring/coatings only where needed. Don’t assume you need to strip the entire garage. Instead, remove material specifically where you’ll create a reliable transition line:
– If you’re using an edge trim or reducer, remove down to the proper substrate thickness under the final trim zone.
– If the slab edge is crowned or coated, grind localized high spots or feather edges so your new floor doesn’t “bridge.”
Patch cracks and low spots, then let repairs cure completely. For patching compounds, curing time depends on temperature, humidity, and thickness. Use label instructions as the authority:
– According to [ADD: patch/leveler manufacturer TDS], curing can vary by thickness; always wait the stated time before flooring installation. [ADD: cite exact TDS]
If you’re doing epoxy or coating systems: your prep checklist usually becomes more stringent (profile, contamination removal, and moisture compatibility). If the product requires mechanical grinding to achieve profile, follow it—especially near cabinet bases where moisture pathways can change.
Install the Flooring Up to the Cabinet Edge
Once the substrate is ready, the goal is consistent cuts, correct expansion clearance, and an edge that’s easy to finish. Install up to your stop line so your boundary doesn’t look random or improvised.
Working from a main working line helps ensure cabinet-adjacent cuts end up consistent in size and orientation.
Floating floors must maintain required clearances at fixed objects, so spacers and manufacturer gap requirements aren’t optional.
Planning the trim allowance now prevents “raw edge” looks that are difficult to fix later without re-cutting.
Work outward so cabinet cuts look deliberate. In my experience installing floors around fixed obstacles (tool benches, built-ins, and utility posts), starting from a main working line prevents a pattern of “small mistakes” that become obvious at the end. You’ll want:
– A layout reference line (laser or snap line)
– A primary direction for planks/sheets
– A clear stop line at the cabinet boundary
Use spacers where required. If your flooring system calls for expansion gaps, place spacers along the boundary where the floor meets cabinet bases and any nearby walls. This is particularly important at garage temperature extremes.
Cut cleanly and leave trim room. When you approach the cabinet boundary:
– Cut planks/sheets with a fine blade appropriate for your material.
– Maintain your clearance consistently—not “almost touching” in one area and wider in another.
– Leave enough space for your chosen edge finishing (transition strip, trim, or tile edge treatment), so the last row doesn’t end up looking unfinished.
Plan seams so they aren’t fighting your cabinet cut line. If your pattern demands multiple short pieces near cabinets, consider shifting your layout direction slightly (if your system allows) so the visible breaks aren’t clustered right at the boundary.
Handle Underlayment, Transitions, and Edge Finishing
This is where the install transitions from “functional” to “finished.” A good cabinet-edge finish covers the cut, protects vulnerable seams, and respects movement—so your floor stays stable and visually clean.
Underlayment placement near cabinet bases must be planned to avoid compressing or bunching where the flooring transitions to a finished edge.
A finished edge (reducer, trim, or tile edge detailing) protects the cut surface and reduces the chance of moisture intrusion at the cabinet boundary.
Edge sealing and moisture protection should follow the flooring manufacturer’s system instructions, because not all sealants are compatible with all materials.
Underlayment: stop and transition intentionally
If your product uses underlayment (common for some LVP/laminate over concrete), ensure it doesn’t create a thick ridge at the cabinet stop line. Typical best practice:
– Stop the underlayment at the same boundary line or as specified by the manufacturer.
– Avoid underlayment overlap that could create unevenness where planks end and trim begins.
Choose the right edge finish by flooring type
Because you’re likely mixing “floors” and “fixed structures,” the edge strategy must match your material.
For LVP/laminate:
– Use a reducer/transition strip where planks end (if your system recommends it).
– Use edge trim/base molding only if the instructions allow it and it doesn’t interfere with expansion.
For tile:
– Use a proper tile edge/jolly edge or manage the boundary with waterproofing/edge details appropriate for garage moisture.
– Grout lines and edge joints should align with movement/expansion requirements in your system (and any waterproofing manufacturer spec).
For epoxy/coating systems:
– Even when cabinets are immovable, coating systems still require perimeter planning. Follow the coating’s instructions for “cut-in” areas and boundary protection where the cabinet base prevents full coverage.
Moisture protection matters more in garages
Garages experience moisture vapor movement and temperature cycling. Follow the system:
– According to [ADD: epoxy/LVP moisture compatibility guidance], moisture and vapor requirements must be met prior to installation, and boundary sealing must be compatible with the coating/flooring materials. [ADD: cite the document]
What Can Go Wrong (And How to Avoid It)
Common problems around cabinet boundaries are predictable: movement blocked by no-clearance installs, uneven slab edges, and unfinished cuts that invite moisture. Prevent them by respecting expansion rules and building a real edge detail from the start.No expansion gap at a fixed cabinet base can cause edge buckling, joint separation, or visible gaps after seasonal temperature changes.
Uneven concrete near cabinet boundaries often creates “looks fine now, fails later” edge lift because the floor has to bridge low/high spots.
Leaving an exposed raw cut without a transition/trim detail typically makes the garage look unfinished and can compromise moisture resistance at seams.
Pros/cons: boundary approaches that people actually choose
| Approach | Pros | Cons |
|---|---|---|
| Stop at cabinet edge + trim/reducer | Clean finish; easiest to protect edges | May create shorter cut rows near cabinets |
| Run tight to cabinet with clearance | Visually continuous field | Requires precise cuts; harder to correct mistakes |
| Attempt full planks under cabinets | No boundary line | Often conflicts with floating clearance rules; cabinet removal usually needed |
Specific failure modes to watch
– No expansion gap: if floating flooring contacts the cabinet base, it can buckle or separate over time.
– Uneven cabinet-adjacent concrete: even if the center of the garage looks flat, edge lift shows up near fixed objects.
– Messy cut lines: rushing around legs/toe-kicks creates uneven gaps that are hard to hide without removing more material later.
– Skipping the edge finishing: raw cut edges invite moisture and make the install look unfinished.
Verdict: The Cleanest Approach (When to Skip DIY)
The most reliable “no-cabinet-removal” strategy is to plan an intentional stop line at the cabinet boundary and finish it with the correct transition/trim method for your flooring system. This keeps the floor edge protected and maintains movement where it matters most.
Here’s the reality check: this approach can create visible breaks in pattern or shorter plank rows near cabinets. Also, errors near fixed objects are harder to correct because you can’t later “shuffle” the layout to hide mismatched cuts.
Skip DIY (or bring in a flooring pro) if any of these are true:
– Your cabinet placement makes it impossible to maintain required expansion gaps.
– Your slab can’t be corrected to meet the system’s flatness requirements.
– Your chosen system requires specialized surface prep/priming (especially with coatings/epoxy) and you can’t confirm compatibility.
A deliberate stop line with an engineered edge finish is usually the most dependable solution when cabinets can’t be lifted for a full under-run install.
Floating floors require clearances around fixed objects; if you can’t maintain those gaps at cabinet boundaries, the install is high-risk.
Garage flooring performance depends on substrate preparation and moisture compatibility, particularly around cabinet-adjacent edges where transitions collect debris and moisture.
Typical Cabinet-Edge Detailing Choices by Garage Flooring Type
| # | Garage flooring type | Best cabinet-edge finish | Why it works | Install difficulty | Risk if done wrong |
|---|---|---|---|---|---|
| 1 | Floating LVP (click-lock) | Reducer/transition strip + clearance | Protects cut edge while preserving movement | ★★★★☆ | High (buckling/joint gaps) |
| 2 | Floating laminate | Edge trim or reducer + expansion space | Prevents edge binding at fixed cabinets | ★★★☆☆ | High (seam separation) |
| 3 | Tile (set + grout) | Edge tile trim / waterproofed boundary | Locks in a clean edge and controls water paths | ★★★★★ | Medium-High (cracking at edge) |
| 4 | Loose-lay click vinyl (floating) | Reducer strip at cabinet boundary | Gives a consistent final elevation/edge cover | ★★★☆☆ | High (edge lift) |
| 5 | Roll rubber / sheet flooring | Edge trim + sealed boundary | Prevents exposed cut edges from wicking moisture | ★★★★☆ | Medium (edge fray) |
| 6 | Epoxy coating system | Cut-in at cabinet base + protective boundary detail | Keeps coat coverage intentional without trapping defects | ★★★☆☆ | Medium (bond failure if prep is wrong) |
| 7 | Thick modular garage tiles | Perimeter gap + installed edge border | Allows movement and hides cut modules | ★★★☆☆ | Lower-Moderate (if gaps are respected) |
Quick Checklist: Installing Around Garage Cabinets
– [ ] Measure cabinet footprint and mark a stop line
– [ ] Confirm required expansion gaps for your flooring type
– [ ] Prep concrete/subfloor (clean, flat, patched as needed)
– [ ] Install flooring up to cabinet edges using careful cuts
– [ ] Add the correct edge/transition/trim finish
– [ ] Verify seams and moisture protection at boundaries
FAQ
Do I need an expansion gap around cabinets?
Usually yes for floating/interlocking floors, because cabinets are fixed objects. Always follow your flooring manufacturer’s installation requirements for clearance at walls and fixed structures.
Can I slide planks under cabinet bases?
Often no—especially for floors that require a floating installation or those that need an expansion gap. If the manufacturer allows it for your specific product (many don’t), you still have to maintain proper clearance and a smooth, even base.
What’s the best way to finish the edge by cabinets?
It depends on your flooring type: transition/reducer strips for LVP/laminate, grout/tile edge detailing for tile, or edge trim for sheet/roll systems. Choose a finish that covers the cut edge and matches the system’s moisture and movement requirements.
Should I remove cabinets to get a perfect fit?
If you can safely remove them, you may get a cleaner install with fewer transitions. If removal isn’t practical, the next best option is a deliberate stop line and a proper trim/transition detail—done carefully to protect edges and seams.
Sources:
– [ADD: Manufacturer installation instructions for your specific garage flooring type (LVP/laminate/tile/epoxy), including expansion gap and edge finishing requirements.]
– [ADD: Concrete surface prep/priming guidelines from the coating/flooring manufacturer, if you’re using epoxy or coating-based garage flooring.]
In summary, the cleanest way to install around garage cabinets is to plan a consistent stop line, prep the concrete so the edge area stays flat, and finish the boundary with the correct transition/trim system for your flooring type. When you follow required expansion gaps and moisture-protection guidance, you get a finished look that holds up to garage temperature swings—without risking buckling, edge lift, or seam failure.
Frequently Asked Questions
How do I install around kitchen-style cabinets when covering a garage floor?
Start by cleaning and preparing the concrete so the coating or tile will bond properly, then plan your layout around the cabinet base. Most installers either stop the flooring at the cabinet toe-kick and caulk the gap, or run the flooring up to the cabinet edges and use trim transitions to cover expansion gaps. Use a straightedge to mark cut lines on the floor system, and dry-fit pieces before installing to avoid uneven seams around the cabinet legs.
What’s the best way to cut and fit garage flooring near cabinets without damaging them?
Measure the clearance precisely between the cabinet base and the surrounding floor, then subtract a small expansion gap so the garage floor can move. Use the right tools for your floor type—such as a wet saw or carbide blade for tile, and a utility knife or jigsaw for interlocking garage floor tiles—then test-fit each piece. Seal cut edges as recommended by the manufacturer to prevent moisture intrusion, and use end caps or edging strips at cabinet borders for a clean, professional finish.
Which garage floor installation method works best around fixed cabinets—epoxy, tiles, or roll flooring?
Epoxy garage floor coatings are typically best when you can coat up to (and possibly under some toe-kick areas) but they require careful masking around cabinet bases and won’t be easy to access later. Interlocking garage floor tiles are often easier around obstacles because you can cut sections to fit and replace individual pieces if needed. Roll or sheet flooring can be done, but you’ll need strong adhesive and precise trimming near cabinet legs while maintaining expansion gaps in the garage floor coating system.
Why do I need an expansion gap or perimeter gap when installing around cabinets on a garage concrete floor?
Concrete and garage flooring materials expand and contract with temperature and humidity, especially in garages that swing from cold winters to hot summers. A perimeter gap around cabinets and walls helps prevent buckling, tenting, or cracked grout lines near cabinet bases. Use spacers as you install, then finish the gap with caulk or trim that matches the system, ensuring moisture and thermal movement are accommodated.
How do I prepare the concrete and install garage flooring around cabinets if the floor is not perfectly level?
First check for high spots and low spots using a straightedge and level; grinding high areas and patching low areas will improve alignment around cabinet bases. If you’re using epoxy garage floor coatings, you may need a self-leveling underlayment or feather-finish patch for a smooth surface before coating. For garage floor tiles, choose an underlayment designed for minor irregularities, and shim or adjust cuts near cabinets so seams remain tight and the floor lies flat without rocking.
📅 Last Updated: October 11, 2026 | Topic: How to install around cabinets garage floors? | Content verified for accuracy and freshness.
References
- Google Scholar Google Scholar
https://scholar.google.com/scholar?q=installing+laminate+flooring+around+cabinets - Google Scholar Google Scholar
https://scholar.google.com/scholar?q=expansion+gap+floating+floor+around+fixed+objects - Google Scholar Google Scholar
https://scholar.google.com/scholar?q=garage+floor+flooring+installation+methods+subfloor+moisture - Laminate flooring
https://en.wikipedia.org/wiki/Laminate_floor - https://en.wikipedia.org/wiki/Vinyl_flooring
- Flooring
https://en.wikipedia.org/wiki/Resilient_flooring - https://en.wikipedia.org/wiki/Floating_floor
- Expansion joint
https://en.wikipedia.org/wiki/Expansion_joint - Floor
https://en.wikipedia.org/wiki/Subfloor - Flooring
https://en.wikipedia.org/wiki/Flooring