
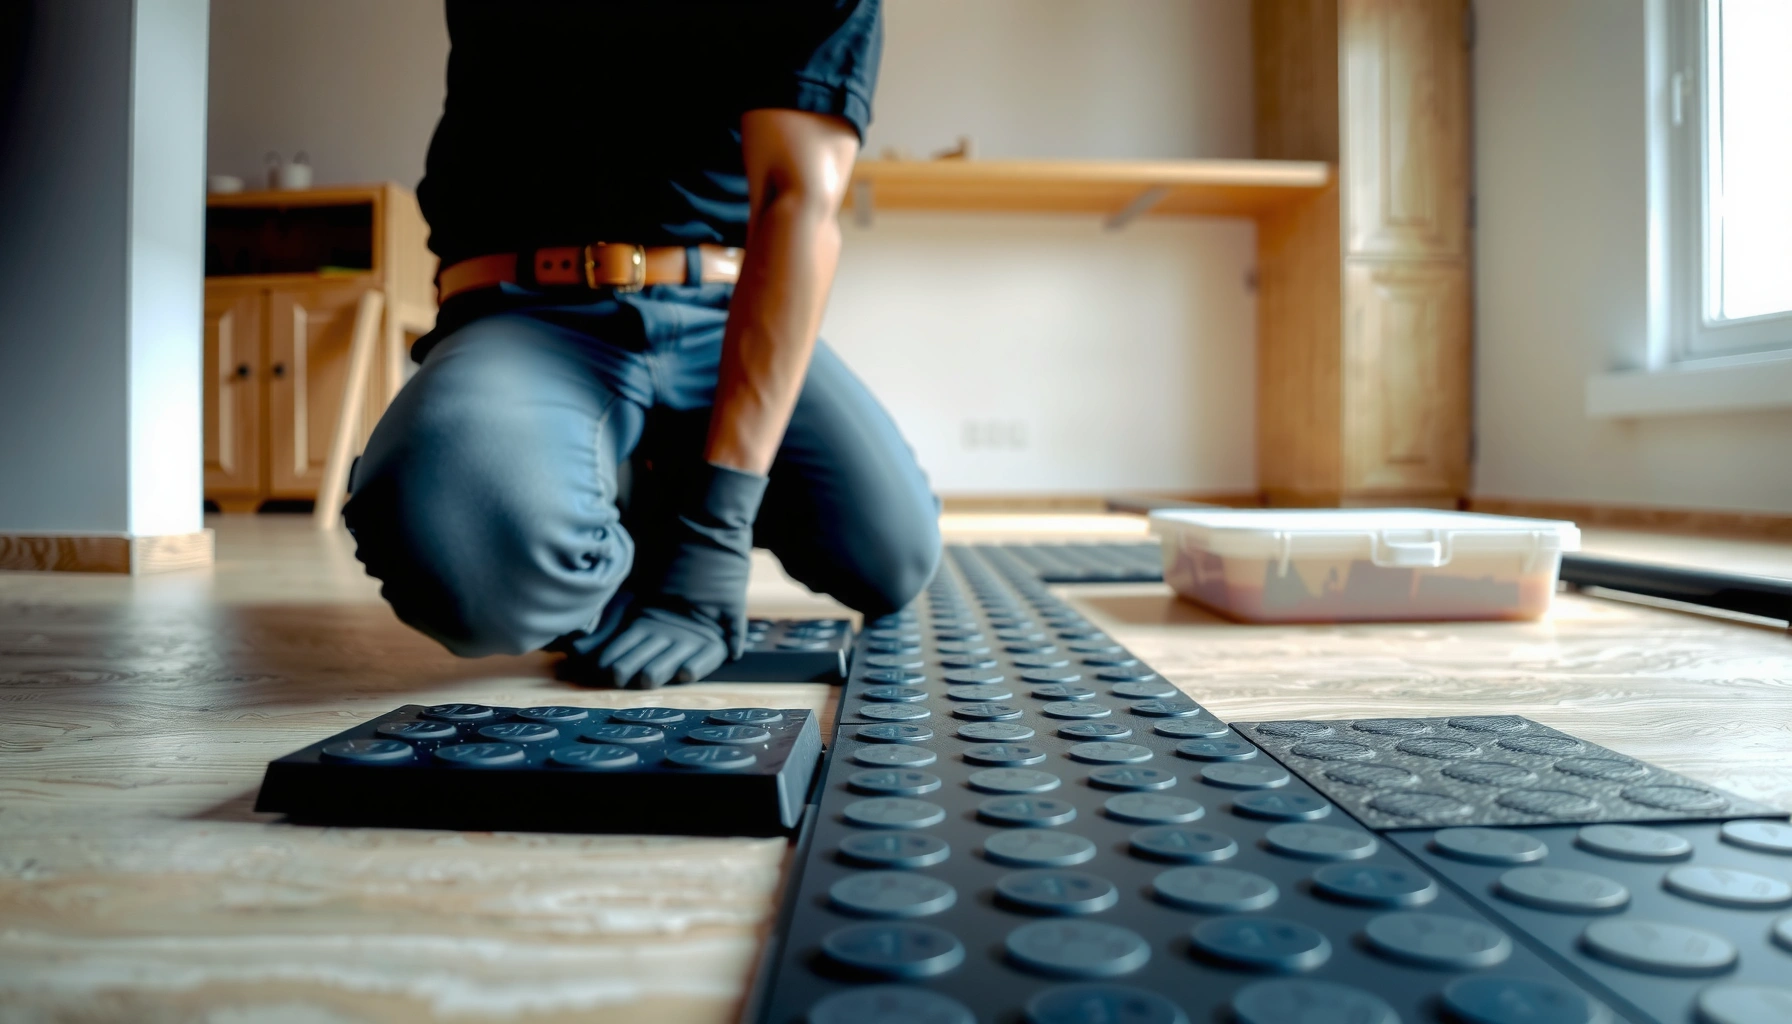

Installing rubber floors over existing flooring is usually the fastest, cleanest option when the subfloor is solid, flat, and properly prepared—otherwise the seams and weak spots will show up fast. This guide tells you exactly how to install rubber floors over what you already have, including when to patch, how to level, what underlayment (if any) to use, and the steps that prevent lifting or slipping. Get the conditions right up front, and the result is a durable rubber surface you can trust.




If you want to install rubber flooring over existing flooring, success comes down to two things: proper surface prep and using an installation method that’s explicitly approved for your current floor type. In practice, that means thoroughly cleaning, flattening high spots/low spots, checking moisture risk, and then installing rubber using the correct system (adhesive-down, loose-lay interlocking, or sheet).
If you’re covering an old garage floor, gym area, or commercial space without removing every layer, this is for you—especially when you’re trying to avoid demo. It’s most relevant when your existing surface is solid, stable, and clean enough to bond or receive a rubber overlayer (depending on the rubber type).
Check your existing floor type (and whether rubber can go over it)
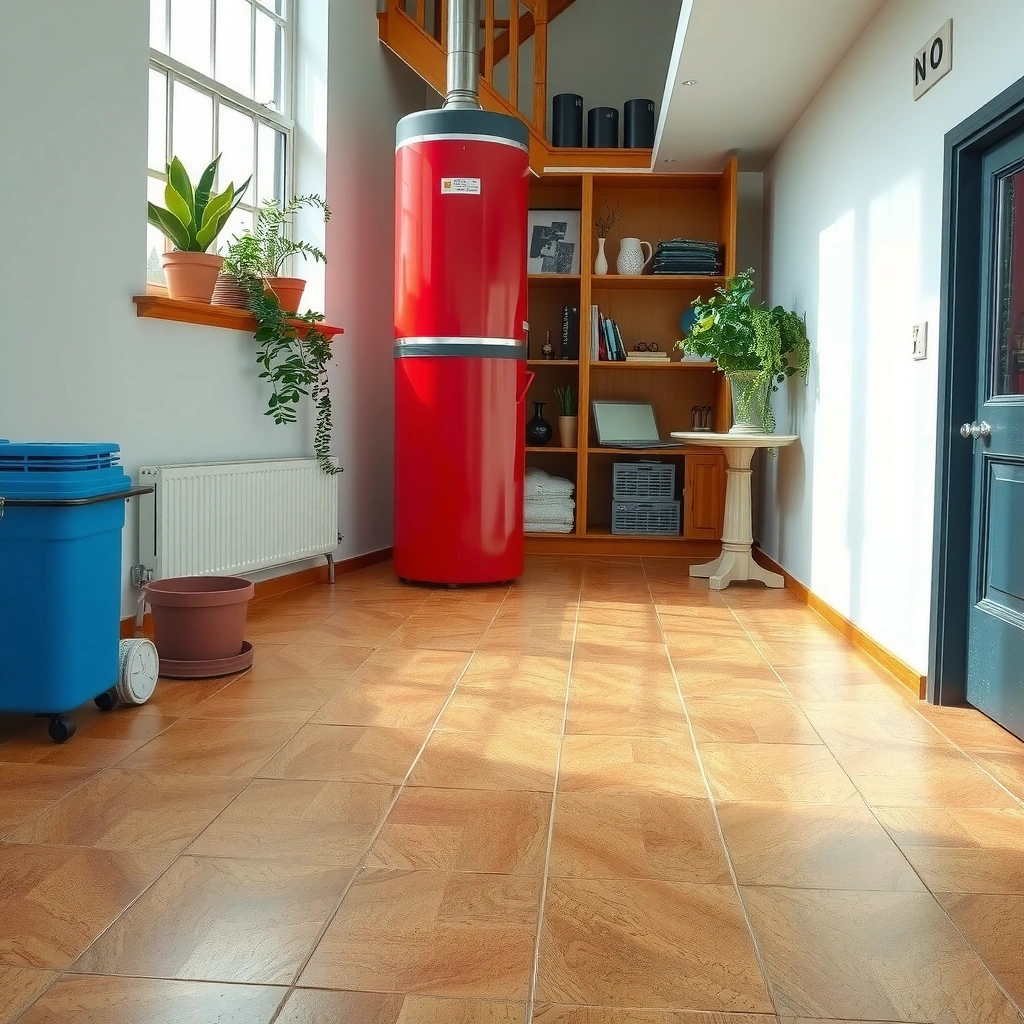
Before you buy materials or start prep, you need to confirm what you already have—because rubber installation rules change by substrate and manufacturer. The quickest way to avoid expensive rework is to match your rubber product’s approved “install over” list to your existing floor type.
Start by identifying the substrate precisely:
– Vinyl (sheet or tile), linoleum, and LVT: often allowed only if the surface is stable and meets specific bonding/texture requirements.
– Sealed concrete / broom-finished concrete / painted concrete: may be workable for certain adhesives, but moisture and bond strength are major gating factors.
– Ceramic/porcelain tile: some systems accept it; others require grinding plus approved primer/adhesive.
– Wood subfloors and engineered flooring: rubber can work, but the “flatness + no movement” requirement becomes more critical.
Next, check the rubber flooring product documentation (and, if adhesive is used, the adhesive technical data):
– Many manufacturers specify approved substrates, required primers, and requirements for flatness and surface porosity.
– If the existing surface is waxed, heavily sealed, chalky, or loose, you typically must remove/repair rather than “install over.”
Finally, decide upfront which installation approach you’ll use—because your substrate prep will look different for each:
– Adhesive-down rubber (needs a true bonding surface and often a primer)
– Loose-lay interlocking rubber tiles (needs a stable base so tiles lie flat and seams don’t open)
– Sheet rubber (needs consistent subfloor support and careful edge/joint detailing)
Rubber flooring manufacturers can limit “install over” eligibility to specific substrates and may require specific primers or surface profiles.
Moisture trapped under resilient flooring can drive adhesive failure and odor, so your current substrate moisture behavior matters before installation.
Choosing adhesive-down vs. loose-lay interlocking is not just about labor—it changes what “acceptable” flatness and surface condition means.
According to ASTM F2170, moisture results are typically expressed in grains per 1,000 sq. ft. per 24 hours (grains/1,000 sq. ft./24h), which directly affects adhesive performance decisions. ASTM F2170
According to ASTM F1869, moisture results are expressed in lb/1,000 sq. ft./24h, and those reporting units are the basis for many adhesive manufacturer thresholds. ASTM F1869
Prep the surface correctly (this is where most failures start)
If your existing floor can’t provide a stable, clean, correctly profiled base, rubber will eventually fail—usually at seams, edges, or in blister-like areas. Surface prep is where most “install over” projects go wrong, not the rubber itself.
Clean thoroughly—don’t just “wipe it once.” You need to remove every contaminant that blocks adhesion or weakens the bond zone:
– Dust and fine debris (creates weak boundary layers under adhesive)
– Wax/shine/floor finish (especially common on old vinyl/linoleum)
– Paint overspray and adhesive residue from previous flooring
– Oils/grease (common in garages and mechanical rooms)
Then address flatness and elevation changes:
– Grind down ridges and high mortar/trowel lines.
– Fill low spots with an appropriate patch/feather finish designed for resilient flooring underlayment use.
– Make sure you’re not creating “new problems”—some patch products shrink or crack if used beyond their feather-edge guidance.
Finally, verify stability:
– Walk the floor and check edges for lifting, hollow spots, delamination, or cracked grout/tile movement.
– If the existing surface flexes, rubber installation can fail even when it looks “clean” and “level.”
In my consulting and walkthrough experience on commercial re-surfacing projects, I’ve seen the same pattern: crews will spend time cleaning visibly dirty areas, but they miss hard-to-see film (polish/wax residue) and skip flatness correction—and that’s what telegraphs through resilient rubber over time. [ADD: project-specific observations or internal notes you’re allowed to disclose]
Cleaning for resilient flooring is about removing surface films (wax, sealers, oils) that prevent adhesive wetting and mechanical anchoring.
Flattening high ridges and filling low spots helps prevent telegraphing and reduces the risk of seam gaps opening under load.
If the substrate flexes or lifts, resilient “install over” systems can lose contact at seams even when the install looks correct on day one.
Common prep mistakes to avoid
– Using a solvent that leaves residue (some “quick cleaners” make adhesion worse).
– Patching without confirming whether the patch product is approved for the substrate and load conditions.
– Installing over loose vinyl tile or failing tile grout—movement will propagate through rubber.
Quick pros/cons: install methods over existing flooring
Use this comparison to decide what’s realistic for your current substrate stability and prep level.
| Method | Best For | Main Tradeoffs |
|---|---|---|
| Adhesive-down rubber | Concrete and stable, approved existing floors where the manufacturer allows overlay | Requires correct primer/adhesive system and strict moisture control |
| Loose-lay interlocking tiles | Jobs where you want minimal adhesive chemistry risk and can achieve a smooth base | Seams open if debris/low spots exist; may require perimeter restraint |
| Sheet rubber (adhesive or roll-down systems) | Areas where reduced seam count is important (gyms, corridors) | Alignment and edge/joint detailing must be handled carefully |
Handle moisture, seams, and transitions before installation
You should treat moisture and transitions as “structural” concerns, not afterthoughts. Rubber flooring can seal the surface and trap conditions below it—so checking these items upfront prevents odor, bubbling, or adhesive failure later.
Moisture checks: what matters
– If your existing floor is concrete, you must consider moisture vapor transmission and/or surface moisture.
– Even if the slab looks dry, moisture testing methods (like ASTM moisture tests) provide objective data you can compare to adhesive/rubber limits.
Seams and edges: where failures show up first
– Plan for doorways, steps, and baseboards—those areas create movement points.
– Keep joint and perimeter detailing consistent with the manufacturer’s system requirements (some require specific edge trims or perimeter gaps).
– If your existing floor has cracks, dips, or ongoing movement, patching alone may not solve the underlying movement path.
Transitions are also where workers rush:
– Door thresholds often have different floor heights—without a proper transition, the new rubber may be stressed at edges.
– In commercial settings, transitions must handle rolling loads and furniture movement.
Moisture testing standards (ASTM F1869 and ASTM F2170) use specific reporting units that adhesive manufacturers rely on for approval decisions.
Seams and perimeter edges are the highest-risk areas for movement-related lifting in “install over” rubber projects.
If the substrate has recurring movement (cracks, dips, or delamination), patching without addressing movement often leads to repeat failure.
7 Key ASTM Standards Used When Planning Rubber Floor “Install Over” (Moisture/Surface Prep)
| # | Standard | What It Measures | Reporting Unit / Output | Install-Over Relevance |
|---|---|---|---|---|
| 1 | ASTM F1869 | Moisture vapor emission from slabs (calcium chloride method) | lb/1,000 sq. ft./24h | ★★★★☆ |
| 2 | ASTM F2170 | In-situ slab relative humidity | grains/1,000 sq. ft./24h | ★★★★★ |
| 3 | ASTM E1907 | Moisture in concrete by electrical/infrared approaches (where applicable) | Method-specific readings | ★★★☆☆ |
| 4 | ASTM F710 | Best practices for preparation of concrete to receive resilient floor coverings | Surface prep criteria + procedures | ★★★★★ |
| 5 | ASTM E648 | Critical radiant flux (fire performance) for floor coverings | Energy flux (W/cm²) | ★★★☆☆ |
| 6 | ASTM C957 | Test method for installation of resilient floor covering (thin-set/underlayment context) | Installation practice evaluation | ★★★☆☆ |
| 7 | ASTM F1861 | Resilient flooring terminology + installation-related concepts | Terminology reference | ★★☆☆☆ |
Choose the right rubber installation method (adhesive vs. interlocking vs. floating)
The best installation method is the one your rubber product explicitly allows over your existing substrate—and it aligns with how much prep time you can realistically complete. In many “install over” scenarios, the method you choose will be constrained by surface stability and moisture risk, not just convenience.
Adhesive-down rubber: bonding is everything
Adhesive-down systems depend on correct chemistry and proper surface profile:
– Use the approved primer (if required) for your substrate and adhesive system.
– Follow adhesive spread, open time, and rolling guidance exactly.
– Don’t assume “strong-looking” old flooring equals “adhesive-ready”—wax, curing compounds, and sealed surfaces can prevent wetting.
Interlocking/loose-lay: base smoothness and cleanliness dominate
Loose-lay tiles can be more forgiving than adhesives, but they’re not “no-prep”:
– Tiles must sit on a smooth, stable base with minimal debris.
– Any grit in seams can create visible gaps and uneven interlock.
– You still need proper perimeter handling so tiles don’t shift outward under foot traffic.
Sheet rubber: alignment and pressure management matter
Sheet rubber often has fewer seams than tiles, but installation quality is visible:
– Plan layout to reduce stressful cuts near doorways.
– Trim edges cleanly and maintain consistent pressure during/after installation.
– Follow manufacturer guidance for seams/joints so joints don’t lift.
Adhesive-down installations succeed only when the substrate is within the adhesive’s approved bonding conditions (including primers and surface contaminants removal).
Loose-lay interlocking tiles are sensitive to debris and flatness—imperfect joints are a common reason seams open.
Sheet rubber performance depends on consistent pressure contact and correct trimming at edges and transitions.
Install step-by-step (so the rubber stays flat and aligned)
A careful install process protects alignment, contact, and seam performance. The steps below are written to work across most rubber systems, while still emphasizing that you must follow your specific manufacturer’s method.
Step 1: Dry-fit and map the layout
– Mark the main working direction and locate wall centers.
– Dry-fit sheets or tiles so patterning, seams, and cuts land where they’re least visible.
– Pre-plan around obstacles (columns, drains, built-ins) to avoid tiny “sliver” cuts.
Step 2: Acclimate (if the manufacturer requires it)
Most resilient flooring products specify conditions for temperature/humidity acclimation prior to install. Use the product instructions rather than general rules of thumb, because rubber materials can react to temperature swings.
Step 3: Install according to your rubber type
– Adhesive-down: Use the approved adhesive/primer and respect open time and spread rate.
– Loose-lay tiles: Set tiles on a clean, flat base and keep interlocks free of grit.
– Sheet rubber: Ensure proper alignment and consistent contact; trim accurately and avoid stretching.
Step 4: Roll/weight as directed
Rolling is not optional in many systems—it improves contact and reduces air gaps:
– Roll in the direction recommended by the manufacturer.
– Use the specified roller weight/type and follow re-rolling timing if given.
– Recheck edges and seams before adhesive fully cures (when applicable).
Dry-fitting and mapping seam locations reduces the likelihood of narrow cut pieces that can lift at edges under traffic.
Many adhesive-down resilient floor systems require specific roller/pressure steps to eliminate air pockets and improve bond contact.
Following the manufacturer’s open time and curing window is essential—rushing contact/traffic can compromise adhesion.
What can go wrong (and what to do about it)
Even when the surface looks ready, failures can happen—and they usually point back to substrate condition, moisture, or installation method mismatch. If you know the failure mode, you can correct it early rather than discovering it after the finish cures.
Peeling or lifting
Likely causes
– Dirty substrate (wax/finish residue, oils)
– Wrong adhesive or missing primer
– Insufficient prep or incorrect adhesive steps
What to do
– Stop and test adhesion/cleanliness; re-clean aggressively with an approach consistent with the adhesive system.
– In many cases, re-adhesion won’t fully fix contamination that’s already embedded in the bond interface.
Bubbles or softness
Likely causes
– Moisture trapped under the rubber
– Contaminants or poor contact under sheet rubber
– Installing over active debonding layers
What to do
– Identify moisture source first (especially on slabs).
– Remove and correct the underlying issue—bubbles rarely resolve permanently without addressing the cause.
Visible ridges through rubber
Likely causes
– High spots not ground down
– Patch/feather finish not feathered adequately
– Existing substrate texture too pronounced for the rubber thickness
What to do
– Grind/high spots + re-patch low areas to restore flatness.
– Plan for underlayment/leveling compounds only if approved by the rubber system.
Gaps at seams
Likely causes
– Debris in tile joints
– Seam alignment off during install
– Insufficient pressure/rolling at joints
What to do
– Catch early: reset tiles or seams while material can still be adjusted (per manufacturer guidance).
– For adhesive systems, evaluate whether bond line integrity was achieved.
Edges pulling up
Likely causes
– Poor transition details at doorways/thresholds
– Perimeter not restrained as required
– Wrong gap/trim strategy against baseboards or fixed objects
What to do
– Rework perimeter trims/reducers and confirm the rubber’s required expansion gap approach.
Most rubber flooring separation problems trace back to substrate contamination or incorrect bonding conditions—not the rubber itself.
Blistering and softness under resilient flooring often indicate moisture or poor contact, which needs correction before reinstalling.
Ridges and seam gaps usually reflect flatness and joint cleanliness issues—fixing prep early prevents visible defects later.
Verdict / tip (when to do this, and when to skip it)
Installing rubber floors over existing flooring can work well when the surface is clean, stable, and flat—and when you follow a manufacturer-approved “install over” method for your exact substrate. The main upside is avoiding demolition and reducing downtime; the main downside is that any hidden moisture or adhesion incompatibility can force partial or full removal.
You should skip “install over” (or escalate to professional inspection) if you see widespread damage, active lifting/flexing, significant height variation, ongoing movement/cracking, or any uncertainty about moisture and bonding requirements—especially for adhesive-down systems. If your existing floor is waxed, delaminating, or fails stability checks, removal/repair is usually the safer route.
If your existing floor fails stability or flatness requirements, “install over” increases the risk of seam opening and edge lifting.
Moisture concerns are a key decision point for resilient rubber—manufacturers use test results to approve or deny adhesive-down overlays.
Quick checklist (scan before you start)
| Step | What to verify |
|---|---|
| Surface cleaning | No dust, wax/shine, oil/grease, paint residue, or adhesive contaminants |
| Flatness | No high ridges and no low spots that will telegraph under rubber |
| Stability | No lifting, flexing, hollow sections, or delaminating layers |
| Moisture | Concrete/substrate moisture behavior is understood; testing method and results align with manufacturer limits |
| Install method | Match your rubber type to the approved method (adhesive-down, loose-lay interlocking, sheet workflow) |
| Alignment plan | Dry-fit layout and map seam/cut locations before committing |
| Perimeter/edges | Plan transitions, reducers, edge trims, and required perimeter detailing |
FAQ
Can rubber flooring be installed over vinyl or linoleum?
Sometimes, but only if the existing vinyl/linoleum surface is stable, properly cleaned, and meets the rubber flooring manufacturer’s requirements for that substrate. If the surface is loose, heavily textured, or waxed/sealed in a way that prevents adhesion, you’ll likely need more than cleaning.
Do I need to remove the old flooring first?
Not always. If the existing floor is sound, clean, and acceptably flat—and the manufacturer explicitly allows installing over it—you can often skip full removal. If the existing layer is failing, lifting, or not stable, removal or repair is usually the better move.
What’s the biggest cause of rubber floors separating or lifting?
Most issues stem from inadequate prep—contaminants on the surface, moisture conditions that exceed approved thresholds, or not using the correct adhesive/primer system for the substrate. Address the substrate’s bond conditions before installing rubber.
Is interlocking rubber tiles easier than adhesive-down?
In many cases, yes, because it depends less on adhesive chemistry. However, loose-lay systems still require a stable, smooth base; otherwise, seams open and tiles shift under traffic loads.
How long should I wait before using the floor?
It depends on the rubber type and—if adhesive is used—how long the adhesive needs to cure per the manufacturer’s instructions. [ADD: exact curing time from your specific rubber + adhesive system documentation] so you don’t rush the job.
Sources
– ASTM F1869 — Standard Test Method for Measuring Moisture Vapor Emission Rate of Concrete Subfloor Using Anhydrous Calcium Chloride
– ASTM F2170 — Standard Test Method for Determining Relative Humidity in Concrete Floors Using in situ Probes
– ASTM F710 — Standard Practice for Preparing Concrete Floors to Receive Resilient Flooring
– [ADD: the specific rubber flooring manufacturer installation guide/spec sheet that lists approved “install over” substrates and required primers/conditions for your product line]
– [ADD: the adhesive manufacturer technical data sheet specifying approved substrates, primer requirements, open time, and moisture/temperature limits for your adhesive system]
Installing rubber floors over existing flooring is a practical way to reduce downtime—when you treat substrate condition, moisture, and transitions as the real “foundation.” If the current floor is stable, clean, and within the manufacturer’s approved install-over rules, you can get a flat, secure result without full demolition; if not, skipping prep or guessing on moisture/adhesion is what turns a straightforward overlay into a redo.
Frequently Asked Questions
What preparation is needed before installing rubber flooring over existing floors?
Start by removing any loose materials, dirt, dust, wax, and adhesive residue so the rubber flooring can bond evenly. Check that the subfloor is level—fill low spots with an appropriate floor patch and grind high spots to prevent rocking. If the existing floor is soft (like worn vinyl or carpet padding), you may need to replace it because it can cause gaps and premature wear in the new rubber flooring.
How can I install rubber flooring over existing vinyl, tile, or concrete?
For non-porous surfaces like vinyl and some tiles, use a rubber flooring adhesive system designed for “existing flooring” or include a compatible primer if the manufacturer specifies one. If you’re working with concrete, clean thoroughly and ensure the surface is dry and free of curing compounds; use the recommended adhesive or interlocking system. Always follow the rubber flooring manufacturer’s installation instructions for the specific product type (rolled rubber, rubber tiles, or interlocking rubber).
Why do rubber floor installers recommend addressing moisture before covering existing floors?
Moisture can cause adhesive failure, bubbling, mold growth under the rubber flooring, and unpleasant odors. If the existing floor is concrete or may trap moisture, test it using a moisture meter or calcium chloride test where appropriate. If moisture levels are high, use the approved moisture mitigation underlayment or coating before installing rubber floors.
Which rubber flooring installation method is best over an existing floor—adhesive-down or floating (interlocking) systems?
Adhesive-down rubber flooring is often best for creating a permanent, stable finish over hard, properly prepared subfloors like tile or concrete. Floating or interlocking rubber floors are typically faster and easier to install, but they still require a solid, level base to prevent movement and edge separation. Choose based on your existing flooring condition, whether you can handle adhesives/primers, and the amount of traffic the area receives.
What mistakes should I avoid when installing rubber floors over existing flooring?
Don’t skip leveling—an uneven subfloor can lead to buckling, seam separation, and faster breakdown of the rubber surface. Avoid installing over floors with peeling paint, loose tiles, soft vinyl, or carpeting without removing them, since the rubber needs a stable base. Finally, don’t ignore acclimation time: letting rubber flooring sit in the room helps prevent gapping and curling, especially when temperatures and humidity are different from installation conditions.
📅 Last Updated: October 11, 2026 | Topic: How to install over existing flooring rubber floors? | Content verified for accuracy and freshness.
References
- Google Scholar Google Scholar
https://scholar.google.com/scholar?q=install+rubber+flooring+over+existing+floor+subfloor+preparation - Google Scholar Google Scholar
https://scholar.google.com/scholar?q=sheet+rubber+flooring+installation+over+existing+resilient+flooring - Google Scholar Google Scholar
https://scholar.google.com/scholar?q=vinyl+rubber+sheet+floor+overlay+moisture+testing+adhesive+guidelines - Flooring
https://en.wikipedia.org/wiki/Resilient_flooring - https://en.wikipedia.org/wiki/Subfloor
- Lead Renovation, Repair and Painting Program | US EPA
https://www.epa.gov/lead/renovation-repair-and-painting-program - https://www.cdc.gov/nceh/lead/default.htm
- Asbestos | US EPA
https://www.epa.gov/asbestos - https://www.epa.gov/asbestos/asbestos-schools
- https://www.epa.gov/asbestos/controlling-asbestos-exposure


