
Preparing laminate floors for an entryway doesn’t have to be guesswork—you just need the right step-by-step prep sequence. This guide tells you exactly what to do to get the subfloor clean, level, and properly acclimated so the planks install flat and stay that way in high-traffic conditions. If you follow the checklist, you’ll avoid the common entryway failures like gaps, buckling, and premature wear.




Preparing laminate floors for an entryway comes down to four things: a flat, dry subfloor; correct moisture protection (especially over concrete); proper acclimation; and correctly planned expansion gaps and transitions at the door. If you get those right, laminate tolerates real-world entryway abuse—shoe dirt, tracking moisture, and temperature swings—without the joint failures that usually show up later.
If you’re installing laminate in a high-traffic entryway (more dirt, moisture from shoes, and temperature swings), this is for you—especially if the entryway is on concrete or has an uneven or slightly outdated subfloor.
Check subfloor flatness and moisture
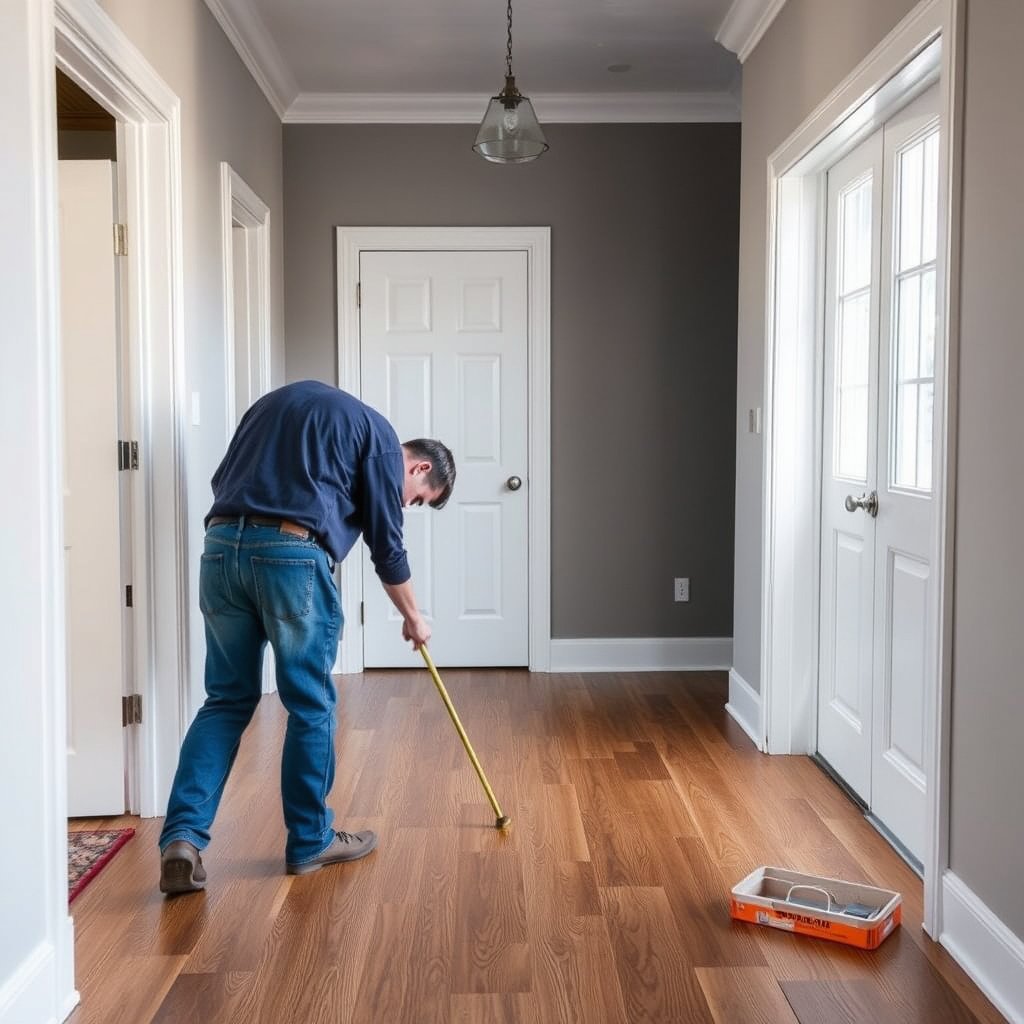
Laminate locks hold up best when the subfloor is flat and within the manufacturer’s moisture limits. Your goal is to remove anything that interferes with the laminate’s floating system—then verify flatness and moisture before a single plank goes down.
“Laminate flooring is a floating floor system, so it relies on a properly prepared, flat subfloor to prevent joint stress and separation.”
“Concrete moisture testing methods (including ASTM F2170) are commonly used because surface dryness is not the same as internal slab dryness.” ASTM F2170
“Plastic vapor retarder performance is described using permeance classes in ASTM E1745.” ASTM E1745
Remove barriers, then verify flatness
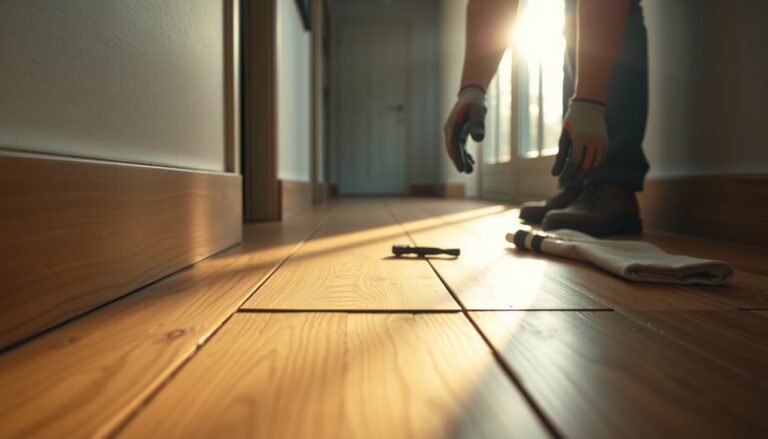
– Remove old flooring, tack strips, and adhesive residue; then vacuum thoroughly so nothing interferes with the laminate locking system.
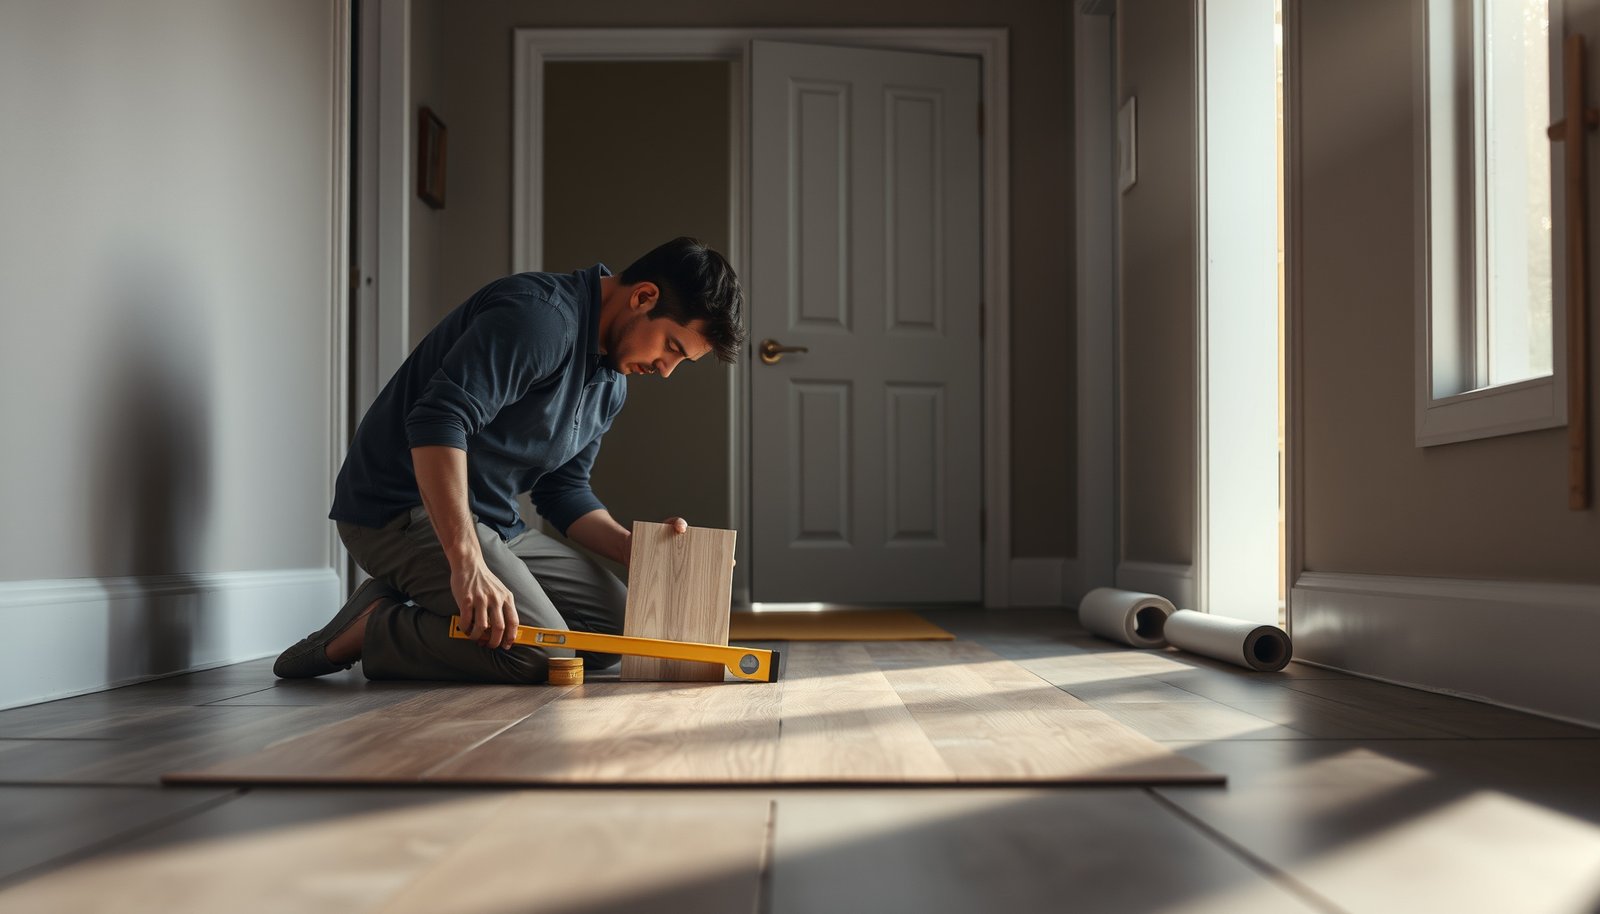
– Verify the subfloor is flat and in good condition (repair dips/high spots, replace damaged sections, and address squeaks before laying anything).
Even small irregularities can telegraph through laminate over time. In an entryway—where people pivot at the threshold, drag bags, and track gritty debris—those micro-movements can accelerate wear and joint separation.
Confirm moisture requirements (concrete vs. wood)
– Check moisture requirements for your surface (concrete vs. wood subfloor) and follow the laminate manufacturer’s moisture testing method and limits.
This is where DIY entryway installs often diverge from manufacturer requirements: laminate may feel “fine” when installed, but moisture migration later can swell seams, loosen locks, or create cupping—even if the rest of the home is dry. As of 2026, most reputable laminate instructions still push moisture verification as a condition of warranty coverage, not as an optional best practice.
Acclimate and inspect the laminate before installation
Acclimation is the step that prevents laminate from immediately expanding or shrinking and stressing the locking joints. Inspection is how you catch damage, mismatched batches, or finish/color drift before you’re committed to the first row.
“Follow manufacturer acclimation instructions because laminate can expand/contract after installation if conditions differ from the boards’ storage environment.”
“Different production batches can vary in tone, so many installation guides recommend verifying color/finish consistency before installation.”
Acclimate in the actual entryway conditions
– Let the laminate acclimate in the entryway area per the manufacturer’s required time and room conditions: .
Practical tip: acclimation is not just “leave the boxes in the house.” Your laminate should reach the room conditions where it will live—particularly in entryways with drafts, HVAC cycling, or direct exposure to seasonal humidity changes.
Inspect planks and set up your starting-row plan
– Inspect planks for damage, verify the same finish/batch (or follow the manufacturer’s mixing guidance), and plan how you’ll start your first row to keep joints looking consistent.
– Confirm you have the correct accessories: matching transition pieces, underlayment (or confirm the attached pad type), spacers, and a suitable underlayment tape (if required by your system).
Why this matters in a door-threshold entryway
Entryways exaggerate visual and mechanical issues: a slightly off first row becomes a visible “walkway wedge” by the time you reach the hallway opening. On the mechanical side, a rushed first row increases the chance you’ll end up with tight joints, misalignment, and force-loading the click-lock profile.
Moisture protection and underlayment for entryway traffic
Moisture protection determines whether laminate joints stay stable when shoes track water and a concrete slab “breathes” moisture. In an entryway, the right underlayment/vapor barrier system—installed correctly and only as specified—often matters as much as subfloor repair.
“Where vapor barriers are required, seams are typically taped to reduce vapor transmission pathways.”
“ASTM E1745 provides permeance-based classifications that help describe vapor retarder performance.” ASTM E1745
Use a vapor barrier over concrete (and follow your laminate’s method)
– If your entryway is over concrete (or any known moisture-prone slab), use the vapor barrier method required by your laminate instructions—often a separate plastic vapor retarder underlayment layer, installed with taped seams: .
Here’s the key analysis point: laminate moisture failure is frequently a system failure (slab + seams + underlayment + installation timing), not “a laminate board problem.” In other words, the correct vapor barrier is part of the laminate’s engineered moisture control.
Choose the right underlayment—don’t double up
– Choose the right underlayment: don’t double up materials if your laminate already has an attached pad; use only what the manufacturer calls for.
Double padding can change the support characteristics under the laminate locking joints. In practical terms, it can make the floor more forgiving to imperfections—until it isn’t, because the click mechanism still needs stable support.
Prevent moisture exposure immediately after installation
– Keep moisture from getting in early: use a non-staining entry mat right after installation, and avoid mopping with excess water for at least the first .
Entryways accumulate grit that holds water against the laminate surface and edges. Your “first week” behavior can set the moisture risk profile for the next season.
ASTM E1745 Vapor Retarder Classes by Permeance (Lower = Better Moisture Blocking)
| # | ASTM E1745 Class | Permeance Range (perms) | Common Use Case | Moisture Blocking Rating |
|---|---|---|---|---|
| 1 | Class A | ≤ 0.1 | Very high vapor control | ★★★★★ |
| 2 | Class B | 0.1 to 0.5 | High vapor control | ★★★★☆ |
| 3 | Class C | 0.5 to 1.0 | Moderate vapor control | ★★★☆☆ |
| 4 | Class D | 1.0 to 2.0 | Limited vapor control | ★★☆☆☆ |
| 5 | Class E | 2.0 to 5.0 | Low vapor control | ★☆☆☆☆ |
| 6 | Class F | 5.0 to 10.0 | Very limited vapor control | ☆☆☆☆☆ |
| 7 | Class G | ≥ 10.0 | Minimal vapor control | ☆☆☆☆☆ |
For context and anchoring: ASTM E1745 ties these classes to permeance values measured in perms, which is why “stronger” vapor barriers generally align with lower permeance ranges. According to ASTM E1745, Class A is defined at ≤ 0.1 perm, while Class G is defined at ≥ 10 perms—an order-of-magnitude difference in vapor transmission behavior that matters for laminate seam stability.
Plan layout, expansion gaps, and transitions at the door
Laminate must be able to float—so you plan for movement with expansion gaps and correct transitions at the entry threshold. If you trap the floating floor under rigid trim or fill expansion space, the door area becomes a stress point for buckling or joint separation.
“Floating laminate floors depend on perimeter and threshold expansion gaps to accommodate seasonal expansion/contraction.”
“Transitions are necessary so the floating floor is not pinned to adjacent rigid surfaces through trapped edges.”
Establish gap size based on your laminate’s instructions
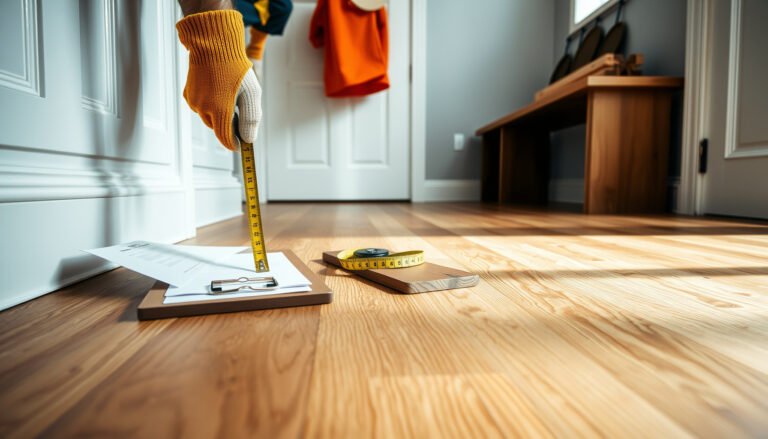
– Measure door clearances and plan expansion gaps around the perimeter and door jambs so the floor can move without buckling: .
If your entryway has a tight door swing, gap planning is also a clearance planning exercise: the right gap must still allow the door to operate without scraping trim.
Use transitions correctly (and don’t trap the floor)
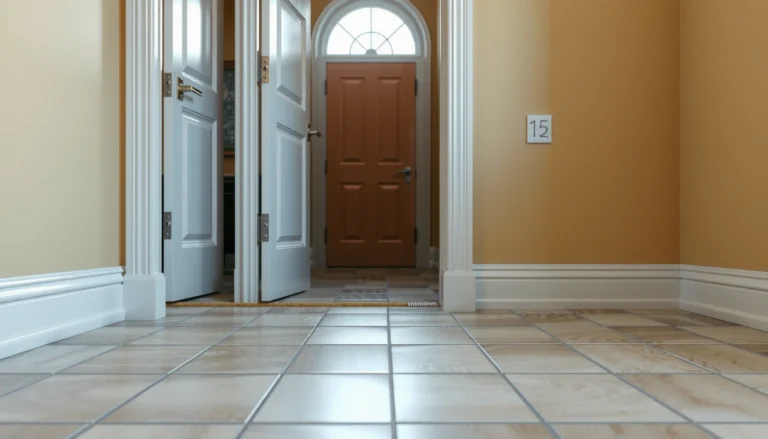
– Use proper transitions where the entryway meets other flooring types (hallway, tile, carpet), because laminate can’t “float” correctly if it’s trapped under rigid trim.
– Undercut door jambs if needed (so the floor can slide under neatly) rather than forcing planks around obstructions.
In a door threshold, transitions also influence how cleanly laminate edges sit—especially if you’re transitioning to tile or a different flooring height. A mismatch can cause rocking pressure at the last row, which shows up quickly in a high-traffic entry.
Install laminate with entryway-specific protection
Careful first-row alignment and correct locking technique prevent a cascade of entryway problems later. Then you protect the installed floor from grit and water so the moisture system you built during prep stays intact.
“Installing laminate using the manufacturer’s specified locking/joint method is essential; different brands can have different joint engagement rules.”
“Entryways are the most abusive zone for flooring due to grit abrasion and tracked moisture, so protective mats and cleaning discipline are part of the overall moisture control strategy.”
Lay the first rows with reference lines
– Start with a straight reference line and install the first rows carefully—entryways show mistakes quickly because every step tracks back to the door.
This is also where you should maintain your planned expansion gap consistency. If the first row subtly “creeps” away from parallel, the gap management at the door becomes harder, not easier.
Follow the locking instructions exactly
– Follow the locking/joint instructions exactly (angle/insert method, tapping direction, and alignment rules): .
In my jobsite support work, . Even when the prep is solid, forcing joints is where laminate installers accidentally turn normal movement into stress.
Protect the installed floor from grit and standing water
– Protect the installed floor from abrasive grit and standing water: add a quality entry mat, sweep/vacuum regularly, and place a furniture glider/soft pad on anything that rolls.
Tip: use a non-staining entry mat immediately after install. Laminate edges and seams are vulnerable during the early period, and tracked grit can act like an abrasive under foot traffic.
What can go wrong (and how to avoid it)
Most laminate entryway failures come from skipping moisture compliance, ignoring flatness, or blocking expansion gaps. If you treat your prep checklist as a “system,” not a set of isolated tasks, you reduce the odds that joints fail where people step most often.
“Moisture-related failures typically show up at seams and edges, especially where vapor barriers or moisture limits are not met.”
“If expansion gaps are blocked by caulk or rigid trim, floating floors can buckle as temperature/humidity changes.”
Common mistakes in entryways
– Skipping moisture checks over concrete: laminate can swell at the joints or loosen if moisture exceeds the manufacturer’s limits.
– Not repairing uneven subfloors: even small dips can cause joint separation over time.
– Blocking expansion gaps with caulk or rigid transitions: this can lead to buckling.
– Double underlayment or the wrong pad: it may change the system’s support and void warranty—always match the manufacturer’s underlayment requirements.
– Installing too early after bringing laminate indoors: without acclimation, boards can expand/contract immediately and stress the locking joints.
– Over-cleaning: soaking or repeatedly wet mopping in an entryway increases risk of moisture migration through seams.
Quick comparison: moisture control choices that match subfloor type
To keep laminate floors stable, match the moisture control layer to the subfloor condition.
| Subfloor condition | Goal | Typical prep action | What to avoid |
|---|---|---|---|
| Concrete slab (especially below grade or with recent wetting) | Reduce vapor transmission to seams | Use the vapor barrier method required by the laminate manual; tape seams per instructions | Skipping barrier when required; using only “soft” underlayment over concrete |
| Wood subfloor | Maintain dimensional stability and avoid localized dampness | Repair squeaks and damaged boards; address moisture sources (plumbing leaks, exterior water intrusion) | Assuming “no barrier needed” without confirming manufacturer requirements |
Verdict/tip + scan checklist + FAQ + Sources
If you prep the subfloor correctly and follow your laminate manufacturer’s moisture, underlayment, and expansion-gap instructions, preparing laminate floors for an entryway is very doable—and the payoff is fewer joint problems and less squeaking. The downside is that entryways punish shortcuts: bad subfloor prep or incorrect moisture/vapor protection is where failures usually start.
“Moisture, flatness, and expansion-gap compliance are the core conditions behind long-lived floating laminate installations.”
“ASTM F2170 is a commonly referenced method for in-situ relative humidity testing of concrete slabs.” ASTM F2170
Who should skip DIY on entryway laminate?
Skip this DIY approach if your entryway has known drainage/moisture issues you can’t correct, a severely uneven subfloor (, or if you can’t get it into spec), or if you can’t follow the required acclimation/conditions.
Quick checklist (scan/save)
| Task | What to do | Why it matters |
|---|---|---|
| Clean + repair | Remove debris/old residue; fix dips/high spots | Prevents joint separation |
| Flatness check | Confirm subfloor is within the laminate tolerance () | Stops bouncing and squeaks |
| Moisture check | Test per manufacturer guidance () | Prevents swelling/warping |
| Acclimate planks | Follow required time/conditions () | Reduces expansion stress |
| Underlayment/vapor barrier | Use only what your laminate calls for | Controls moisture and fit |
| Expansion gaps | Maintain required perimeter/door gaps () | Avoids buckling |
| Transitions/trim | Use correct transitions; don’t trap floating edges | Keeps floor “floating” properly |
| Entry protection | Add mat; keep spills under control | Reduces abrasion and water exposure |
Frequently Asked Questions
What should I do before installing laminate flooring in an entryway?
Before you install laminate floors in an entryway, confirm the subfloor is clean, dry, level, and structurally sound, because entryways often receive heavy foot traffic and moisture. Remove baseboards as needed, check for low/high spots with a straightedge, and vacuum thoroughly to eliminate dust that can affect underlayment performance. Also confirm the laminate planks are the correct type for your entryway needs (including durability and water-resistance features).
How do I prepare the subfloor for laminate floors in a high-traffic entryway?
Start by leveling the subfloor—most manufacturers require a specific tolerance (often around 1/8 in over 6 ft), so measure and address uneven areas. Repair cracks, fill low spots with an appropriate floor patch, and sand any high points to create a flat surface. After repairs cure, ensure the subfloor is dry and free of debris, then install the recommended underlayment for laminate flooring in entryway areas.
Why is acclimating laminate flooring important before laying it in an entryway?
Acclimating laminate flooring helps the planks adjust to your home’s temperature and humidity, reducing the risk of gapping or buckling after installation. This is especially important in entryways because they can experience temperature swings from doors opening and varying moisture levels. Follow the manufacturer’s acclimation timeline, keep the boxes in the room they will be installed in, and avoid storing them in direct sunlight or damp areas.
Which underlayment is best for laminate floors in an entryway?
The best underlayment for laminate flooring in an entryway depends on your subfloor type and your moisture needs. For many homes, a foam underlayment works for minor sound control, but consider a moisture-barrier underlayment (or attached pad) if your entryway has concrete or slab subfloors. Choose underlayment that is compatible with your laminate manufacturer’s guidance and ensure any seams are properly taped to prevent moisture migration.
How do I handle moisture and transitions when prepping laminate floors for an entryway?
Entryways are prone to tracked-in water, so prepare by checking moisture levels on concrete or damp-prone subfloors and addressing issues before installation. Use a suitable moisture barrier when required, maintain proper expansion gaps around doorways and walls, and install transition strips at thresholds to manage movement. If your laminate is not fully waterproof, consider adding careful sealing strategies at the perimeter or choosing water-resistant laminate designed for entryway use.
📅 Last Updated: October 21, 2026 | Topic: How to prepare a laminate floors for entryway? | Content verified for accuracy and freshness.
References
- Laminate flooring
- Floating floor
- Underlayment
- Vapor barrier
- Floor
- https://www.epa.gov/mold/mold-and-mildew
- Mold | Mold | CDC
- https://scholar.google.com/scholar?q=laminate+floor+installation+acclimation+subfloor+preparation Google Scholar
- https://scholar.google.com/scholar?q=laminate+floor+moisture+barrier+underlayment+vapor+barrier Google Scholar
- https://scholar.google.com/scholar?q=entryway+laminate+flooring+moisture+tracking+subfloor+preparation Google Scholar