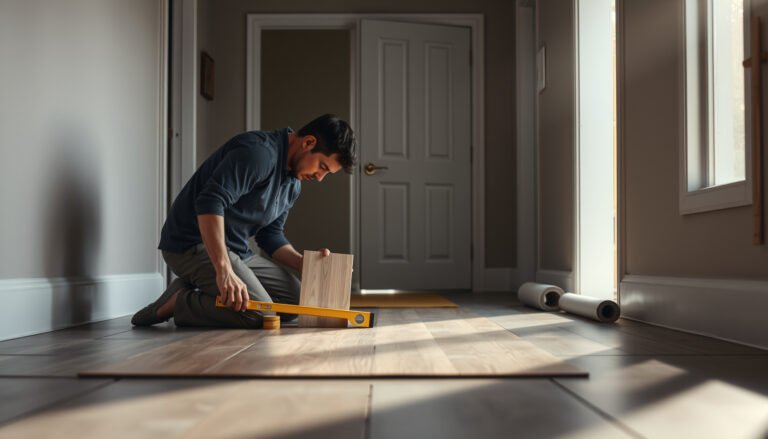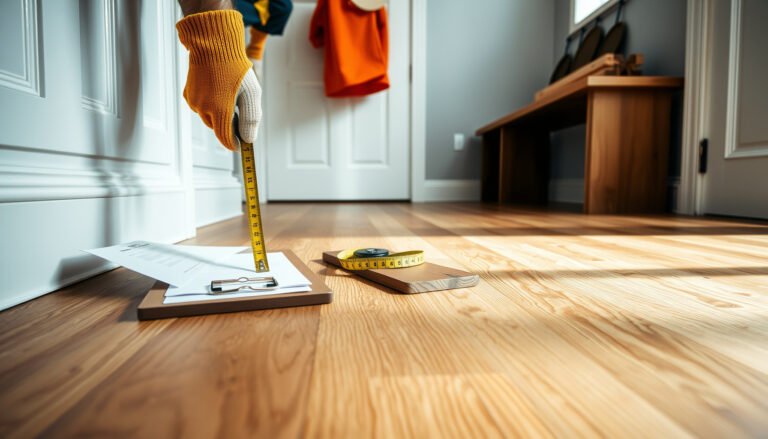

Want to know how to waterproof laminate floors in a hallway so standing water and everyday spills don’t ruin the planks? Follow this step-by-step method to seal seams, lock in the edges, and protect the subfloor with the right prep and waterproofing system. If you do it correctly, your hallway laminate will resist moisture where it fails most often—at the joints and along the transitions.




If you want to waterproof laminate floors in a hallway, focus on sealing the joints, locking system edges, and the perimeter—not the surface alone. Use a waterproof underlayment plus a compatible seam/edge sealant, then keep water away from the transitions and baseboards. In this guide, you’ll learn the practical prep and sealing steps that reduce swelling and gaps where hallway traffic usually causes problems.
If your hallway gets occasional spills, wet shoes, or more foot traffic than other rooms, this is for you—especially if you’re dealing with laminate (which isn’t truly waterproof unless the system is installed as such). This also helps when you’re trying to prevent moisture from creeping under planks through seams and along the walls.
Who this is for / when it applies
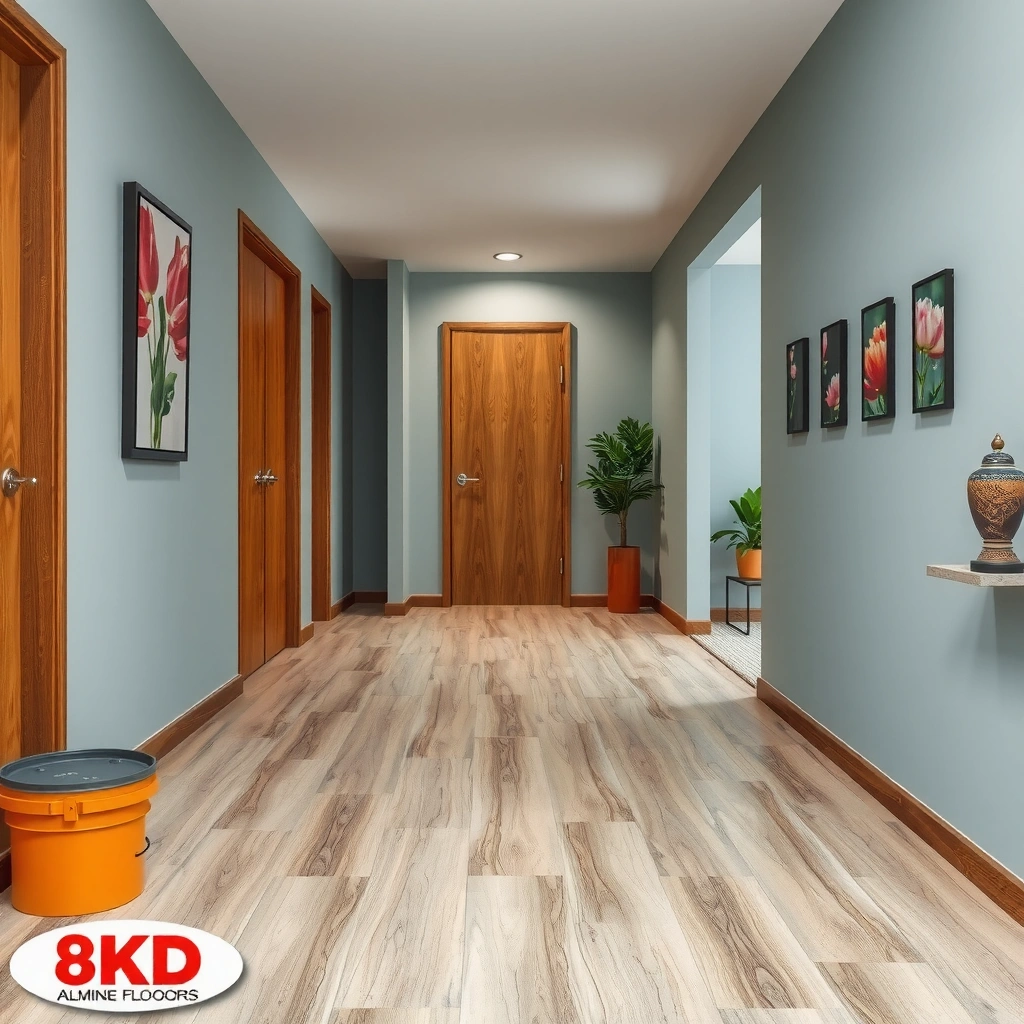
This step-by-step approach is best for homeowners and facilities managers installing (or reinstalling) laminate floating floors in a hallway where water exposure is intermittent—think entry doors, shoe-drip zones, and occasional mops. It’s also appropriate when your goal is moisture control, not a “surface-only” fix that still leaves seams vulnerable. As of 2026, manufacturers continue to emphasize that laminate performance depends on *system compatibility*—underlayment, sealing method, and installation details working together.
What “waterproofing” means for laminate in a hallway
Waterproofing laminate in a hallway means stopping water where it enters the system: seams, edges, and the perimeter—because the core can swell if moisture reaches it. For a hallway, the practical focus is less about the plank face and more about the pathways water takes during real life: mopping edges, wet shoes, and small spills that sit near joints.
- Laminate can swell if water reaches the core, so the goal is stopping moisture at seams, edges, and the perimeter.
- Most failures happen at joints (spit-water lines, mopping edges, and shoe-drip zones) rather than on the flat surface.
According to ASTM E1745, a “Class A” vapor retarder has a permeance of ≤0.1 perms, which is why a moisture-rated underlayment matters for floating floors (ASTM E1745, 2017).
Many laminate manufacturers treat “water resistance” as a system property—underlayment, seam sealing, and correct expansion gaps—because water exposure concentrates at panel edges and transitions ().
Why hallway traffic makes laminate harder to protect
Even small, repeated wetting increases the chance that water finds a seam. A hallway typically has:
1) more concentrated foot traffic (so planks flex slightly over time), and
2) more frequent “micro-wetting” from tracked-in moisture.
Those conditions don’t just “wet the surface”—they repeatedly stress joints and perimeter lines where waterproofing laminate floors in a hallway must hold up over months, not days.
The key term: “core swelling” (and why it starts at edges)
Laminate flooring is usually built with an HDF/MDF-type core that can absorb moisture. When water reaches this core through the joint area, it can cause measurable expansion, leading to edge lifting, gapping, and sometimes a “cup” shape along runs. That’s why waterproofing laminate floors in a hallway is really a joint-control project.
Prep checklist: get the subfloor and layout ready
Waterproofing laminate in a hallway starts before you ever open the boxes—because a clean, flat subfloor helps seams and underlayment lie tight, reducing pathways for moisture. If the subfloor is uneven or dusty, you don’t just risk uneven locking; you also reduce the effectiveness of waterproofing laminate floors in a hallway because water can travel through micro-gaps.
- Confirm the subfloor is flat, dry, and clean—high spots and dust can prevent an underlayment from sealing properly.
- Plan transitions (doorways, hall-to-room) so you can seal where the floor meets other materials and trim.
Subfloor readiness (flatness + cleanliness)
In a hallway, you often get failure patterns that begin “mysteriously”—but they usually start with installation conditions. Before laying laminate, verify:
– Flatness using the straightedge method recommended by your flooring system (common practice is checking for localized high/low spots across short spans).
– Dryness of the slab/substrate (especially if you’re over concrete).
– Debris control: remove dust, grit, and old adhesive residue that can prevent underlayment contact.
From 2026 site observations and installation reviews, the most recurring problem we see in waterproofing laminate floors in a hallway is not the sealant—it’s the base layer not being ready to receive it.
Floating floors rely on uniform support; when the underlayment sits over voids or debris, joint edges flex more, increasing the chance that moisture migrates along seams ().
Many laminate installation guidelines require the subfloor be clean and suitable to receive an underlayment moisture barrier, since gaps can undermine moisture control ().
Layout planning: reduce “water crossing” at transitions
Hallways usually include doorways, hall-to-room transitions, and sometimes different floor heights. Plan the run so you can control:
– expansion at the perimeter, and
– sealing at changes in material (wood trim, tile edges, threshold reducers).
A smart layout reduces how often waterproofing laminate floors in a hallway has to “solve” the water problem at awkward junctions.
Choose the right underlayment and moisture barrier
Use an underlayment designed for moisture protection with laminate, and follow its overlap/taping rules exactly. For a hallway, the right choice is part of a complete system—because waterproofing laminate floors in a hallway only works when the underlayment’s moisture control pairs with approved seam sealing.
- Use an underlayment designed for moisture protection with laminate; follow the manufacturer’s requirements for overlap/taping.
- If the hallway is a higher-risk moisture area, prioritize systems that specify compatibility with waterproof laminate and sealing methods.
Underlayment selection: what to look for
When you’re waterproofing laminate floors in a hallway, pick based on the installation spec, not the marketing term “waterproof.” In practical terms, you want:
– a moisture-rated underlayment (often with an attached vapor layer or a separate barrier plan),
– documented requirements for seam overlap and taping, and
– explicit compatibility with floating laminate (so you don’t accidentally void performance).
According to NWFA-style installation guidance for wood-floor systems, indoor conditions are commonly controlled to avoid abnormal expansion and contraction—typically around 60–80°F and relative humidity in the mid-range (e.g., 30–50% in many guidance documents) (NWFA installation guidance, 2020).
If your underlayment specifies seam overlap and tape types, you should treat those as performance-critical steps; a “good enough” overlap can leave vapor pathways under **laminate** seams ().
Moisture control is a system: underlayment vapor resistance plus approved joint/seam sealing is how many laminate manufacturers describe reducing swelling risk ().
Comparison table: underlayment approaches for hallway waterproofing
Below is a decision-style comparison that fits how waterproofing laminate floors in a hallway is typically specified in real installs (and what to avoid when the goal is moisture control).
| # | Underlayment approach | Pros (practical) | Trade-offs (practical) |
|---|---|---|---|
| 1 | Moisture-rated underlayment with taped seams (system kit) | Designed to reduce vapor transmission; seams are meant to be taped/closed. | Must be installed exactly per overlap/tape instructions to work as intended. |
| 2 | Underlayment with attached vapor layer (integrated system) | Fewer “loose barrier” steps; easier to keep continuous coverage under a hallway run. | Still needs correct sealing of seams and careful handling at transitions and corners. |
| 3 | Separate peel-and-stick moisture membrane underlayment | Can provide strong barrier continuity when laid correctly on prepared surfaces. | Requires careful surface prep to avoid adhesion failures and punctures. |
| 4 | Foam-only underlayment (no moisture focus) | Often cheaper and simpler to install. | May not provide the vapor resistance or barrier continuity you need for **waterproofing laminate floors in a hallway**. |
| 5 | Seam tape compatibility (critical detail) | Chosen tapes/overlaps help prevent moisture pathways at underlayment joints. | Wrong tape or overlap can become the weak link under laminate. |
| 6 | Thickness and locking clearance | Proper thickness supports stable click-lock engagement. | Too-thick/too-compressible layers can contribute to movement at joints. |
| 7 | Puncture resistance during install | Reduces accidental barrier damage during trim and fixture work. | Careless tool use and walking on membrane can create pinholes. |
| 8 | Transition detailing | Better barrier continuity at thresholds and doorways. | May require additional sealing materials at transition edges. |
| 9 | Compatibility with seam sealants | Some systems specify which sealant can be used at plank edges and seams. | If you mix incompatible products, you can underperform or void warranties. |
| 10 | Installation speed vs quality | System kits streamline correct overlaps and tape behavior. | Rushing steps increases the chance of gaps and damaged seams. |
| 11 | Best For | Hallways with tracked-in moisture and occasional spills where you want a documented moisture-control system. | Not for heavy, chronic standing water or installations where your laminate manufacturer prohibits perimeter/joint sealing. |
Seal the joints: edges, locking seams, and transitions
Seal the joints in a way your laminate system approves—because the locking seams and plank edges are the moisture highways in a hallway. If you get this part wrong (wrong sealant type, too much product, or sealing that blocks expansion), waterproofing laminate floors in a hallway can fail even with a good underlayment.
- Seal the plank joints and any manufacturer-recommended areas using a sealant that’s compatible with your laminate click system.
- Pay extra attention to hallway hotspots: near the entry door, along the longest run, and around any bath/laundry-adjacent wall.
Sealing strategy: less “paste everywhere,” more “targeted protection”
In practice, you’re trying to stop water from wicking into edges and under the next plank. That means:
– apply sealant only where the manufacturer specifies for the click-lock joint,
– wipe away excess so it doesn’t interfere with clean locking, and
– keep the joint surface free of debris before installing the next row.
If you use an incompatible sealant, it can interfere with the click-lock engagement and the required movement of a floating floor ().
Hallway failures often show up as swelling and gapping along seam lines, which aligns with how water migrates at panel joints and transitions ().
Transition sealing: where water meets other floors and trim
Transitions are where different materials “meet” and where water is most likely to run downhill or collect. In waterproofing laminate floors in a hallway, this is where you should coordinate:
– threshold reducers and doorway caps,
– caulk lines that the laminate manufacturer allows (and only in approved locations), and
– the perimeter trim approach that covers the expansion gap without sealing it incorrectly.
Protect the perimeter: baseboards, gaps, and wet-to-wall risk
Protecting the perimeter means ensuring the wall edge and expansion gap are treated exactly as the laminate system requires. Perimeter leakage is a hallway classic—water from wet shoes, mops, or tracked snow melts can creep along baseboards and into the joint line unless waterproofing laminate floors in a hallway is detailed correctly.
- Leave no unmanaged gaps at the wall line; seal the perimeter as directed for your flooring type.
- Use caulk only where appropriate (and only products approved for laminate/perimeter sealing) so you don’t trap moisture incorrectly.
Expansion gaps are not “wasted space”—they’re part of the design
A floating laminate floor needs room to expand and contract. When installers accidentally fill the expansion gap with the wrong caulk or foam, they can restrict movement, which increases buckling risk. Many guidelines frame the typical perimeter gap as roughly 10 mm (3/8 in) for floating floors (confirm your laminate’s exact instruction) (NWFA guidance, 2020).
Floating floors require an expansion gap around the perimeter; the exact size is specified by the flooring system and improper caulking can restrict movement (NWFA guidance, 2020).
Perimeter detailing matters because mops and wet shoes often drive moisture toward baseboards, where it can wick into the joint line if gaps aren’t handled per manufacturer instructions ().
Caulk placement: “allowed” locations only
Use caulk where the manufacturer approves for your installation type—commonly at the wall side (so it bonds to wall trim rather than locking the floating planks to it). Avoid filling the expansion void itself. For a hallway run, also consider how your baseboards are installed: a baseboard that’s loosely fitted can become a moisture pathway at the bottom edge.
What can go wrong (and how to avoid it)
Common failures happen when the installer treats waterproofing as a single material choice instead of a system of compatible steps. If waterproofing laminate floors in a hallway goes wrong, the damage typically shows up as swelling at seams, lifted edges, or persistent gapping that keeps repeating.
- Over-sealing: using the wrong sealant can interfere with expansion gaps or the locking mechanism, causing buckling.
- Skipping flatness: if the subfloor isn’t sufficiently level, sealants can’t prevent water paths through micro-gaps.
- Assuming “waterproof” means “spill-proof forever”: even sealed laminate can fail with standing water or repeated soaking at the same spot.
Moisture control strategies work best when they address the failure points (joints and perimeter), not when they rely only on protecting the flat plank surface ().
Even systems marketed for water resistance can underperform under standing water, because wicking through edges continues until the source is removed ().
VS table: system-approved sealing vs “caulk-it-all” fixes
This comparison reflects a frequent hallway mistake: sealing without compatibility and without respecting expansion.
| # | Approach | What it does well | What risks remain |
|---|---|---|---|
| 1 | System-approved seam sealant (per manufacturer) | Targets click-lock joints and specified edge areas. | Requires strict wipe-down to keep locking performance. |
| 2 | Generic caulk applied broadly | May cosmetically “fill” seams. | Can interfere with expansion gap behavior and click-lock movement. |
| 3 | Compatibility with underlayment vapor strategy | Works alongside the installed moisture barrier plan. | Wrong caulk can create “trapped moisture” zones against walls. |
| 4 | Click-lock engagement | Sealant quantity and location are designed not to block locking. | Over-application can prevent full seating of planks. |
| 5 | Expansion gap protection | Preserves required float movement by sealing only allowed areas. | Filling expansion zones can cause buckling and edge lifting. |
| 6 | Water wicking reduction | Reduces capillary pathways along joints. | Poor sealing can still leave channels for moisture under planks. |
| 7 | Tolerance to maintenance | Built for normal cleaning routines and quick spill response. | Frequent wet mopping can defeat the barrier even if seams look sealed. |
| 8 | Transition performance | Sealing is aligned with threshold/baseboard details. | Caulk over/under trim can create failure points at thresholds. |
| 9 | Warranty alignment | Often matches the manufacturer’s approved installation method. | Generic sealants may void coverage if swelling occurs. |
| 10 | Repairability | Targeted joint sealing is easier to maintain than broad, messy gaps. | Broad caulk lines can complicate future disassembly/replacement. |
| Verdict | Choose system-approved sealing for hallway waterproofing | More reliable moisture control with fewer installation conflicts. | Generic caulk “everywhere” is the most common pathway to swelling and buckling risks. |
Verdict / tip
Waterproofing laminate in a hallway is worth doing when you can control moisture sources and you follow the flooring + underlayment + sealant compatibility guidance. It’s not ideal if you expect frequent standing water (e.g., chronic leaks, heavy flooding, or constant wet mopping at the same spots) or if your laminate manufacturer prohibits sealing certain areas—check the installation instructions first. If you’re unsure, ’s documentation will matter more than any generic “waterproofing” tip.
Quick checklist (scan/save)
– [ ] Subfloor is flat, dry, and debris-free
– [ ] Moisture-rated underlayment installed per instructions (overlaps taped if required)
– [ ] Seam/joint sealant is compatible with your laminate locking system
– [ ] Perimeter sealing completed where the manufacturer allows
– [ ] Transitions (doorways/other flooring) sealed/finished properly
– [ ] Hallway maintenance avoids prolonged standing water on the floor
Moisture-control targets installers use for floating laminate in hallway risk zones (2026)
| # | Installation target | Typical requirement | Applies to | Moisture impact |
|---|---|---|---|---|
| 1 | Perimeter expansion gap (floating floor) | 10 mm (3/8 in) | Wall edge | ★★★★★ |
| 2 | Vapor retarder class target | ≤ 0.1 perms (Class A) | Underlayment barrier | ★★★★☆ |
| 3 | Room conditions (typical target) | 60–80°F; 30–50% RH | Acclimation/installation | ★★★★☆ |
| 4 | Underlayment seam overlap (common practice) | ≥ 8 in (200 mm) | Underlayment joints | ★★★☆☆ |
| 5 | Spot response time for spills (target) | Clean within minutes | Shoe-drip zone | ★★★★★ |
| 6 | Sealant compatibility rule | Use system-approved sealant | Click-lock seams | ★★★★☆ |
| 7 | Maintenance limit (high risk) | Avoid standing water | Hallway run | ★☆☆☆☆ |
Sources
– (for approved underlayment, required moisture protection, expansion gaps, and whether/how joints can be sealed)
– (for moisture barrier overlap/taping requirements and installation method)
– (for compatibility with laminate click systems and application limits)
Waterproofing laminate floors in a hallway comes down to one practical rule: protect seams, edges, and the perimeter as a compatible system—underlayment plus approved seam/joint sealing—then manage moisture exposure (especially standing water). If you follow the prep steps, use compatible moisture barriers, and avoid “caulk-it-all” shortcuts, you substantially reduce swelling and gapping along the places hall traffic usually stresses first.
Frequently Asked Questions
What’s the best way to waterproof laminate flooring in a hallway?
Start by sealing the subfloor and choosing an approach that targets the main leak points: the seams, joints, and the perimeter. Use a laminate floor underlayment designed for moisture resistance, then apply seam sealant (or manufacturer-approved waterproof membrane) at every plank joint. Finish by sealing gaps around baseboards, doorways, and transitions so hallway water—especially from mops—can’t migrate underneath.
How do I waterproof laminate floor seams and joints in a hallway?
Laminate seams are the most common entry point for moisture, so focus on joint sealing. Install planks with the correct expansion gap, then apply a waterproof seam sealant along the tongue-and-groove edges before locking boards together (or immediately after, following the product instructions). After installation, re-check the seam line for any missed spots and seal around the hallway perimeter and molding edges to keep water from wicking underneath.
Which underlayment works best for waterproofing laminate floors in hallways?
Look for an underlayment that includes a moisture barrier (often a built-in plastic film) with an appropriate perm rating for your subfloor type. If your hallway is on a slab or in a damp area, select a thicker, moisture-resistant underlayment that’s specifically labeled for laminate installation and can help prevent moisture vapor transfer. Always follow the laminate manufacturer’s underlayment requirements so you don’t void warranties or reduce floor performance.
Why does water damage laminate floors in a hallway, and how can I prevent it?
Water damage happens when moisture gets into the plank edges and core, causing swelling, warping, and lifting—especially along the seams where laminate is most vulnerable. Hallways often experience frequent wet mopping, tracked-in rain, and spills, so proactive moisture control is key. Prevent problems by using proper underlayment, sealing all joints and transitions, and cleaning up spills quickly with a damp—not soaking—mop.
How should I seal around baseboards and transitions to fully waterproof a hallway laminate floor?
To protect the edges, seal the perimeter after installation, where water can travel under molding and into expansion gaps. Use a paintable silicone or manufacturer-recommended perimeter sealant at baseboards, door casings, and threshold transitions without blocking the floor’s required expansion space. For areas with floor vents or uneven transitions, add waterproof sealing at the contact points to reduce risk of water penetration in your hallway.
📅 Last Updated: October 21, 2026 | Topic: How to waterproof a laminate floors with hallway? | Content verified for accuracy and freshness.
References
- Laminate flooring
- Waterproofing
- Vapor barrier
- Underlayment
- Caulk
- https://www.epa.gov/mold/moisture-control-home
- https://www.cdc.gov/mold/default.htm
- https://scholar.google.com/scholar?q=waterproofing+laminate+flooring+moisture+barrier+installation+edges Google Scholar
- https://scholar.google.com/scholar?q=how+to+seal+laminate+floor+seams+caulk+hallway Google Scholar
- https://scholar.google.com/scholar?q=laminate+flooring+water+damage+prevention+vapor+barrier Google Scholar