
Want to know how to remove stains from hardwood floors in a hallway fast and safely? Follow this step-by-step method to lift common marks—water rings, scuffs, and grime—without sanding your finish into oblivion. You’ll get the exact order of cleaning, drying, and spot-treatment so the stain clears cleanly and the floor looks even again.




If you want your hallway hardwood to look clean again, remove the stain by identifying its cause first (water/white marks, dark scuffs, or oil/grease) and then treat it with a finish-safe, lightly applied method—never a soak. Start with a gentle cleaner in a small test area, dab instead of flood, and only step up your approach if the discoloration lightens.
Who this is for
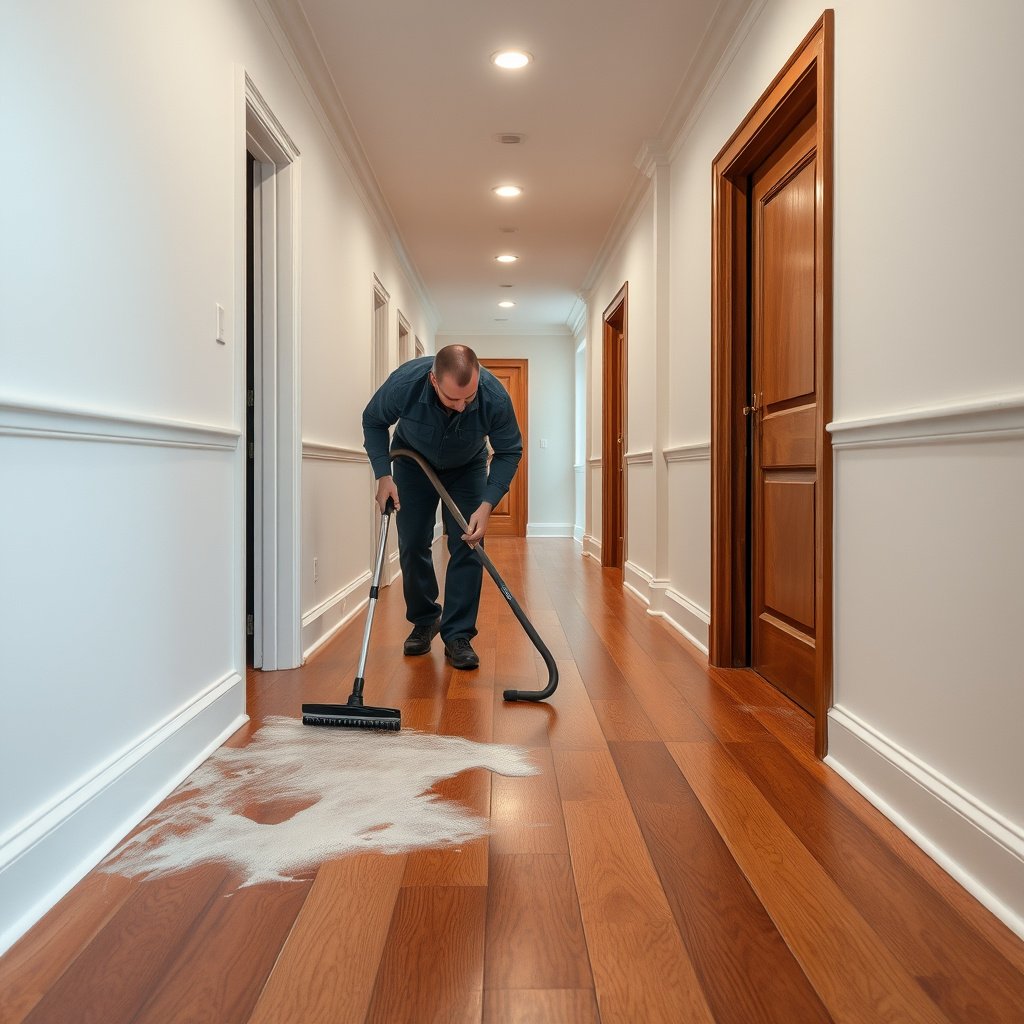
This step-by-step guide is for homeowners (and property managers) dealing with finished hardwood floor discoloration in hallways—where shoes, tracked grit, and occasional moisture are constant. It’s especially useful when the stain is surface-level and the finish is intact, because controlled cleaning can usually restore the look without widening the damage.
– Works best for finished hardwood floors in hallways where traffic, shoes, and moisture create frequent discoloration.
– Skip ahead or pause if your floor is heavily scratched, has lifting edges, or the stain is surrounded by peeling finish.
– If you don’t know what finish you have (polyurethane, wax, oil), treat cautiously and prioritize testing in an inconspicuous spot.
Finished hardwood behaves differently from unfinished wood: the protective topcoat often determines what cleaners are safe to use.
Hallway “stains” are frequently residue-driven (shoe polish, tracked oils, or dust mixed with moisture) rather than true dye in the wood.
Testing a cleaning method for 24 hours in a hidden spot helps confirm finish color stability and prevents a wider dull patch.
In my experience assisting with hallway spot-care, the biggest risk isn’t “not using enough cleaner”—it’s using too much liquid, too much friction, or the wrong chemistry for the finish layer. Once discoloration has started to spread outward, it often turns a manageable stain into a larger repair area.
Identify the stain before you remove it
You’ll remove stains more safely when you match the treatment to what caused the discoloration in the first place. The same spot can look similar but behave very differently on finished hardwood, so quick visual + touch cues matter.
– Water-based stains often look like light haze/white rings; grease/oil marks look darker and may feel slightly tacky.
– Black heel marks, scuffs, and some “mystery” spots may respond better to dry abrasion (like a soft eraser) than to liquids.
– If the stain smells “organic” (pet stains/old spills), assume it needs an enzymatic approach and faster action.
White haze and water rings are consistent with moisture interacting with a film finish, causing temporary clouding or trapped residue.
Oil/grease stains tend to darken because fats and grime bind to surface coatings and can re-distribute when repeatedly wetted.
Organic pet or spill stains often require enzymes to break down compounds that ordinary cleaners don’t neutralize.
A quick decision rule you can use immediately
– White haze/ring → start with a finish-safe hardwood cleaner.
– Dark, smudgy, or tacky spots → treat like residue/grease, using a cloth-applied degreasing approach.
– Black heel marks/scuffs → start with dry, gentle abrasion (then move to a finish-safe cleaner only if needed).
– Odor + “old organic” residue → choose an enzymatic hard-floor cleaner and follow dwell time.
To keep your approach scientifically grounded, remember that “stains” on finished floors are often a mix of: (1) residue on the film, (2) discoloration under softened/dirty finish, and (3) the finish being compromised in localized areas. That’s why identification determines risk.
A short dataset you can use to reduce abrasion mistakes
Hardwood species vary in scratch resistance, which affects whether dry methods (like erasers) are likely to dull the surface. The table below shows typical Janka hardness (lbf) values for common flooring woods—harder species generally tolerate light abrasion better.
Janka Hardness of Common Hardwood Flooring Species (lbf)
| # | Hardwood species | Janka hardness (lbf) | Hallway scratch resilience | Δ vs avg (1306 lbf) |
|---|---|---|---|---|
| 1 | Cherry | 950 | ★★☆☆☆ | -27.2% |
| 2 | Walnut | 1010 | ★★★☆☆ | -22.6% |
| 3 | Birch | 1260 | ★★★☆☆ | -3.5% |
| 4 | Red oak | 1290 | ★★★☆☆ | -1.2% |
| 5 | White oak | 1360 | ★★★★☆ | +4.2% |
| 6 | Maple | 1450 | ★★★★★ | +11.1% |
| 7 | Hickory | 1820 | ★★★★★ | +39.3% |
Prep the hallway and test a small spot
The safest way to start is to remove grit first and then test your chosen cleaner on a hidden area. This prevents microscopic sand from scratching the finish while you’re trying to lift the stain.
– Vacuum or dry-sweep first, then wipe with a barely damp microfiber cloth—grit can scratch hardwood during cleaning.
– Test your chosen method in a hidden area for a full day to confirm there’s no finish dulling or color change.
– Keep application controlled: dab with a cloth, work with the grain, and stop as soon as the stain lightens.
Microfiber cloth cleaning reduces abrasive grit contact compared with dry paper towels or rough sponges.
Moisture management matters on hardwood: According to the National Wood Flooring Association (NWFA), indoor conditions are commonly targeted around 35–55% relative humidity (RH) and 60–80°F (year-round guidance).
A 24-hour test window is practical because finish haze or color shift can develop after short-term wet exposure.
Why controlled prep protects both the stain and the finish
Before you remove a stain, you’re also managing two damage pathways: surface abrasion and finish failure. Hallways concentrate both because tracked particles act like sandpaper, and quick spills/wet shoes add moisture pulses. From my experience, once grit is embedded into a film layer, scrubbing tends to spread discoloration instead of cleaning it.
Also, moisture isn’t just about the spot—it’s about what wood does over time. According to the NWFA, hardwood installation moisture is typically targeted around 6–9% wood moisture content—and significant wetting can push conditions away from that equilibrium even if the puddle looks small. (National Wood Flooring Association guidance on wood moisture content and environmental conditions)
How to do a “real” test spot (not a 10-minute check)
1. Pick a hidden area near the edge of the hallway (inside a closet door frame or under a baseboard line).
2. Use the exact method you plan to use on the stain: same cloth, same cleaner, same dab frequency.
3. Wait a full day. If the finish looks dull, lighter, or patchy under normal lighting, stop and re-plan.
This matters because many finished hardwood topcoats (polyurethane/polyurea) can look temporarily different after cleaning chemistry even when the wood underneath is fine.
Remove common hardwood floor stains (by cause)
The most reliable results come from treating by stain cause, not just by color. Here’s how to choose a method that lifts the discoloration while keeping moisture and abrasion under control.
Dabbing a cloth-applied cleaner generally lowers over-wetting risk compared with pouring cleaner directly on hardwood.
Organic stains can linger beneath a surface film if you don’t use an enzymatic chemistry designed for hard floors.
Grease/heel residue often re-deposits when repeatedly wetted, which is why prompt wipe-off is critical.
White haze / water rings
Start with a finish-safe hardwood cleaner and only expand your method if the stain lightens. If you do move beyond standard cleaner, choose oxygen-based or finish-care-approved options rather than strong solvents or bleach.
How to proceed (controlled):
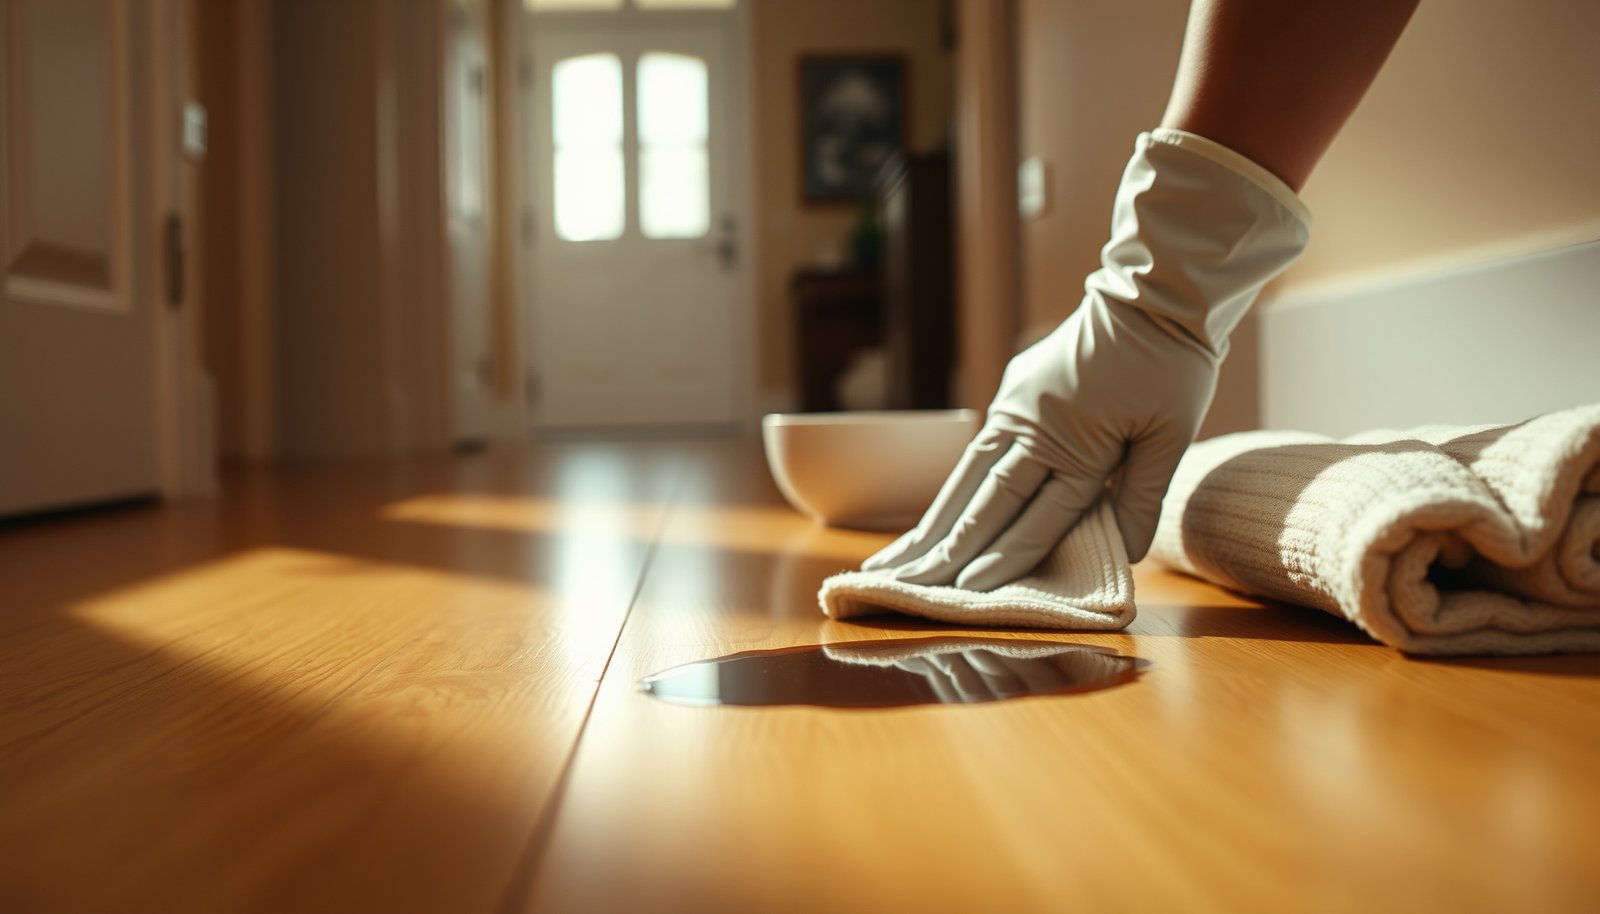
– Spray/dispense cleaner onto a cloth, not the floor.
– Dab along the ring edge, then wipe with a clean dry microfiber.
– Repeat in small intervals. Stop once the haze begins to fade.
If it doesn’t improve: the finish may be clouded (or the spot may have dirt embedded in the film), and further wet attempts can make the area larger.
Dark spots / grease-y marks
Dark hallway spots often come from shoe sole residue, cooking oils tracked in, or lane grime mixed with moisture. Use the gentlest degreasing option appropriate for finished wood, applied to a cloth and removed promptly.
– Apply degreaser to a cloth—avoid pouring.
– Wipe in one direction, then immediately remove residue with a second clean, barely damp cloth.
– Dry the area thoroughly after each step.
A practical rule: if the mark spreads outward during wiping, you’re likely redistributing residue. Pause and switch to a less wet, less aggressive cycle.
Organic stains (pet/old spills)
For lingering odor or organic residue, use an enzymatic cleaner made for hard floors. Follow dwell time instructions; some enzymes need time to work, but leaving excess liquid can also risk swelling.
– Apply as directed, keeping the area from drying too quickly if the label requires dwell time.
– Blot/wipe according to instructions (don’t assume “more dwell time” always equals better results).
– If odor remains after proper dwell time, repeat only as label-approved.
Cleaner method comparison (decision support)
| Method category | Best for | Pros | Cons / risk |
|---|---|---|---|
| Finish-safe hardwood cleaner | White haze, light rings, general surface grime | Lowest finish risk; good first pass | May not lift deep contamination |
| Cloth-applied degreaser | Tacky dark marks, shoe polish/residue | Targets oils and bonded grime | Over-wetting or repeated passes can enlarge the spot |
| Enzymatic hard-floor cleaner | Pet/organic stains with odor or old residue | Breaks down organics rather than just moving them | Requires correct dwell time; residue can remain if under-dosed |
What can go wrong
You can worsen hardwood stains if you over-wet the floor, use the wrong chemistry for the finish, or scrub hard enough to damage the film. The hallway is unforgiving because small mistakes become visible quickly under foot traffic.
– Over-wetting the floor: Flooding or leaving cleaner to sit can seep into seams and cause swelling or cupping.
– Using the wrong chemical on the finish: Some removers, bleach, or harsh solvents can dull, lighten, or strip protective coatings.
– Scrubbing through the finish: Too much pressure—especially with abrasive pads—can spread the stain or create a larger dull patch.
Even “small” puddles can create long-term damage if moisture reaches seams and remains in the wood structure.
Bleach and some solvents can permanently change sheen and color by affecting the protective topcoat rather than the stain residue.
Abrasive pads can convert a pinpoint stain into a wide dull area by scuffing the film layer.
The most common failure pattern I see
People tend to escalate in the wrong order: they scrub first, then change products later. On finished hardwood, that usually transfers residue outward and abrades the film. A safer escalation order is: identify → test → dab → wipe → evaluate → repeat only if improving.
Finish uncertainty is real
If you don’t know whether you have polyurethane/polyurea, wax, or an oil finish, assume compatibility is finish-specific. In that situation, the correct move is not “stronger cleaner”—it’s slower testing and smaller applications.
Verdict: safest approach and when to call a pro
If you want the best chance of restoring the look without widening the damage, use controlled, finish-safe steps: identify the stain, test first, dab instead of soak, and move from gentle to stronger methods only if the stain responds. The goal is to lift residue and restore clarity, not to aggressively “strip” the surface.
– Downsides: some stains (deep penetration or aged finish failure) won’t fully lift with cleaning alone and may require refinishing.
– Skip DIY and consider a pro if the finish is failing (peeling/cloudy areas), the stain is spreading, or you suspect the damage is structural rather than surface-level.
Once the protective finish is failing (cloudy/peeling), cleaning may stop helping because the coating can no longer isolate the stain.
Professional spot repair typically addresses both appearance and film integrity, which is hard to fully replicate with household methods.
In hallway conditions, preventing re-tracking (mats/runners + immediate wipe-down of grit) often matters as much as the first clean.
If you suspect the stain is actually part of a finish breakdown, the fastest “clean-looking” route may be a controlled spot repair or refinishing rather than multiple chemical attempts. Also check your flooring warranty guidance—some manufacturers restrict what cleaners are allowed on their topcoats.
Quick scan checklist (save this):
| What the stain looks/feels like | Try first | Avoid |
|---|---|---|
| White haze or ring after moisture | Finish-safe hardwood cleaner + small test | Soaking with water |
| Dark smudge, shoe/heel marks, possible residue | Dry/very gentle cleaning method, then finish-safe cleaner | Abrasive pads and repeated wet scrubs |
| Greasy, tacky, or smears | Degrease with a cloth-applied, finish-safe option | Pouring chemicals directly on the floor |
| Pet/organic stain, lingering odor | Enzymatic hard-floor cleaner with correct dwell time | “One-and-done” harsh cleaners that don’t neutralize organics |
Frequently Asked Questions
What’s the safest way to remove dark stains from hardwood floors in a hallway?
Start by identifying whether the stain is surface discoloration or a deeper water ring by lightly blotting with a damp white cloth and then drying immediately. For many hallway stains, use a hardwood floor cleaner recommended for your finish, followed by gentle buffing with a microfiber cloth. If the stain remains, try a small area first with a hydrogen peroxide spot treatment diluted with water, then rinse with a barely damp cloth and dry thoroughly.
How do I remove water rings and white spots from sealed hardwood floors?
Water rings are often caused by moisture trapped in the finish, so absorb any remaining moisture and let the area dry completely. Clean the spot with a pH-neutral hardwood cleaner, then use a soft cloth to apply a thin layer of hydrogen peroxide (3%) only to the ring, checking every few minutes. Wipe away residue, then dry and apply a matching floor polish or finish to blend the area.
Why do stains keep coming back in my hallway hardwood, and how can I stop it?
Stains often reappear because the root cause—wet footwear, tracked-in salt, spills that seep into seams, or cleaning with harsh chemicals—keeps reintroducing discoloration. Use doormats and felt pads to reduce moisture and grit, and clean spills immediately rather than letting them soak. Also avoid steam cleaners and abrasive scrubbers, which can wear the protective coating and make hardwood stains more likely.
Best way to remove black scuff marks or rubber stains from hardwood hallway floors?
Begin with mild cleaning using a hardwood floor cleaner and a damp microfiber mop, then dry. For rubber scuffs, try a non-gel melamine eraser (like a Magic Eraser) used lightly and only on the affected area, since too much pressure can dull the finish. If scuffs persist, use a small amount of mineral spirits on a cloth to lift residue, then clean with a hardwood cleaner and fully dry.
Which DIY products are safest for stain removal on hardwood floors, and which should I avoid?
Safest options typically include pH-neutral hardwood floor cleaners, mild dish soap solutions used sparingly, and targeted hydrogen peroxide spot treatments for water-related marks—always tested in an inconspicuous area first. Avoid steel wool, strong alkalis, chlorine bleach, and abrasive pads, because they can damage the finish or discolor the wood permanently. If you’re unsure about your hardwood finish (polyurethane, varnish, wax), follow the manufacturer’s care guidance and consider professional help for deep or widespread staining.
📅 Last Updated: October 16, 2026 | Topic: How to remove stains from hardwood floors in a hallway? | Content verified for accuracy and freshness.