
You can safely clean construction dust from hardwood floors—without scratching, graying, or grinding grit into the finish—if you follow the right sequence. The fastest, lowest-risk method is to start with dry dust removal using a HEPA vacuum (or soft microfibre broom), then follow with a barely-damp, pH-neutral cleaner applied minimally. This guide answers exactly how to remove the dust effectively while protecting your floor’s finish from day-one damage.



If you clean construction dust from hardwood floors safely, the goal is to remove fine grit without scratching the finish. Use a dry method first (vacuum with a soft brush/HEPA filter), then switch to a properly damp microfiber mop—never soaking the wood. Finish by drying thoroughly and protecting the floor so dust doesn’t grind back in.
Renovation dust cleanup matters most when hardwood floors are newly finished, freshly sealed, or still “sensitive” to moisture and abrasion. This guide is designed for homeowners and contractors dealing with sawdust/drywall dust after renovation, refinishing prep, or flooring work—especially when the goal is a clean, smooth surface that won’t be scuffed next week (or next job phase) in 2026.
Start with a “dust-first” dry removal
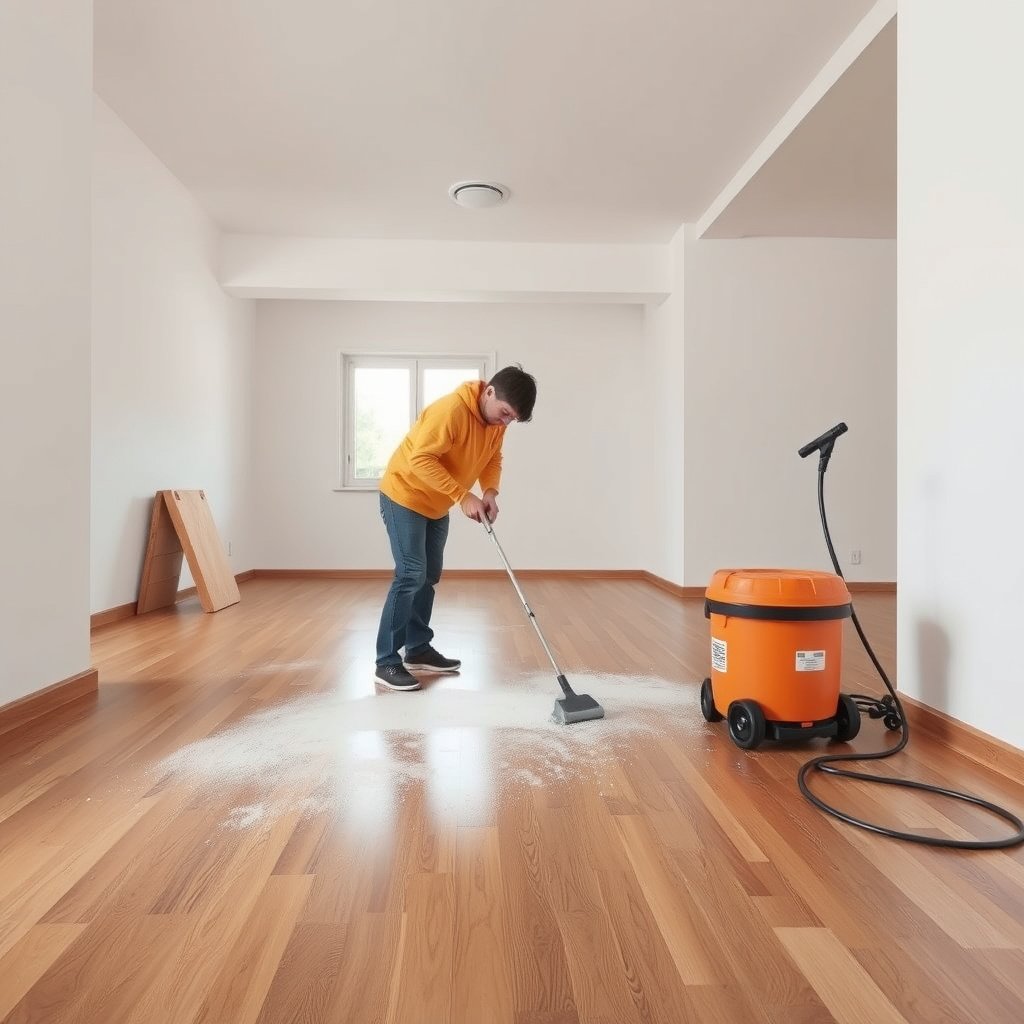
The fastest way to protect hardwood floors from scratches is to remove construction dust dry—before any water touches the finish. That means capturing fine grit with a vacuum (ideally with HEPA filtration) so you don’t turn dust into an abrasive slurry.
Construction dust contains fine mineral particles that can act like “dry sand,” increasing micro-scratches when you mop without first vacuuming.
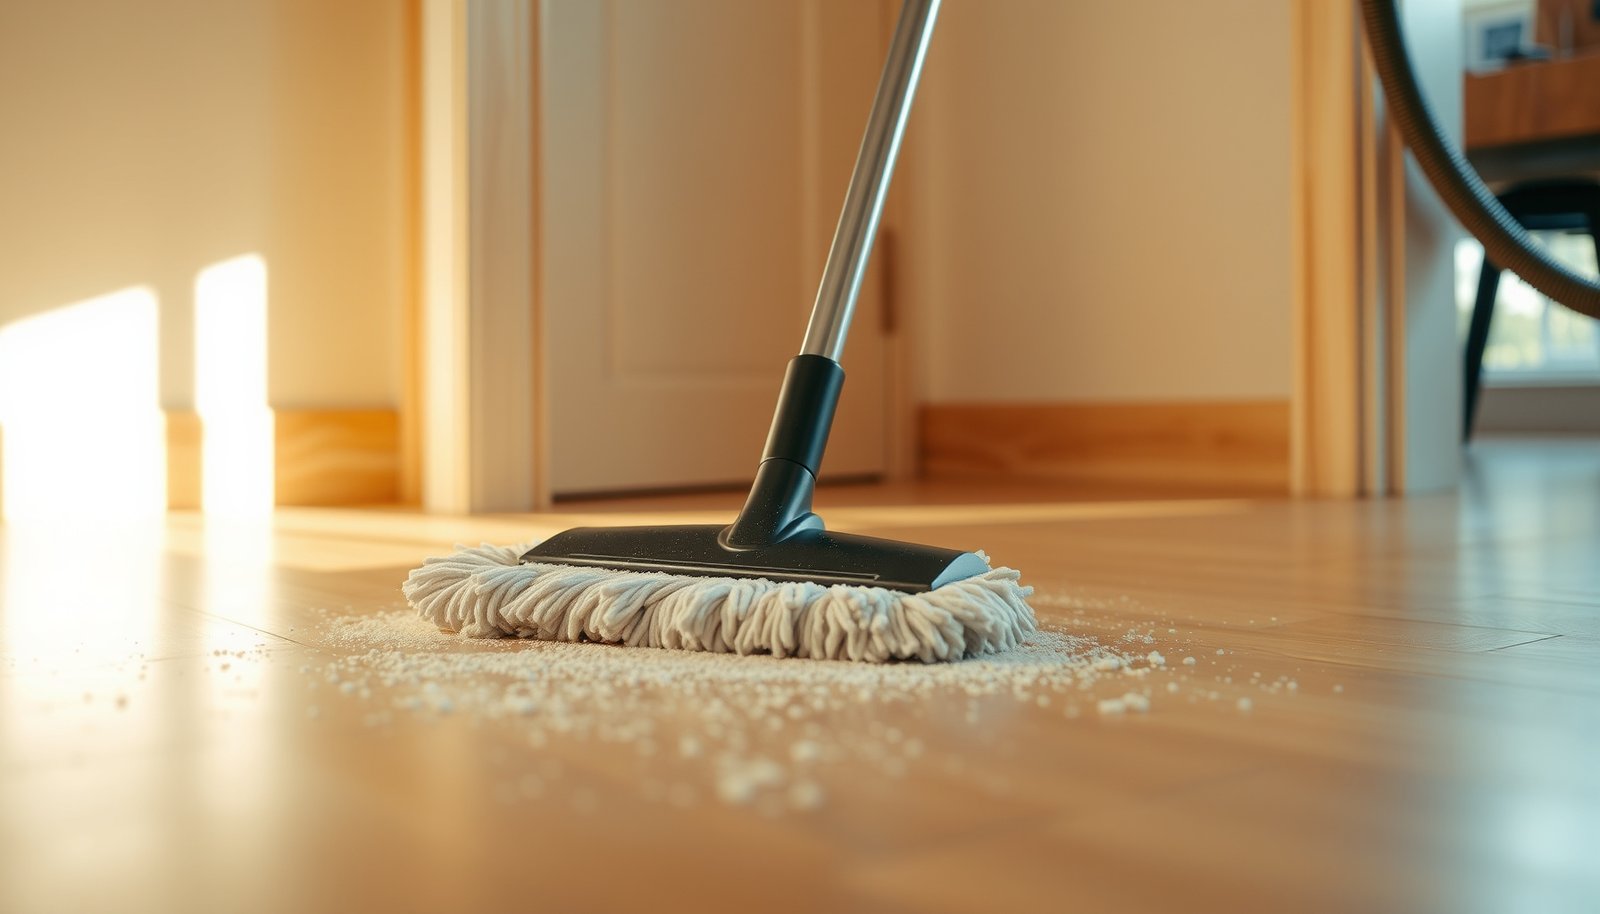
Using a vacuum with a soft brush attachment helps lift dust from the floor surface instead of pushing it across hardwood.
When you start with dry removal, you’re targeting the problem that most often ruins finishes: abrasive grit. In my guidance to crews on job sites, the most common failure mode isn’t the mop—it’s the skipped vacuum step right before damp cleaning.
Vacuum with the right technique (and the right order)
Vacuum immediately after the dust settles (or after the contractor phase that generates it). Use a soft brush attachment and slow passes. Do a perimeter pass first—baseboards, doorways, corners, and along wall edges—because grit concentrates there and later gets carried back across the floor when hardwood expands and contracts seasonally.
According to the U.S. Environmental Protection Agency, HEPA filters are defined as removing at least 99.97% of particles at 0.3 micrometers (µm) in diameter (U.S. EPA). That matters because the dust left behind after renovation can include extremely fine particles that contribute to haze and surface wear on sealed hardwood floors.
Use a clean air path (HEPA is the advantage)
If you have the option, use a HEPA-filter vacuum. A true HEPA vacuum doesn’t just “collect dust”—it reduces the chance that you exhaust ultra-fine particles back into the air and onto nearby hardwood floors. In 2026, many shop vacs advertise HEPA-like marketing; the safe bet is to use equipment that explicitly meets HEPA filtration specs.
HEPA performance is tied to filter media efficiency standards, not only to whether the machine includes a “filter bag” or “cartridge.”
Choose the right cleaning tools and setup
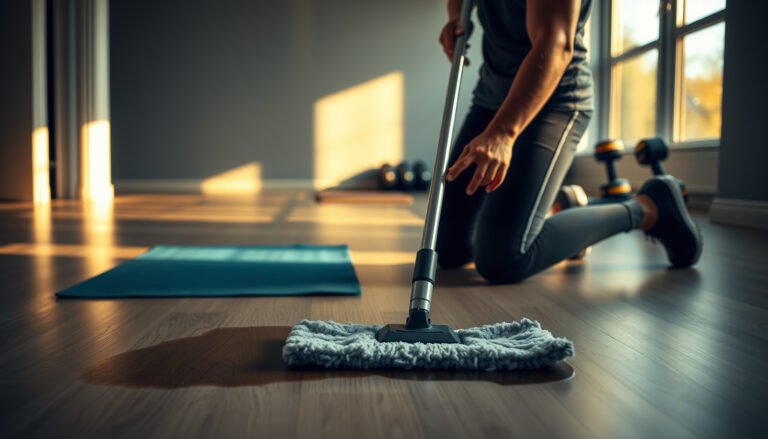
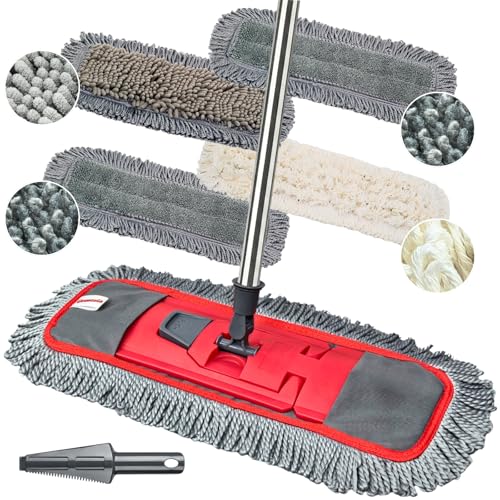
For safe dust cleaning on hardwood floors, choose tools that trap grit and won’t scrape the finish. Microfiber is the workhorse for damp steps, and the mop should be barely wet—not dripping.
Microfiber pads can lift fine dust residue without the abrasive action associated with stiff bristle brooms or scrub pads.
Damp mopping should be controlled so water doesn’t pool at seams, edges, or along cupped/compromised spots on hardwood.
What to use (and keep clean)
– Vacuum attachments: Soft brush/nozzle designed for hard floors; avoid metal edges or rough wheels near the finish.
– Microfiber mop system labeled for hardwood: Use pads designed to be rinsed and reused. Swap pads/towels as soon as they pick up heavy grit.
– Multiple clean towels: Keep a dry microfiber towel ready so you can immediately blot and dry any spots that get too wet.
In 2026, this “swap early” habit is one of the biggest quality differentiators on contractor schedules: dirty pads spread residue and create a gray film that can look like “stubborn dust” even after repeated mopping.
What to avoid (because it scratches)
Construction dust is often hard mineral material. Quartz, for example, rates about 7 on the Mohs hardness scale (U.S. Geological Survey), and it’s common in concrete/cement and masonry dust. When that grit is dragged across a glossy hardwood finish, it can create permanent micro-scratches.
Avoid:
– Abrasive pads (scouring pads, rough scrubbers)
– Stiff bristle brooms
– Dry sweeping with a push broom (it can redistribute fine grit across hardwood floors)
For “damp” cleaning: wring until it’s barely wet
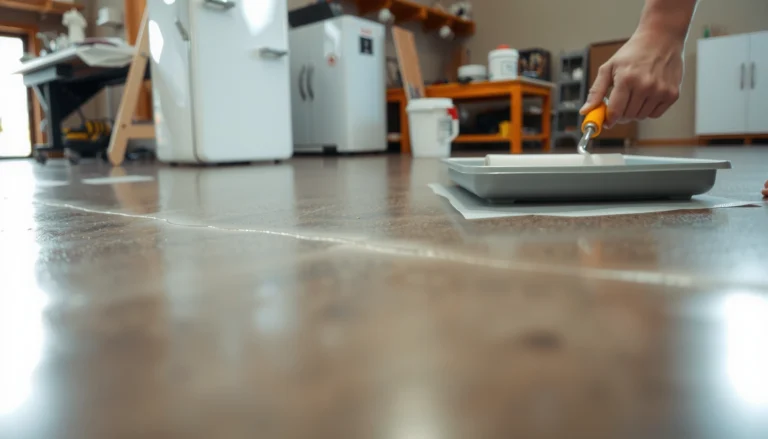
The safest interpretation of damp mopping is: the microfiber pad should feel damp enough to pick up residue, but not leave visible wetness. If you can see puddling, streak lines, or water collecting at seams, your setup is too wet.
Wet-clean safely (and lightly) for remaining residue
Wet cleaning is only the second step for a reason: it removes what vacuuming can’t, but it can also drive grit into seams if you overdo it. For hardwood floors, damp-clean in small sections, use a finish-approved cleaner, and immediately address any excess moisture.
Residual construction dust can be removed with light damp wiping, but excess water increases the risk of moisture penetration at seams and edges on hardwood floors.
A cleaner should match the finish type on the hardwood floor; sealed surfaces and waxed/oiled surfaces are not interchangeable.
Check your finish reality before using any product
Hardwood isn’t one uniform surface. Common finishes include:
– Sealed/polyurethane (typical modern clear coatings)
– Waxed or oiled floors (finish film is different and can be disrupted)
– Unfinished wood (high risk; usually no mopping)
Use a hardwood-appropriate cleaner only if the product label allows it for your floor finish type. If you can’t identify the finish (common after prior owners’ work), pause and confirm with the floor manufacturer or installer guidance before applying chemicals to hardwood floors.
Clean small sections, wipe with the grain, and change towels fast
Work in sections you can finish and dry quickly. Wipe gently with the wood grain so you don’t push grit against the micro-structure of the finish. Change towels/pads the moment they pick up visible residue. Dirty water is what turns dust into haze on hardwood floors, especially over matte finishes where residue reads more clearly.
Quick comparison: what “safe damp cleaning” looks like
| Approach | Pros for hardwood floors | Risks if misused |
|---|---|---|
| Barely-wet microfiber mop | Removes residue without pooling water; reduces streaking | If over-wet, moisture can seep into seams |
| Finish-approved cleaner | Lifts construction haze safely for sealed systems | Wrong chemistry can dull or damage coatings |
| Frequent pad/towel swaps | Prevents re-depositing grit as a film | Skipping swaps spreads residue and creates gray haze |
Finish-linked moisture discipline (why “lightly” matters)
Hardwood performs best when indoor climate stays stable. According to the National Wood Flooring Association, relative humidity is commonly recommended in the 35%–55% range for wood floors (National Wood Flooring Association)—because large moisture swings can stress joints and seams. If you add extra water during dust cleanup, you magnify the conditions that lead to swelling, lifting, or temporary gapping.
Dry and protect right away
After damp cleaning, your job is to remove moisture fast and reduce the chance that remaining dust grinds in during daily traffic. Dry thoroughly, then follow the manufacturer’s maintenance guidance so residual particles don’t become “sandpaper.”
Drying hardwood floors promptly after damp mopping reduces the chance of moisture remaining in seams and edges.
Protection and maintenance routines help minimize surface wear by reducing abrasion from any remaining fine particles.
Dry immediately (don’t let seams sit wet)
After mopping, dry with a clean microfiber towel or use controlled air-drying with good ventilation. If the room is humid or air circulation is poor, moisture can linger in grooves and gaps, which is especially risky when the finish is new.
Protect so dust doesn’t “come back”
Once dry, re-check edges and seams with a quick vacuum pass if needed—this is where the last grit typically hides. Then apply protection according to the floor manufacturer’s recommended routine (for sealed floors, this may mean approved maintenance products; for waxed/oiled systems, it may mean reconditioning with a compatible oil/wax). In 2026, many manufacturers are more specific than older guidance: using “generic floor polish” can undo months of effort.
Common Construction Dust Components and Their Scratch Hardness
| # | Dust component (typical source) | Mohs hardness | What it means on hardwood | Scratch likelihood |
|---|---|---|---|---|
| 1 | Quartz / silica (concrete & masonry dust) | 7 | Very hard grit can abrade finish quickly | High |
| 2 | Feldspar (mortar/cement aggregate) | 6 | Can leave visible micro-marring under traffic | High |
| 3 | Hematite (red dust/iron-rich cement residues) | 5.5–6.5 | Moderately to highly abrasive grit | Moderate–High |
| 4 | Dolomite (limestone/mortar dust) | 3.5–4 | May dull finishes over repeated dragging | Moderate |
| 5 | Calcite (limestone/drywall-adjacent dust) | 3 | Lower hardness, but still abrasive when ground-in | Moderate–Low |
| 6 | Gypsum (drywall dust base) | 2 | Less hard, but fine particles can still haze finishes | Low |
| 7 | Talc (powder fillers; some dust mixtures) | 1 | Very soft, but high volumes still dull surfaces when dragged | Very Low |
What can go wrong (common mistakes and edge cases)
If you skip steps or change the moisture level, construction dust cleanup can lead to scratches, haze, or finish damage on hardwood floors. The safest approach is to keep the process controlled: vacuum first, damp second, then dry and verify.
Dry sweeping over construction dust increases the chance of embedding grit and leaving micro-scratches on finished hardwood surfaces.
Over-wetting wood flooring increases moisture exposure at seams and can worsen gaps, cupping, or finish failure if the coating is compromised.
Common mistakes that show up fast
– Skipping vacuuming: Dry sweeping or mopping over dust can grind it in and leave permanent micro-scratches on hardwood floors.
– Over-wetting: Excess water can seep into joints and cause swelling/cupping, especially if the finish is compromised or newly applied.
– Using the wrong cleaner: Some cleaners—especially those that are oil/solvent-based or harsh alkaline/acidic—can dull or damage certain finishes. Always check the floor finish type and product label guidance.
– Bare/unfinished wood: If your floor isn’t sealed yet, “mopping” may not be appropriate. Use only methods recommended for unfinished wood systems.
– Waxed/oiled floors: Many cleaners marketed for “hardwood” assume a sealed poly finish. Products that work on polyurethane can break down wax/oil.
Edge cases: when you should slow down
If you see soft spots, peeling, or widespread cloudiness after initial cleaning, treat it as a finish integrity problem—not just “dust.” Also, if grit is packed into grooves or seams, forcing liquids into cracks increases risk. In those cases, use only techniques recommended for your specific flooring system and finish type.
Verdict / tip (what to do, and who should skip DIY)
This safe approach—vacuum first, damp microfiber second, then dry immediately—minimizes scratches and moisture risk to hardwood floors. It’s a strong DIY path for sealed, finished hardwood and typical construction-dust residue, especially when you’re cleaning between renovation phases in 2026.
However, you should skip DIY (or pause and consult the floor manufacturer) if you’re seeing finish failure (soft spots, peeling, widespread cloudiness), you’re not sure whether the floor is sealed/waxed/oiled, or large debris (grit stuck in seams) needs removal with a method tailored to your flooring system.
Finish warranties for hardwood flooring commonly require adherence to manufacturer-approved cleaning methods, especially regarding wet mopping and moisture limits.
When finish integrity is uncertain, spot-testing in an inconspicuous area and using manufacturer guidance is safer than general “hardwood cleaner” routines.
Quick checklist (scan/save)
– [ ] Vacuum thoroughly with a soft brush (and HEPA if possible)
– [ ] Don’t dry-sweep—avoid anything abrasive
– [ ] Use microfiber only; keep pads/towels clean
– [ ] Damp-clean only: mop should be barely wet
– [ ] Clean with a product approved for your finish
– [ ] Dry quickly after cleaning
– [ ] Re-check seams/edges and repeat vacuuming if needed
Sources
– U.S. Environmental Protection Agency (EPA) — HEPA filtration definition and efficiency standards
– U.S. Geological Survey (USGS) — Mohs hardness scale references for common minerals (e.g., quartz, calcite, gypsum)
– National Wood Flooring Association (NWFA) — Indoor humidity guidance and care principles for wood floors, including wet-cleaning considerations tied to moisture management
Cleaning construction dust safely from hardwood floors is about controlling abrasion and moisture: vacuum fine grit first, damp-clean lightly with microfiber second, and dry immediately. If you keep dust from turning into grit-on-grit during traffic, your finish stays smoother longer—without surprises in the next phase of the renovation.
Frequently Asked Questions
What’s the safest way to remove construction dust from hardwood floors without scratching?
Start by dry-removing dust using a soft-bristle broom or a vacuum with a hardwood-friendly floor head and a clean filter to avoid grinding particles. If you mop, use minimal moisture and a microfiber mop that’s only slightly damp—never soaking the floor. For stubborn residue, lightly dampen a microfiber pad and wipe in the direction of the wood grain to prevent micro-scratches.
How do I clean hardwood floors after renovation dust without causing swelling or damage?
Use the “dry first” approach: vacuum thoroughly, then use a barely damp microfiber mop to pick up remaining fine particles. Avoid standing water, steam mops, and overly wet cleaning solutions because excess moisture can seep into seams and cause swelling. After mopping, dry the floor promptly with clean microfiber towels, especially around edges and baseboards.
Why is it important to use the right cleaning method for construction dust on hardwood?
Construction dust often contains fine grit that acts like sandpaper, so dry sweeping too aggressively or using abrasive tools can scratch the finish. Additionally, some dust can include drywall compounds, plaster, or compounds that can leave haze if not removed properly. Using a vacuum, soft microfiber, and gentle hardwood-safe cleaners helps protect the surface and keeps the floor looking even.
Which cleaner is best for construction dust on finished hardwood floors?
In most cases, warm water with a small amount of a pH-neutral, hardwood floor cleaner is the best choice because it removes construction dust without harming the finish. If you’re dealing with dull film or residue, use a cleaner specifically labeled for polyurethane, sealed, or finished hardwood and follow the dilution directions exactly. Avoid harsh degreasers, ammonia, vinegar, or all-purpose cleaners unless the product is specifically approved for hardwood floors.
How can I handle sticky drywall or plaster residue safely on hardwood after a construction job?
Begin with dry vacuuming to remove loose dust, then address residue with a slightly damp microfiber cloth—work gently and wipe along the grain. If residue remains, use a recommended hardwood-safe cleaner and apply it to the cloth (not directly to the floor) to control moisture and prevent drips. For dried-on buildup, repeat light passes rather than scrubbing hard, and test any product in an inconspicuous area first.
📅 Last Updated: October 29, 2026 | Topic: How to safely clean construction dust from hardwood floors? | Content verified for accuracy and freshness.
References
- Silica, Crystalline – Overview | Occupational Safety and Health Administration
- Silica and Worker Health | Silica | CDC
- Lead Renovation, Repair and Painting Program | US EPA
- https://pubmed.ncbi.nlm.nih.gov/?term=crystalline+silica+HEPA+vacuum+construction+cleanup
- https://pubmed.ncbi.nlm.nih.gov/?term=household+dust+removal+HEPA+vacuuming
- https://scholar.google.com/scholar?q=construction+dust+cleanup+HEPA+vacuum+hardwood+floor Google Scholar
- https://scholar.google.com/scholar?q=crystalline+silica+dust+control+cleanup+HEPA+vacuum+wet+methods+renovation Google Scholar
- https://scholar.google.com/scholar?q=wood+floor+care+remove+dust+avoid+scratches+microfiber+vacuum Google Scholar