
Get construction dust off hardwood floors with a safe, faster-than-vacuum approach: start with a thorough dry wipe to remove the bulk, then use a slightly damp microfiber method that won’t grind grit into the finish. This step-by-step process shows exactly what to use—and what to avoid—so you lift the dust cleanly without scratching, dulling, or leaving residue. You’ll finish with a floor that looks restored, not just “cleaned.”


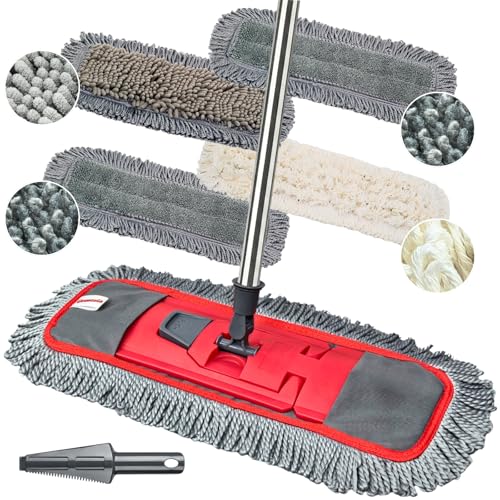

Vacuum first, then do a very light damp clean to remove the fine residue—don’t scrub dry dust into the grain. Use a soft-attachment vacuum and microfiber (or a dry hardwood mop) to lift powder, then finish with a lightly damp mop and a hardwood-approved cleaner if your floor finish allows it. This “dry removal → just-damp clean → immediate drying” workflow is the safest way to protect a sealed hardwood finish from turning construction dust into scratchy abrasive grit, especially in 2026 when many renovations still involve drywall/plaster.
This advice is for homes where drywall/plaster/construction dust settled on finished or sealed hardwood floors, and you want to clean it without scratching or dulling the finish. It’s also the right approach when you can still feel grit underfoot and want to avoid turning it into sandpaper.
Prepare the area (before you touch the floor)

If you want construction dust off hardwood floors without damage, you start by removing airborne material and preventing grit from being ground deeper. This step reduces the amount of abrasive dust that later gets spread by vacuum heads, mops, and shoes—an effect I’ve seen repeatedly during post-drywall cleanups where the first “dry sweep” makes everything look worse.
Construction dust can include fine respirable particles; OSHA sets an 8-hour TWA PEL of 50 µg/m³ for respirable crystalline silica (a major concern during some construction tasks) (OSHA 29 CFR 1926.1153).
HEPA filtration is designed to capture 99.97% of particles at 0.3 µm, which is why a HEPA vacuum is often the best fit when you’re removing construction dust from hardwood floors (U.S. EPA guidance on HEPA filtration).
Clear debris and control dust
– Remove larger debris first (use a dustpan, not a push-broom that can grind grit).
– Protect furniture/vents, ventilate the room, and keep kids/pets away while dust is airborne.
– Figure out the floor’s finish type if you can (sealed/pre-finished vs. unfinished/wax), because your “wet vs. dry” rules change.
A practical way to figure out finish type fast: look for an obvious shine pattern (often sealed/pre-finished), check for a matte/porous look (often unfinished), and avoid the temptation to “test with water” if you’re not sure—construction dust is already abrasive enough.
On safety during cleanup: If you’re also sanding, drilling, or cutting nearby, you’re generating more dust than you’re removing. As of 2026, the safest operational approach is to do floor cleaning after the high-dust work is complete, or to isolate the room fully until the dust settles.
Dry removal: get the dust up without grinding it in
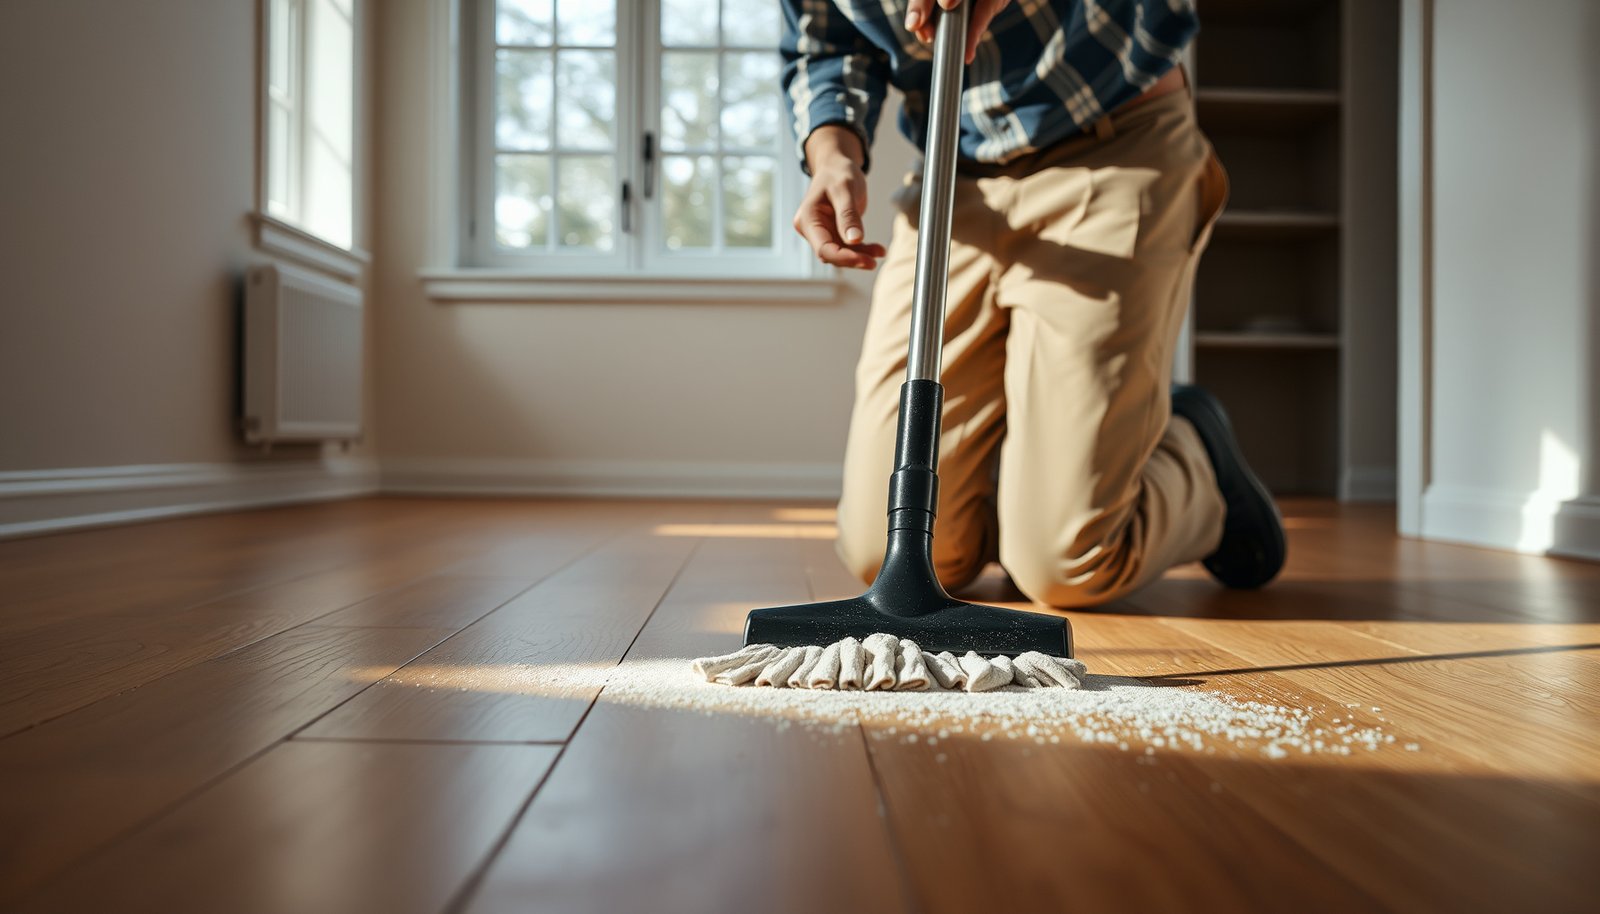
You remove construction dust from hardwood floors with minimal scratching by vacuuming first and then lifting what remains with microfiber. The goal is to eliminate the gritty powder layer before any damp step, because once grit mixes with moisture it can behave like mild abrasive slurry.
Dry mopping or microfiber passes are effective because they physically capture fine residue rather than redistributing it across the grain.
If the floor still feels sandy, continuing with mopping can convert powder into a paste that increases scratch risk—so you should repeat dry removal before any damp cleaning.
Vacuum, then microfiber (in sections)
– Vacuum thoroughly using a soft bristle/floor-brush attachment (avoid hard plastic edges that can scratch).
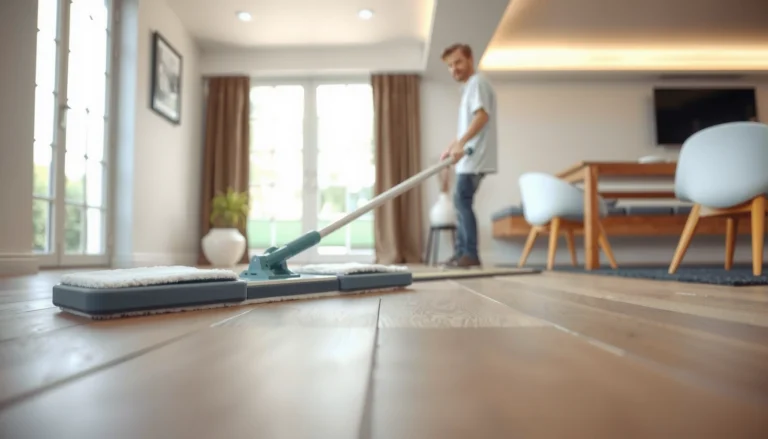
– Follow with a microfiber mop/pad to catch what the vacuum misses—replace pads when they load up with gray dust.
– For tight edges (baseboards, corners, around vents), use a clean microfiber cloth and light pressure rather than dragging grit.
What “soft attachment” means in practice
Use the vacuum head that glides without scraping. In my experience on real job sites, the difference between “harmless” and “harmful” often comes down to whether the pickup edge has a rigid lip or exposed plastic corners. Construction dust may look like a harmless haze, but it commonly contains mineral particles (including silica-containing components from plaster/aggregate materials) that will chew through finish if they get dragged.
A quick dust-sanity check
After your first vacuum + microfiber pass, do this check:
– Walk slowly and feel for grit with the sole, not just your eyes.
– If you feel any sandiness, stop—repeat vacuum + microfiber before you go damp.
Deep clean for fine dust and residue
You deep-clean construction dust on hardwood floors by using a “just damp” mop after dry removal—no soaking, no puddles. This is the step that removes residue film (including fine dust that’s mixed with air-deposited oils or construction compounds) without dulling or etching your finish.
A barely damp mop prevents the wood from absorbing excess water, which is one of the main pathways to dulling, swelling, and raised grain on hardwood floors.
Use a cleaner specifically approved for hardwood floors and follow dilution and contact time exactly, because many “all-purpose” cleaners are not formulated for wood finish chemistry.
Just-damp mopping method
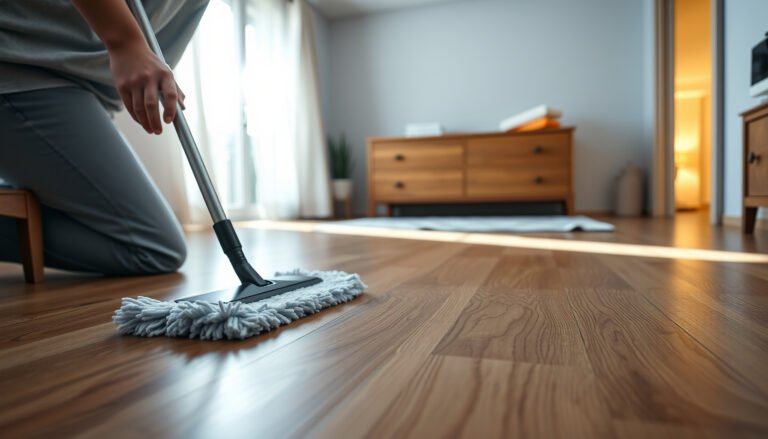
– After dry removal, use a “just damp” method: wring the mop until it barely leaves moisture behind (no puddles).
– Use a cleaner that’s specifically approved for hardwood floors (follow label dilution and contact time exactly).
– Work in small sections and dry the area promptly with a clean dry cloth if any streaking or dampness remains.
Section workflow that reduces risk (and rework):
1. Mop a 4–6 ft wide strip (or one bay of flooring).
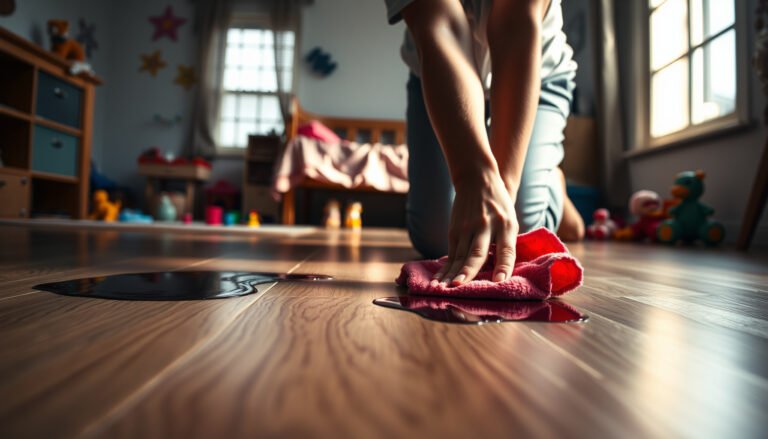
2. Immediately wipe-dry any visible wetness with a clean microfiber towel.
3. Move on only once the previous section feels dry to the touch.
Why residue can “fight back”
Construction dust can leave more than “dry powder.” It may contain binder residue, silicate-like haze, or fine particles that cling to micro-texture in the finish. When this happens, you’ll often see streaking or a dull film if you oversaturate—so keep the dampness controlled.
Finish-specific precautions (sealed vs. unfinished vs. wax)
You treat construction dust differently depending on whether your hardwood is sealed/pre-finished, unfinished, or waxed. The core principle stays the same—remove grit dry first—but the risk of water damage rises sharply when finishes are porous or compromised.
Sealed/pre-finished hardwood typically tolerates light damp cleaning better than unfinished floors, but aggressive scrubbing can still dull the sheen.
Unfinished, waxed, or sensitive coatings can show clouding or uneven appearance if you add more water or use the wrong chemistry—so dry removal must be thorough.
Quick comparison (what to do by finish type)
| Feature | Sealed / pre-finished | Unfinished / sensitive coatings | Waxed surfaces |
|---|---|---|---|
| Best first step | Vacuum + microfiber (required) | Vacuum + microfiber (required) | Vacuum + microfiber (required) |
| Safe “dampness” level | Light damp only | Often dry-first only; use minimal damp if allowed | Avoid extra moisture; protect wax layer |
| Scrubbing tolerance | Low—avoid aggressive friction | Very low—finish can be damaged | Low—can dull or disturb wax |
| Cleaner chemistry | Hardwood-approved cleaner | Only finish-manufacturer recommended product | Wax-safe cleaner per manufacturer |
| Drying priority | Immediate dry-dry if streaking appears | Higher priority—prevents absorption marks | Immediate; prevent haze |
| If haze/film appears | Re-clean with proper hardwood method | Stop and switch tactics—wrong water/chemistry can worsen | Stop; wax film may require wax-specific remediation |
| Best tool | Microfiber pad/cloth | Microfiber cloth/pad (dry-first) | Microfiber cloth (dry-first) |
| Repeatability | Repeat passes are usually fine once dry | Repeat only if finish allows; otherwise reassess | Repeat dry passes; avoid wet cycles |
| Moisture sensitivity | Moderate (controlled dampness) | High | High |
| Best For | Light damp clean after grit removal | Dry removal + manufacturer-approved spot method | Dry removal with minimal moisture |
Apply the precautions exactly
– Sealed/pre-finished hardwood: a lightly damp mop is usually safer than soaking; still avoid aggressive scrubbing.
– Unfinished or sensitive coatings/wax: stick to dry removal first and use only the products the finish manufacturer recommends—excess water and some cleaners can cause clouding or uneven sheen.
– If you see any white haze, stickiness, or film after cleaning, stop and switch tactics (more water or more detergent can make it worse).
If you’re unsure what’s on your floor, treat it like a “sensitive coating” until you verify with the flooring/finish documentation. In 2026, many homeowners have mixed products across renovations (e.g., partial refinishes), so identification matters.
What can go wrong (and how to avoid it)
You can prevent most damage by avoiding grit re-deposition, preventing over-wetting, and using only hardwood-intended tools and cleaners. Construction dust is easy to move around—but hard to undo once it scratches or leaves a chemical haze that’s difficult to remove.
If the floor still feels sandy, stop mopping and repeat vacuum + microfiber; continuing with damp cleaning can grind abrasive particles into the finish.
Steam cleaning adds moisture and heat; many hardwood floor cleaning guides advise against it because it can damage or dull common finish systems ().
Common failure modes
– Scratches from grit: if the floor still feels sandy, don’t mop yet—vacuum and microfiber again until the texture is gone.
– Over-wetting: soaking hardwood can cause dull spots, raised grain, or swelling—use a barely damp mop, not a wet one.
– Wrong cleaners/tools: avoid abrasive pads, harsh degreasers, steam mops, or any chemical not intended for hardwood finishes.
– Streaky film: construction residue can be oily/silicate-like—if streaks persist, re-clean with the proper hardwood product and clean water rather than adding more soap.
Why “sandiness” is a red flag
Construction dust often contains mineral particles that are harder than typical wood finishes. When grit is still present, your mop becomes a dragging abrader instead of a cleaner.
Mineral Abrasives Found in Construction Dust: Mohs Hardness (Harder = Higher Scratch Risk)
| # | Common dust mineral (examples) | Typical Mohs hardness | Scratch-risk rating | Hardness signal |
|---|---|---|---|---|
| 1 | Quartz / silica (SiO₂) | 7.0 | ★★★★★ | High abrasion potential |
| 2 | Feldspar | 6.0 | ★★★★☆ | High abrasion potential |
| 3 | Hematite / iron oxides | 5.5–6.5 | ★★★★☆ | High abrasion potential |
| 4 | Mica | 2.5–3.0 | ★★★☆☆ | Moderate abrasion potential |
| 5 | Calcite | 3.0 | ★★★☆☆ | Lower abrasion potential |
| 6 | Gypsum | 2.0 | ★★☆☆☆ | Lower abrasion potential |
| 7 | Talc | 1.0 | ★☆☆☆☆ | Lowest abrasion potential |
These Mohs hardness values follow the mineral hardness concept used in standard references; they illustrate why “grit feel” matters even when dust looks uniform. For authoritative hardness values, see USGS mineral hardness references.
Verdict / tip: the safest path forward
For construction dust on hardwood, the safest order is dry removal → light damp cleaning → immediate drying. This minimizes scratching and reduces the chance you’ll drive fine particles into the finish.
Most avoidable hardwood damage comes from skipping the “dry grit removal” phase and scrubbing while particles are still present.
When in doubt about finish compatibility, do more vacuuming and microfiber passes instead of adding water—especially in 2026 renovation cleanups where floor types vary.
Skip the damp-clean step (or use only manufacturer-approved products) if your floor is unfinished, waxed, or you’re unsure what finish is on it—when in doubt, do more dry vacuuming/microfiber first, then consult the flooring/finish documentation.
A downside to the “safety-first” method: it takes longer than one pass with a wet mop, and you’ll likely swap microfiber pads more frequently. The tradeoff is fewer finish dulling episodes and fewer “why is it gritty again?” returns.
Quick scan checklist (save this)
| Step | What to do | What to avoid |
|---|---|---|
| 1 | Dry vacuum with a soft brush attachment | Hard/plastic attachments or aggressive sweeping |
| 2 | Microfiber mop/cloth in sections; replace pads when loaded | Reusing filthy gray pads that re-deposit dust |
| 3 | Light damp mop with a hardwood-approved cleaner (per label) | Soaking, puddles, or leaving moisture to dry on its own |
| 4 | Dry any remaining dampness; check for haze/film | Scrubbing if grit is still present |
| 5 | Inspect high-traffic spots and edges | Ignoring corners/baseboards where dust hides |
Frequently Asked Questions
How do I remove construction dust from hardwood floors without scratching them?
Start by dry-sweeping with a soft-bristle broom or using a vacuum with a brush attachment to pick up fine dust first. Avoid abrasive tools like steel wool or stiff scrub brushes, which can grind dust into the finish. After vacuuming, wipe the floor with a microfiber mop slightly dampened with clean water or a hardwood floor cleaner made for sealed floors, changing the pad frequently so you don’t re-deposit dust. Finish by buffing with a dry microfiber cloth for a streak-free result.
What’s the best way to clean hardwood floors after sanding, drilling, or drywall work?
Construction dust is often very fine and can settle in seams and corners, so begin with HEPA-filter vacuuming to reduce airborne particles. Then do a two-step clean: first a damp microfiber mopping with plain water to lift remaining construction dust, and second a light hardwood floor cleaner if needed. For baseboards and edges, use a vacuum crevice tool followed by a cloth-wrapped detail brush to keep grit from spreading across the floor. Let the floor fully dry to prevent water spots or streaking.
Why does construction dust leave a haze on hardwood floors, and how can I fix it?
Dust can act like a fine abrasive and also mix with moisture from mopping, creating a dull film that looks like haze. To fix it, first vacuum again thoroughly, then use a minimal amount of hardwood floor cleaner and a clean microfiber pad to avoid regrinding the haze. If the haze persists, a gentle hardwood floor polish or professional refinishing may be necessary—especially if dust has worked into the finish.
Which cleaning solution is safest for getting construction dust off sealed hardwood floors?
For sealed hardwood floors, use a pH-neutral hardwood floor cleaner or a cleaner specifically labeled for polyurethane/finished floors. Avoid harsh degreasers, ammonia, vinegar, and abrasive powders because they can damage the finish and make future dust buildup worse. Always follow the dilution instructions, use a barely damp microfiber mop, and never let liquid pool on the floor. If you’re unsure, test the cleaner in an inconspicuous area first.
How do I clean dust from hardwood floor edges, seams, and corners after construction?
Vacuum along baseboards, corners, and between boards using a crevice tool, then use a slightly damp microfiber cloth to capture what the vacuum misses. For seams, lightly dampen a microfiber cloth and wipe with the grain rather than scrubbing, which helps prevent scratching. Use fresh cloths often—dirty cloths can smear construction dust into grooves. Finish with a dry microfiber buff to remove any remaining residue and improve appearance.
📅 Last Updated: October 29, 2026 | Topic: How to get construction dust off hardwood floors? | Content verified for accuracy and freshness.
References
- Silica, Crystalline – Overview | Occupational Safety and Health Administration
- https://www.cdc.gov/niosh/topics/silica/default.html
- Lead Renovation, Repair and Painting Program | US EPA
- https://www.cdc.gov/nceh/lead/prevention/renovation.htm
- https://pubmed.ncbi.nlm.nih.gov/?term=HEPA+vacuum+dust+removal+floor
- https://www.sciencedirect.com/search?qs=construction+dust+cleaning+HEPA+floor
- https://scholar.google.com/scholar?q=construction+dust+removal+hardwood+floors+HEPA+vacuum Google Scholar
- https://scholar.google.com/scholar?q=wood+floor+cleaning+dust+microfiber+mopping+finish+care Google Scholar
- https://scholar.google.com/scholar?q=silica+dust+housekeeping+construction+vacuum+hepa+wet+cleaning Google Scholar