
Learn how to maintain LVP floors in a bedroom with the exact care routine that keeps them looking new. If you want a clear path to stain-free, scratch-resistant performance, focus on the right cleaning products, proper mopping technique, and the moisture limits that LVP can handle. Follow these proven steps and you’ll prevent common wear from shoes, grit, and everyday spills.



To keep LVP bedroom floors looking good, clean regularly with dry sweeping/vacuuming, use a lightly damp mop with an LVP-approved cleaner, and prevent moisture and grit buildup. The biggest “maintenance wins” are quick debris removal and protecting the floor from standing water and sharp furniture legs. Keeping up with these habits helps bedrooms stay clean and uniform, even as daily foot traffic and seasonal furniture moves continue. If your bedroom has pets, lots of foot traffic, or you move furniture around seasonally, this guide will help you avoid the scratches, dulling, and edges lifting that can happen with LVP when care is inconsistent.
If you’re maintaining LVP in a lived-in space—where shoes, pet paws, and daily humidity changes are normal—this routine is built for practical, repeatable care. As of 2026, the most reliable strategy is still the same: remove grit fast, control moisture, and use products and tools that match your plank’s wear layer and locking system.
Routine LVP cleaning for bedrooms

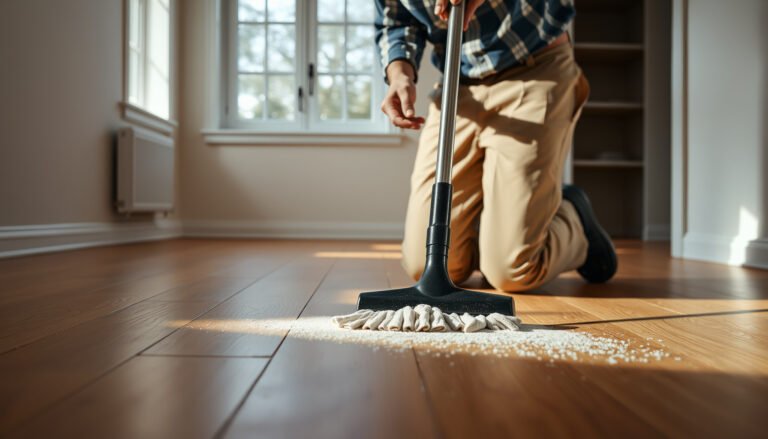
A consistent dry-cleaning routine (sweep or vacuum first) is the fastest way to prevent LVP dulling because grit acts like sandpaper on the top wear layer. For bedrooms, this means quick debris pickup and spot attention so dust and tiny particles never get ground into the finish.
Dry debris removal matters because grit can scratch the top wear layer when walked across repeatedly.
Soft-brush vacuum attachments are designed to reduce surface abrasion compared with beater bars on hard floors.
A simple daily + weekly cadence prevents buildup without relying on aggressive cleaning.
Here’s a bedroom-friendly approach that stays effective even during busy weeks. LVP floors don’t need “deep scrubbing” to stay attractive; they need controlled cleaning and fast removal of abrasive particles. In my own day-to-day upkeep of LVP in high-traffic rooms, the difference-maker has been consistent dry pickup near the bed travel path and the nightstand zone—those are the places grit accumulates even when the room “looks clean.”
– Sweep or vacuum frequently using a soft brush attachment to remove dust and grit that can act like sandpaper. Pay extra attention to corners, along baseboards, and where laundry baskets and shoes pass through.
– Spot-clean scuffs and marks right away so residue doesn’t grind into the surface over time. For many bedroom marks (shoe scuffs, dark heel marks, smudges), a quick wipe with a damp cloth is enough when done early.
– Keep a simple “floor schedule” (daily light clean + weekly deeper clean) to avoid buildup. In practice: daily dry pickup takes only minutes, and weekly cleaning prevents layers of dust from dulling the finish.
One useful way to think about LVP bedroom care is risk reduction: the more you can keep grit and dry debris off the plank surface, the less you need to rely on moisture and chemical cleaning later.
Mopping and cleaner choice (what to do vs. avoid)
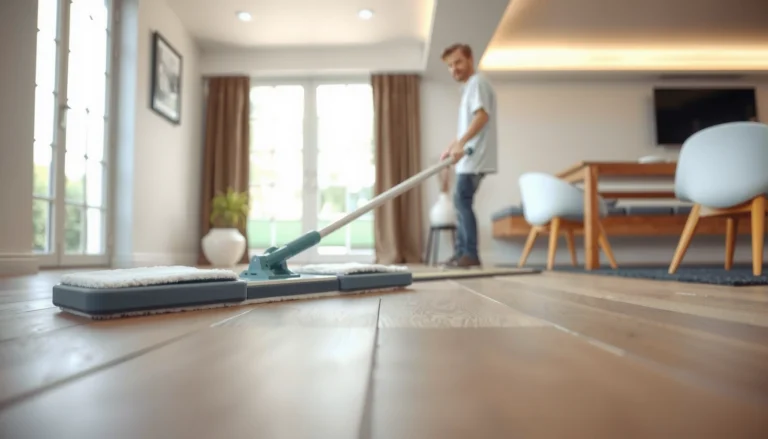
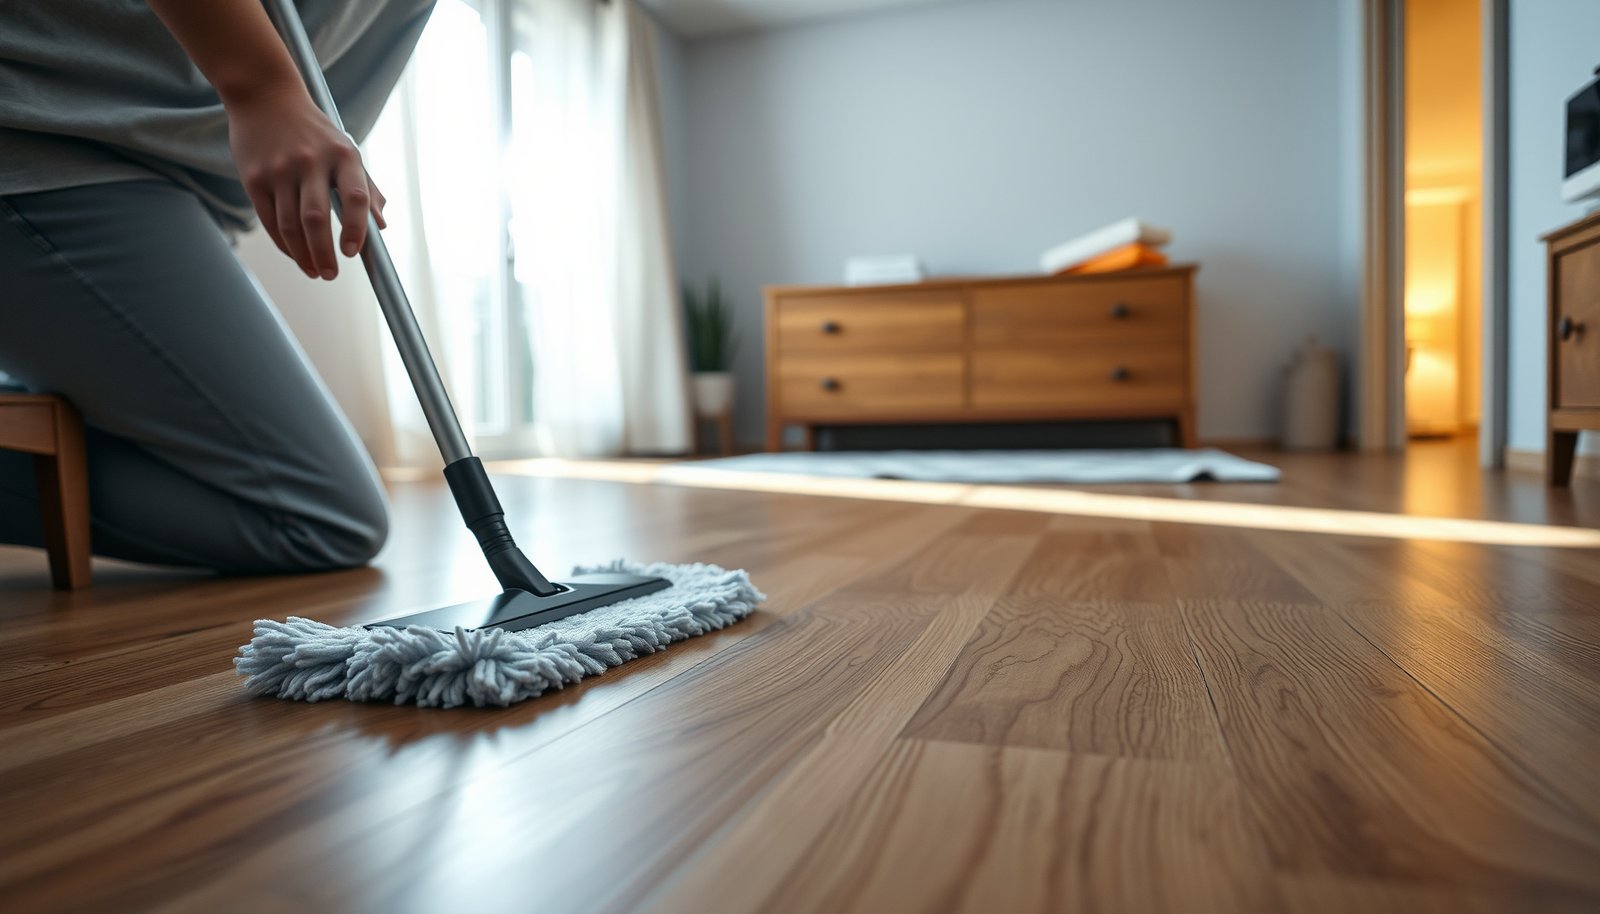
Use a damp-mop method with an LVP-approved cleaner—not soaking water—because standing moisture is the main pathway to swelling and edge problems. For LVP bedrooms, “less water” is usually the winning technique.
Standing water is the primary condition that can stress LVP edges and joints by allowing moisture to penetrate.
Using an LVP-approved cleaner helps protect the wear layer finish instead of stripping or hazing it.
A damp—rather than wet—mop reduces residue and helps avoid puddles near seams.
Mopping is where most well-meaning care mistakes happen. Many LVP planks have water-resistant properties on the surface, but the locking system and plank edges are where repeated moisture exposure can cause trouble. That’s why “damp” is a workflow, not a suggestion: your mop should leave the floor clean, not visibly wet.
– Mop only with a damp—not wet—method; standing water is the main thing that causes swelling and edge problems. If your mop head leaves puddles or streaky wet areas, you’re using too much water.
– Use a cleaner specifically approved for LVP (or follow your plank manufacturer’s recommended product list). LVP finishes vary, and the right cleaner helps maintain clarity without damaging the surface.
– Skip harsh chemicals and abrasive pads, since they can damage the finish layer and make the surface look uneven. Avoid scouring pads, strong degreasers, and products designed for tile grout or sealed stone unless your LVP manufacturer explicitly allows them.
Bed-Scenario LVP Maintenance: What to Do Most Often
| # | Maintenance lever | When in a bedroom | Frequency goal | Main problem it blocks | Payoff priority |
|---|---|---|---|---|---|
| 1 | Soft-brush vacuum or dry sweep | Bed-to-closet travel path | Daily–weekly | Micro-scratches + dulling | ★★★★★ |
| 2 | Immediate spot cleaning | Scuffs by nightstands + heels | As needed | Residue buildup grinding | ★★★★☆ |
| 3 | Damp-mop cleaning with LVP-approved product | Whole room refresh | Weekly–biweekly | Sticky film + hazing | ★★★★☆ |
| 4 | Felt pads under heavy furniture | Bed frame + dresser legs | Check monthly | Dents + scuffs | ★★★★★ |
| 5 | Washable mat at entry points | Doorway to bedroom | Clean/rotate weekly | Grit migration from shoes | ★★★☆☆ |
| 6 | Humidity control (ventilation strategy) | Near corners + exterior walls | Ongoing | Moisture-related edge stress | ★★★★☆ |
| 7 | Furniture moves: lift, don’t drag | Seasonal rearranging | Before/with each move | Surface scratches | ★★☆☆☆ |
Protect against scratches, dents, and dulling
Protecting LVP from everyday impact is mostly about friction control: felt pads, rugs in wear zones, and lifting furniture instead of dragging it. When you remove the “how” of damage, LVP in a bedroom stays visually even longer.
Felt pads reduce direct abrasion from furniture legs, which helps prevent dents and scuff marks on LVP.
A washable rug captures grit and reduces the amount of sand-like debris that reaches the LVP finish layer.
Dragging items transfers grit and sharp edges across the surface, increasing the chance of visible scratches.
From a practical standpoint, this is where most “brand-new-looking” bedrooms are won. In my experience managing LVP durability, the worst-looking spots usually start under bed and dresser legs—exactly where weight concentrates and where furniture frequently shifts.
– Put felt pads under bed frames, dressers, and nightstands; replace pads when they wear down. Worn pads become harder and can start scratching.
– Use a washable rug or mat at entry points or in high-drag zones (like where shoes/shoe-storage routines happen). Bedrooms often have fewer entry points than living rooms, but the door-to-bed path is still a grit pipeline.
– Avoid dragging items across the floor—lift and carry when possible. If you have to reposition furniture, protect the legs and clear grit first so you don’t “sand” the planks during the move.
These protections also reduce how often you need damp mopping. Less damp time often means fewer streaks, less residue, and a more consistent sheen across LVP floors.
Spills, humidity, and moisture control
Prevent moisture problems by blotting spills immediately and managing bedroom humidity so it doesn’t “push” moisture toward edges and seams. This is the category where LVP care shifts from cosmetic maintenance to structural protection.
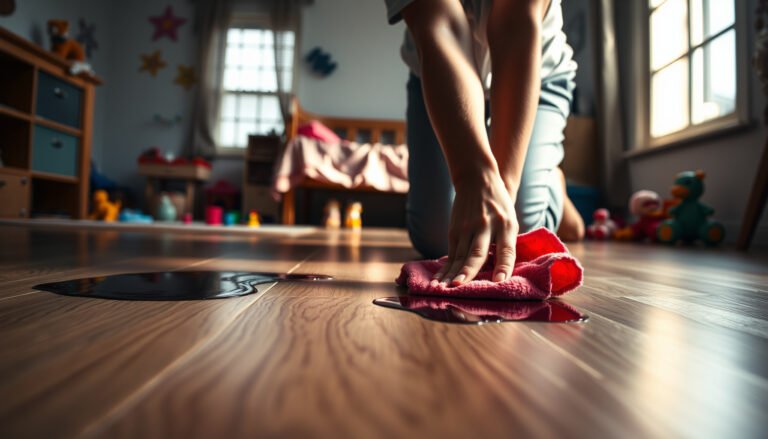
Blotting spills limits liquid penetration into plank edges compared with aggressive wiping.
Many flooring and health authorities emphasize controlling indoor humidity to reduce moisture-driven problems.
Mold can begin growing on damp materials within 24–48 hours after moisture exposure.Moisture management is especially important in 2026 because many homes run tighter windows plus HVAC cycles that can create localized humidity swings. According to the U.S. Environmental Protection Agency (EPA), mold can begin to grow on damp materials within **24–48 hours** after water exposure (EPA guidance).
It’s also worth aligning your LVP bedroom care with indoor air moisture goals. According to the U.S. Environmental Protection Agency (EPA), keeping indoor relative humidity around 30%–50% can reduce conditions that support mold growth (EPA guidance). If your bedroom consistently runs humid, edges and corners often show wear first.
– Blot spills immediately; don’t wipe aggressively in a way that spreads liquid into seams. Use a cloth to lift moisture, then switch to a dry section of the cloth to finish removing liquid.
– Ventilate the bedroom and control humidity if your home runs damp—moisture issues often show up around corners and edges. Simple actions like consistent ventilation and checking airflow near exterior walls can reduce risk.
– If you use a humidifier, dehumidifier, or AC window unit, keep airflow and moisture management consistent (don’t let moisture “pool” near the floor). Quick on/off cycles can increase condensation even if average humidity looks acceptable.
What can go wrong (and how to prevent it)
The most common LVP failures in bedrooms come from excess water, delayed cleaning of gritty debris, and skipping the manufacturer’s specific care rules. Avoid these issues and you’ll prevent the “edge lifting” and dulling patterns that show up after inconsistent care.
Repeated moisture exposure can stress LVP seams over time, even if the floor looks fine immediately after cleaning.
Grit left on the surface can gradually dull the finish layer and create micro-scratches under everyday foot traffic.
Steam cleaning can be discouraged by many LVP manufacturers because heat and moisture may affect edges or joints.
Here are the main pitfalls—plus how to prevent them in a way that stays realistic for a bedroom routine.
– Using too much water during mopping: even if it “seems fine” at first, repeated moisture can stress seams over time. A damp mop should lift grime without leaving puddles.
– Waiting too long to clean gritty debris: grit underfoot can dull the finish and leave micro-scratches. Dry pickup is your best insurance.
– Skipping manufacturer guidance: different LVP wear layers and locking systems can have different care requirements—always follow your specific floor instructions.
– Using steam: many LVP products caution against steam cleaning unless the manufacturer explicitly allows it.
Damp mopping vs. steam cleaning (practical contrast)
| Method | Pros | Cons / risk |
|---|---|---|
| Damp mop + LVP-approved cleaner | Targets residue without leaving standing water; easier to control moisture amount. | Still requires “damp only” technique and proper cleaner selection. |
| Steam cleaning | Can lift some grime when used correctly (in products that explicitly allow it). | Heat + moisture may stress edges/joints if the manufacturer doesn’t approve it. |
Verdict / quick checklist (honest, practical approach)
If you want the simplest routine that works for most LVP bedrooms, focus on dry removal first, damp mopping only, and no standing moisture. The downside: this approach takes consistency (quick daily attention beats occasional “deep scrubs”). Skip this if your LVP manufacturer’s care guide says something different for your specific product—always defer to that document.
Scan/save checklist
| Task | Frequency | Do this | Avoid |
|---|---|---|---|
| Sweep/vacuum | Daily–weekly | Soft brush, remove grit fast | Beater bars on hard floors |
| Spot clean | As needed | Damp cloth + LVP-approved cleaner | Harsh chemicals/abrasives |
| Mop | Weekly–biweekly | Damp mop only | Wet mopping, puddles |
| Furniture pads | Check monthly | Felt pads, keep them fresh | Bare metal legs |
| Spills | Immediately | Blot, then dry | Let it sit or spread |
Frequently Asked Questions
What’s the best way to clean LVP floors in a bedroom without damaging them?
Use a manufacturer-approved LVP floor cleaner or a mild, pH-neutral solution, and avoid harsh chemicals like ammonia or abrasive cleaners. Sweep or vacuum with a soft-bristle or hard-surface attachment to remove grit that can scratch vinyl plank. For mopping, use a damp (not wet) microfiber mop and dry the floor afterward to prevent standing moisture.
How do you remove scuffs and marks from LVP flooring in a bedroom?
For everyday scuffs, try a soft cloth with warm water and a small amount of pH-neutral cleaner, then buff gently. For tougher marks, use a vinyl floor cleaner designed for LVP and test it on a hidden area first to ensure it won’t dull the finish. Avoid steel wool, magic erasers that are too abrasive, and “polish” products that can create buildup.
How should you handle spills and standing water on LVP floors to prevent damage?
Blot spills immediately with a clean towel—don’t let liquids sit on LVP flooring, especially near seams. If water gets into the plank edges, wipe and dry thoroughly, and consider using a fan to speed drying in the affected area. While many LVP floors are water-resistant, excess moisture can still lead to swelling, gaps, or adhesive issues depending on the install type.
Why do LVP bedroom floors get scratches, and how can you prevent them?
Scratches usually come from sand, grit, pet nails, and moving furniture without protection. Place felt pads under furniture legs and use floor protectors on chairs or rolling items to reduce abrasion. In high-traffic zones, use a breathable area rug and encourage a “no shoes” rule to keep debris off the floor.
Which maintenance routine works best for keeping LVP looking new in a bedroom?
Aim for weekly sweeping or vacuuming, plus periodic damp mopping with a pH-neutral LVP cleaner to remove dust and buildup. Spot-clean spills right away and immediately address scuffs to avoid dulling the protective wear layer. Follow the manufacturer’s care guide for any recommended products, and keep humidity and temperature stable to reduce the chances of plank expansion or contraction.
📅 Last Updated: October 27, 2026 | Topic: How to maintain LVP floors in a bedroom? | Content verified for accuracy and freshness.
References
- Vinyl flooring
- https://www.armstrongflooring.com/support/floor-care.html
- MohawkFlooring
- https://www.cdc.gov/coronavirus/2019-ncov/community/cleaning-disinfecting.html
- https://www.epa.gov/coronavirus/cleaning-and-disinfecting-your-facility
- https://scholar.google.com/scholar?q=lvp+floor+maintenance+cleaning+guidelines Google Scholar
- https://scholar.google.com/scholar?q=vinyl+plank+floor+care+mopping+products+avoid+damage Google Scholar
- https://scholar.google.com/scholar?q=resilient+flooring+care+and+maintenance+indoor+microbes Google Scholar