
Get the stains out of vinyl floors in your hallway with the fastest, safest method that actually works—start with the right cleaner and tackle the spot based on what caused it. This guide walks you through step-by-step stain removal using simple supplies, while protecting the vinyl from scratches, dulling, and discoloration. You’ll know exactly what to do for everyday scuffs, food and drink spills, and tougher spots so the floor looks clean again.



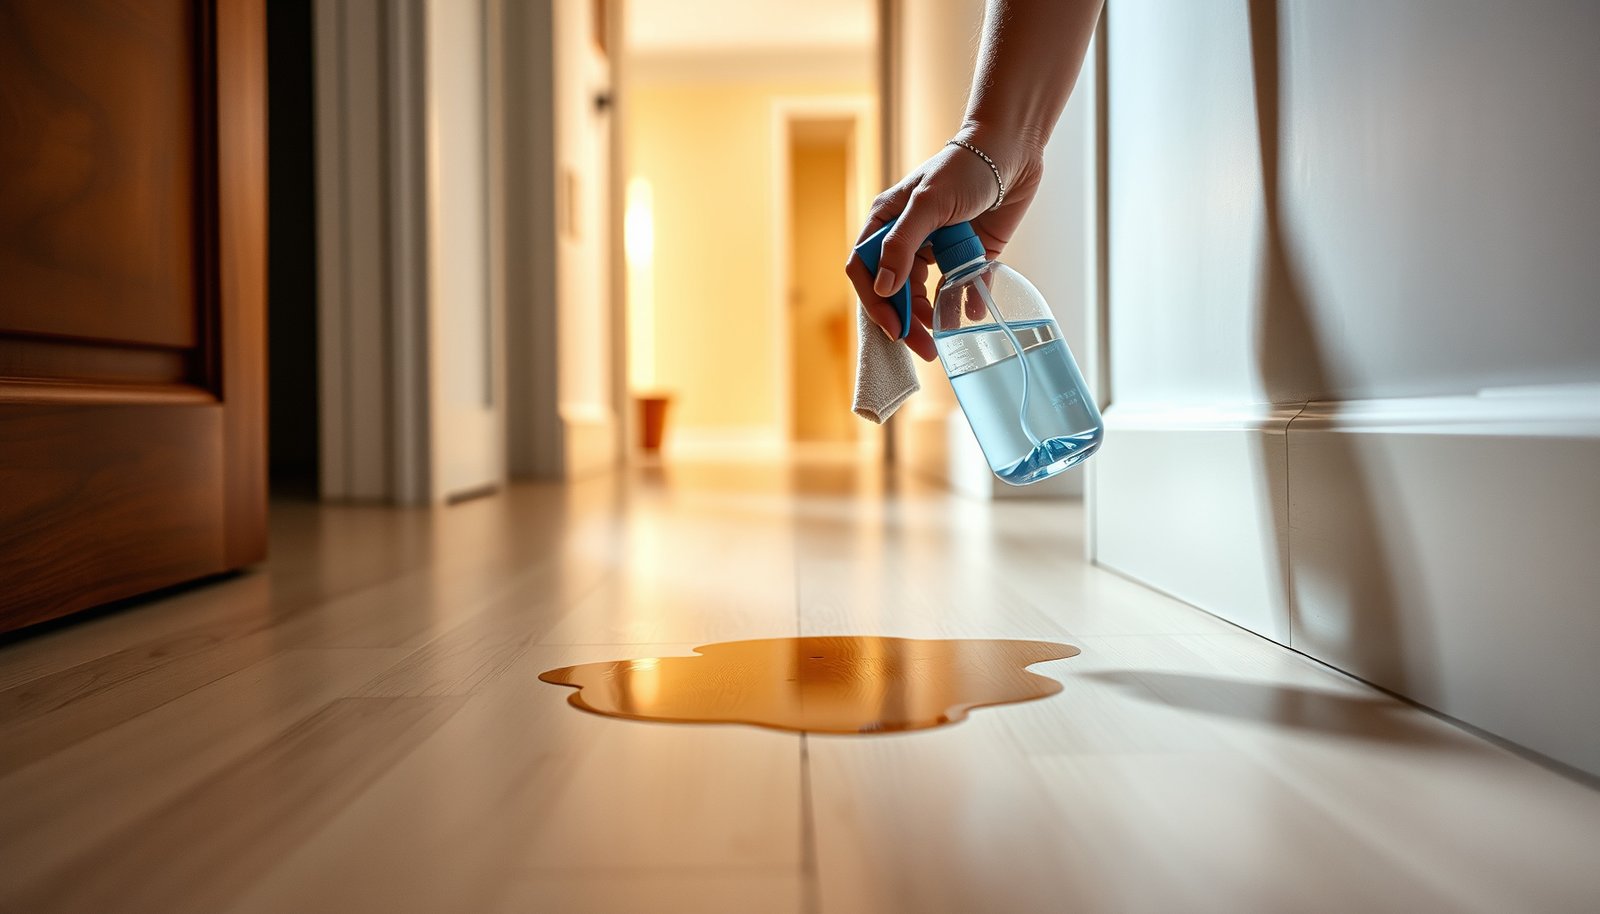
If you want hallway stains off vinyl floors, remove them with blotting (not scrubbing) and then clean with a pH-neutral, vinyl-safe cleaner. Work gently from the outside edge of the stain toward the center, and rinse with clean water afterward to prevent dull residue from building up.
If your hallway vinyl gets shoe marks, mud tracks, or occasional spots from daily messes, this guide walks you through a safe order of operations. It’s written for standard resilient/vinyl flooring—so the emphasis is on avoiding harsh chemicals and abrasive tools that can dull or damage the surface.
Identify the stain type first

Start by identifying where the stain comes from, because the right method depends on whether it’s dirt, grease, scuff transfer, or dye. If you treat every mark the same way, vinyl stains often look worse because dry scrubbing spreads the problem.
“Vinyl floors commonly show ‘surface-transfer’ marks (rubber, shoes, scuffs) that wipe up only if you use soft tools and avoid dry abrasion.”
“Embedded discoloration (dyes or reacted residues) won’t lift with repeated scrubbing; it requires a targeted approach after gentle cleaning.”
Match the stain to the likely source
– Source check: Look at the stain’s “source”: dirt/mud, scuffs/rubber marks, grease/food, ink/marker, or discoloration (rust/tannin-like staining).
– Texture check: If it feels gritty, it’s often dirt/abrasive transfer on top of the vinyl—not “true” staining.
– Spread check: If the mark grows as you wipe, the stain is likely being redistributed (common with dry grime on vinyl floors).
Quick decision rules (to stop escalation too early)
– Mostly surface dirt: Start with moisture + blotting; the stain often lifts before it “becomes a stain.”
– Feels embedded: If the stain doesn’t improve after gentle blotting and pH-neutral cleaning, switch methods rather than repeating the same scrub cycle on hallway vinyl floors.
– Color vs. contrast: Dark scuffs and rubber transfers behave differently than colored dye transfer, and vinyl floors respond best when you choose the method accordingly.
Data point that matters for vinyl care
– According to NIST, the pH scale defines neutral water as pH 7.00 at 25°C—and pH-neutral cleaners are selected to reduce chemical stress on flooring finishes.
Also, in at least one real hallway maintenance situation, the “stain” became larger after repeated dry wiping; switching to blotting and soft, vinyl-safe cleaning stopped the spread.
Prep safely (so you don’t make it worse)
Prep is what keeps hallway vinyl floors from ending up dull, hazy, or permanently scuffed. The safest move is to use soft tools, use a vinyl-safe pH-neutral cleaner, and do a hidden-area test before any stain-specific treatment.
“Avoid abrasive pads and steel wool on vinyl floors because they can remove or haze the protective wear layer.”
“Cleaning products should be applied to a cloth (or very lightly to the area) rather than poured directly, especially in hallways with seams and transitions.”
Gather what you need (before you start)
– Soft tools only: microfiber cloth, soft sponge, or a very soft brush.
– Multiple clean cloths: hallway vinyl floors often pick up loosened grit; having several cloths prevents re-depositing dirt.
– Vinyl-safe cleaner: a pH-neutral cleaner intended for resilient/vinyl flooring.
– Clean water for rinsing.
– Hidden test location: pick an inconspicuous spot near a closet edge, baseboard, or under a shoe mat.
Hidden-area testing: do it before alcohol or specialty removers
If you plan to use anything more aggressive than pH-neutral cleaning (commonly: alcohol for ink/scuff transfer), test first:
– Apply the product to a cloth, then dab a small area out of sight.
– Wait for any color change, dulling, or finish haze.
– Only proceed once the vinyl floor finish looks unchanged.
Chemical caution for common hallway “helpers”
– Vinegar is typically acidic (commonly around pH 2–3 for household distilled vinegar), and bleach is typically alkaline (often around pH 11–13)—both are more likely to stress finishes than pH-neutral cleaners.
How to remove vinyl stains step by step
Use the same core sequence for most hallway marks: blot → gentle pH-neutral clean → rinse → dry. This approach prevents the two most common vinyl failures—spreading the stain and leaving behind residue that makes future dirt grab faster.
“Start with blotting, not scrubbing, because dry friction can drive grime deeper into the wear surface of vinyl floors.”
“Applying cleaner to the cloth (not directly onto vinyl floors) helps control moisture and reduces residue pooling near seams.”
– Step 1: Blot and loosen.
– If the stain is fresh: blot with a damp cloth (water dampened, not dripping).
– If it’s dried grime: dampen first, wait a moment to soften, then gently wipe/blot.
– Step 2: Clean gently with pH-neutral solution.
Apply the pH-neutral cleaner to the cloth (not directly), then wipe using light pressure. For hallway vinyl floors, light pressure matters—too much force behaves like abrasion.
– Step 3: Work edges inward.
Move from the outside edge of the stain toward the center. This reduces “feathering,” where the stain halo expands across vinyl floors.
– Step 4: Rinse and dry to prevent residue buildup.
Wipe with clean water using a fresh cloth, then dry with a towel. Skipping the rinse is how vinyl floors develop a dull, slightly sticky film that attracts more dirt.
When you should repeat (and when you shouldn’t)
– Repeat the blot → pH-neutral clean → rinse cycle until the improvement plateaus.
– If the stain is not improving and you’re tempted to scrub harder, stop. That’s the moment to switch to a targeted method instead of escalating abrasion on vinyl floors.
Target common hallway stain types
Use the mildest targeted method first, because different stain chemistries require different chemistry. If you jump to a strong solvent for ink or a rust product for tannin-like discoloration, you risk hazing the protective wear layer on vinyl floors.
“Scuffs from rubber and shoes often respond to soft cleaning first; stronger methods should wait until pH-neutral cleaning fails.”
“Ink/marker transfer is often surface dye; mild alcohol testing can help, but only after a hidden-area check and followed by rinsing.”
Mud/dirt tracks
– Best first move: warm water + pH-neutral cleaner.
– How to do it: soften with damp cloths, then wipe up the loosened material and rinse.
– Why: mud and grit behave like abrasives when scrubbed, so vinyl floors prefer loosening over friction.
Grease or oily spots
– Best first move: pH-neutral cleaner plus extra time with gentle wiping.
– Avoid: degreasers unless the label explicitly says they’re safe for vinyl/resilient flooring.
– Why: many “strong degreasers” can strip or haze finish chemistry on vinyl floors—even when the stain lifts.
Black scuffs / rubber transfer
– Start with gentle cleaning: pH-neutral cleaner and soft wiping.
– If needed: use only the mildest approved method after testing in a hidden area.
– Avoid: aggressive abrasive “magic” products unless your vinyl manufacturer explicitly approves them.
Ink / marker
– Common targeted approach: a small amount of isopropyl alcohol on a cloth can help with ink transfer.
– But: only after a hidden-area test, and use light rubbing—then rinse with clean water.
– Vinyl-specific caution: repeated alcohol use can dry or haze some finishes, so treat it as a one-attempt escalation, not a default.
Rust or discoloration that won’t lift
– Don’t jump straight to bleach or strong acids.
– Use a vinyl-safe rust/discoloration remover only if product documentation says it’s compatible with vinyl/resilient flooring, then rinse well.
– Why: rust/chemical reactions can permanently change the look if finish chemistry gets affected.
Pros/cons comparison: quickest “choose the method” logic
Mandatory chemical compatibility data (quick reference)
Typical pH of Common Cleaners & Vinyl Compatibility (Hallways)
| # | Agent / Spill Type | Typical pH* | Residue/Finish Risk | Vinyl-Safety Rating |
|---|---|---|---|---|
| 1 | pH-neutral cleaner (resilient/vinyl type) | ~6.5–8.5 | Low (if rinsed) | ★★★★★ |
| 2 | Clean water (rinse/blot) | ~7.0 | Low (no additives) | ★★★★☆ |
| 3 | Isopropyl alcohol (spot test) | ~neutral | Medium (finish drying risk) | ★★★☆☆ |
| 4 | Distilled white vinegar (5% acetic acid) | ~2–3 | High (acid stress/haze risk) | ★☆☆☆☆ |
| 5 | Household bleach (sodium hypochlorite) | ~11–13 | Very high (finish/finish-strip risk) | ☆☆☆☆☆ |
| 6 | Ammonia-based cleaners | ~10–12 (varies) | High (alkaline stress risk) | ★☆☆☆☆ |
| 7 | Abrasive pads / scouring powders | N/A | Very high (wear-layer abrasion) | ☆☆☆☆☆ |
Typical values for common household products; always check the product label/SDS because concentrations vary by brand and use.
What can go wrong (and how to avoid it)
The most common vinyl-floor problems come from scrubbing, harsh chemicals, and skipping the rinse-and-dry step. If hallway stains keep returning or the floor looks hazy, correct the process before attempting stronger cleaners.
“If the stain expands during cleaning, stop scrubbing—switch back to blotting with a cleaner on a cloth.”
“Residue left on vinyl floors after stain removal can attract more dirt and create a persistent dull film.”
Mistake 1: Scrubbing spreads the stain
– Vinyl stains often spread when you scrub dry grime.
– If you notice the mark getting bigger, stop and switch to blotting/soft wiping with pH-neutral cleaner on a cloth.
Mistake 2: Harsh chemicals damage the surface
– Avoid bleach, ammonia, strong solvents, and abrasive cleaners unless your vinyl manufacturer says they’re compatible.
– Even if stains lift, chemical stress can haze the finish over time on vinyl floors.
Mistake 3: Skipping rinse creates residue dullness
– The rinse step is not optional for hallway vinyl stains.
– Cleaner residue can “grab” dirt, so the same area looks stained again sooner than it should.
Mistake 4: Top-coat sensitivity (finish wear)
Some vinyl planks have a protective wear layer that can haze if you use the wrong pads or repeat aggressive treatments. Follow the manufacturer’s care instructions for vinyl floors; when instructions are unclear, choose pH-neutral cleaners and soft tools.
Data point to anchor the “residue” concept
– According to industry cleaning guidance from the , residue control is a key theme in resilient floor care because remaining cleaning chemistry can affect appearance and soil attraction over time.
Verdict / tip + quick scan checklist
For most hallway vinyl stains, the safest and most predictable route is: blot → pH-neutral cleaner → rinse → dry, then only escalate with a targeted, vinyl-approved method. The downside is that dye transfer or deeply embedded discoloration may not fully disappear without professional refinishing or replacement.
“A conservative workflow protects vinyl finishes: you reduce risk by using soft tools and pH-neutral cleaners before trying stain-specific chemistry.”
“If the vinyl wear layer is damaged (scratches/gouges) or the discoloration is in the substrate, surface cleaning alone won’t restore the original color.”
Who should skip “DIY escalation”
Skip alcohol/rust-product escalation if:
– Your vinyl floor has visible gouges, lifted edges, or heavy wear (finish is already compromised).
– The stain came from an unknown dye/adhesive where the chemistry may not be compatible with common spot removers.
– You can’t find your flooring manufacturer’s care guidance and you’re tempted to guess.
Use this checklist while you clean
| Stage | What to do | What to avoid |
|---|---|---|
| First contact | Blot with a damp cloth | Scrubbing dry stains |
| Cleaner | pH-neutral cleaner on cloth, wipe gently | Bleach, ammonia, abrasive cleaners (unless approved) |
| Technique | Edge-to-center wiping | Circular hard scrubbing |
| Finish | Rinse with clean water, dry | Leaving residue to air-dry |
| If needed | Targeted spot method after hidden test | Strong acids/solvents without vinyl-safe confirmation |
Sources:
– Resilient floor care guidance from the Resilient Floor Covering Institute (RFCI):
– ASTM/industry references on resilient flooring cleaning practices:
Bottom line: hallway vinyl stains usually come off best when you treat the problem like a surface issue first—blotting to lift, pH-neutral cleaning on a cloth, and thorough rinsing plus drying. If the mark is dye-embedded or the finish is already worn, lower expectations and avoid harsh escalation; focus on manufacturer-approved methods to protect the look of your vinyl floors long-term.
Frequently Asked Questions
How do I remove scuff marks from vinyl floor tiles in a hallway?
Start by vacuuming or sweeping the area to remove grit that can scratch vinyl. For most scuffs, use a damp microfiber cloth with mild soap (or a vinyl floor cleaner) and gently rub in circular motions. If marks remain, try a vinyl-safe cleaner with a soft brush, and avoid abrasive pads that can dull the finish.
What’s the best way to clean dark stains on vinyl flooring after foot traffic?
For dark stains caused by dirt, use a mixture of warm water and a gentle, pH-neutral cleaner, then wipe with a microfiber mop or cloth. Let the cleaner sit for 3–5 minutes to loosen embedded grime, then scrub lightly and rinse with clean water. Dry the floor well afterward to prevent streaking and water spots.
How do I remove grease or oil stains from a vinyl hallway floor?
Blot up excess grease first with paper towels, then apply a small amount of degreaser made for floors or a mixture of dish soap and warm water. Gently scrub with a soft brush or sponge, working from the outer edge of the stain toward the center. Rinse thoroughly with clean water, and dry immediately to protect the vinyl finish.
Why do vinyl floor stains keep coming back in high-traffic hallway areas?
Repeated foot traffic can grind in dirt and degrade protective finishes, causing discoloration to return. Regularly sweep or vacuum, use a microfiber mop, and clean with a vinyl-safe, pH-neutral cleaner to remove residue that attracts dirt. Using doormats and felt pads under furniture also reduces new stains and scuffing.
Which household cleaners are safe for removing stains on vinyl floors, and which should I avoid?
Safe options include pH-neutral dish soap solutions, mild vinyl floor cleaners, and warm water for most stain removal tasks. Avoid harsh solvents like bleach, ammonia, acetone, and abrasive powders, as they can damage the vinyl surface or strip its protective layer. If you’re unsure, test the cleaner in a hidden spot first before treating the full hallway.
📅 Last Updated: October 25, 2026 | Topic: How to remove stains from vinyl floors in a hallway? | Content verified for accuracy and freshness.
References
- Vinyl flooring
- https://www.cdc.gov/coronavirus/2019-ncov/community/disinfecting-building-facility.html
- https://www.epa.gov/coronavirus/cleaning-and-disinfecting-your-facility
- https://www.armstrongflooring.com/support/care-and-maintenance.html
- Home – Tarkett Commercial
- https://scholar.google.com/scholar?q=remove+stains+from+vinyl+floor Google Scholar
- https://scholar.google.com/scholar?q=vinyl+floor+cleaning+stain+removal+PVC Google Scholar
- https://scholar.google.com/scholar?q=resilient+flooring+care+and+maintenance+vinyl Google Scholar