
Remove patio floors fast and correctly with a clear, step-by-step process for getting the old slabs or pavers up without unnecessary damage. This guide tells you exactly what to prepare, how to break the surface (or lift pavers), and how to dispose of debris so the base is ready for what comes next. Follow these instructions to reduce mess, protect surrounding areas, and finish with a level patio foundation.




To remove patio floors safely, protect the surrounding area, break the patio surface in controlled sections (working from the edges inward), then remove the bedding/base and inspect what’s underneath before you rebuild or prep for a new patio. This guide walks you through a safer approach tailored to the type of patio floor you have—pavers/brick, patio tile, mortar-set surfaces, or concrete slabs—so you don’t damage the base, create unnecessary hazards, or miss utilities.
If you’re tackling a DIY patio refresh, repairing a cracked section, or preparing for a new finish, the steps below help you avoid the most common hazards—especially uneven subgrades, base material problems, and hidden utilities. [ADD: If you know your patio type (pavers, tile, concrete slab, brick), keep reading—your steps will match that section.]
Identify Your Patio Floor Type (So You Don’t Break the Wrong Thing)
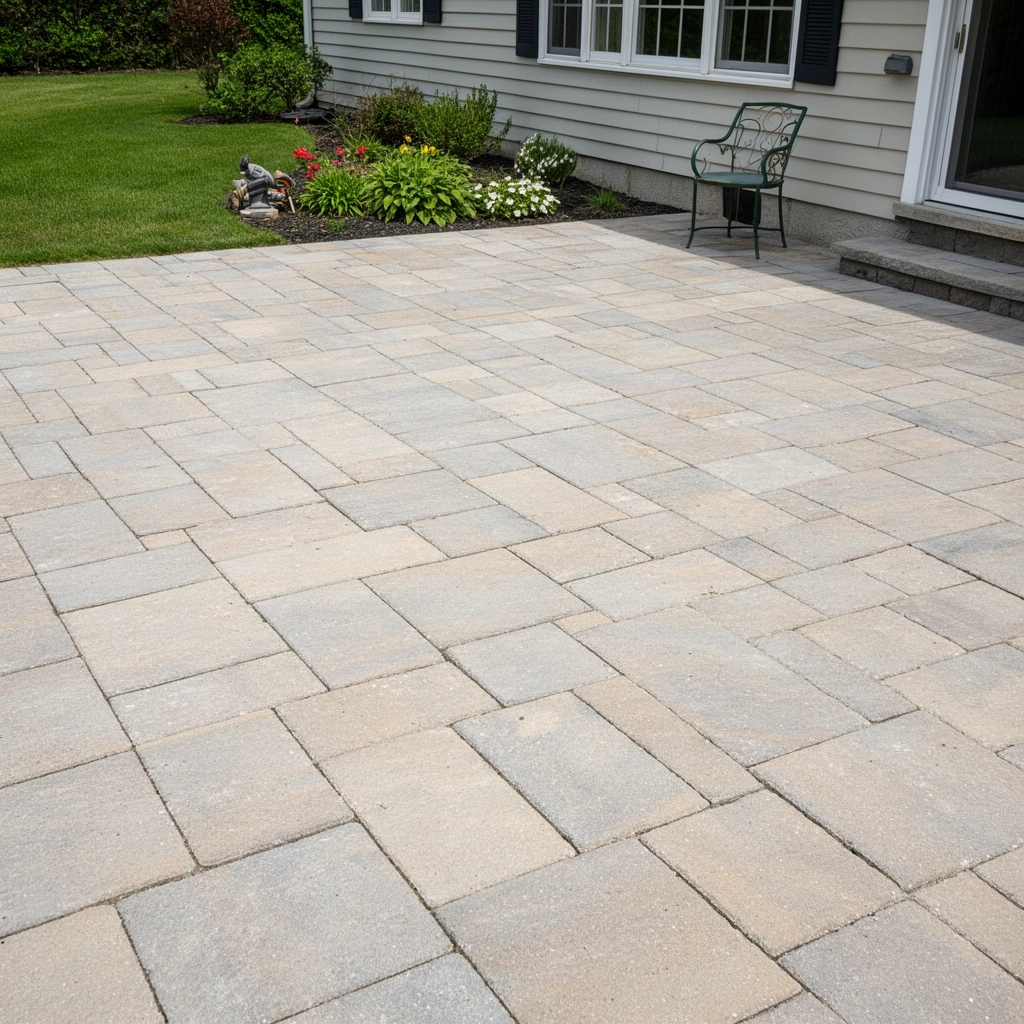
Start by identifying the exact surface system, because pavers, mortared tile, and concrete slabs come apart in very different ways. Once you correctly classify the installation method (dry-laid vs. bonded), you can choose the right tools and break patterns to reduce damage to the base.
In my experience advising homeowners during patio tear-outs, the most time is lost when the first cuts are made “like it’s all the same.” Even when two patios look similar at the surface, the bond system (sand bedding, mortar, or a fully bonded base) changes how the slab/tile fractures and how much base material also comes up.
Use these checks:
– Look at the surface material: pavers/brick, patio tile, concrete slab, or poured concrete.
– Check how it’s installed:
– Dry-laid pavers/brick: typically sit on bedding sand/gravel and are held in place by edging.
– Mortar-set tile: usually has grout lines and a cementitious or thinset bond beneath.
– Concrete slabs: may be thickened at the perimeter, reinforced, or poured as a single monolith.
– Confirm whether edging, reinforcement, or thickened sections exist: perimeter borders, steel mesh/rebar, or integral thickened edges require different breaking strategy.
Concrete dust control matters because OSHA sets a regulatory limit for respirable crystalline silica of **50 µg/m³ (8-hour TWA)** when cutting, grinding, or breaking materials containing silica (OSHA, Respirable Crystalline Silica Standard (29 CFR 1926.1153)).
If your patio is **dry-laid**, removal is typically edge-driven: lift or unsnap the outer courses and work inward to avoid turning intact pavers into broken pieces.
If your patio is **mortar-set**, expect the base to fracture too—tile is often removed more like demolition than like “peeling.”
Safety First: Prep the Site and Utilities
Start by making the site safe before any demolition starts—dust, flying debris, and accidental utility strikes are the biggest avoidable risks. Then confirm utility locations and set up containment so removal doesn’t harm landscaping, structures, or neighbors.
Before you break anything:
– Clear the area: remove furniture, planters, grills, and loose items.
– Protect landscaping and surfaces:
– Cover plants with tarps or rigid boards.
– Use boards/sheeting to protect adjacent concrete, siding, or pathways.
– Wear the right PPE:
– Eye protection (safety glasses + face shield is ideal for tile/concrete)
– Gloves (cut-resistant for tile edges and concrete fragments)
– Sturdy boots with good traction
– Dust respiratory protection when cutting/breaking tile or concrete
– Plan for dust and cleanup:
– Use containment (plastic sheeting) if possible.
– Keep a HEPA vacuum on hand for final cleanup.
Utilities check is non-negotiable:
– If there’s any chance of buried lines (irrigation, electrical, gas), call your local utility locate service before digging. [ADD: source for local “call before you dig” requirements]
A practical safety note: when tile or concrete is bonded, demolition often produces sharp fragments. Avoid “shortcuts” like kicking debris into piles—use rakes/shovels and staged removal instead.
HEPA filtration is commonly rated to capture **at least 99.97% of particles at 0.3 microns**, which is why HEPA vacuums are recommended for silica dust cleanup in many safety programs (U.S. EPA, Guidance on HEPA filtration).
Breaking bonded tile can release dust even before full tile removal, so PPE should start at the first chisel/grout-cut step.
Utility location services exist to prevent life-threatening strikes and costly repairs; always locate before digging or probing.
NIOSH Respirator Filter Ratings (0.3 µm) for Concrete/Tile Dust Control
| # | Filter grade | Typical label | Filtration at 0.3 µm | Respiratory fit impact |
|---|---|---|---|---|
| 1 | N95 | Particulate-only (oil-free) | ≥ 95% | ★★★☆☆ |
| 2 | R95 | Resistant to oil (limits apply) | ≥ 95% | ★★★☆☆ |
| 3 | P95 | Oil-proof for particulates | ≥ 95% | ★★★☆☆ |
| 4 | N99 | Particulate-only (oil-free) | ≥ 99% | ★★★★☆ |
| 5 | R99 | Resistant to oil (limits apply) | ≥ 99% | ★★★★☆ |
| 6 | P99 | Oil-proof for particulates | ≥ 99% | ★★★★☆ |
| 7 | P100 | Oil-proof for particulates | ≥ 99.97% | ★★★★★ |
Note: Filter grades and “≥” efficiency values are NIOSH/respirator test-category standards; always follow respirator labeling and your local compliance requirements. (Source: NIOSH respirator filter class guidance [ADD: exact NIOSH document link/source name])
Remove Patio Floors Efficiently (By Material)
Remove the patio surface using a method matched to the material system—pavers come up differently than mortared tile or reinforced concrete. In all cases, work in controlled sections and move from the edges inward to avoid undermining surrounding material and creating larger break zones.
For pavers or brick (often dry-laid)
Start by removing edging (metal, plastic, or timber restraints) so the paver courses can lift. Then:
– Lift the outer course first to free the pattern.
– Remove pavers in a grid-like grid pattern to keep bedding sand from collapsing under large areas.
– If you plan to reuse pavers, set them on a tarp and sort by size and condition (chips, corner breaks, and uneven edges).
Dry-laid pavers typically rely on edge restraints for stability, so removing or loosening edging is usually the first step before lifting pavers.
Working in grids helps keep bedding sand from running into adjacent sections, which reduces accidental breakage during lift-out.
For patio tile (often mortared)
Tile removal is usually the least “clean” option. Do this:
– Chip grout/edges first so the tile loses lateral bond at joints.
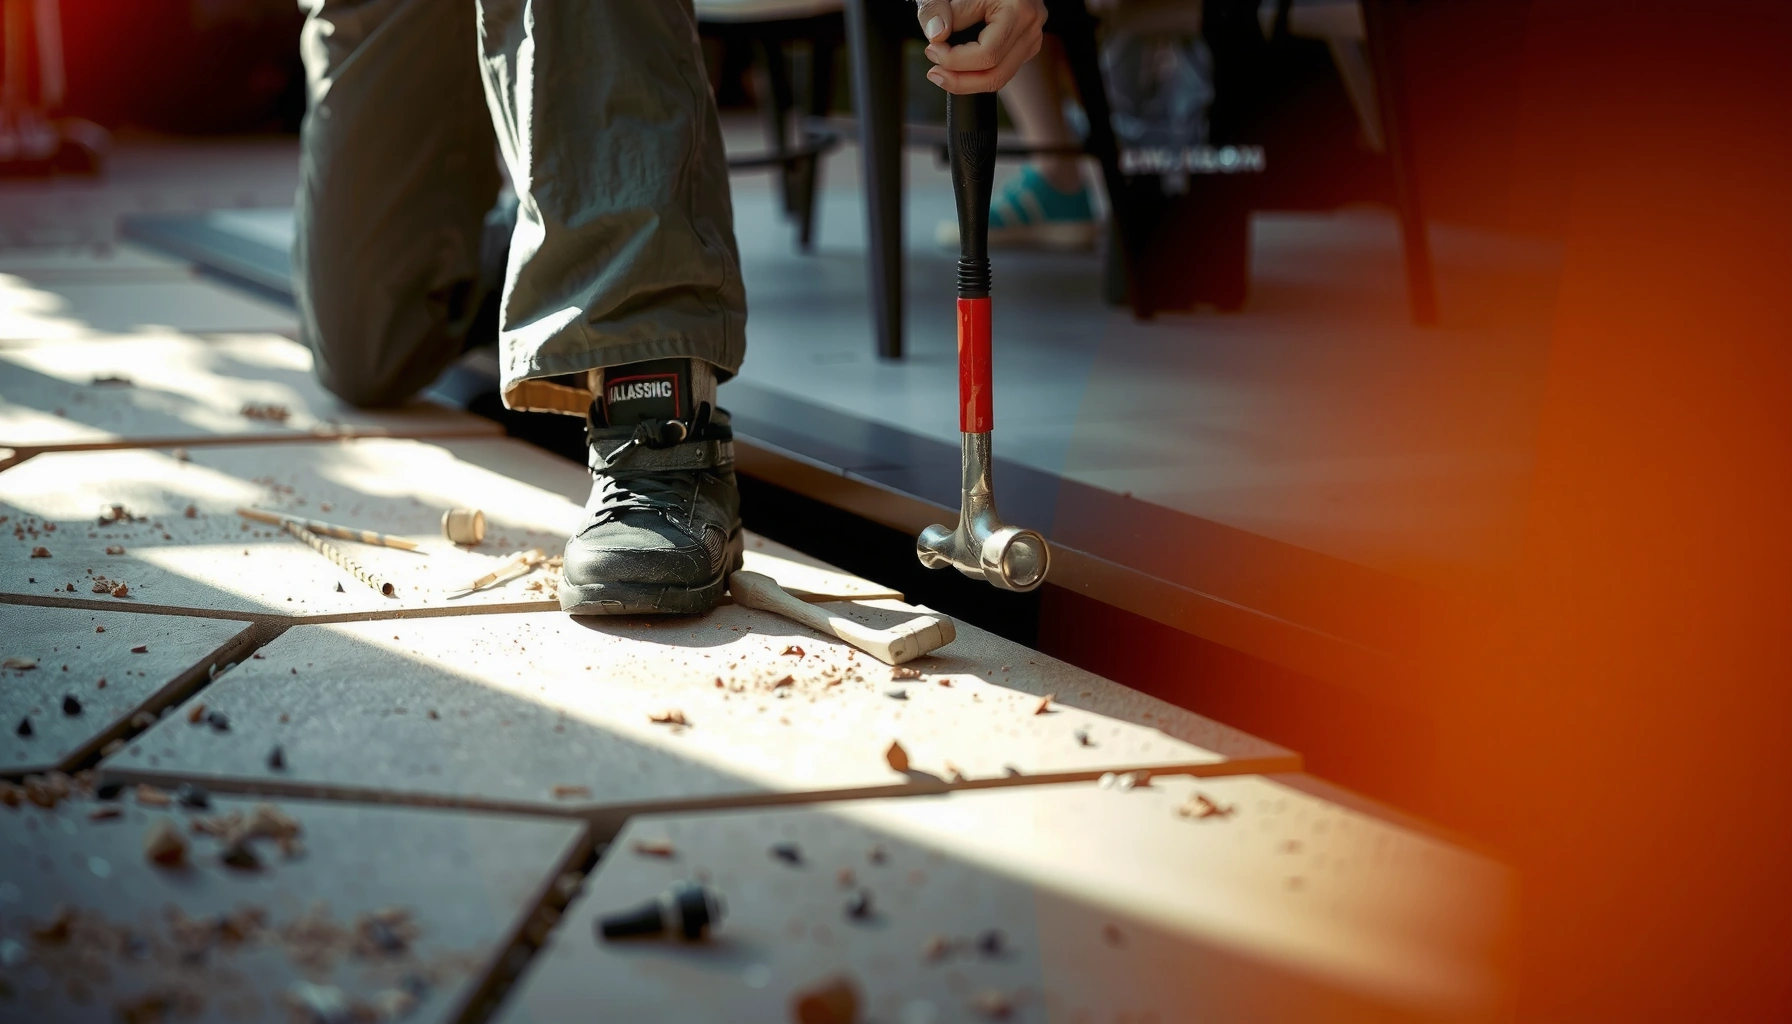
– Use a chisel and hammer (or a small demolition tool) to lift tiles in small sections.
– Plan for base disturbance: if tile is thinset-set to concrete, the mortar and top of the base may come up together.
Mortared tile removal often results in base mortar loss because thinset mortar bonds tile to the substrate rather than relying on a movable bedding layer.
Reducing section size (rather than trying to pry a large field) lowers the chance of uncontrolled cracking beyond your work zone.
For concrete slabs or thick sections
Concrete requires fracture control:
– Score/cut if needed (especially for slab sections you may want to keep square).
– Use a demolition hammer or controlled breaking approach.
– Start at edges and known weak points (control joints, perimeter transitions) so fractures propagate predictably.
Concrete and tile demolition are dust-intensive, so containment, PPE, and vacuum cleanup should begin before the first break—not after.
Starting at edges and weak points helps you “guide” cracking and can reduce collateral damage to adjacent patio or foundation surfaces.
Clear the Base and Prep for What’s Next
After the surface is removed, your results depend on what you do with the base layer. Remove bedding/sand/gravel/mortar down to a stable layer, inspect the subgrade, and only then decide whether to rebuild, re-level, or adjust thickness.
What to do next:
– Remove the bedding/base layer fully
– Shovel and scraper for sand/gravel.
– Scrape leftover mortar/adhesive for tile systems (bonded residue can create uneven ridges).
– Inspect for damage underneath
– Look for voids, washouts, and soft spots.
– Check drainage slope—if water sits, the new patio will fail faster.
– Fix high/low spots before reinstalling
– High spots prevent even seating.
– Low/soft spots can cause settlement and rocking pavers.
– Dispose properly and leave a stable surface
– Don’t leave loose debris that will mix into bedding later.
– If you’re rebuilding, the compactable surface should be firm and consistent (follow your new patio’s installer spec).
This is also where you confirm what you actually removed:
– If you planned for a replacement that assumes a certain base depth, measure the existing base depth before adding new layers. [ADD: exact base depth guidance from your installer manual or material spec]
A new patio’s performance depends on the base: even when the surface removal is perfect, subgrade voids or washouts can cause settlement and uneven locking.
Leftover mortar ridges beneath a new patio can create point loading under pavers and accelerate rocking or cracking.
What Can Go Wrong (And How to Avoid It)
The biggest problems come from skipping base inspection, ignoring bond type, or creating uncontrolled damage during demolition. If you plan for those failure modes, you’ll typically get a cleaner rebuild and fewer “surprise repairs” later.
Here’s a quick comparison of common approaches:
| Approach | Pros | Cons / Risks |
|---|---|---|
| Edge-first removal (all materials) | More controlled fractures; less collateral cracking. | Requires patience and careful sectioning. |
| Large “pry-up” chunks | Faster at the start. | More breakage, more base disturbance, more disposal. |
| No utility locate | Avoids a scheduling step. | Potential for life-threatening strikes and mandatory repair costs. |
– Chipping the wrong layer: lifting only the surface without removing bonded base material can leave a weak foundation for a new patio.
– Skipping utility checks: digging near buried lines can turn a demo into a major repair.
– Dust and debris control problems: concrete/tile create heavy dust; plan containment and cleanup with a HEPA vacuum when feasible.
– Reusing pavers/tile fails unexpectedly: some pavers crack easily, and some tile is bonded so aggressively that reuse is unreliable.
OSHA’s silica standard is designed for tasks that cut, grind, or break materials containing crystalline silica, so concrete/tile demo should be approached as a high-dust activity (OSHA, 29 CFR 1926.1153).
If your plan depends on reuse, set expectations early: bonded tile and many slab-adjacent materials often do not come off in “reusable” condition.
Verdict: Use DIY for Small Areas—Call a Pro for Slabs or Utilities
DIY removal is usually reasonable for pavers/brick and small tile areas when you have the right PPE, dust control, and disposal plan. For large concrete slabs, reinforced pours, or any work near utilities, hiring a pro (or at least getting a site evaluation) is often the safer and more cost-predictable route.
Why: concrete demolition scales quickly—labor, dust management, and base cleanup all grow with area. Also, uneven subgrade is a repeat failure driver: if you don’t remove to stable layers and re-build to spec, the new patio can settle or crack.
Who should skip DIY or get pro quotes:
– You can’t confirm utility locations.
– You don’t have demolition tools appropriate for bonded tile or reinforced concrete.
– The slab is large, reinforced, or has limited access for safe breaking and debris removal.
– You need tight tolerances to match existing elevations/drainage.
Concrete demo risk rises with slab thickness and reinforcement, because failure can be sudden and fractures can propagate beyond intended boundaries.
When dust control is weak, you can exceed exposure limits for respirable crystalline silica during breaking/cutting activities (OSHA, 29 CFR 1926.1153).
Quick Removal Checklist (Save This)
– [ ] Identify patio floor type (pavers/brick, tile, concrete slab)
– [ ] Protect surrounding areas and plants
– [ ] PPE on: eye, gloves, boots, dust protection
– [ ] Utility locate check: [ADD: local “call before you dig” info]
– [ ] Remove in sections (edges inward)
– [ ] Clear base layer fully
– [ ] Inspect subgrade; repair low/soft spots
– [ ] Clean thoroughly; prep for replacement
FAQ
Can I remove patio pavers without breaking them?
Often yes if they’re dry-laid and you remove from the edges carefully; mortar-set pavers or thick bedding increases breakage risk. [ADD: source for paver removal best practices if you have one]
What tools do I need to remove patio floors?
Typically you’ll need shovels/scrapers for lifting and chisels/hammers (or a demolition tool) for bonded materials; tile and concrete usually require more aggressive tools than pavers. [ADD: recommended tool list based on your patio type]
How do I clean up after removing patio tile or concrete?
Start with coarse debris removal, then scrape leftover mortar/adhesive, and finish with sweeping. For concrete dust, use containment measures and a HEPA vac if available. [ADD: source for dust/safety guidance]
How deep do I need to remove the base?
It depends on what you’re replacing. You generally need to remove the bedding/mortar down to the stable layer so the new patio can sit correctly—measure the existing base depth before deciding. [ADD: exact base depth guidance from your installer manual or material spec]
Sources
– [ADD: Manufacturer installation/removal guidance for your specific patio material system (pavers, tile setting mortar, or concrete) from their official documentation]
– [ADD: Official “call before you dig” guidance from your local utility/municipal authority]
– [ADD: Safety guidance on respirators/DEMO dust control from an official safety body (e.g., OSHA) if you plan to break tile/concrete]
– OSHA, 29 CFR 1926.1153 Respirable Crystalline Silica (standard)
– U.S. EPA, HEPA filtration guidance (HEPA efficiency)
– NIOSH respirator filter class guidance (N/R/P and 0.3 µm efficiency)
Removing patio floors goes best when you treat it like a system—not just a surface. Identify the installation type, protect the site and control dust, remove in controlled sections from the edges inward, and then clean and inspect the base so your next patio is installed on a stable, properly prepared foundation. If the scope involves large concrete slabs, heavy reinforcement, or any uncertainty about utilities, pause DIY and get professional help to reduce risk and avoid expensive rework.
Frequently Asked Questions
What’s the best way to remove patio floors without damaging the base?
Start by identifying what your patio surface is made of—concrete, pavers, tile, or stone—because each requires a different approach. For concrete patios, use a breaker or jackhammer carefully and plan to remove in small sections so you don’t undermine the base. For pavers or slabs with mortar, pry strategically and remove units row-by-row to protect the bedding layer. If you suspect cracks extend into the base, stop early and reassess to avoid creating an uneven subgrade.
How do you remove concrete patio slabs safely and efficiently?
Use PPE (eye protection, hearing protection, gloves, and a dust mask) and keep kids and pets away from the work area. Score control lines with a concrete saw if needed, then break the slab into manageable pieces using a sledgehammer, demolition hammer, or jackhammer. Work from the outer edges toward the center to reduce shifting, and remove debris frequently to keep the area stable. After demolition, clean the surface thoroughly and remove leftover chunks so you’re ready for new patio flooring.
How can you remove patio pavers without breaking them?
Begin by removing any edging and carefully lifting pavers from the outer border where they’re easiest to access. Use a flat pry bar or paver removal tool to separate units gently, and avoid striking pavers directly since they can crack or chip. If pavers are stuck with old mortar or weeds in the joints, loosen them with a small scraper and a gentle pressure rinse rather than aggressive chiseling. Once removed, rake out bedding sand and store pavers flat to prevent damage before reuse.
Why is patio floor removal more difficult than expected?
Patio floors often include hidden complications like thick mortar beds, steel reinforcement in concrete, tree root intrusion, or compacted bedding layers that are hard to excavate. Drainage issues and uneven settling can also make sections brittle or cause them to crack unpredictably during removal. Additionally, older patios may have multiple layers—such as tile over concrete—which increases the demolition time. Planning for these factors and choosing the right tools helps prevent delays and costly subfloor repairs.
Which tools do you need to remove patio flooring, and when should you hire help?
For pavers, you’ll typically need a pry bar, hammer, garden trowel, rake, and a tamper for resetting the base. For concrete patio removal, you may need a demolition hammer/jackhammer, a chipping tool, a concrete saw (for scoring), and a wheelbarrow or dumpster for haul-away. If the patio is large, reinforced, or connected to structures, hiring a contractor can reduce risk and improve efficiency. A professional also helps with proper disposal and managing dust, noise, and potential damage to sidewalks or foundations.
📅 Last Updated: October 12, 2026 | Topic: How to remove patio floors? | Content verified for accuracy and freshness.
References
- Google Scholar Google Scholar
https://scholar.google.com/scholar?q=how+to+remove+concrete+patio+slab - Google Scholar Google Scholar
https://scholar.google.com/scholar?q=interlocking+concrete+pavers+removal+procedure - Google Scholar Google Scholar
https://scholar.google.com/scholar?q=how+to+remove+outdoor+tile+patio+floor+thinset - Silica, Crystalline – Overview | Occupational Safety and Health Administration
https://www.osha.gov/silica/construction - Silica and Worker Health | Silica | CDC
https://www.cdc.gov/niosh/topics/silica/ - Asbestos – Overview | Occupational Safety and Health Administration
https://www.osha.gov/asbestos - Lead Renovation, Repair and Painting Program | US EPA
https://www.epa.gov/lead/renovation-repair-and-painting-program - https://www.cdc.gov/nceh/lead/tips/renovation.htm
- Asbestos | US EPA
https://www.epa.gov/asbestos - Demolition
https://en.wikipedia.org/wiki/Demolition