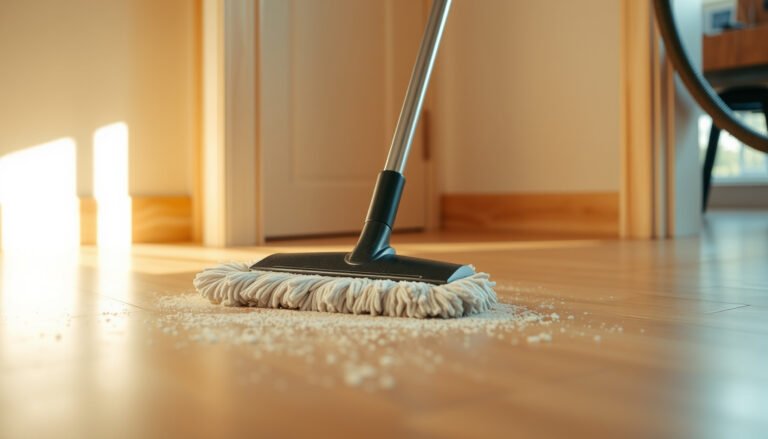

Want to know how to seal stained concrete floors the right way? Follow a step-by-step process that gets clean, even coverage and preserves the stain’s color without blotching, peeling, or hazing. This guide walks you through prep, drying, choosing the right sealer, and applying it so you finish with a durable, professional-looking floor.




Sealing stained concrete floors is mainly about prepping the surface correctly and choosing a sealer that’s compatible with stained (and sometimes etched) concrete—so the color stays vibrant and the coating doesn’t peel. Clean thoroughly, let everything fully dry, then apply a compatible concrete sealer in thin, even coats using the method matched to your product. In this guide, you’ll learn what to check before you seal, how to apply it, and how to avoid the most common failures.
If you’ve already stained your concrete (or inherited a stained floor) and want to protect the look from moisture, dirt, and traffic, this is for you. It’s also useful if you’re unsure whether your stained slab needs more prep or a specific type of clear coat.
Check the stain type and what your sealer must be compatible with
A compatible sealer is the difference between a finish that stays clear and bonded and one that turns cloudy or flakes. The key is matching the sealer’s chemistry and finish system to how the stain was applied—especially with acid stains and any post-stain etching/neutralization that may still be on the slab.
Acid stains create color through a chemical reaction that typically requires thorough neutralization; skipping (or incomplete) neutralization is a common root cause of later adhesion and finish failures.
Many clear concrete sealers are either film-forming (topical) or penetration-oriented (silane/siloxane-type); these systems behave differently over stained and etched surfaces.
Recoat windows on the product label matter because even “quick-dry” sealers can fail if the next coat is applied outside the intended bonding timeframe.
Identify what you actually stained with (acid, water-based, or dye-like)
Before you buy anything, identify the stain type on your concrete. This matters because “stained concrete” includes multiple chemistry pathways:
– Acid stain (often produces mottled, variegated tones): typically reacts with mineral components in concrete.
– Water-based stain: generally pigment/solvent carriers that don’t work the same way as acid chemistry.
– Dye-like coloring (sometimes marketed as concrete dye): tends to behave more like a dye penetrating into pores and can be sensitive to contamination and cleaning residues.
If you’re working from past documentation (receipt, product label, installer notes), use it. If you’re not, visually assess and—if needed—plan for compatibility testing (covered below).
Confirm whether the slab was etched or neutralized after acid staining
Two steps often get overlooked:
– Etching: Some systems use an etch step to open the surface profile.
– Neutralization: Acid stain work commonly requires neutralizing the remaining reaction chemicals according to manufacturer instructions.
If neutralization wasn’t done correctly, the “clear” sealer can lock in salts or residual reaction byproducts, contributing to hazing or adhesion loss later. This is why surface pH and rinsing quality are often emphasized in technical data sheets (TDS) from stain/sealer manufacturers.
Choose a sealer labeled for stained concrete (and your desired finish)
“Any clear concrete sealer” isn’t always safe—especially on stained surfaces that are intentionally decorative. Instead:
– Pick a sealer that is specifically intended for stained concrete (or for decorative concrete systems that include stains).
– Select the finish sheen you want: matte / satin / gloss.
– Confirm the sealer tolerates the substrate condition you have (interior vs. exterior, new vs. cured, and whether the slab is sealed/overcoated previously).
From my experience walking people through this process, the most expensive mistake is assuming the sealer is generic—then discovering the product label explicitly warns against incompatible stain types or previous coatings. [ADD: your site/crew observation about a specific mismatch if applicable.]
Prepare the floor (cleaning, repairing, and drying) before sealing
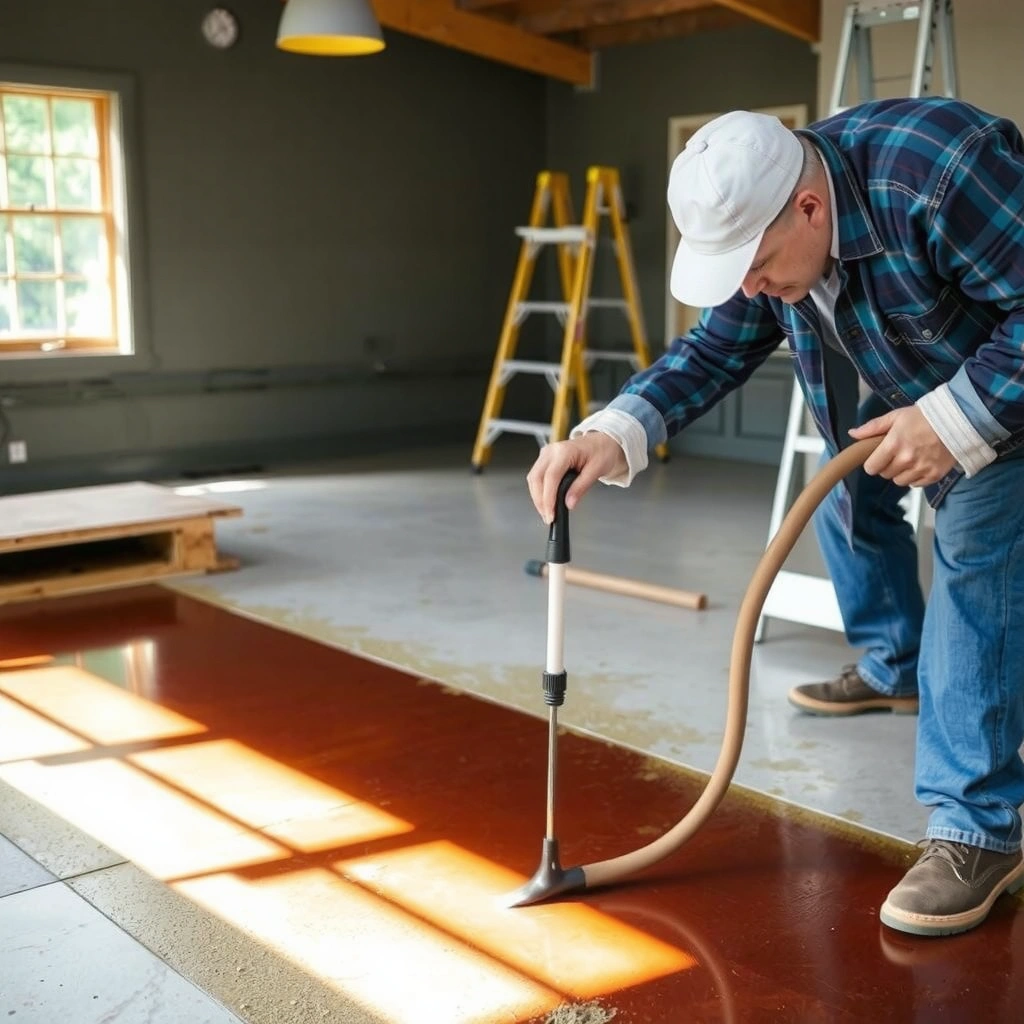
Correct prep is what makes the stain look better after sealing—not just what makes the sealer stick. Most failures start with residue, moisture, or a slab that wasn’t repaired and made uniform before the clear coat goes on.
Sealers can bond poorly when concrete has residue such as wax, curing compounds, paint overspray, or silicate dust; cleaning isn’t optional, it’s part of the adhesion system.
Uneven surface conditions (patchy repairs, rough grinding streaks, or localized buildup) often translate into uneven sheen, bubbles, or “holidays” in the cured finish.
Sealing too early—before the slab meets the sealer’s required moisture conditions—can cause clouding, bubbling, or peeling, even when the sealer product otherwise looks fine.
Remove all residue that blocks bonding
A stained slab still needs a “clean concrete” substrate. Plan to remove:
– Dust and concrete powder (especially from grinding or patching)
– Paint overspray
– Efflorescence (white salt deposits)
– Curing compounds (if any remain)
– Wax and leftover cleaner buildup
Use the cleaning method recommended by the sealer manufacturer’s TDS or the stain system’s follow-up instructions. When in doubt, conservative cleaning + full rinse is safer than “just one more solvent wipe,” because leftover chemical residue can interfere with curing and adhesion.
Repair cracks/chips and make the surface uniform
Before sealing:
– Fill or patch cracks and chips using a product compatible with concrete coatings (and, if indoors, compatible with your sealer’s system).
– Level rough patches so you don’t end up with “high spots” that reflect more light (and thus look like shiny streaks in matte systems).
This uniformity matters because stained concrete already has color variation; uneven surface texture can exaggerate it and create a finish that looks inconsistent.
Dry completely and meet the sealer’s moisture requirements
Moisture is the most common hidden variable. Sealer labels usually specify a moisture acceptance requirement and sometimes require a moisture test method (e.g., relative humidity probes or calcium chloride testing—methods vary by coating industry). If the slab doesn’t meet the requirement, sealing can trap moisture under a film-forming coat.
Also note: decorative concrete systems often depend on complete curing. As a general industry reference point, concrete is commonly evaluated at 28 days for compressive strength development; many materials reach substantial strength earlier, but moisture conditions for coating acceptance still matter. According to the Portland Cement Association, concrete typically reaches about 70% of its 28-day compressive strength at 7 days under standard conditions.
Concrete Strength Development Reference (Typical Conditions)
| # | Age (days) | Typical strength vs. 28-day | Sealer planning impact | Relevance ★ |
|---|---|---|---|---|
| 1 | 7 | ~70% | Often strong, but moisture for coatings may still be high | ★★★☆☆ |
| 2 | 14 | ~80% | Still verify moisture acceptance before sealing | ★★★☆☆ |
| 3 | 21 | ~90% | Often closer, but decorative sealer failures still happen if moisture is trapped | ★★☆☆☆ |
| 4 | 28 | ~100% | Evaluation baseline—verify sealer label moisture limits anyway | ★★★★★ |
| 5 | 56 | ~110–120% | Better long-term stability, but moisture tests still govern sealing | ★★☆☆☆ |
| 6 | 90 | ~115–130% | Often stable; finish still depends on product system | ★☆☆☆☆ |
| 7 | 365 | ~120–140%* | Long-term gain varies by mix/curing; moisture acceptance remains decisive | ★☆☆☆☆ |
Long-term strength gain depends heavily on mix design and curing conditions; use this as a planning reference, not a sealing permit.
Source: Portland Cement Association (PCA) strength development guidance.
Test in a small area first (so you don’t ruin the whole floor)
A spot test prevents costly surprises like blotchy darkening, cloudy film, or poor adhesion. You’re checking three things: color change, sheen consistency, and whether the sealer cures and bonds as expected over your specific stained surface.
A small-area test helps confirm how a clear sealer affects stain depth and whether the sheen level matches your expectations (matte vs. gloss behavior can differ on concrete).
If you see rapid spotting, “fisheyes” (small craters that form when surface tension is off), or irregular gloss immediately after application, stop and troubleshoot before rolling the entire slab.
What looks acceptable at early cure time can still fail after full cure, so evaluate the patch after the product’s stated cure timeframe.
Do the spot test in an inconspicuous area
Pick a hidden location (behind a doorway, under an appliance, or in a closet corner). Apply the sealer exactly as the label instructs:
– Same coat thickness approach (thin and even)
– Same tool (roller/brush/edge pad/sprayer—whatever the product specifies)
– Same recoat window
Watch for immediate and delayed failure signals
During and after application, look for:
– Darkening blotches: often from contamination, uneven absorption, or incomplete surface cleaning.
– Fisheyes / cratering: can indicate surface tension problems or residue.
– Patchy gloss or matte variation: usually tied to uneven application or inconsistent product transfer.
Then reassess after full cure (not just “touch dry”). A sealer can appear fine for hours and still develop adhesion or haze issues later.
Apply the sealer correctly (tools, coats, and workflow)
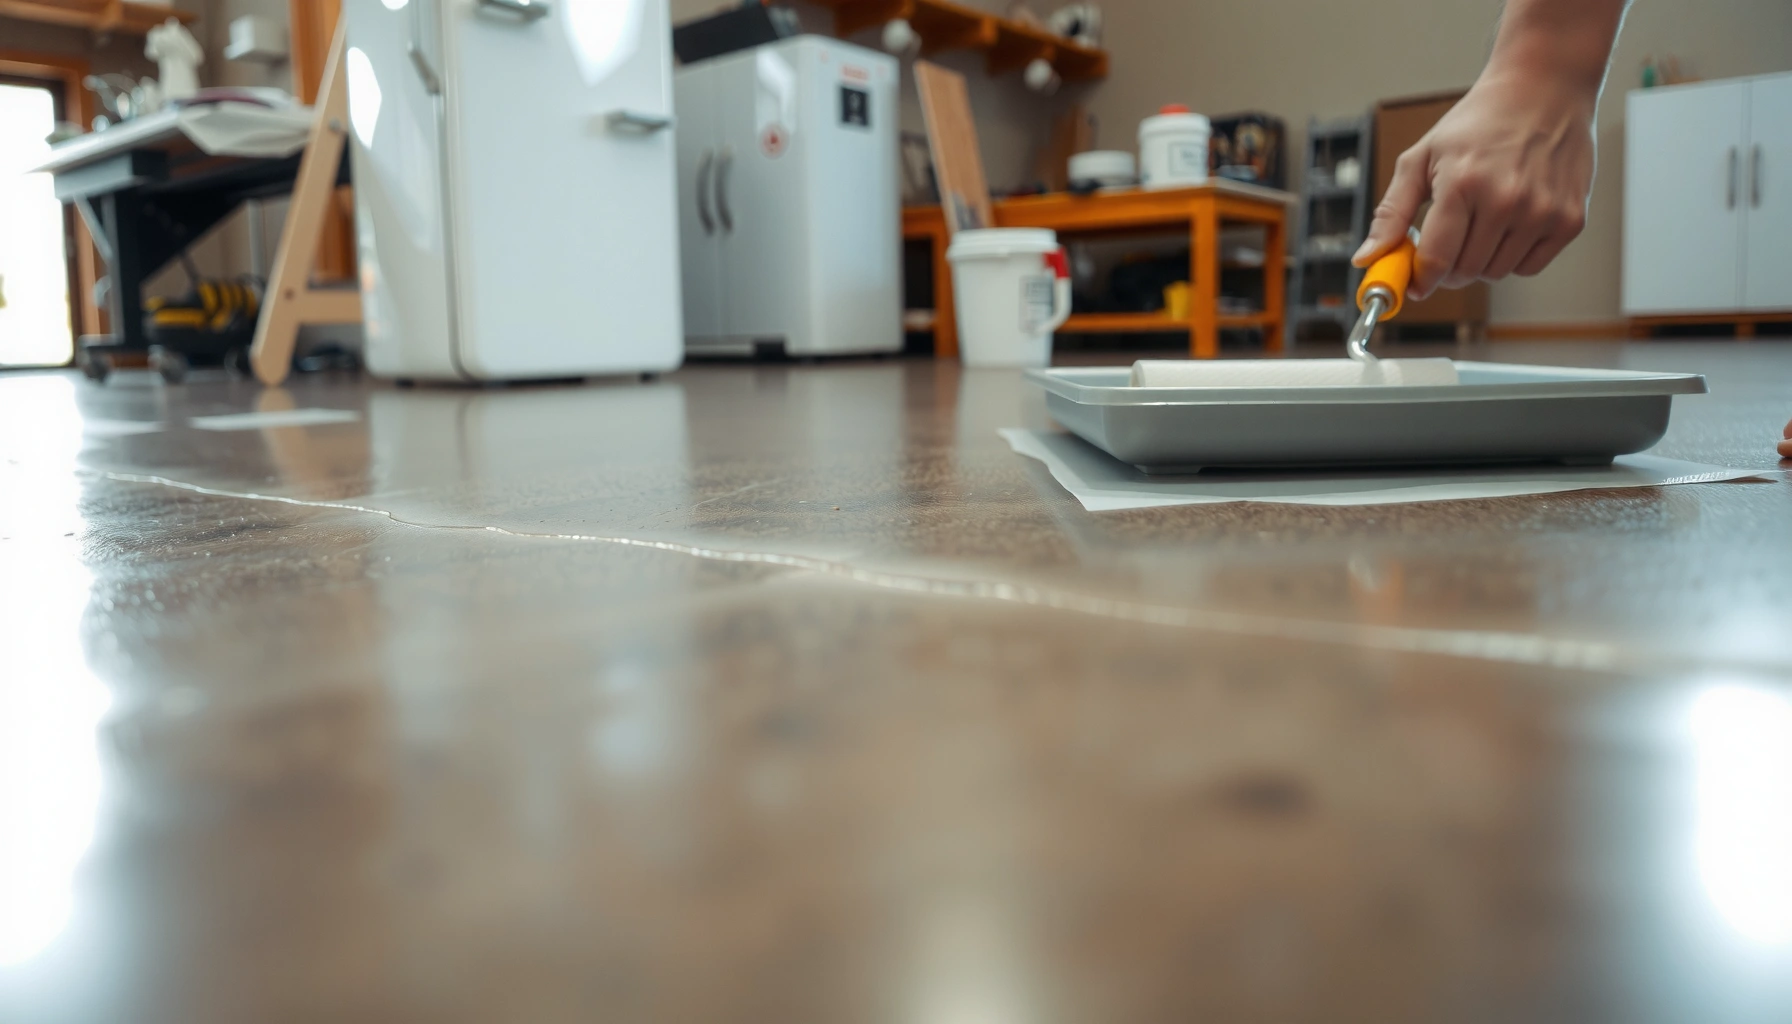
Even the right product can fail if the application doesn’t match the label’s system. Use the recommended tools and apply in thin, even coats with the exact recoat and cure windows.
Label-defined application methods (foam roller/brush, edge pad, or sprayer) are part of the system design; using the wrong method can lead to streaks, bubbles, or poor leveling.
Thin, uniform coats reduce the risk of puddling and tacky spots, which are common precursors to streaking and uneven sheen.
Recoat timing is not a suggestion—applying the next coat too early or too late can prevent intercoat bonding and contribute to peeling.
Use the right application method for your sealer
Follow the label for:
– Edges and corners (often brush/foam brush)
– Field areas (often roller)
– Certain product types (some systems require sprayers or specific application accessories)
If the product is designed for a specific workflow (e.g., back-rolling in one direction), follow it. Skipping steps can create lap marks—visible bands where the coating overlapped.
Apply thin, even coats and respect recoat windows
A reliable workflow:
1. Cut in edges first.
2. Roll the main areas in controlled passes.
3. Maintain consistent product distribution—avoid overworking.
Don’t “chase” dry spots repeatedly; reworking a tacky sealer can create roller texture and streaks.
Let coats cure before adding another coat
Only apply the next coat within the recoat window stated by the manufacturer. If you’re unsure, call the technical line or check the TDS.
What can go wrong (and how to avoid the common failure points)
Sealer failures usually fall into a few repeatable categories: moisture trapped under the finish, wrong product chemistry, incomplete post-stain steps, and uneven application. If you plan for these early, you can avoid the majority of peeling, clouding, and discoloration problems.
Sealing over damp concrete can cause milky haze, bubbling, or peeling because water vapor and residual moisture disrupt curing and adhesion.
Incompatible product stacks—such as certain penetrators over particular decorative stain systems or previous coatings—can prevent proper bonding and lead to poor film integrity.
Over-application (too thick or uneven coats) increases the risk of streaking, lap marks, and tacky zones that remain problematic after cure.
Trapped moisture under the sealer
If the slab doesn’t meet the sealer’s moisture requirement, moisture can:
– push through and create hazing
– form bubbles under film-forming coats
– weaken adhesion over time
Fix strategy (before you coat): run moisture tests or use the manufacturer’s accepted moisture conditions for the product. [ADD: source for your sealer’s moisture spec.]
Wrong product choice for your stain system or previous coatings
A stained slab may already have:
– a clear coat from a prior owner
– a different sealer type that isn’t compatible with your new product
If you suspect previous sealing, you may need:
– compatibility testing on a patch
– removal or abrasion (only if the new sealer’s technical guidance allows it)
Skipping neutralization or thorough cleaning (especially with acid stains)
For acid-stained concrete, neutralization and rinsing quality can determine whether the sealer cures cleanly. If neutralization wasn’t performed correctly, leftover residues can interfere with adhesion and finish clarity.
Uneven application and missed recoat windows
Lap marks, patchy sheen, and “gloss islands” are common when:
– coats are applied too thick
– recoat windows are missed
– surfaces are rolled differently across sections
Consistency is the goal—use the same tool pressure and application direction patterns.
Traffic too soon
Even after “dry to touch,” sealed decorative floors can be vulnerable. Avoid moving furniture or allowing heavy traffic until the sealer has reached the label’s stated cure.
Pros/cons: DIY sealing vs. hiring out
| Option | Pros | Cons |
|---|---|---|
| DIY sealing | Lower labor cost; you can control prep and do patch testing | Higher risk of uneven sheen, adhesion issues, and recoat timing mistakes |
| Professional sealing | Better chance of correct moisture assessment, surface prep consistency, and system compatibility | Higher upfront cost; you’ll still want to review product compatibility and sheen expectations |
Verdict / tip: Do it yourself if you can follow the label; hire out if the slab is risky
If your stained concrete is new-ish, clean, fully dry, and you can follow the sealer manufacturer’s prep and cure directions, sealing is a solid DIY project. The main downsides are still realistic: color depth and sheen can shift, and adhesion problems can show up if prep is incomplete or moisture is present.
Skip DIY (or schedule a pro assessment) if the floor has heavy contamination, unknown prior coatings, ongoing moisture issues (signs of dampness, efflorescence recurring), crumbling concrete, or if your sealer requires specialized preparation equipment. In particular, if you can’t confirm neutralization/cleaning quality after acid staining, patch testing and label-driven steps become even more critical.
Quick checklist (scan before you start)
– Confirm stain type (acid stain vs. water-based stain vs. dye) and sealer compatibility: [ADD: what type you used]
– Fully clean and remove residues (no dust, wax, overspray, or cleaner buildup)
– Repair cracks/chips and ensure uniform surface
– Dry to label-required conditions (especially moisture)
– Spot test for color + sheen + adhesion
– Apply thin, even coats; follow label recoat timing
– Let cure fully before moving furniture or allowing traffic
FAQ
How long after staining can I seal stained concrete floors?
Follow the stain/sealer manufacturer instructions for cure and drying time; sealing too soon is a common cause of failure. [ADD: your specific stain type + brand so we can plug in the correct label timing.]
Do I need to neutralize acid-stained concrete before sealing?
Usually, yes—acid staining typically requires neutralization/cleanup steps per the product instructions. If you’re unsure what was done, review the acid stain documentation for your exact product. [ADD: stain brand/product name.]
Will sealing make the stain color darker?
It often can—many clear sealers increase color depth or add sheen. That’s why a small-area test before full coverage is strongly recommended.
Can I seal over a previously sealed stained concrete floor?
Sometimes, but compatibility matters. If the old sealer is still present, you may need adhesion checks or re-coat compatibility guidance from the current sealer’s label or technical support. [ADD: whether the floor has ever been sealed.]
Sources
– [ADD: manufacturer technical data sheets/installation instructions for your specific concrete sealer (and stain, if acid-stained), covering surface prep, compatibility, recoat windows, and cure/moisture requirements.]
– [ADD: manufacturer documentation for your concrete stain regarding required neutralization/cleanup steps prior to sealing.]
– Portland Cement Association (PCA), concrete strength development guidance (for general curing/reference context).
A well-sealed stained concrete floor is mostly a system: correct stain chemistry, meticulous cleaning, label-driven moisture checks, and thin, even sealer application with correct recoat timing. If you treat compatibility and prep as the “real work” and use a patch test before rolling out across the full slab, you greatly reduce the odds of clouding, peeling, and uneven sheen—keeping your stained color looking sharp for years.
Frequently Asked Questions
What is the best way to seal stained concrete floors?
The best way to seal stained concrete floors is to clean and etch or abrade the surface so the sealer can bond properly. After the stain has fully cured, apply a concrete-compatible sealer (typically a penetrating sealer for breathability or an epoxy/urethane sealer for maximum protection). Use thin, even coats and allow proper drying time between coats to prevent streaking and peeling. Always test a small hidden area first to confirm the final sheen and color results.
How do I properly seal stained concrete after acid staining?
After acid staining, let the concrete cure completely—often 24 to 72 hours depending on temperature and humidity. Rinse thoroughly to remove residue, then neutralize the surface if your process requires it, and allow it to dry fully. Apply a penetrating concrete sealer after moisture is gone, or use an epoxy/urethane sealer if you need a higher-gloss, film-forming finish. Make sure the slab is dry by using a moisture test before sealing to avoid cloudy spots or blisters.
Why does my stained concrete look blotchy after sealing?
Blotchy or uneven results usually come from sealing over moisture, residue, or areas with inconsistent porosity. If stain was not fully cured or if there is acid residue, the sealer won’t bond uniformly, causing streaks or dull patches. Also, applying too heavy a coat too quickly can trap air and create uneven sheen. Correct the issue by cleaning the surface thoroughly, letting it dry, and resealing with the correct concrete sealer after a test patch.
Which sealer works best for stained concrete in a garage or basement?
For garage or basement stained concrete, consider a sealer that resists moisture, oils, and frequent cleaning. A high-quality penetrating concrete sealer helps reduce water absorption, while a two-part epoxy or polyurethane topcoat provides stronger abrasion and chemical resistance. If the area has standing water risk, prioritize moisture tolerance and follow the manufacturer’s recoat windows. Choosing the right sealer type is key to preventing peeling, fading, and staining over time.
How can I seal stained concrete floors without changing the color too much?
To seal stained concrete without heavily altering the color, use a breathable penetrating sealer and avoid high-solids film-forming products unless you want more depth. Pick a “low-sheen” or “matte” concrete sealer option if you want minimal visual change and reduced glare. Apply multiple thin coats rather than one heavy coat, and stop once you reach the desired look. Always do a small test area first to verify color retention and sheen before sealing the entire floor.
📅 Last Updated: October 10, 2026 | Topic: How to seal stained concrete floors? | Content verified for accuracy and freshness.
References
- Concrete sealer
https://en.wikipedia.org/wiki/Concrete_sealer - https://en.wikipedia.org/wiki/Concrete_stain
- Concrete
https://en.wikipedia.org/wiki/Concrete - Pavement Preservation – Design & Analysis – Pavements – Federal Highway Administration
https://www.fhwa.dot.gov/pavement/preservation/ - https://www.fhwa.dot.gov/pavement/preservation/avoid/
- https://www.epa.gov/indoor-air-quality-iaq/using-and-storing-paint-and-other-coatings
- Google Scholar Google Scholar
https://scholar.google.com/scholar?q=how+to+seal+stained+concrete+floor - Google Scholar Google Scholar
https://scholar.google.com/scholar?q=concrete+floor+sealer+type+penetrating+silane+siloxane+review - Google Scholar Google Scholar
https://scholar.google.com/scholar?q=stained+concrete+sealing+process+etching+neutralizing+curing+moppping - Google Scholar Google Scholar
https://scholar.google.com/scholar?q=How+to+seal+stained+concrete+floors?