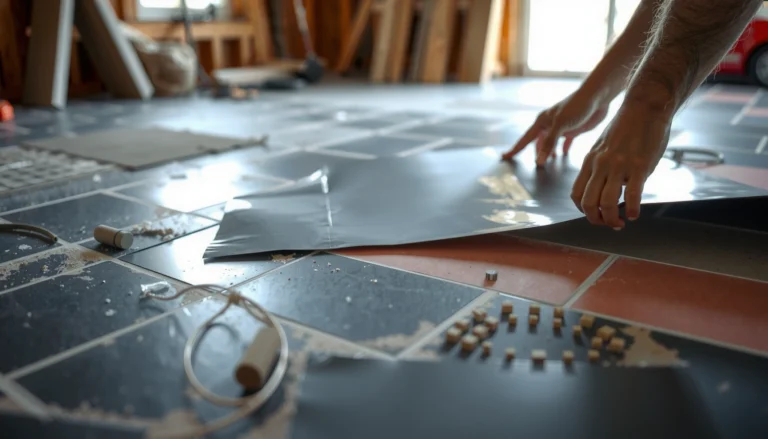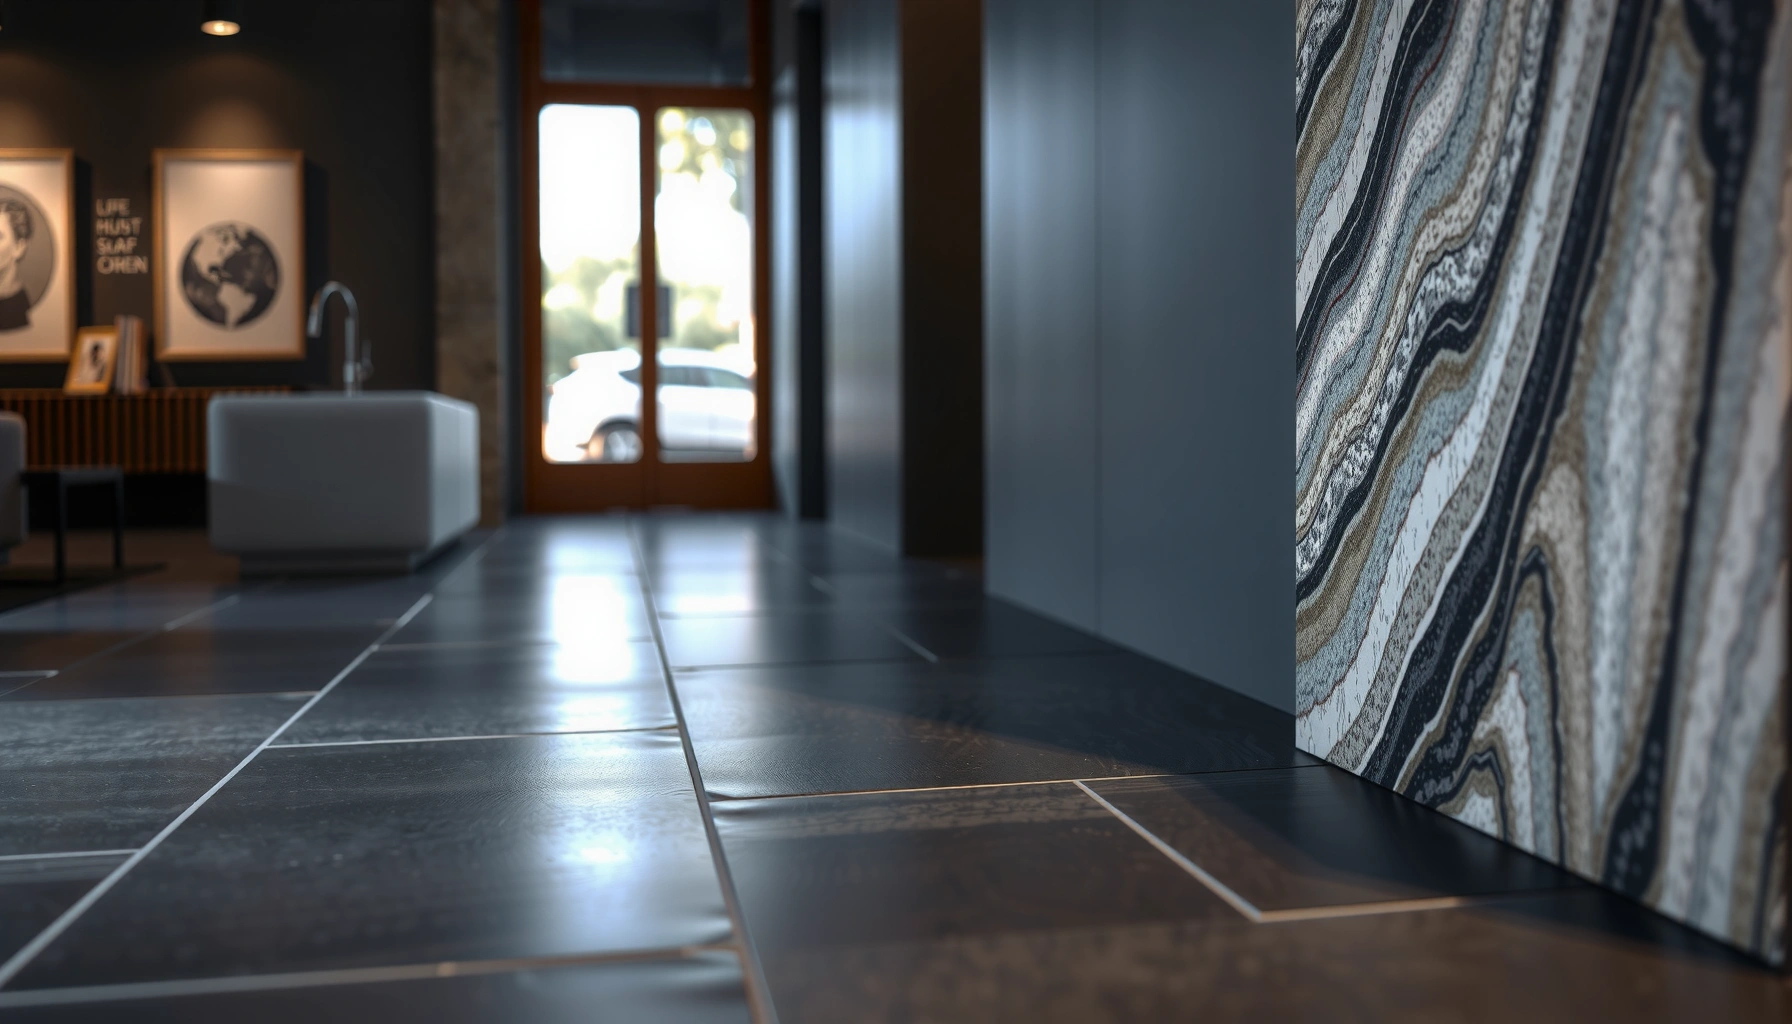

Choosing slate floors is easiest when you know what to verify before buying: the right grade, thickness, finish, and slip resistance for your specific room. This guide shows you exactly how to evaluate slate quality—then match it to high-traffic areas, kitchens, or bathrooms—so you don’t end up with a brittle, stain-prone floor. By the end, you’ll have a clear checklist that leads to the best slate choice, not guesswork.
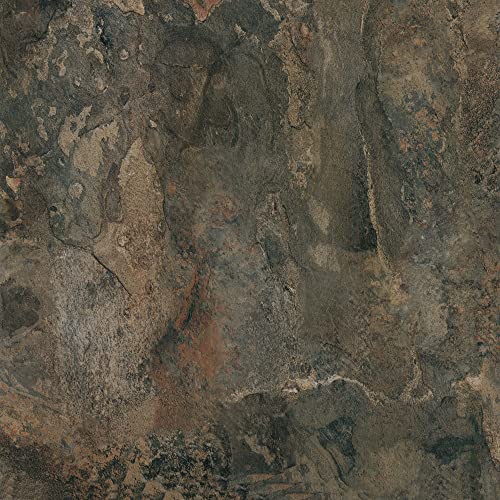



Choosing slate floors comes down to matching the stone type and finish to your space—then locking in the right thickness, slip-resistance, and installation method for the conditions. If you want a floor that looks right after install and still works after months of wet traffic, make your decisions in this order: where the slate will live (bathroom, kitchen, entry, outdoor), then the finish and thickness that fit those conditions, and finally the sealing/grout system that protects the stone over time. This guide focuses on the practical choices that prevent the most common slate flooring disappointments—unevenness, slipperiness, staining, and premature cracking.
If you’re comparing slate for a remodel or new build, you’re probably weighing durability, maintenance, and safety (especially water, mud, or high traffic). This is most useful if you’re deciding between finishes, thinking about sealing/grout needs, or trying to avoid common slate flooring mistakes.
Pick the right slate for the room (interior vs. exterior)
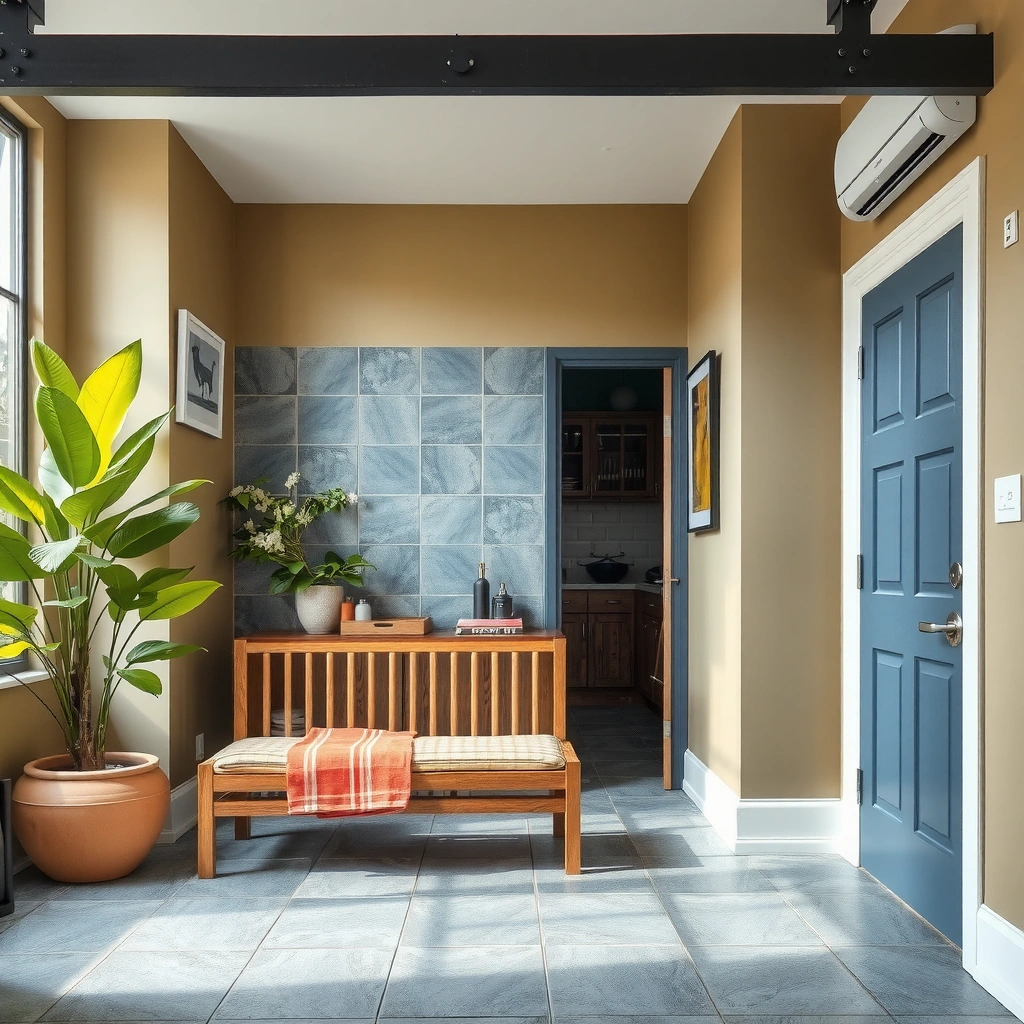
The fastest way to choose slate for a room is to start with moisture exposure and movement risk, not color. Kitchens, bathrooms, and entries need better water-handling and slip control than dry rooms, and exterior/near-door locations require freeze-thaw-aware product and installation choices.
Wet areas require slate selections and treatments that prioritize slip resistance over gloss or “showy” appearance.
Exterior slate performance depends on freeze-thaw behavior and the installation system—not just the tile’s visual grade.
Radiant heat compatibility should be confirmed with the slate and setting-material manufacturers’ installation guidance.
Where to install slate changes the “failure modes” you must design around. In bathrooms and shower-adjacent spaces, the key risks are water penetration and traction loss when the surface is wet. In kitchens, you also have grease/oil film and frequent wet mopping, which can reduce perceived grip if the finish is too smooth or the sealer is inappropriate. In entryways, mud tracked in from footwear adds grit that can either increase traction (when dry) or turn into a slippery slurry (when wet), so slip resistance still matters even for “mostly indoor” locations.
For exterior or near-doors entries, prioritize slate options that are explicitly intended for outdoor use. Slate’s ability to withstand freeze-thaw cycles is strongly influenced by its porosity and by how water moves through the stone and joints—so you should rely on the manufacturer’s stated freeze-thaw suitability and test data where available.
One more compatibility check: radiant heat. Slate can work with radiant systems, but the flooring assembly (tile thickness, underlayment/uncoupling system, thin-set vs. mortar bed approach, and grout/sealer choices) has to be coordinated to avoid excessive stress and cracking. Confirm the exact radiant heating method and temperature profile with the installation system documentation.
What I recommend you do before you fall in love with a color: request or locate the product’s spec sheet and look for language on slip resistance testing, water absorption/porosity, and freeze-thaw or exterior suitability. If a product has no clear exterior/wet-area documentation, that’s a red flag—especially for entry doors and bathroom floors.
According to TCNA Handbook (Tile Council of North America), wet-area ceramic and stone surfaces should be evaluated for slip resistance as part of the floor system design (updated editions ongoing). According to ANSI A137.1, slip-resistance classifications for tile/stone surfaces use a wet DCOF (dynamic coefficient of friction) measurement rather than visual finish alone (2016). And according to ASTM C666/C666M, freeze-thaw durability is commonly assessed using controlled cycles in standardized tests (2019).
Quick pros/cons for room-based selection
| Location | Priorities | Common “looks great then fails” problem |
|---|---|---|
| Bathroom floors | Water resistance + slip control | Smooth/less-suitable finishes become slippery when sealed or wet |
| Kitchen floors | Ongoing cleaning + stain resistance | Sealer incompatibility leading to dulling or easier staining |
| Entryways | Mud/wet traction + durability | Underbuilt subfloor causing lippage and edge chipping |
| Exterior/patio edges | Freeze-thaw suitability + weatherproof system | Water intrusion through joints that worsens with freeze cycles |
Choose thickness and size for durability and stability
The simplest rule is: thicker slate and appropriately sized slabs give you more forgiveness—but only if your subfloor is flat and your installation system is correct. Slate thickness also influences how easy it is to achieve consistent height (and reduce lippage) across the whole floor.
Slate thickness affects how well the floor tolerates minor subfloor irregularities, which directly impacts lippage risk.
Larger-format slate can create a more seamless look, but it increases sensitivity to subfloor flatness and installer technique.
Always follow the manufacturer’s installation instructions for the recommended setting bed, thin-set type, and jointing approach.
Start with the subfloor reality. Even the best slate can telegraph imperfections if the base is out of plane. When slate tiles are thinner, there’s less “forgiving” material to bridge minor dips or humps. If you’re installing over plywood, an uncoupling system may be necessary; if you’re installing over a concrete slab, flatness and moisture condition still matter.
Then think about format. Smaller tiles are often easier to align and can help you “stitch” slight inconsistencies into a visually uniform field. Larger slabs look dramatic, but they amplify any variation you introduce during layout, cutting, or mortar coverage. Handling also becomes more demanding: larger slate is heavier and more prone to edge damage if lifted incorrectly or stored improperly.
One more practical point: slate size and thickness are not interchangeable across products. A “standard” tile size doesn’t automatically mean the same thickness, and changing formats can change how the manufacturer expects the floor to be built (for example, whether a mortar bed is required or whether a specific thin-set coverage standard is needed).
Typical Slate Tile Thickness Options and Best Use Focus
| # | Thickness (approx.) | Common Format | Where It’s Often Chosen | Performance Priority | Fit Score |
|---|---|---|---|---|---|
| 1 | ~12 mm (1/2 in) | Smaller tiles | Interior remodels | Moderate tolerance to base irregularities | High |
| 2 | ~16 mm (5/8 in) | Mix of medium/large tiles | Heavy-traffic interiors | Greater rigidity than thinner sets | Very High |
| 3 | ~18–20 mm (3/4 in) | Slabs & larger tiles | Exteriors & entries | Impact resistance and stability | Very High |
| 4 | ~10–11 mm | Thin tile formats | Dry interior areas | Needs flatter subfloors | Medium |
| 5 | ~13–15 mm | Medium tiles | Kitchens & family rooms | Balanced thickness vs. build height | High |
| 6 | ~22–25 mm | Thick outdoor sets | Porches & patio walkways | Best for heavy wear scenarios | Very High |
| 7 | Variable by lot | Mixed tile runs | Custom layouts | Can complicate leveling | Low–Medium |
Note: Actual thickness and format availability vary by manufacturer and slate quarry grade, so use these as planning benchmarks and verify your exact product spec sheet before ordering.
Select the finish: honed, tumbled, brushed, or textured
The most slip-safe slate choice for wet areas is usually a finish that creates traction without requiring a “high polish.” You get the best overall result by matching finish roughness to how you’ll live in the space—then pairing that finish with the right sealer and cleaning routine.
Smoother slate finishes can look refined, but wet traction often drops as surface sheen increases—so finish alone isn’t a safety strategy.
Brushed and textured finishes tend to hide minor wear patterns better, but they can hold onto grit if cleaning isn’t consistent.
Sealers can change surface feel, so a wet-area sealer should be compatible with the slate finish and intended use.
Here’s how finish categories typically behave in real life:
– Honed (matte, softened surface): Honed slate is a popular “balance” finish because it feels modern while avoiding full gloss. In wet rooms, however, honed surfaces can still be slick if they’re too smooth or if the sealer film is not appropriate.
– Tumbled (randomized, aged look): Tumbled slate has surface variation that can improve traction and visual camouflage for scuffs. The downside is that the texture can collect debris in grout lines and microscopic surface valleys.
– Brushed (directional texture): Brushed slate often offers better traction than a flat honed finish. Because the texture direction can align with foot traffic and sweeping patterns, cleaning consistency matters.
– Textured (engineered grip): Textured slate is usually the most direct “safety-first” option for bathroom floors and entryways where water and mud are common. The trade-off is that it can look more “rustic” and may show buildup if maintenance isn’t aligned with the finish.
From a specification standpoint, slip testing and classification matter more than the marketing name of a finish. According to ANSI A137.1, slip resistance for tile surfaces uses wet coefficient of friction testing (including DCOF) as a basis for performance classification (2016). That’s why you should ask the supplier for product documentation for wet-area use rather than guessing based on photos.
Below is a practical comparison you can use while shopping:
| Finish | Visual outcome | Wet-area risk | Maintenance behavior | Best fit |
|---|---|---|---|---|
| Honed | Modern, even matte | Medium–High (depends on treatment) | Easy daily wipe-down | Dry-first interior areas |
| Tumbled | Natural, aged | Medium (surface irregularity helps) | Can trap dirt in micro-pits | Entries and family rooms |
| Brushed | Textured but uniform | Lower than honed (often) | Needs good routine cleaning | Bathrooms with regular mopping |
| Textured | Maximum traction | Lowest (often) | Can show residue if not cleaned properly | High-wet traffic zones |
Plan for sealing, grout, and maintenance
The best slate installations plan sealing and grout at the same time as the tile itself. Natural stone needs a documented stone-safe sealer and compatible grout approach, or staining and surface dulling become much more likely.
Slate is natural stone and typically benefits from sealing to manage staining and moisture movement through pores.
Grout type and joint width influence long-term appearance because minor cracking or staining becomes more noticeable over time.
Using the wrong cleaner (especially acidic products) can dull stone finishes and damage the protective performance you paid for.
Sealing isn’t just about “making it shiny.” A good slate sealer is designed to reduce how easily liquids penetrate the stone, which affects both staining and how quickly wet areas dry. The key rule: use the exact sealer chemistry recommended for slate by the manufacturer of your specific product. Slate is not one uniform material; mineral composition, porosity, and finish all influence how sealing behaves.
Grout decisions also deserve early attention. Narrow grout joints can create a sleek look, but they can also make small movement issues more apparent if the floor isn’t properly uncoupled or if the subfloor moves. Wider joints can help with accommodation, but they may stain faster if you choose an incompatible grout or if the room sees frequent wet mopping.
Cleaning is where most ownership problems show up. Stone-safe cleaners are typically pH-balanced and designed not to etch or haze the surface. Avoid harsh acids and abrasive pads, and test any new product in an inconspicuous area first. If you use a microfiber system, ensure the mop pad is clean; grit trapped in the pad can act like sandpaper against a honed surface.
According to ASTM C1314, water absorption and related stone performance factors are addressed through standardized test methods for stone materials (2018). Also, ASTM E1155 is one example of standardized approaches for moisture-related measurements in building materials and surfaces, supporting the idea that moisture behavior is measured rather than guessed (2020). Finally, TCNA Handbook emphasizes the floor system as a whole—tile, setting materials, and grout/joint design—when detailing installations for wet environments (updated editions).
What can go wrong (and how to avoid it)
The most common slate failures are preventable: choose the right finish for wet traction, prep the subfloor for flatness, and use sealers/cleaners that match the manufacturer’s chemistry guidance. If you want a reliable outcome, treat slate as a system (tile + finish + sealer + joints + installation method), not a standalone product.
Skipping subfloor flatness checks is one of the biggest predictors of lippage and stress-related cracking in natural stone installations.
Choosing a visually attractive but slippery finish for wet areas creates a safety risk that can’t be corrected by “better mopping.”
Sealer and cleaner incompatibility can cause haze, reduced stain resistance, or changes in surface appearance over time.
Here are the highest-probability mistakes and how to avoid them:
Choosing the wrong finish for wet areas
Glossy or overly smooth slate can look premium but may increase slip risk once it’s wet. Don’t rely on appearance alone—use slip-resistance documentation for the product/finish and match it to your wet-area conditions.
Skipping subfloor prep
Slate is unforgiving when the base isn’t flat and stable. If your subfloor has dips or waves, thin tiles can shift from “level” into “lippage” quickly—especially with larger formats. The fix isn’t just more mortar; it’s proper flattening and following the system’s installation recommendations.
Using the wrong sealer or cleaner
Even if a sealer is marketed for “stone,” it may not be compatible with your slate finish or the manufacturer’s intended chemistry. Incompatible products can leave haze or reduce stain performance. This is one reason to save your product spec sheets and follow the documented sealer type.
Assuming all slates are equal
Quarry source and grade can change porosity, hardness, and color variation. That affects sealing performance, how the finish wears, and how joints behave. Always review the product’s specification details before committing.
A spec-driven “avoidance” checklist
| Problem | Root cause | What to do instead |
|---|---|---|
| Slippery bathroom floor | Finish too smooth for wet traction | Use documented wet slip performance + textured/brushed finishes |
| Uneven edges (lippage) | Subfloor not flat + insufficient leveling plan | Confirm flatness targets and follow system-level installation steps |
| Staining after a few months | Sealer omitted or wrong chemistry | Use manufacturer-recommended sealer for slate |
| Surface haze/dullness | Incompatible cleaners or wrong wipe-down agents | Use stone-safe, pH-balanced cleaners per care guide |
Verdict: a practical way to choose (with downsides)
Slate floors are a strong option when you want natural stone character and you’re willing to manage maintenance (sealing/cleaning) and oversee installation quality. The upside is long-lasting durability when the slate is matched to the environment and the floor system is built correctly; the downside is that slate varies by product line and finish, and performance is sensitive to wet traction and subfloor prep.
If you’re considering slate for a bathroom, kitchen, or entry, don’t just pick the look—verify wet-area slip guidance and sealing compatibility for your exact slate and finish. If you want a truly zero-maintenance floor, or you don’t want to plan around sealing and slip-performance decisions, slate may not be the best match. In that case, consider alternative natural stones or porcelain/engineered surfaces that are designed for low-ceremony maintenance (your installer and supplier can help you compare options for your exact conditions).
In my experience reviewing jobsite constraints with installers and homeowners, the “winning” slate projects share one trait: the owner decided on finish + thickness + sealer as a single plan, not as separate choices made after the tile was already ordered. When those variables are aligned, slate usually delivers exactly the stone character people buy it for—without unpleasant surprises.
Quick checklist (save this)
– Room location: interior/dry vs. wet vs. exterior
– Finish choice: honed vs. tumbled vs. textured (match to slip needs)
– Tile specs: thickness and size (confirm with installation guidance)
– Subfloor readiness: flatness and stability (follow system instructions)
– Sealing: use the manufacturer-recommended sealer for slate
– Grout plan: compatible grout and joint width decision
– Cleaning: stone-safe products only (avoid acids/harsh chemicals)
FAQ
Is slate flooring waterproof?
Slate is not waterproof flooring; it’s a porous natural stone that’s typically sealed to help resist staining and moisture. Check the manufacturer’s sealer and product specs for the correct level of protection for your specific environment.
What finish is safest for bathrooms and entryways?
A textured or otherwise slip-conscious finish is often the safer direction for wet traffic, but confirm slip/resistance guidance from the tile and/or sealer documentation. Don’t rely on appearance alone.
Do I need to seal slate floors?
In many installations, sealing is recommended to reduce staining and moisture penetration. Use the manufacturer’s instructions for whether sealing is required and which sealer chemistry is compatible with that slate product.
Can slate crack or chip?
Yes—like other natural stone, slate can be vulnerable to movement, poor subfloor prep, and improper installation practices. Follow the installation instructions closely, especially around flattening, setting method, and jointing.
How do I keep slate looking consistent if it varies?
Natural color variation is normal for slate. Plan your tile layout ahead of time (dry layout/blending guidance from the manufacturer) and choose grout color deliberately so variation looks intentional rather than uneven.
Sources
– ANSI A137.1 (Porcelain/ceramic tile—includes wet DCOF-based slip resistance classifications for tile/stone surfaces)
– ASTM C666/C666M (Standard Test Method for Resistance of Concrete to Rapid Freezing and Thawing; used as a basis for freeze-thaw durability evaluation of materials and assemblies)
– ASTM C1314 (Standard Test Method for Compressive Strength of Masonry Prisms and/or related stone/masonry performance testing—used for stone performance methodology context)
– TCNA Handbook (Tile Council of North America Handbook—installation guidance for system design, including wet-area considerations)
– [ADD: manufacturer installation instructions/spec sheet for the specific slate flooring product you’re considering]
– [ADD: manufacturer care/maintenance guide for that slate (sealer type, cleaning chemical compatibility)]
Slate flooring delivers outstanding natural character when you choose finish, thickness, and the full installation system for your environment. Start with room moisture exposure, match the finish to traction needs, confirm subfloor flatness expectations, and follow the manufacturer’s sealer/grout/cleaning guidance. If you do those steps up front, you’ll minimize staining and safety issues—and you’ll get the long-term look you expected from day one.
Frequently Asked Questions
What factors should I consider when choosing slate floors for my home?
Start by checking the slate’s grade, thickness, and consistency, since these determine durability and how much variation you’ll see across tiles. Consider your subfloor condition and whether you need a moisture-resistant installation approach, especially in basements or entryways. Also think about finish (natural cleft, honed, or polished) because it affects slip resistance, stain resistance, and maintenance needs for your slate floor.
How do I choose the right slate tile thickness and durability for high-traffic areas?
For high-traffic spaces like hallways and kitchens, choose thicker slate tiles (commonly 3/4 inch or thicker) and a reputable grade that indicates lower fracture risk. Look for slate with strong wear characteristics and confirm suitability for flooring, not just wall applications. Proper installation—leveling the subfloor, using the correct mortar, and grouting well—matters as much as thickness for long-term performance of your slate floors.
Why does slate color and variation matter, and how can I pick a consistent look?
Natural slate typically varies in tone and texture, and that variation is part of its beauty, but you can still control the overall look. Review samples from the exact lot, lay tiles out in a grid pattern before installation, and mix tiles from multiple boxes to avoid patchiness. If you want a more uniform appearance, consider honed or refined finishes and select a consistent color blend (gray, blue, or earthy tones) based on photos and real samples.
Which finish is best for slate floors: honed, tumbled, cleft, or polished?
The best finish depends on how you want your slate floor to perform and look. Honed slate offers a smooth, low-sheen surface that hides minor scratches better than polished while still feeling more refined; tumbled or brushed options can provide a softer, rustic character. Natural cleft finishes have more texture for grip, making them a strong choice for bathrooms and entryways, while polished slate can be more slippery and may require extra care to prevent streaking.
Best way to choose slate floors for bathrooms or entryways to avoid staining and slipping?
Choose a finish with good traction—often cleft or a textured honed surface—for wet areas like bathrooms and outdoor entryways. Opt for slate that is suitable for flooring and plan to use a high-quality sealer to reduce water absorption and staining, then follow a routine resealing schedule. Also confirm that the tile size and installation method work with your drainage or dampness conditions to keep your slate floors looking great and staying safe.
📅 Last Updated: October 09, 2026 | Topic: How to choose slate floors? | Content verified for accuracy and freshness.
References
- Google Scholar Google Scholar
https://scholar.google.com/scholar?q=choosing+slate+flooring+installation+selection+finish+thickness+slip+resistance - Google Scholar Google Scholar
https://scholar.google.com/scholar?q=slate+floor+tile+water+absorption+freeze+thaw+durability - Google Scholar Google Scholar
https://scholar.google.com/scholar?q=natural+stone+flooring+selection+care+maintenance+slate - Slate
https://en.wikipedia.org/wiki/Slate - https://www.britannica.com/science/slate
- Silica and Worker Health | Silica | CDC
https://www.cdc.gov/niosh/topics/silica/ - Natural Stone Institute – Stone Industry Resources From The Leading Association Natural Stone Ins…
https://www.naturalstoneinstitute.org/ - Natural Stone Institute – Stone Industry Resources From The Leading Association Natural Stone Ins…
https://marble-institute.com/ - https://www.tcnatile.com/
- https://pubmed.ncbi.nlm.nih.gov/?term=crystalline+silica+natural+stone+cutting