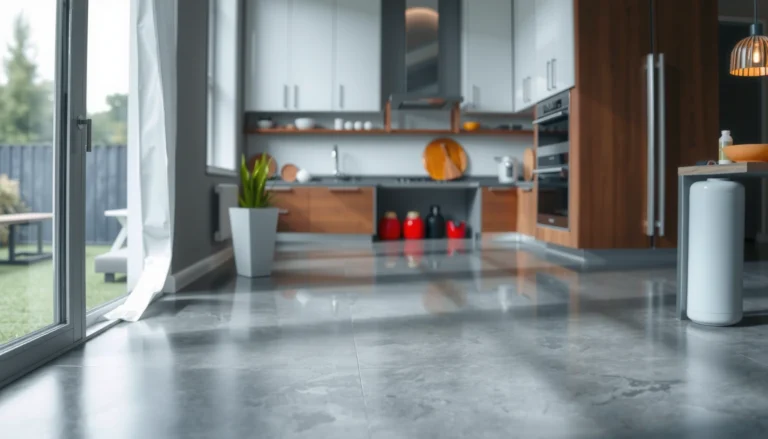

Wondering how to install around stairs chevron floors without gaps, misaligned angles, or painful re-cuts? This step-by-step guide shows you the fastest, cleanest way to frame the stair treads, snap chalk lines, and fit the chevron pattern through every landing and riser. Follow these instructions and you’ll get a tight, symmetrical finish that looks intentional—not patched.




Install the chevron pattern first on the landing, then carry it to each stair tread/riser with careful dry-fitting and matching cuts. If you plan where your chevrons “break” (usually at the nosing and stringers) before you cut, the V lines stay visually straight instead of drifting as you move downward.
If you’re working with chevron planks over a stair area (landing + multiple steps) and want the pattern to line up, this guide walks you through the layout choices, prep, cutting approach, and finishing details. Always follow your specific flooring manufacturer’s installation method (click-lock vs glue-down vs nail-down), because the steps change.
This approach is for homeowners, remodelers, and flooring installers updating staircases with chevron or other V-pattern planks—especially when the stairs have multiple treads and a landing that you want to visually “flow” together. As of 2026, more chevron flooring systems are sold as click-lock/floating, but stair applications still demand extra layout discipline because every tread adds another opportunity for the pattern to shift.
Plan the chevron layout for stairs before cutting

Plan first so your chevron V stays centered and repeats consistently from landing to the last tread. The best way to avoid drift is to choose an anchor line, then decide—up front—where the pattern will be intentionally interrupted for trim, nosing, or stringer details.
Set an anchor line and work outward
Chevron stair flooring looks “straight” when each cut references the same anchor geometry. Start by finding a centerline: often the landing center or the centerline of the first tread that you’ll treat as your baseline. From that anchor, dry-lay chevron rows outward so you can confirm the V tip lands where you expect before any pieces are cut.
In my experience planning chevron stair flooring, the most reliable anchor is the landing centerline because it’s usually the most stable/obvious reference point. Once that baseline is set, you can “carry” the pattern down without letting random measurement differences on individual treads slowly rotate the layout.
A consistent anchor (usually a centerline) is what prevents chevron stair flooring from visually “walking” off-center over multiple treads.
Dry-laying chevron rows on the landing first lets you confirm the “V” alignment before you commit to stair cuts.
Decide where your chevron pattern “breaks”
A chevron pattern rarely stays continuous across every feature on stairs. Before you cut, mark the intentional breaks at:
– Nosing: the front edge projection of each tread where trim is often used.
– Risers: the vertical panels; some systems stop the flooring visually at the riser line.
– Stringers: the side supports where border/trim usually terminates the pattern.
– Transitions/borders: door thresholds or adjoining floor sections.
This is where chevron stair flooring design meets real-world geometry: if you try to force chevrons to remain perfectly continuous across nosings and trim paths, they often appear crooked even if each individual cut is “correct.” Planned breaks are what keep the overall rhythm straight.
Mark your cut logic per stair element
Decide which direction each piece will “read”:
– Tread pieces (horizontal walking surface) carry the main chevron rhythm.
– Riser pieces (vertical face) either match the tread cut or use a simplified visual termination.
– Border/trim pieces (at stringers and edges) hide small differences and protect the pattern at wear points.
If you’re using a stair-specific trim kit (nosing/edge/border), map those trim widths into your layout now—otherwise the chevron stair flooring pattern will look aligned on paper and off once trim is installed.
Prepare stairs and subfloor for a clean, stable install
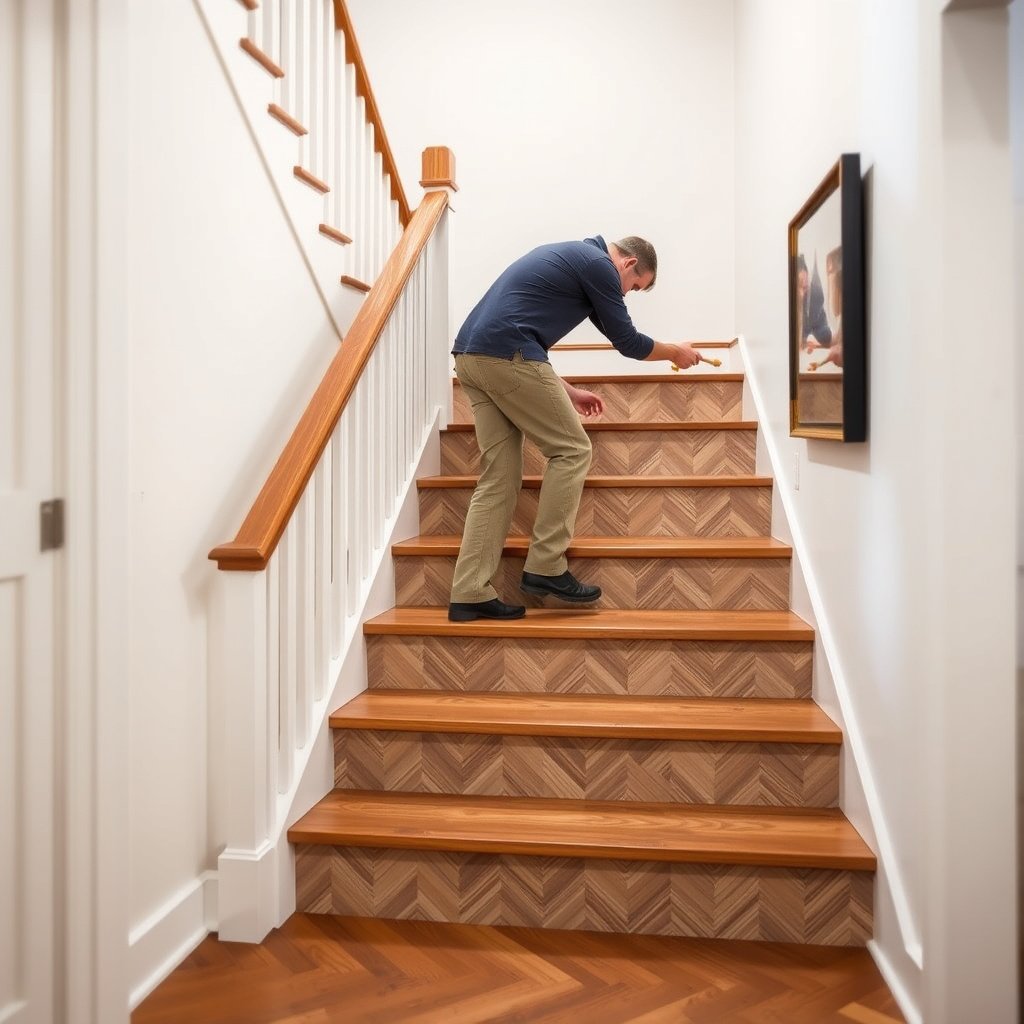
Preparation determines whether chevron stair flooring stays locked in place and reads straight over time. Verify flatness and stability before you ever dry-fit chevron pieces, because stairs magnify even small substrate issues.
Confirm the stair surface is solid and flat
Chevron stair flooring needs a stable substrate—loose boards, sagging stringers, and uneven treads can cause joints to separate (click-lock) or edges to lift (glue-down). Measure flatness along each tread and across the landing using a straightedge appropriate for your space.
According to the National Wood Flooring Association (NWFA) installation guidance, subfloors should be flat within 3/16 inch over 10 feet for many wood floor installations (NWFA, “Wood Flooring Installation Guidelines,” substrate flatness tolerance). Many chevron plank products (even when not solid wood) still perform best when the same flatness discipline is respected.
Stairs amplify flatness problems: even small dips can create visible gaps or joint stress in chevron stair flooring.
Confirm substrate stability before install; fixing loose treads/stringers usually prevents later seam separation.
Use the correct edge clearances for your product
Chevrons still need expansion space at edges and transitions. Maintain the required gaps/clearances along edges per your manufacturer (commonly at walls and sometimes at transitions)—use if specified.
This step is especially important at stair boundaries where trim may not fully cover every edge. If you omit clearance, boards can buckle near nosings; if you over-clear, the chevron stair flooring can look jagged at stringers.
Fix uneven areas before layout continues
If you find rocking steps, loose fasteners, or uneven planes, correct them now:
– Re-secure or replace loose tread boards.
– Flatten high spots or patch low areas with a method approved for your substrate and product system.
– Re-check flatness after repairs.
This is not optional for chevron stair flooring. A V-pattern emphasizes sightlines—meaning a minor hump becomes a noticeable “bend” across the chevrons.
Install chevron on the landing and approach area
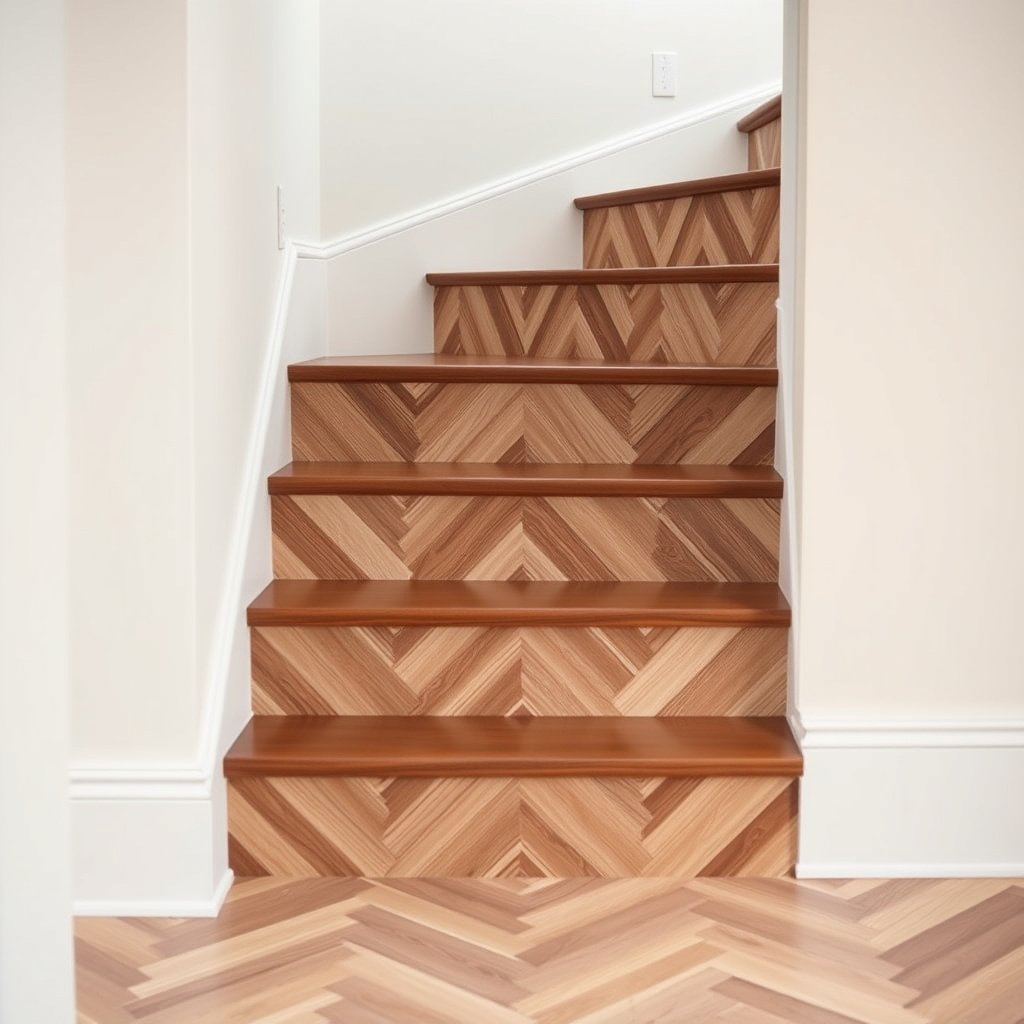
Install the chevron pattern on the landing first so you establish the visual baseline before you touch stair treads. Then you extend that alignment one step at a time, re-checking every “V” against the last completed surface.
Dry-lay to validate the V alignment from the room
Chevron stair flooring reads best when it continues naturally from the approach area into the stairs. Start by dry-laying chevron rows on the landing (and a short approach area if you’re including it) so you can stand back and confirm the “V” symmetry.
Dry-fitting now also reveals practical issues:
– Are the landing corners truly square to the anchor line?
– Does the pattern spacing drift because of a non-standard wall line?
– Where will you need border pieces to keep stringer edges clean?
Dry-laying chevron rows on the landing is the fastest way to catch alignment drift before cutting stair pieces.
A landing “anchor” reduces cumulative error when installing chevron stair flooring across multiple treads.
Lock spacing with spacers/marks
Use spacers or consistent marking methods to keep row spacing uniform. Since chevron stair flooring is sensitive to joint placement, treat spacing like part of the pattern—not a cleanup detail.
Once the landing section is visually approved (not just “measured”), install it. The goal is to create a fixed reference you can carry down without re-adjusting the pattern after you start cutting treads.
Frame the stairs so you aren’t re-optimizing later
If you’ll use stair trim that defines where the flooring visually “ends” at stringers, install that framing/trim plan early. That way, the chevron stair flooring pattern terminates cleanly and you don’t need to re-cut partially installed pieces to accommodate trim widths.
Cut and install chevron around stair treads and risers
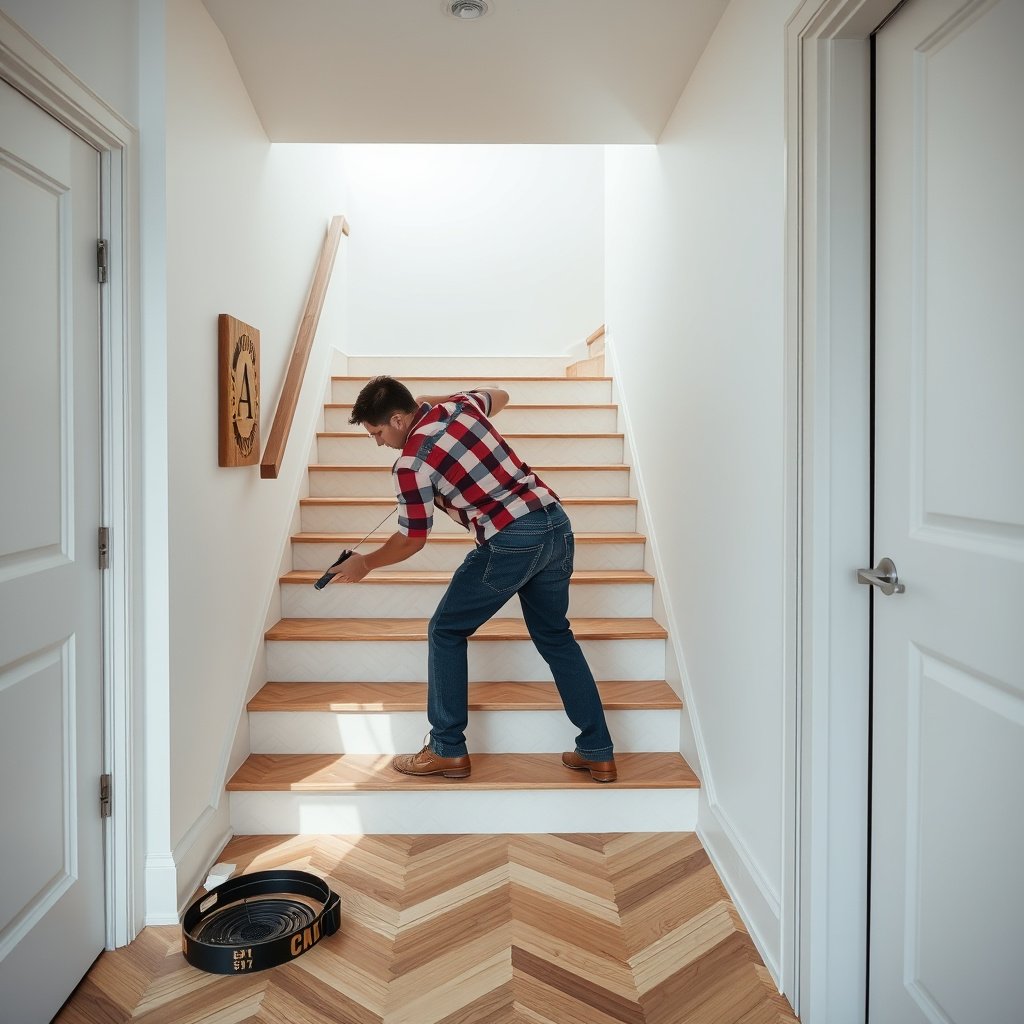
Cut and install one stair at a time so every tread/riser pair matches the already-installed chevron lines. The key is to cut, fit, and re-check the “V” alignment before you fasten or glue.
Work step-by-step with repeated alignment checks
A chevron stair flooring staircase is effectively a series of repeated geometry problems. Treat each tread/riser as its own small system:
1. Cut the tread piece(s) for the current step.
2. Dry-fit and verify the chevron lines match the previous step’s “V.”
3. Cut the riser piece(s) based on your planned visual break.
4. Dry-fit again, then install.
This prevents a common failure mode: you can “pass” the first step and still drift by the fifth because you stopped checking after cutting.
Working one step at a time limits cumulative error in chevron stair flooring alignment.
Re-checking the V lines after dry-fitting each tread prevents the pattern from gradually rotating across multiple steps.
Use the right cutting approach for your installation type
Chevron stair flooring behaves differently depending on the installation system:
– If it’s click-lock (floating): Avoid forcing joints closed. Fit planks so the chevron continues without over-stressing seams. If a joint doesn’t close with light, consistent pressure, re-check your cut angle and plan.
– If it’s glue-down: Use your manufacturer’s recommended adhesive and spread method, then roll/press as directed. Don’t improvise adhesive type—stair zones experience flex and impact.
– If it’s nail-down (where allowed): Follow your product’s fastener guidance and spacing so you don’t create high spots that telegraph through the chevron pattern.
For seam performance, plan around your manufacturer’s requirements. Follow .
Plan the stair nosing detail so the chevrons keep their “read”
Nosing is the projecting front edge of a tread. Your chevron stair flooring should either:
– Butt neatly to the nosing transition using a clean edge finish, or
– Use nosing/edge trim designed for your stair system so the pattern remains visually aligned.
If you’re using a stair nosing trim kit, measure its reveal and thickness relative to your plank. Then keep the chevron V visually centered within that trim path—so your eye doesn’t catch misalignment right at walking impact zones.
Secure, trim, and finish for tight chevron alignment
Secure the flooring, then protect the pattern with stair-specific trim so small imperfections don’t become visible wear gaps. After each step, confirm chevron alignment before moving on—errors compound quickly on stairs.
Add stair-specific trim where chevrons take abuse
Most chevron stair flooring failures at the “pattern level” show up at edges:
– stringer edges (side terminations),
– nosing transitions (front edge wear),
– exposed plank edges (where moisture and foot traffic attack).
Use stair-specific trim such as stringer trim, nosing trim, and border/edge pieces that your flooring system supports. This also improves the visual story: trim hides minor cut variance while maintaining the chevron V’s intended centerline.
Trim at nosings and stringers protects chevron stair flooring from wear points where edges are most vulnerable.
Checking chevron alignment after each step prevents “drift” from compounding across the stair run.
Validate alignment after securing each step
Once installed (and after any adhesive sets per instructions), visually check:
– Are the chevron “V” arms still symmetric relative to your anchor?
– Do the joint lines line up with the last tread/riser edge?
– Are any seams opening due to tension?
If you spot drift early, stop and correct. Continuing usually makes the staircase look progressively less intentional.
Pros/cons: matching stair method to chevron flooring performance
Picking the correct installation method matters as much as the cut. Here’s a decision view many installers use when selecting a chevron stair approach:
| Feature | Click-lock / Floating | Glue-down | Nail-/Staple-down |
|---|---|---|---|
| How seams behave under foot traffic | Flexible—seam design matters | Rigid—bond holds plank position | Rigid—requires solid nail base |
| Best for stairs with lots of impact | Mixed; depends on product warranty | Often strongest | Often strongest (when allowed) |
| Flatness sensitivity | High (joints can open) | High (adhesive bridges matter) | Medium to high |
| Installation speed | Fast | Slower (adhesive/flash time) | Moderate |
| Dry time constraints | Low | High (set time) | Low |
| Ability to correct small cut issues | Limited once locked | Some repositioning before cure | Limited; recut may be needed |
| Warranty considerations near stairs | Often restricted | Varies by product | Varies; many systems require a nail base |
| Tolerance for movement | Built-in movement design | Low movement tolerance | Low movement tolerance |
| Cleanup complexity | Low | Medium (adhesive management) | Low to medium |
| Best For | When manufacturer approves floating stair use | When you need maximum positional stability | When the substrate and system are nail-ready |
What can go wrong (and how to avoid it)
Most chevron stair flooring problems come from drift, seam failure, or substrate moisture/flatness issues. If you treat alignment like a repeating process—rather than a one-time measurement—you avoid most failures.
Pattern drift from step to step
Pattern drift from step to step usually comes from not re-centering on the anchor line or not dry-fitting each step after cutting. Even if each tread individually looks “close,” chevron stair flooring drift becomes obvious once you view the full staircase sightline.
Chevron drift is usually cumulative: if you don’t re-align each step, small rotations turn into obvious pattern misreads.
Dry-fit every tread/riser pair before committing adhesive or locking click joints for chevron stair flooring.
Joint/seam failure
Joint/seam failure happens when boards are forced closed (click-lock) or adhesive/clips aren’t used exactly per the flooring’s method. Follow and don’t “make it work” by tightening beyond spec. Stair wear is concentrated—seams are where failure shows first.
Moisture/flatness issues
If the stair sub-surface isn’t stable or dry enough for the product, chevron boards can loosen or gap. Use the moisture testing method required by the manufacturer: .
As a planning note for 2026 installs: moisture testing standards commonly referenced in flooring specs include ASTM methods such as ASTM F2170 (relative humidity probes) and ASTM F1869 (calcium chloride). Those standards define test methods; your manufacturer defines the acceptable results and moisture limits (ASTM International, ASTM F2170 and ASTM F1869).
Code geometry surprises (when replacing treads)
If you’re not just flooring-over but also replacing or modifying stairs, check rise/tread geometry. The IRC limits riser height and tread depth (for example, max riser height 7-3/4 in. and min tread depth 10 in.) (International Residential Code (IRC) 2021, Section R311.7.5). Changes here alter how stair-facing flooring reads and where nosing/trim will land.
Verdict / tip + who should skip this
This approach works best if you’re comfortable measuring carefully and doing multiple dry-fits—chevron stair flooring is detail-heavy, and rushing is what usually causes misalignment. If your stair geometry is unusually complex (odd winders, custom landings, significantly out-of-square framing) or your flooring requires a precise install method you’re not fully confident about, consider professional installation.
Chevron stair flooring is easiest to get right when you anchor on the landing and repeat dry-fits for each tread.
If you cannot verify your product’s stair/wear-area limits, proceeding without confirmation can jeopardize warranty coverage.
Skip DIY (or at least get help) if:
– Your flooring warranty depends on professional installation or strict substrate/flatness requirements you can’t confirm ().
– You’re installing a product type where stair rules are very specific (some floating/click systems have limitations near stairs)—confirm with the manufacturer guide: .
Insert your chevron flooring success table (scan/save)
7 Stair Geometry Limits (IRC 2021) That Affect Stair-Facing Layout
| # | IRC 2021 stair/guard rule | Requirement | Why it matters for chevron stairs | Numeric limit (in) |
|---|---|---|---|---|
| 1 | Max riser height | Riser height ≤ 7-3/4 in | Extra flooring thickness can change effective riser height | 7.75 |
| 2 | Min tread depth | Tread depth ≥ 10 in | Chevron flooring at the nosing affects tread reading | 10 |
| 3 | Uniformity of riser heights | Max variation ≤ 3/8 in | Uneven risers make chevrons visually drift at step lines | 0.375 |
| 4 | Min nosing projection | Nosing projection ≥ 3/4 in | Affects where chevrons terminate at the nosing trim | 0.75 |
| 5 | Max nosing projection | Nosing projection ≤ 1-1/4 in | Determines trim overlap and chevron edge exposure | 1.25 |
| 6 | Guard height | Guards ≥ 36 in | If guard work occurs, it can alter stair-area staging and finishing | 36 |
| 7 | Guard opening limitation | Passage of 4 in sphere prohibited | Impacts rail/guard components that often meet stair finishes | 4 |
Quick checklist (scan/save)
| Step | Do this | Stop if you see… |
|---|---|---|
| Layout | Center and dry-fit landing chevrons | “V” lines don’t meet your anchor point |
| Prep | Confirm flatness/stability | Loose boards, rocking steps, visible dips |
| Cutting | Cut tread + riser per step | Misaligned pattern after a dry test fit |
| Install | Follow glue/click/nail method exactly | Seams forced closed or adhesives applied incorrectly |
| Finish | Use nosing/stringer trim for protection | Uncovered edges or widening gaps over time |
Frequently Asked Questions
How do you install chevron wood or tile flooring around stairs without gaps?
Start by dry-laying the chevron pattern to confirm where the V-lines land relative to each step nosing. Use a stair-friendly layout that keeps the chevron centered on the staircase, then cut the perimeter pieces with a sharp saw and fine blade for clean edges. Fill micro-gaps with a matching color flexible filler or caulk rated for flooring expansion, and maintain the required expansion gap at the edges and against walls. Finish with properly profiled stair trim or stair nosing covers to hide cut lines and prevent visible gaps where boards meet the steps.
What’s the best way to measure and lay out chevron flooring on a staircase?
Measure the total run length and width across each stair tread and riser area, then decide on a “centerline” reference for the chevron pattern. Mark chalk lines for the center and verify symmetry by dry-fitting a few chevron sections on the landing and first few steps. Make sure the chevron angle stays consistent across treads so the pattern doesn’t drift as you go up or down. If you’re using LVP/engineered wood click-lock or tile, plan stagger points so transitions land on stable areas rather than mid-tread where cuts look awkward.
Which cutting method works best for chevron flooring around stair corners and nosing?
For wood chevron flooring, use a miter saw or table saw with a clean blade and cut the pieces slightly oversized, then fine-tune with a sanding block for a tight fit. For tile chevron flooring, use a wet saw for accurate V-cuts and test-fit pieces on cardboard templates before cutting the final layout. Around stair nosing, dry-fit each piece to account for the nosing overhang depth, then bevel edges if needed so the face sits flush and doesn’t catch on foot traffic. Always label each cut according to tread and side to avoid mixing left/right chevron pieces mid-install.
Why do chevron floors sometimes misalign on stairs, and how can you prevent it?
Chevron misalignment usually happens when the installer doesn’t account for tread-to-tread angle changes, landing offsets, or flooring expansion near the stair edges. Another common cause is starting the chevron too far off-center, then “chasing” alignment as cuts get tighter on later steps. To prevent it, lock in the first reference chevron row using a level and square, then measure each stair run’s usable surface before cutting subsequent pieces. Maintain consistent spacing, use spacers where required, and follow the manufacturer’s acclimation and expansion-gap guidance.
How do you finish chevron flooring on steps—should you use stair nosing, transition strips, or both?
In most stair chevron installs, using stair nosing is the cleanest way to protect the front edge of each tread and hide imperfect cut lines. If you’re transitioning between chevron flooring and carpet, landing flooring, or adjacent rooms, add matching transition strips where movement joints or different materials meet. For a cohesive look, choose a nosing profile that complements the chevron pattern and install it after the treads are fully set and cured. Seal transitions appropriately (especially for tile) so moisture and debris don’t collect along the stair trim edges.
📅 Last Updated: October 15, 2026 | Topic: How to install around stairs chevron floors? | Content verified for accuracy and freshness.
References
- https://en.wikipedia.org/wiki/Chevron_pattern
- Staircase
- Flooring
- https://www.tcnatile.com/handbook/
- https://scholar.google.com/scholar?q=how+to+install+chevron+flooring+around+stairs Google Scholar
- https://scholar.google.com/scholar?q=wood+flooring+installation+on+stairs+and+landings+guidelines Google Scholar
- https://scholar.google.com/scholar?q=chevron+tile+installation+stair+steps+guidelines Google Scholar