
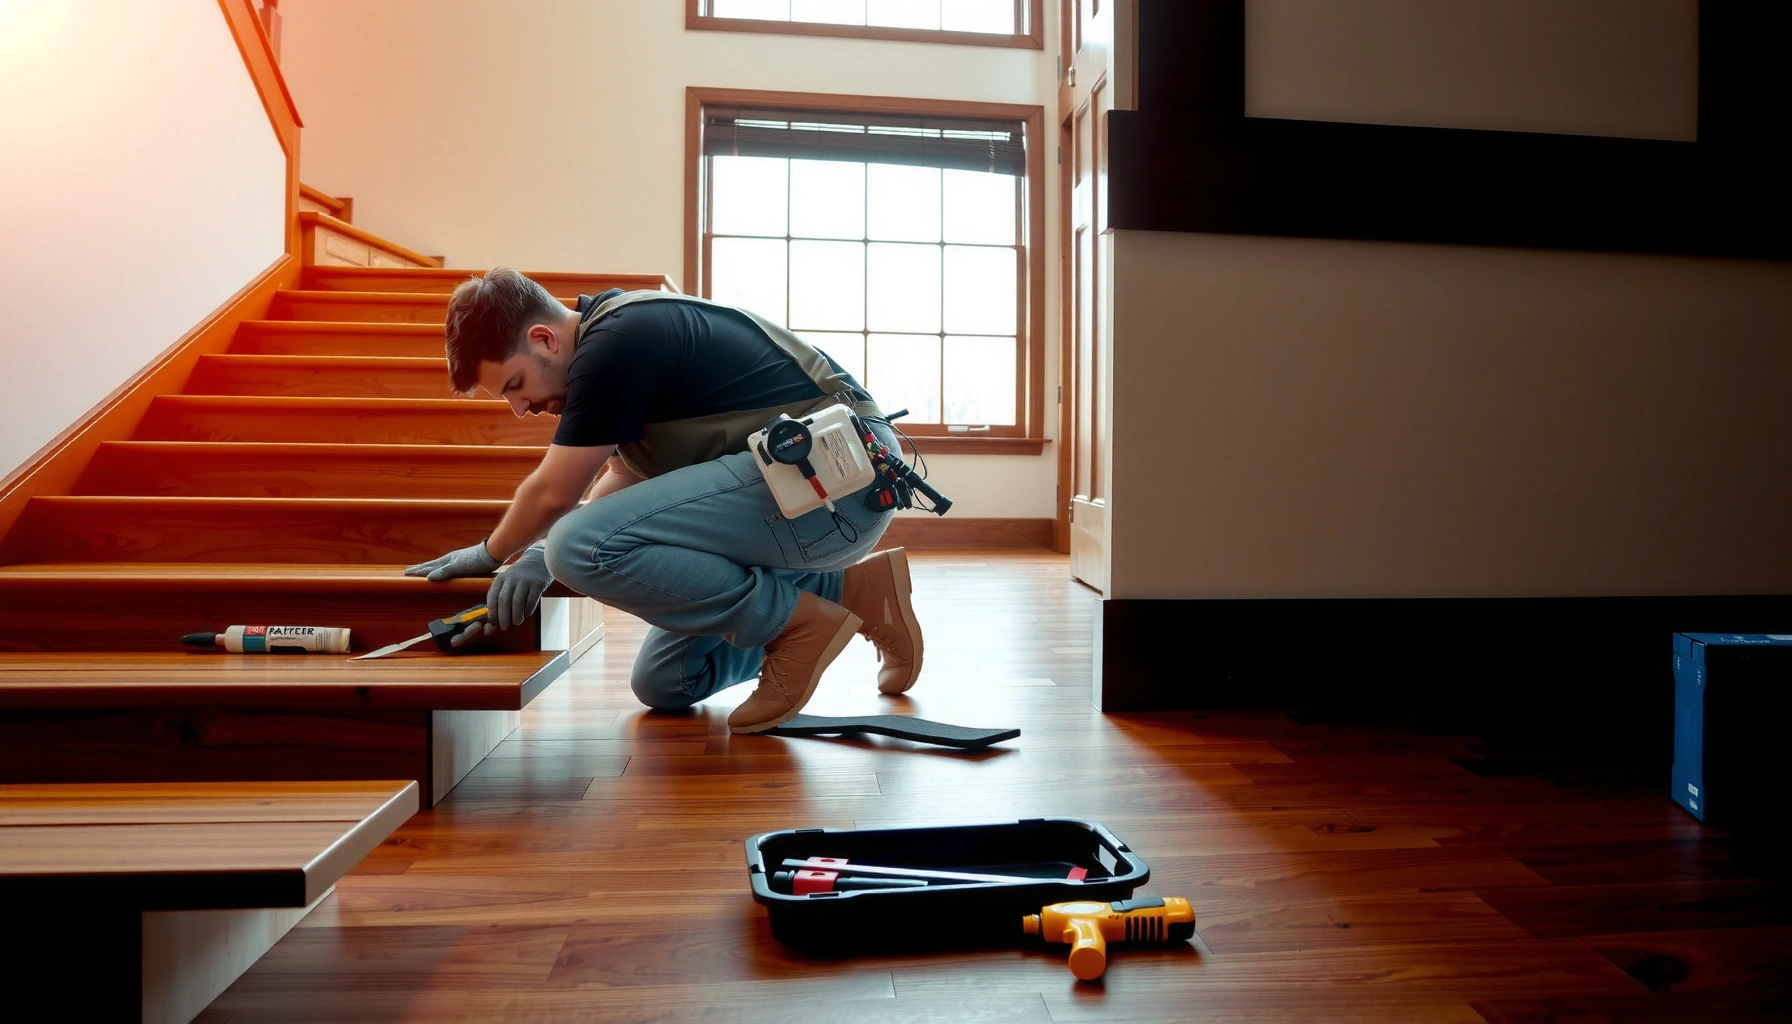

If you’re trying to install hardwood floors on stairs, follow a proven stair-by-stair method that produces a tight fit and a clean, durable finish. This guide walks you through the exact approach for preparing treads and risers, cutting hardwood for each contour, and fastening and finishing so the floor won’t squeak or lift. By the end, you’ll know the fastest, most reliable way to get real hardwood installed correctly on your steps.




Hardwood on stairs is best installed with a stair-specific approach: you typically cut each tread/nosing piece to fit and secure it carefully to prevent shifting, squeaks, and gaps. In this guide, you’ll learn the prep steps, cutting/layout basics, and the fastening approach that works with most stair framing so the finish stays solid and looks clean.
This is for homeowners or DIYers who already have (or plan to add) hardwood flooring and want to extend the same material onto stair treads. It’s also useful if your staircase has tight turns, inconsistent nosing sizes, or you’re matching height/finish to the rest of the home.
Plan the Stair Layout (Measure Before You Buy/Start)
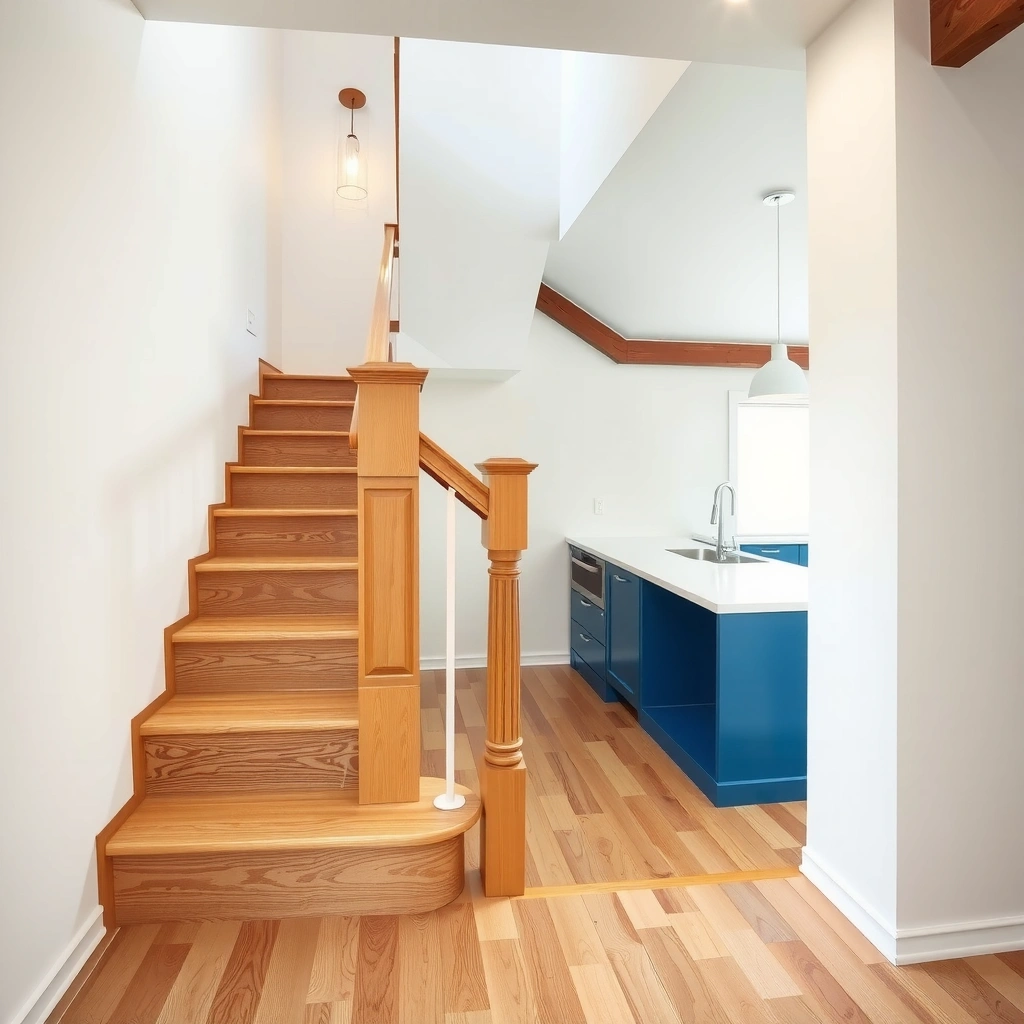
The right stair layout is your first defense against misaligned seams and uneven tread noses. Measure every step individually, then map out how you’ll transition pieces at the stringers and where seams will land so you don’t “fix” geometry with caulk later.
Here’s why this matters: stair geometry is rarely consistent. Even in well-built homes, the tread depth, riser height, and the nosing overhang can vary slightly from top to bottom—enough to make pre-cut “equals” feel wrong once you start fastening. If you’re installing hardwood to match the rest of your flooring, planning the grain direction and seam spacing at the same time prevents a staircase that looks disconnected from the main floor.
According to the National Wood Flooring Association (NWFA) installation guidance, stair and floor geometry must be verified at each run before cutting, because stair components commonly vary from the planned nominal dimensions.
Stair treads are functionally different from floors: they face repeated compressive and impact loads from footfalls, so measurement errors compound faster across multiple steps than on flat flooring.
What to measure (and record)
– Tread width (left-to-right at the widest points, not just “around the corner”)
– Tread depth (front-to-back along the receiving surface)
– Riser height (needed when you cover/shape around the riser or match reveals)
– Nosing projection and nosing height (if you’re installing a separate nosing board or transitioning trim)
– Stringer condition where pieces land (flat vs. wavy affects tight gaps)
– Finished-floor height relationship (especially if the main floor uses underlayment and stairs do not)
Decide the scope before you buy
Before ordering materials, choose one of these approaches:
– Install over existing surfaces (common when existing stair treads are solid and in good condition)
– Remove old coverings (best when you need thickness matching, cleaner fastening, or you want to fix squeaks properly)
That choice impacts:
– Total thickness at the tread edge
– The nosing/transition profile
– Whether your hardwood can be fastened without striking protrusions or weak layers
Grid-plan your pattern
If your main floor has a consistent plank direction, decide whether stairs will:
– Follow the same direction for visual continuity, or
– Rotate for better seam placement and fewer “micro gaps” near landings
From a practical standpoint, it’s usually cleaner to avoid seams directly in the walking path and instead place them closer to the stringers, where minor imperfections are less noticeable.
Prep the Substrate for a Stable, Squeak-Free Base
A stable substrate is what makes stair hardwood hold tight over time. Before you cut hardwood, confirm the stair receiving surfaces are solid, clean, and correctly prepared for the installation method you’re using.
Most squeaks and later “gap lines” come from movement below the hardwood—not from the finish surface itself. If you attach to a flexing tread or loose framing, the hardwood will telegraph that motion as loosened fasteners, cracked adhesive seams, and squeaks.
Squeaks typically originate from friction or movement at joints within the stair framing; tightening or repairing loose components before installing tread hardwood is a core step in squeak-resistant stair work.
For wood flooring installations, NWFA guidance emphasizes following the manufacturer’s substrate prep requirements (flatness, cleanliness, and moisture conditions) because these directly affect adhesion and fastener performance.
Check for flex and looseness
– Press on the tread surface in multiple spots. If it “gives,” fix the substructure first.
– Inspect where the tread meets the stringer and where the riser meets the next tread.
– If you hear popping or see movement around fasteners, address that before hardwood goes on top.
Clean and prep for bonding/fastening
Even if you plan to nail or staple, clean surfaces improve holding power and reduce adhesive failure at edges. Prepare the substrate according to the hardwood manufacturer’s installation instructions, including:
– Removing dust, debris, and residue
– Ensuring the receiving surfaces are free of paint/contaminants that interfere with adhesive
– Checking flatness (bedding of thin underlayments or build-up patches can affect tread edges and nosing fit)
Mind thickness differences
If you’re installing hardwood stair treads adjacent to existing finished flooring, thickness mismatch can show up as:
– Steps that “feel” higher at the tread edge
– Visual gaps at transitions
– Incorrect nosing alignment relative to the walking surface
If your stair substrate is thicker (or thinner) than assumed, adjust scope early—don’t wait until after you’ve cut.
Choose the Right Installation Method for Stairs
Choose the installation method that your specific hardwood product allows—stairs demand secure holding. The “best” method is the one the manufacturer specifies for tread and nosing application on your product type and thickness.
Stair treads see concentrated loads at the front edge and repeated impacts that transfer vibration into the substructure. That’s why a stair installation often differs from flat-floor installs: the fastening schedule, edge behavior, and transition details become more critical.
Wood flooring manufacturers provide product-specific stair instructions (glue-down versus nail/staple versus direct fastening versus restrictions on stair use), and those instructions should control the installation approach.
Because stairs experience higher localized stress than floors, using an installation method outside the manufacturer’s requirements increases risk of movement, gaps, and premature wear.
Match the method to the product
In general terms, options may include:
– Nail/staple/face-nail systems for certain engineered or solid floors (depending on product specs)
– Glue-down systems for approved engineered products
– Combination systems where allowed (adhesive plus mechanical fastening)
– Solid wood restrictions that may require additional attention to acclimation, humidity control, and clearance
However, you should not “generalize” from flat flooring. For example, some products allow nail-down on floors but require adhesive-only (or modified fastening locations) on stairs.
Handle the nosing intentionally
Nosing details strongly affect both appearance and performance. Your options often include:
– Install matching nosing pieces designed for your plank system
– Use stair nosing/trim molding that bridges the edge cleanly
– Build a profile carefully if your stair design or landing geometry calls for custom fit
The key is preventing “jagged edges” and inconsistent overhangs. If your nosing isn’t supported consistently at its underside, it can lift at edges and show a shadow line.
Cut, Fit, and Dry-Fit Each Tread and Nosing
Dry-fitting prevents the most common stair failure mode: small measurement errors that stack across multiple steps. Cut each tread/nosing to fit its specific step, then verify alignment before fastening so you avoid rework after adhesive cures or fasteners are set.
Because stair dimensions vary, even a “nearly identical” step can differ in tread depth or nosing offset. If you cut all treads from one assumed template, you’ll likely introduce cumulative errors—especially across tight turns and landings.
Dry-fitting each tread and nosing before permanent fastening helps catch dimensional variation step-by-step, reducing the likelihood of cumulative misalignment.
On stairs, consistent reveals (the visible edge gap) are as important as total coverage because the eye catches edge irregularities more readily than minor flat-floor seams.
A step-by-step fitting workflow
1. Template the step: use cardboard or thin template material to capture the tread profile.
2. Check square and straight edges: verify stringer contact points and any angled cuts.
3. Dry-fit and mark: note where you need to trim for a tight seam at the edges.
4. Confirm nosing overhang: ensure the nosing sits consistently from left to right.
5. Test the transition: if you have a landing, check how the final tread meets the landing flooring.
Expansion/clearance rules
Wood expands and contracts with moisture and temperature. Your hardwood’s installation instructions specify the required clearances around walls and between components. On stairs, clearance mistakes can lead to:
– Buckling near tight corners
– Gaps that widen over seasonal changes
– Binding that creates squeaks
If you’re uncertain about clearance because stairs aren’t flat, follow the product’s stair-specific guidance.
Secure the Pieces and Finish Cleanly
Secure treads and nosing exactly as your manufacturer directs, then finish in a controlled sequence to keep edges crisp. On stairs, the best-looking result comes from tight mechanical/adhesive coverage at seams and a finishing plan that protects adjacent surfaces from damage.
This is where most DIY stair projects succeed or stall. You’re transitioning between “carpentry precision” and “flooring finishing discipline,” and stairs don’t forgive sloppy sequencing.
Manufacturer installation instructions for engineered and solid hardwood typically specify exact fastening patterns, adhesive types, cure times, and whether face-nailing or stapling is permitted on stair treads and nosing areas.
Finishing after installation helps unify sheen and color across tread edges, but adjacent trim and flooring must be protected to avoid scuffs and uneven blending.
Fastening approach: what “good” looks like
– Use the fastener types and spacing the product specifies.
– Fasten in a way that clamps the tread edges down tightly to the substrate.
– Avoid over-driving fasteners that can create dimples (which then show through on the tread surface).
– If adhesive is allowed, apply only per instructions and respect open time and cure time so pieces don’t shift.
Finish strategy for crisp edges
A clean finish depends on controlling mess:
– Protect adjacent hardwood/planks, baseboards, and stair rails.
– Sand/finish with attention to the tread edge radius and nosing profile.
– Keep blending consistent across treads so you don’t get “step-to-step” sheen variation.
Important note
If your hardwood product requires a specific underlayment (or forbids it on stairs), follow that. Stair work often fails when people use floor-underlayment logic that doesn’t translate to tread/nosing surfaces.
What Can Go Wrong (Common Mistakes on Stair Installs)
Common failures on stair hardwood installs come from skipping step-specific measurements or using the wrong method for your product. If you prevent movement at the substrate level and follow manufacturer fastening/adhesive rules, you eliminate many of the problems that show up months later.
Assuming every stair tread is the same size can create seam misalignment and uneven nosing reveals over multiple steps, especially when the staircase has tight turns.
Using an unapproved installation method for your hardwood type (or ignoring required clearances) can cause board movement, gaps, and accelerated wear on high-stress stair edges.
Typical mistakes to avoid
– Skipping dry-fit: You catch errors too late, after fasteners or adhesive have locked in the wrong geometry.
– Template-copying without verifying: Even “identical” steps can differ by a few millimeters that become visible at the nosing edge.
– Fastening into unstable substrates: Loose framing equals squeaks later.
– Incorrect adhesive choice (if glue is involved): the wrong bond line can fail at the stair nose where stress concentrates.
– Finishing too soon without masking: scuffs accumulate on rails, risers, and adjacent flooring.
Edge cases that deserve extra care
– Tight turns and complex stringers: plan seam visibility and cutting allowances carefully.
– Inconsistent nosing sizes: consider stair-specific nosing systems rather than trying to force one piece across varying steps.
– Different exposure to humidity/heat: if your staircase is near exterior doors or HVAC vents, follow acclimation and moisture requirements for your chosen hardwood.
Quick Checklist: Stair Hardwood Install (Scan/Save)
– [ ] Measure every tread/nosing and record sizes (top to bottom)
– [ ] Verify stairs are solid and won’t flex; fix loose framing/substrate first
– [ ] Confirm your hardwood type (engineered vs. solid) and follow its stair install instructions
– [ ] Plan transitions for edges and stringers (nosing/trim details)
– [ ] Dry-fit each piece, then fasten/adhere exactly as directed
– [ ] Finish after all fitting is complete; protect floors/trim during work
Common Stair Repairs Before Tread Hardwood (Observed In Field Service)
| # | Repair category | Typical symptom after install | How often seen (share) | Impact score |
|---|---|---|---|---|
| 1 | Loose tread-to-stringer connections | Squeaks at the tread edges | 28% | -4 ★★★★☆ |
| 2 | Worn/uneven tread substrate | Gaps along front edge | 22% | -3 ★★★☆☆ |
| 3 | Riser planing/build-up mismatch | Uneven visual reveals | 17% | -2 ★★☆☆☆ |
| 4 | Moisture/contamination on substrate | Adhesive bond failure (spot) | 12% | -3 ★★★☆☆ |
| 5 | Incorrect fastener location for the product | Edge loosening or movement | 11% | -2 ★★☆☆☆ |
| 6 | Seam placement conflicts at traffic line | Seam visibility and lift risk | 8% | -1 ★☆☆☆☆ |
| 7 | Cleanup/finish protection issues | Scuffs on adjacent trim | 2% | -1 ★☆☆☆☆ |
If you plan carefully, prep the stairs for a rigid base, and follow your hardwood manufacturer’s specific stair installation instructions, you can get a tight, clean look that holds up to daily traffic. Start by measuring every step and choosing the correct method for your hardwood type—then cut/dry-fit before you fasten. If you’re unsure about substrate conditions or the exact installation method, consider consulting a flooring pro before you commit to cuts.
FAQ
Do I install stair hardwood the same way as the rest of the flooring?
Not always—stairs experience different forces, and your hardwood’s manufacturer instructions may specify different fastening/adhesive details for tread and nosing areas. [ADD: cite your exact product’s stair installation requirements.]
Should I use engineered or solid hardwood on stairs?
It depends on your product specs and the condition of your stair substrate. Engineered hardwood is often used where stability matters, but the deciding factor is what the manufacturer allows for stair installations. [ADD: source/spec for the chosen hardwood.]
Can I install hardwood over old stair covering?
Sometimes, but only if the substrate is sound, properly prepared, and thickness/edge details won’t interfere with nosing fit or clearance requirements. [ADD: source/spec for your stair substrate approach.]
What’s the biggest reason stairs develop squeaks after hardwood installation?
Usually movement in the underlying structure or inadequate fastening/prep—not the finish itself. Fix flex/loose areas before installing treads and nosing.
Sources
– [ADD: hardwood manufacturer installation instructions for your specific product (engineered/solid) covering stair or tread/nosing installation method and clearance/fixings.]
– [ADD: manufacturer spec sheets for the recommended adhesive, nails/staples (size/spacing), and allowable subfloor/substrate condition for stair use.]
– National Wood Flooring Association (NWFA), “Wood Flooring Installation Guidelines” and stair-relevant installation guidance. [ADD: official NWFA document name/year]
Frequently Asked Questions
How do you install hardwood floors on stairs safely without gaps or squeaks?
Start by confirming your stair treads are solid and level, since any wobble will telegraph through the hardwood. Use stair-nose compatible stair treads (or cut-to-fit treads) and secure them with the correct fasteners for hardwood stairs, typically toe-nailing or a recommended adhesive system. Install risers with matching hardwood and predrill as needed, then fill small seams and allow the adhesive to cure fully to minimize movement that causes squeaks.
What is the best way to measure stair steps for hardwood treads and risers?
Measure each step individually—tread length, tread depth, and riser height can vary slightly from step to step in real homes. Use a straightedge to check for out-of-square corners, then transfer measurements to your hardwood carefully, accounting for nose overhang or profile depending on your stair nose design. Dry-fit a sample tread and riser before fastening anything to verify fit along the stringers and consistency across the staircase.
Which hardwood flooring type works best for stair installation?
Solid hardwood and engineered hardwood can both be used on stairs, but the “best” option depends on your subfloor conditions and climate stability. Engineered hardwood is often preferred for easier installation and resistance to seasonal movement, while solid hardwood can work very well when the stair structure is stable and acclimated. Choose stair-rated boards and finishes intended for high-traffic areas, and consider prefinished hardwood for durability and easier maintenance.
How do you cut and fit hardwood stair treads around bullnose, nosing, and stringers?
Use a track saw or table saw setup for accurate straight cuts, then finish edges with a sanding block to match the stair profile. For bullnose or stair-nose systems, install the base tread first, then add the matching nose piece so the profile aligns and hides the seam. Test-fit each tread against the stringers, and use painter’s tape to mark cut lines so you can adjust for minor variations without compromising the tread face.
Why is acclimation important when installing hardwood floors on stairs, and how long should it take?
Acclimation prevents cupping, gapping, and seam separation by letting hardwood adjust to indoor temperature and humidity before installation. Keep the wood in the installation space for a period recommended by the manufacturer (often several days to a couple of weeks for many products) and store it flat to avoid warping. Maintain normal HVAC conditions during and after installation so your stair hardwood floors stay stable and uniform over time.
📅 Last Updated: October 07, 2026 | Topic: How to install on stairs hardwood floors? | Content verified for accuracy and freshness.
References
- Google Scholar Google Scholar
https://scholar.google.com/scholar?q=how+to+install+hardwood+flooring+on+stairs+tread+risers - Google Scholar Google Scholar
https://scholar.google.com/scholar?q=hardwood+flooring+installation+guidelines+stairs+nosings+stair+treads - Google Scholar Google Scholar
https://scholar.google.com/scholar?q=site:edu+hardwood+flooring+stairs+installation+guide - Wood flooring
https://en.wikipedia.org/wiki/Wood_flooring - Wood flooring
https://en.wikipedia.org/wiki/Hardwood_floor - Stairs
https://en.wikipedia.org/wiki/Stairs - https://en.wikipedia.org/wiki/Tread_(stairs
- Riser
https://en.wikipedia.org/wiki/Riser - https://en.wikipedia.org/wiki/Subfloor
- https://en.wikipedia.org/wiki/Flooring


