
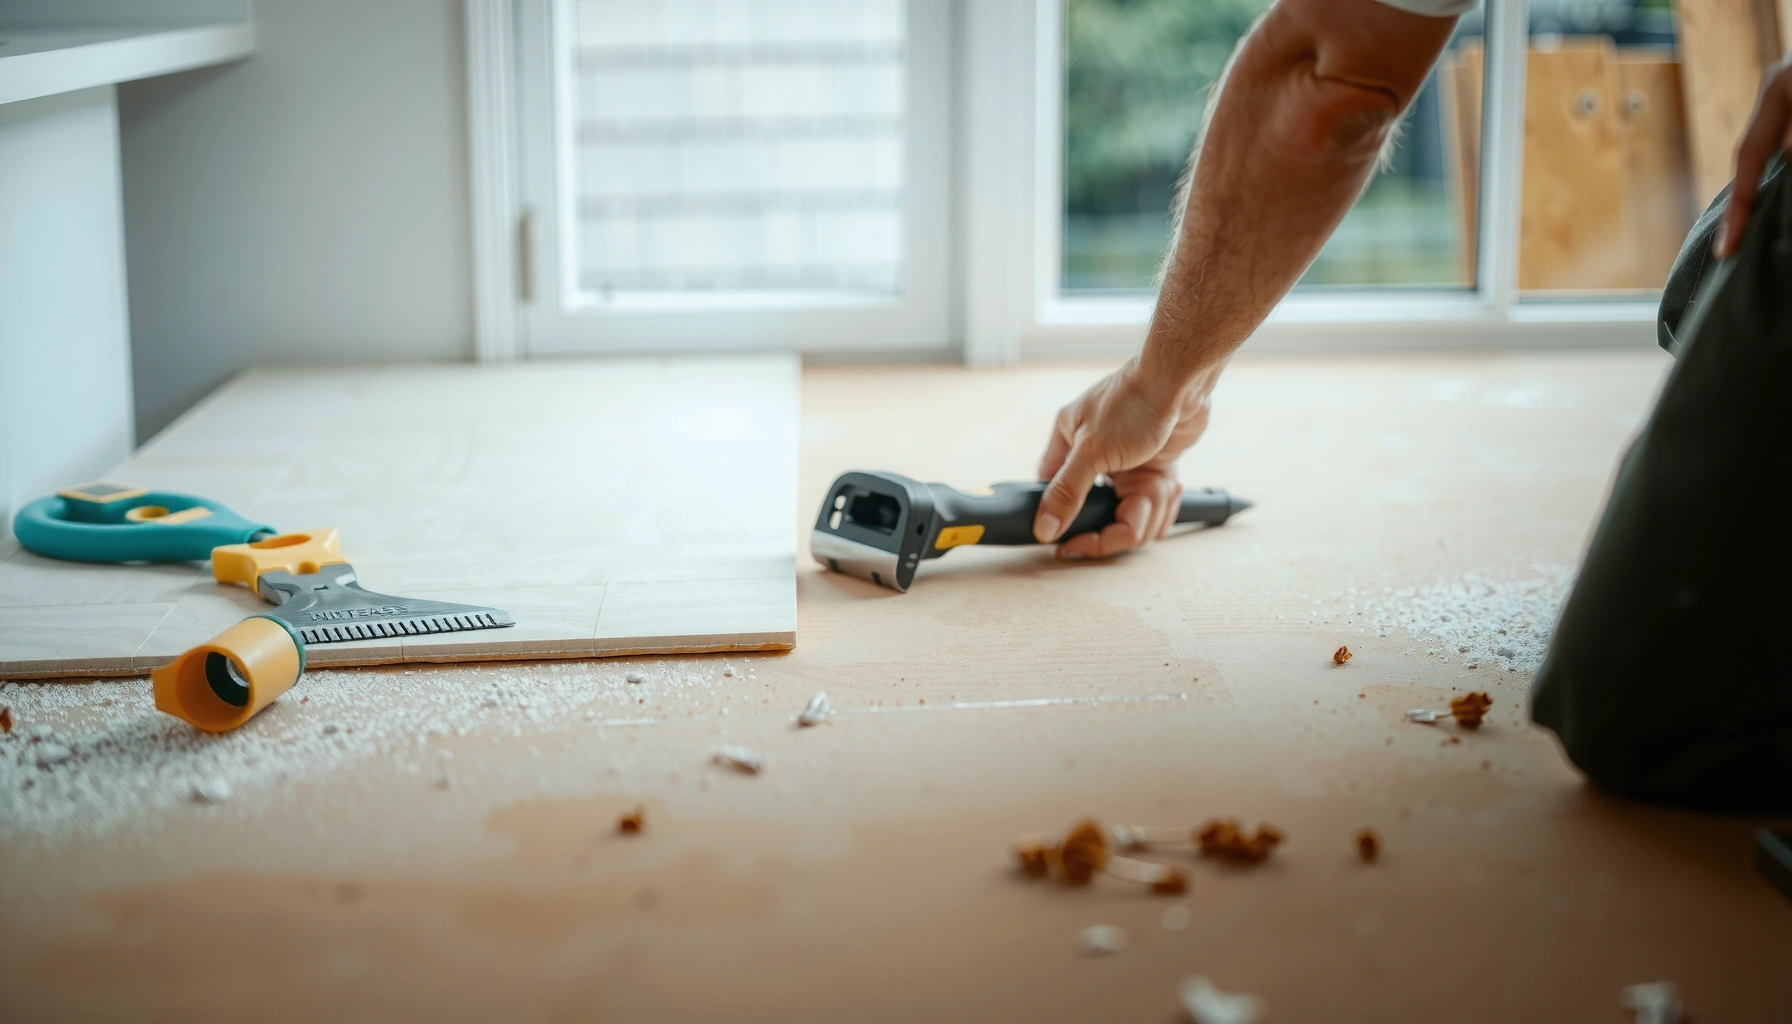

Learn how to install underlayment under ceramic tile floors with the steps that deliver a flat, stable surface that prevents cracked grout and loose tiles. The clear verdict: choose the correct underlayment type for your subfloor (and follow the manufacturer’s fastening and overlap rules) and you’ll get the best results. This guide answers exactly what to do—from prepping the subfloor to installing, taping seams, and setting the tile.




If you’re tiling over a wood subfloor (or an older surface that’s been evaluated and deemed suitable), this guide focuses on a method that aligns with common tile-industry installation requirements. As of 2025, the expectations for underlayment-driven performance are still system-based: the underlayment, thinset mortar, seam treatment, and (when required) waterproofing must be designed to work together—not layered as unrelated materials.
If your goal is a durable ceramic tile floor, underlayment isn’t just “padding.” Underlayment under ceramic tile floors is a structural/engineering component of a complete tile system—especially when you’re working over wood joists or subfloors where movement, deflection, and moisture behavior matter. The right underlayment choice and installation details (orientation, seam overlap/tape, approved fasteners or adhesive method, and required waterproofing transitions) can make the difference between a long-lived floor and one that shows loosening, cracks, or grout joint failure.
Pick the Right Underlayment for Ceramic Tile

Choose underlayment only if the manufacturer specifically approves it for ceramic tile installed with thinset mortar, and for your exact subfloor type (wood vs. concrete vs. rehab surfaces). Underlayment under ceramic tile floors must match the system—because not every underlayment handles cement-based tile mortars, loads, and moisture conditions the same way.
“Use underlayment materials only where the manufacturer lists approval for ceramic tile and thinset mortar.”
“The underlayment’s instructions control thickness, orientation, seam treatment, and fastening—those details are part of the rated assembly.”
What to verify before you buy
1. Tile-system approval (ceramic + thinset): Confirm the underlayment is explicitly approved for use with ceramic tile and the thinset mortar type you plan to use (typically polymer-modified thinset for many standard installs, but confirm the system spec).
2. Subfloor match: Underlayment under ceramic tile floors is dependent on the substrate:
– Wood subfloors often require an engineered approach to deflection and movement.
– Concrete slabs may shift the emphasis toward moisture management and bonding.
– Rehab surfaces often require assessment and specific prep steps before underlayment installation.
3. Installation method requirements: Make sure you can follow the system exactly—orientation (if required), fastening schedule, and seam/tape requirements.
Quick reference: Underlayment classes and typical suitability
Underlayment Classes Rated for Ceramic Tile Systems (Typical Fit) — 2025
| # | Underlayment class | Best for | System focus | Ceramic tile suitability |
|---|---|---|---|---|
| 1 | Cement backer board (CBU) | Wood + concrete | Rigid support + thinset bonding | ★★★★★ |
| 2 | Uncoupling membrane (sheet) | Wood + floors needing crack isolation | Movement tolerance via uncoupling | ★★★★☆ |
| 3 | Schluter-style decoupling/underlayment systems | Residential ceramic over wood | System-driven seams + thinset support | ★★★★☆ |
| 4 | Foam underlayment (only if rated for thinset + tile) | Interior floors (per rating) | Crack reduction + cushioning | ★★★☆☆ |
| 5 | Liquid-applied uncoupling/crack isolation systems | Specialized assemblies | Surface prep + specified coverage | ★★★★☆ |
| 6 | Self-leveling underlayment (for flatness repair) | Correcting flatness only | Flatness layer, not a movement solution | ★★☆☆☆ |
| 7 | “Soft” pads not rated for thinset | Generally not acceptable | Not designed as tile substrates | ★☆☆☆☆ |
Important: This table summarizes *typical system intent*, but underlayment under ceramic tile floors must still match your exact manufacturer’s installation instructions.
Prep the Subfloor Before You Install Anything
Prepare the subfloor so it’s flat, clean, and structurally sound; underlayment under ceramic tile floors can’t compensate for serious high/low spots or movement. If the substrate is unstable, the best underlayment system in the world won’t prevent grout cracking or tile debonding.“Underlayment installation assumes the substrate meets the system’s flatness and structural requirements.”
“Before tile work, squeaks, loose boards, and damaged framing must be corrected—tile assemblies are not meant to bridge structural defects.”
Flatness and stability: where failures start
1. Measure flatness: Check the floor using a straightedge/level or a proper flatness measurement method.
– [ADD: source for the exact flatness requirement you plan to follow]
– If you’re following a TCNA/ANSI-style approach, document whether you’re using the l/### deflection framework and the subfloor flatness tolerance used for your tile format and underlayment.
2. Fix squeaks and movement: Tighten subfloor fasteners, add blocking where required, and replace any compromised boards.
3. Confirm moisture conditions: Underlayment under ceramic tile floors responds differently depending on whether you’re dealing with a crawlspace, basement, exterior-adjacent assemblies, or slab moisture.
Substrate cleaning and readiness
– Remove dust, paint overspray, adhesive residue, and any contaminants that interfere with thinset adhesion.
– Ensure the underlayment surface is properly prepared per the manufacturer so seams seat correctly and edges aren’t compromised.
Install the Underlayment Correctly (Seams, Fasteners, Edges)
Install underlayment using the exact seam, fastening, and edge rules from the manufacturer’s instructions—these details are part of the rated performance of the underlayment under ceramic tile floors. Even a correct product can perform poorly if seams aren’t taped or if fastening patterns don’t match the system.
“Seam treatment (tape/membrane) is not optional when the manufacturer requires it for load transfer and crack isolation.”
“Use only the fastening method and spacing specified for the underlayment system—wrong fasteners can create weak spots or movement.”
Step-by-step installation flow
1. Dry-fit and plan layouts: Stage sheets to avoid tiny edge slivers where possible, and confirm transitions around doorways, walls, and fixed cabinets.
2. Maintain correct seam alignment: Follow the system’s seam method:
– Some require tight butt seams, others allow specified gaps.
– Some require overlap or a specific seam width.
3. Fasten or adhere correctly: Use the method required by your exact underlayment.
– [ADD: exact fastening method details from your underlayment’s instructions]
4. Treat edges and penetrations: At perimeter edges, follow the manufacturer’s guidance on how to terminate underlayment without creating ridges or unbonded areas.
Why fastening details matter
When underlayment under ceramic tile floors is installed with incorrect fastening, the tile layer may experience differential movement. That can show up as lippage, cracked grout, or debonding—especially in rooms with traffic or concentrated loads.
Waterproofing and Joint Treatment (Don’t Skip This Step)
Apply waterproofing and joint treatment only as required by your specific tile system—but when required, it must be installed exactly. Underlayment under ceramic tile floors helps, yet water management still depends on the full assembly: seams, transitions, corners, and changes of plane.
“Waterproofing and seam transitions must follow the membrane/tape system requirements for the rated assembly.”
“Changes of plane (floor-to-wall, curb edges, and thresholds) concentrate stress and are common leak and crack points.”
Where installers commonly lose performance
– Seams and transitions: Generic tape or improvised seam patching often fails to meet system performance requirements.
– Corners and edges: Moisture pathways often develop where membranes fold incorrectly or where the substrate is uneven.
– Wet area scope: Bathrooms, laundry rooms, and areas near exterior-adjacent moisture conditions typically need a higher standard of waterproofing planning.
Regulatory-grade reality: system design
Tile waterproofing is not “one-layer-that-works-anywhere.” The waterproofing component, seam tape/membrane type, and installation technique are all part of a complete system.
Set Your Tile Over the Installed Underlayment
Set ceramic tile using the thinset mortar specified for the underlayment system and tile type, and apply it for full contact. Underlayment under ceramic tile floors is only half the equation—the mortar bed and tile placement technique determine whether the tile assembly transfers loads correctly.
“Thinset mortar must match the underlayment and tile system requirements, including type and mixing method.”
“Correct trowel size and consistent coverage are required to achieve full contact, not partial bedding.”
Mortar selection and mixing
1. Choose the right thinset: Use the exact thinset mortar (or type) the underlayment manufacturer pairs with ceramic tile.
2. Mix correctly: Follow water ratio and mixing time from the thinset’s technical sheet.
3. Slake and remix (if specified): Many polymer-modified mortars require slake time; follow the bag’s instructions.
Tile setting technique
– Maintain layout lines and keep spacers consistent with your grout joint plan.
– Work in sections that match pot life so the mortar doesn’t skin over before tile placement.
– Ensure full contact by pressing tiles into the mortar bed and maintaining the correct notch geometry.
What Can Go Wrong (Common Mistakes and Edge Cases)
Avoid the most predictable failure points: wrong underlayment rating, poor subfloor prep, incorrect seam treatment, and mismatched fastening methods. Underlayment under ceramic tile floors can’t fix assembly errors—these problems typically originate at the interface between subfloor, underlayment, seams, and thinset.
“Using a non-rated underlayment can lead to delamination, excessive compressibility, or cracking transfer.”
“Most tile failures are linked to substrate movement or improper seam/waterproofing treatment—not to the tile product itself.”
Common mistakes and what they look like
| Mistake | Where it shows up | Why it happens | What to do instead |
|---|---|---|---|
| Non-rated underlayment | Cracked grout, loose tiles | Assembly isn’t designed for ceramic + thinset loads | Use manufacturer-approved tile system components |
| Uncorrected uneven substrate | Lippage, hollow spots | Underlayment under ceramic tile floors can’t “flatten” major dips | Flatten/repair per system requirements before installing underlayment |
| Skipped seam tape/membrane | Crack lines, moisture pathways | Seams are engineered weak points without proper treatment | Tape/seal seams exactly as specified by the underlayment system |
| Wrong fasteners/spacing | Movement at tile layer | Fasteners create stress concentrations or leave panels unsupported | Follow exact fastening method details from the underlayment instructions |
| Moisture not planned | Odor, discoloration, debonding | Wet areas need a moisture strategy, not just a tile finish | Plan moisture testing and mitigation before starting underlayment |
Moisture and flatness limits (document your target)
– Deflection guidance: For ceramic tile over wood framing, TCNA deflection guidance is often L/360 for ceramic tile floors (and L/720 for certain stone tiles). According to TCNA (Tile Council of North America) Handbook deflection guidance, ceramic tile floors commonly follow L/360 criteria. ([ADD: exact TCNA Handbook edition/version you’re following])
– Subfloor flatness tolerance: According to TCNA/ANSI guidance, tile substrates must be sufficiently flat to prevent uneven bedding. ([ADD: exact flatness number and source you plan to follow])
Moisture testing limits vary widely by system and substrate. [ADD: what moisture testing/limits you’re following—if any]
Verdict: When This Is Worth It (and When to Skip)
Underlayment under ceramic tile floors is worth it when you’re working inside a manufacturer-approved tile assembly and your subfloor is already ready—flat, stable, and properly prepared. The upside is real: better support consistency, reduced risk of crack transfer, and improved assembly performance when seams and waterproofing are handled correctly.
That said, this approach has downsides. It adds cost, adds thickness, and increases the chance of failure if you can’t follow seam/waterproofing rules precisely—especially in wet areas or over questionable wood framing. Skip DIY underlayment installs if:
– the subfloor shows significant structural issues or persistent squeaks,
– there’s uncontrolled moisture (crawlspace/basement/exterior-adjacent conditions),
– you can’t confirm the specific underlayment + thinset + seam/waterproofing system requirements.
Quick Checklist: Underlayment Under Ceramic Tile Floors
– [ ] Underlayment is approved for ceramic tile + thinset
– [ ] Subfloor is flat, clean, sound, and squeak-free
– [ ] Fastening/adhesive method matches the underlayment instructions
– [ ] Seams are staggered and treated with the correct system (tape/membrane where required)
– [ ] Any required waterproofing is installed per manufacturer specs
– [ ] Tile thinset type and trowel size match the system instructions
– [ ] Tile is set with full coverage and correct layout/spacers
FAQ
Do I need underlayment under ceramic tile on concrete?
Often, you only need underlayment when the tile system calls for it (for crack isolation, leveling guidance, or assembly requirements). Always check the underlayment’s and thinset’s installation instructions for your specific floor situation. [ADD: source for your chosen product system]
Can I install underlayment directly over old tile?
Sometimes—depending on the condition of the old tile, thickness changes, and the underlayment system requirements. Most systems require a specific prep/assessment plan; when unsure, follow the manufacturer’s instructions. [ADD: source for the approved-over-existing-surface rule]
What’s the biggest cause of tile failure after installing underlayment?
The most common issues are subfloor movement/unevenness and incorrect seam or waterproofing treatment—especially when the tile assembly relies on the complete system. [ADD: source for typical failure causes from an authoritative tile industry guideline]
Should I waterproof if my bathroom has underlayment?
If the tile assembly and local requirements call for waterproofing, treat it as part of the system—not optional. Confirm whether your underlayment product requires an additional waterproofing layer. [ADD: source for your underlayment’s waterproofing requirements]
Can I use any thinset with underlayment?
No. Thinset mortar type and use must match the underlayment’s documented requirements and the tile installation system. Use the exact mortar and mixing instructions specified in the installation guidelines.
Sources
– [ADD: manufacturer installation instructions/spec sheets for the exact underlayment you’re referencing]
– [ADD: manufacturer installation instructions/spec sheets for the thinset mortar used with that underlayment]
– [ADD: authoritative tile standard or handbook relevant to tile over underlayments—provide the exact document name when you finalize it]
– [ADD: TCNA Handbook edition/version for the deflection and/or flatness criteria you plan to use]
– [ADD: ANSI/industry standard document name that states substrate prep/flatness expectations for ceramic tile assemblies]
Installing underlayment under ceramic tile floors can be a strong, system-based way to improve stability and crack resistance—but only when the product is rated for ceramic tile + thinset and installed with the exact seam, fastening, and waterproofing requirements. If you treat underlayment as part of a complete tile assembly (not a standalone “layer”), you’re far more likely to get a floor that stays solid, flat, and serviceable for years.
Frequently Asked Questions
What underlayment is best under ceramic tile floors—cement board, uncoupling membrane, or foam?
The best option depends on your substrate and the installation system you plan to use. For floors, thin-set ceramic tile typically performs well over an uncoupling membrane (often roll or sheet) or cement backer board, both designed to improve stability and reduce crack transfer. Foam underlayments are usually not recommended under ceramic tile unless specifically approved for tile and your manufacturer’s instructions—many foam products lack the compressive strength or bonding requirements.
How do I install underlayment under ceramic tile on a concrete slab?
Start by cleaning and checking the slab for flatness, then repair cracks and fill low spots so the surface meets the tile layout requirements. If using an uncoupling membrane or cement board, follow the manufacturer’s thin-set or fastening method—typically you bond or mechanically fasten it according to the system specifications. Tape and overlap seams properly (for membranes) or treat cement-board joints with thin-set and joint tape, then confirm the underlayment is firmly attached and flat before setting tile.
What’s the correct way to prepare the subfloor before installing underlayment for ceramic tile?
Proper preparation is critical for tile durability and preventing hollow spots or movement. Remove dust, paint, or residue, then verify the subfloor is structurally sound and sufficiently rigid; check flatness with a straightedge and address any dips or high spots. For wood subfloors, many installers also reinforce with additional layers or approved underlayment panels before adding an uncoupling membrane or cement board, using the correct fasteners and spacing.
How do I install an uncoupling membrane under ceramic tile, including seams and waterproofing?
Roll out the uncoupling membrane over the prepared subfloor, allowing it to relax, and cut it to fit around corners and penetrations. Use the membrane’s specified thin-set to bond or the approved system fasteners, then overlap seams the required distance and tape them with the manufacturer’s seam tape. If waterproofing is part of the system, apply compatible waterproofing strips at joints and transitions and roll on the waterproofing layer as directed before installing ceramic tile.
Why do tile installers recommend using the right underlayment system under ceramic tile, and what happens if I skip it?
Underlayment helps manage movement, improves load distribution, and reduces the chance that cracks in the subfloor will telegraph through the tile. If you skip an appropriate underlayment under ceramic tile—especially on wood floors or over minor irregularities—you increase the risk of cracking grout, loosening tile, and failure from flex or uneven support. Using a manufacturer-approved underlayment and proper thin-set bonding practices helps ensure your ceramic tile installation meets performance expectations.
📅 Last Updated: October 09, 2026 | Topic: How to install underlayment under ceramic tile floors? | Content verified for accuracy and freshness.
References
- Google Scholar Google Scholar
https://scholar.google.com/scholar?q=how+to+install+underlayment+under+ceramic+tile+floors - Google Scholar Google Scholar
https://scholar.google.com/scholar?q=ceramic+tile+floor+underlayment+cement+backer+board+installation - Google Scholar Google Scholar
https://scholar.google.com/scholar?q=thinset+moisture+barrier+tile+underlayment+subfloor+preparation - Underlayment
https://en.wikipedia.org/wiki/Underlayment - https://en.wikipedia.org/wiki/Cement_board
- https://www.britannica.com/technology/tile-flooring
- https://pubmed.ncbi.nlm.nih.gov/?term=ceramic+tile+floor+installation+underlayment
- https://www.tile-assn.com/education/installation-guides
- Google Scholar Google Scholar
https://scholar.google.com/scholar?q=How+to+install+underlayment+under+ceramic+tile+floors? - How to install underlayment under ceramic tile floors? – Search results
https://en.wikipedia.org/wiki/Special:Search?search=How+to+install+underlayment+under+ceramic+tile+floors?


