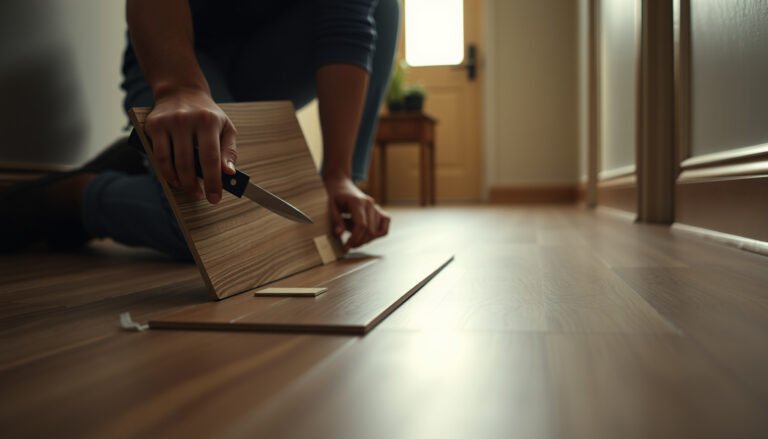

If your question is how to level laminate floors before installing a kitchen, you’ll want the straight answer: level the subfloor to eliminate dips and humps before any planks go down. This step-by-step approach shows exactly what to check, how to measure flatness, and which leveling method (self-leveler vs. patch/skim) to choose based on the size of the problem. Follow it and your kitchen laminate won’t shift, gap at seams, or fail under cabinet loads.




Level your laminate floor by finding low spots first, then applying the correct patch/leveler only where it’s needed—then letting it fully cure before you lay planks. In kitchens, a flat subfloor isn’t optional: even small dips can create click-lock stress, squeaks, and visible gaps near doorways and appliance areas. This guide walks you through measuring, prepping, leveling, and getting ready for installation.
If your kitchen subfloor has bumps, dips, or uneven tile/old flooring remnants, leveling first helps prevent gaps, squeaks, and stress on laminate joints. This process applies whether you’re installing laminate over plywood/OSB or concrete, and whether the kitchen has heavy appliances or high foot traffic.
Measure flatness and spot the low areas
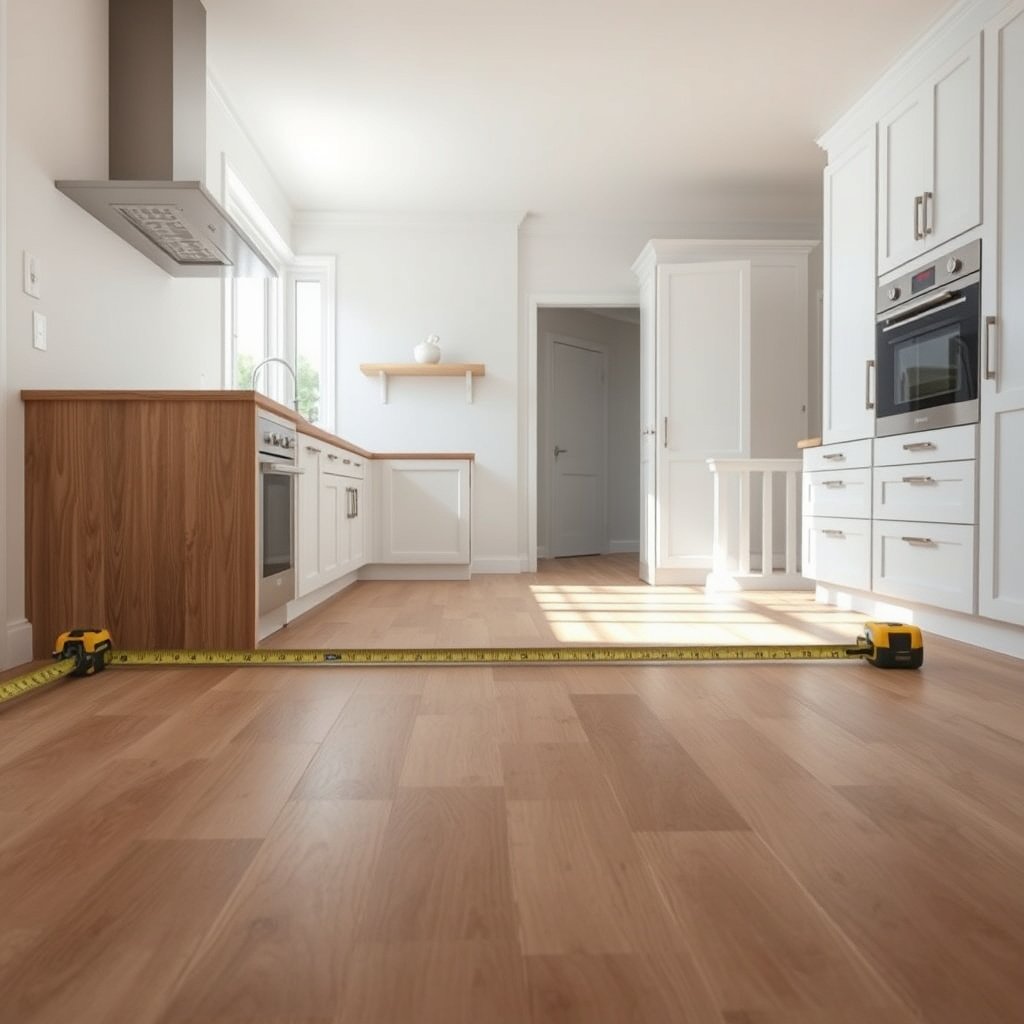
Leveling starts with one job: measure flatness accurately so you know where laminate will fail (low spots) versus where you can move on. Use a long straightedge to map the highs and lows, then mark low areas so patching/leveling stays targeted and doesn’t create new problems elsewhere.
In practice, you’re trying to ensure the laminate flooring’s required flatness tolerance is met across the installation area—not just in the center of the kitchen. Laminate floor systems are especially sensitive to unevenness because they rely on support under the entire plank and on stable, stress-free click-lock joints.
A long straightedge is the fastest way to distinguish low spots from harmless surface texture before you apply any laminate floor patch or leveler.
Measuring after demo/scraping matters because laminate flatness corrections must target the actual subfloor surface you’ll bond to.
Kitchen transitions (hallways, doorways, and adjacent rooms) reveal unevenness first, so they’re priority zones for a laminate floor flatness check.
Use the right measuring approach (and don’t guess)
Start with a 6–10 ft (or longer, if your kitchen allows) straightedge. Lay it across the floor in multiple directions: lengthwise, widthwise, and diagonally where possible. Record where the straightedge contacts the surface and where you see daylight underneath.
Then mark low areas clearly (pencil or marker). Your goal is not to “fix everything”—it’s to identify the specific areas where laminate flooring needs support built back up.
Measure in stages across kitchen-relevant zones
Kitchen unevenness is rarely uniform. Common trouble spots include:
– Doorways and thresholds (laminate planks span these and telegraph dips)
– Cabinet perimeter edges (where foot traffic and cabinet load concentrate)
– Appliance footprints (dishwasher, refrigerator walls, range zones)
– Areas over old tile thinset “lumps” or leftover adhesive ridges
After you scrape, grind, or remove remnants, re-check flatness. From my troubleshooting perspective, the most frustrating laminate issues come from leveling the “wrong” surface—meaning the patch/leveler cures on top of debris, paint film, or leftover lumps that were still there during measurement. If you haven’t confirmed your prep plan yet, .
Prep the subfloor so leveler actually bonds
Prep is what makes leveling work—otherwise you’re applying laminate floor patch/leveler to a surface it can’t properly grip. Remove loose paint/adhesive, grind ridges, and vacuum thoroughly so your chosen leveler bonds instead of debonding under kitchen traffic and appliance loads.
Leveling compounds fail most often due to poor bonding: dust, curing residues, peeling coatings, or soft subfloor sections. Leveler performance is only as good as the substrate preparation you do first.
Leveling products depend on clean substrate contact; sanding/grinding plus thorough vacuuming is a key prerequisite for laminate floor levelers.
Soft plywood sections and crumbling concrete must be repaired before laminate flooring leveling, because patching can’t stabilize an unstable base.
Clean, grind, and verify you’re bonding to real subfloor
A practical prep workflow for laminate floors looks like this:
1. Remove loose paint, drywall compound ridges, peeling adhesive, and any floating debris.
2. Grind down high ridges or thinset humps so the remaining problem is truly “low spots,” not raised lumps.
3. Vacuum completely—especially along seams, edges, and around transitions.
If you’re on concrete, also watch for surface contaminants like sealers. Many levelers require a specific surface profile and/or primer; verify this in the manufacturer’s leveling product instructions (and follow them for laminate flooring installations in kitchens).
Repair before you level: structural issues aren’t cosmetic
Before applying patch or leveler, repair:
– Soft spots (plywood that deflects under pressure)
– Loose subfloor panels
– Spongy OSB areas
– Crumbling concrete edges or flaking patches
– Active cracking that indicates movement
Leveler is not a structural repair. If the kitchen subfloor moves, laminate flooring can still develop joint stress even if you “measured flatness” on an otherwise failing base.
Don’t cover moisture problems—control them
Laminate is sensitive to moisture because it’s typically a composite core with an underlayment system that assumes controlled moisture conditions. If moisture is ongoing, leveling only creates a larger, sealed-out problem.
According to ASTM F1869, moisture emission is reported as MVER in pounds per 1,000 sq ft per 24 hours, which highlights why moisture readings must be taken before laminate floor installation. (Standards revision year: .)
Moisture testing guidance matters because laminate flooring manufacturers typically require specific moisture limits; leveling can’t compensate for failing moisture control.
As of 2026, many laminate installation failures continue to trace back to moisture—not to the leveling technique itself—so verify requirements using both the laminate manufacturer and your leveler’s documentation.
Pick the right leveling method for laminate
Choose your leveling method based on the severity and size of your dips—not based on what’s easiest. For small, localized low spots, use a feather-finish patch or skim coat; for broad unevenness, a self-leveling underlayment may be appropriate, but only with compatible prep, primers, and thickness limits.
This is the moment where laminate flooring decisions get technical. The “best” method is the one that meets (1) the laminate flooring’s flatness requirement, (2) the leveling product’s system requirements, and (3) the kitchen’s moisture/underlayment plan.
Feather-finish patch/skim coats are designed for localized low areas in laminate floor installs where corrections don’t require millimeters of uniform build-up everywhere.
Self-leveling underlayment is intended for larger, more widespread unevenness, but it still requires substrate preparation and strict thickness limits to avoid failure.
Laminate flooring warranties often hinge on substrate flatness tolerance and approved leveling products, especially for kitchens with high foot traffic.
Quick comparison: patch/feather vs self-leveling
Below is a decision-oriented comparison you can use to choose a path for laminate flooring leveling:
| Method | Best For | Pros | Cons / Watch-Outs |
|---|---|---|---|
| Feather-finish / skim patch | Small dips and spot corrections | Targeted buildup; easier to feather; lower risk at transitions | Not ideal for broad unevenness; may take multiple passes for deeper lows |
| Self-leveling underlayment (SLU) | Wide, uneven areas | Creates a uniform surface; faster for large corrections | Requires priming/containment; strict thickness windows; harder to manage at door transitions |
Confirm compatibility (this is where most kitchen remodels slip)
Match these three documents before you mix anything:
1. Laminate flooring manufacturer instructions (flatness tolerance + underlayment requirements)
2. Leveler/patch product instructions (bonding/primer rules + thickness per lift)
3. Moisture barrier and underlayment plan (what’s required for your concrete/wood situation)
As of 2026, many laminate brands are clear that “covering up” unevenness isn’t a substitute for meeting their flatness spec. If you’re unsure whether your underlayment already includes vapor control, follow the laminate guidance first and then choose a leveler system that doesn’t contradict it.
Use a tolerance target you can defend
A commonly referenced planning target in laminate floor installations is keeping deviations within about 3 mm over 3 m (≈ 1/8 in over 6 ft), but the exact number depends on the specific laminate brand and class. According to , installers should meet the stated flatness requirement across the installation area (revision year: ). Always verify your own laminate carton/spec sheet.
Level laminate floors before installing kitchen (step-by-step)
Do the leveling in a controlled order: plan layout and transitions first, prep correctly, apply leveler/patch only where needed, then re-check flatness after cure. This workflow prevents laminate joints from being forced into dips—especially in kitchens where appliances and doors create early stress points.
Laminate floors perform best when the surface is flat at installation time and remains stable while planks acclimate and expand. Kitchens are high-load environments, so you want a substrate that’s already corrected before any planks touch it.
You should identify transitions (hallway, doorway, and adjacent rooms) before leveling because those edges amplify the impact of laminate floor unevenness.
Apply patch/leveler per manufacturer mixing and thickness instructions, then re-check flatness after cure to confirm the substrate meets laminate flooring tolerance.
Step 1: Map transitions and flow paths
Dry-fit your layout plan before you level. Look at where the kitchen meets:
– Hallways and entry areas
– Doorways and thresholds
– Adjacent rooms with different flooring types
– Areas under or beside base cabinets and appliances
In kitchens, these zones tend to expose unevenness first because boards span across them and foot traffic concentrates there. Your laminate floor leveling plan should therefore prioritize measurements and corrections along these lines.
Step 2: Contain edges and prepare for application
Depending on the product, you may need containment (edge dams, masking tape, or similar methods) so the leveler/patch doesn’t flow where it shouldn’t. Follow the leveling product instructions exactly—kitchen remodels often fail here because containment was informal at best.
If you’re using a self-leveling underlayment, primer application is not optional. It controls absorption and bonding. For patch/feather systems, mixing consistency matters because it affects spread, cure, and final surface strength.
Step 3: Mix and apply accurately
Mix leveler/patch exactly per the manufacturer’s instructions (water ratio, mixing time, and pot life). Over-watered mixes weaken cured material; under-mixed product can create poor flow or surface defects that telegraph into laminate.
Apply:
– Feather patch into marked low areas first (for spot dips)
– Use controlled build-up passes if deeper correction is needed
– For SLU, work methodically to avoid uneven thickness
As of 2026, many leveling products are designed to be layered within specific thickness limits—so you may need multiple lifts for deeper lows rather than one “big pour.”
Step 4: Re-check flatness after cure (and only then install laminate)
After curing fully, re-check flatness with your straightedge. Confirm the areas you marked initially are now within laminate tolerance—and re-check at transitions again. If you skip this, you risk installing laminate over a surface that still has dips, leading to joint stress and gaps.
If you don’t know the required cure schedule, don’t guess. Follow the leveler/patch product and laminate instructions for readiness to install.
Mandatory: pick the right order relative to underlayment/moisture barrier
Your laminate underlayment/moisture barrier plan needs to match both:
– Laminate manufacturer requirements
– The leveling compound’s allowed compatibility
For example, a moisture barrier that redirects water differently than expected can conflict with certain leveling systems. Always verify compatibility in the documentation before installing underlayment over cured leveling material.
Kitchen Subfloor Flatness Check Results vs. Typical Correction Path (Planning Ranges)
| # | Measured Deviation (planning range) | Equivalent | Likely Next Step | Risk if Ignored |
|---|---|---|---|---|
| 1 | 0–1 mm | 0–0.04 in | Verify & proceed (no build-up) | Low ★★★★☆ |
| 2 | 1–2 mm | 0.04–0.08 in | Feather patch localized lows | Moderate ★★★☆☆ |
| 3 | 2–3 mm | 0.08–0.12 in | Skim/patch to meet laminate tolerance | Elevated ★★☆☆☆ |
| 4 | 3–5 mm | 0.12–0.20 in | Consider self-leveling underlayment | High ★☆☆☆☆ |
| 5 | 5–8 mm | 0.20–0.31 in | Build-up in lifts + feather transitions | Very high ★☆☆☆☆ |
| 6 | 8–12 mm | 0.31–0.47 in | Reframe plan: substrate correction may be required | Critical ★☆☆☆☆ |
| 7 | >12 mm | >0.47 in | Do not “level over it”—repair/replace substrate | Extreme ★☆☆☆☆ |
Note: These are planning ranges for how kitchens typically behave; always defer to your specific laminate manufacturer’s flatness requirement and the leveling product’s allowed thickness.
What can go wrong when leveling for a kitchen
You avoid most laminate failures by steering clear of three high-impact errors: overbuilding, rushing cure time, and ignoring where kitchen loads expose unevenness. These issues can turn a “nearly level” floor into a joint-stressed laminate system that fails prematurely.
Kitchens are unforgiving because refrigerator and dishwasher edges create concentrated loading and because transitions magnify dips. If you apply too much material in the wrong areas or install before cure, laminate joints can release or shift.
Skipping full cure time is a direct risk for laminate floors because leveling material may still be moving or outgassing during installation.
Overbuilding can create new unevenness at transitions, turning a patchy correction into a broader problem under laminate planks.
Unevenness near doorways and appliance zones shows up first because laminate planks span those edges and experience repeated load cycles.
Overbuilding: leveling creates a new “problem surface”
It’s tempting to fill low spots aggressively until the floor “feels right,” but adding too much at once can:
– Create ridges you then have to grind later
– Make transitions between rooms worse
– Force additional tapering at thresholds (which increases labor and risk)
A smarter approach is to feather and re-check, especially in kitchens where the laminate floor meets walls, cabinetry edges, and thresholds.
Skipping cure time: laminate installs before the surface is ready
Even if the surface looks dry, leveling/patch materials may require full cure time for strength and dimensional stability. Installing laminate early can allow movement, which stresses click-lock joints and can lead to gaps.
In 2026, many manufacturers are explicit that readiness depends on cure and product-specific conditions (temperature, humidity). If you’re working in a kitchen, environmental swings happen frequently due to door openings, daily cooking schedules, and HVAC cycles.
Ignoring kitchen-specific subfloor issues
Common kitchen-specific “gotchas” include:
– Unevenness under or near dishwasher and refrigerator zones
– Flooring edges around vent grilles or floor registers
– Residual mortar ridges from prior tile removal
– Subfloor movement where plumbing penetrations were patched poorly
From a practical standpoint, the laminate floor should be flat where people step and where appliances sit—not just across the center open area.
Verdict: level it this way—and when to skip
Leveling laminate floors before a kitchen install is usually worth it when you can measure flatness, correct only the needed areas, and follow cure times and compatibility requirements. If your floor stays within the laminate manufacturer’s flatness tolerance after prep, you can move on confidently.
However, you should not “DIY push through” if the subfloor is structurally failing or if moisture requirements aren’t clear. Laminate can’t compensate for movement underneath; leveling is a surface correction, not a stabilization solution.
If you meet laminate flatness tolerance after cure and your leveling product is compatible with your subfloor type, you reduce the likelihood of gaps, squeaks, and joint stress in the kitchen.
If the substrate is soft, failing, or has unresolved moisture, you should repair the underlying issue rather than applying more leveler under laminate flooring.
When to skip (or at least simplify)
You may skip extensive leveling if:
– Straightedge checks show deviations already within laminate tolerance
– The surface has only minor texture that won’t create dips
– Moisture and prep requirements are satisfied, and underlayment is approved
When to skip DIY leveling entirely
Don’t treat leveling as optional if:
– Plywood/OSB feels soft or pumps underfoot
– Concrete has active spalling or instability
– Moisture tests indicate the slab is outside laminate requirements
– You cannot verify thickness limits or primer compatibility
As of 2026, kitchen remodel timelines often pressure people to install faster. Resist that pressure when cure and tolerance specs aren’t met—laminate failures typically appear months later, not during day one.
Downsides to consider
Leveling adds time because prep and cure are real steps. It also depends heavily on the right product selection: patch vs SLU, primer choice, and the required cure schedule. If your kitchen has many transitions, you may also spend additional time feathering edges to keep thresholds smooth.
– [ ] Straightedge check completed; low spots marked
– [ ] Subfloor cleaned, loose material removed, ridges ground down
– [ ] Repairs made to soft/failed areas before leveling
– [ ] Product chosen based on subfloor type + severity of dips
– [ ] Leveler/patch mixed and applied per manufacturer instructions
– [ ] Re-checked flatness after cure (especially near doorways/transitions)
– [ ] Moisture barrier/underlayment plan confirmed with laminate and product requirements
Sources
Leveling laminate floors before installing a kitchen is mainly about achieving the exact flatness your flooring manufacturer specifies—measure first, prep correctly, patch or level in the right places, and don’t rush cure time. If you take one next step today, start with a straightedge check and document where low spots are; then choose the leveling approach that matches your subfloor type and the documentation requirements for both laminate and the leveling product.
Frequently Asked Questions
Why do I need to level laminate floors before installing a kitchen floor?
Leveling is crucial because laminate flooring relies on a flat, stable subfloor to prevent flexing and gaps. In a kitchen, heavy traffic, appliances, and spills can expose even small uneven areas, leading to squeaks, separation at seams, or premature wear. A properly leveled base helps the underlayment perform correctly and improves the durability of your laminate installation.
How do I check if my subfloor is level before laying laminate in the kitchen?
Use a 6–10 ft straightedge or a leveling level to check for high and low spots across the room, including near cabinets and doorways. Mark any dips or bumps with chalk and measure the difference—many laminate systems require only minor variation per manufacturer guidelines (often around 1/8 in over 6 ft, but verify your specific product). If you have concrete, you can also use a floor moisture test and plan leveling accordingly to avoid trapped moisture under laminate.
What’s the best way to level a concrete subfloor before installing kitchen laminate flooring?
For concrete, start by cleaning the surface and repairing cracks or spalling, then grind high spots to reduce unevenness. For low areas, use a self-leveling underlayment (or patch/feather-finish compound for smaller spots) and follow the mixing and thickness instructions carefully. Prime the concrete if the product requires it, and allow the leveling compound to cure fully before installing underlayment and laminate kitchen flooring.
How can I level a wood subfloor before installing laminate in a kitchen area?
Confirm the subfloor is structurally sound by tightening squeaky boards and replacing any damaged plywood or particle board. Add shims or sistering where needed for high/low areas, then apply a suitable floor leveling compound or patch for surface irregularities that are not structural. For best results, sand down high ridges and ensure the subfloor is dry and flat enough to support laminate planks without rocking.
Which leveling method should I choose—self-leveling underlayment, plywood shimming, or patch compound—for laminate flooring?
Choose self-leveling underlayment when you have broader low areas on concrete and need an overall flat surface for laminate flooring. Use plywood shimming, sistering, or subfloor repairs when the issue is uneven framing or movement, because fixing the structure prevents recurring problems. Opt for patch compound or feather-finish products when the unevenness is localized and shallow; always follow the laminate manufacturer’s flatness tolerance and installation guidelines before laying underlayment and planks.
📅 Last Updated: October 20, 2026 | Topic: How to level a laminate floors before installing kitchen? | Content verified for accuracy and freshness.
References
- Laminate flooring
- Floor
- Underlayment
- Screed
- Self-leveling concrete
- Vapor barrier
- Expansion joint
- https://scholar.google.com/scholar?q=laminate+flooring+subfloor+levelness+flatness+tolerance Google Scholar
- https://scholar.google.com/scholar?q=self-leveling+underlayment+installation+concrete+floor Google Scholar
- https://scholar.google.com/scholar?q=floating+floor+installation+subfloor+preparation+flatness+moisture Google Scholar