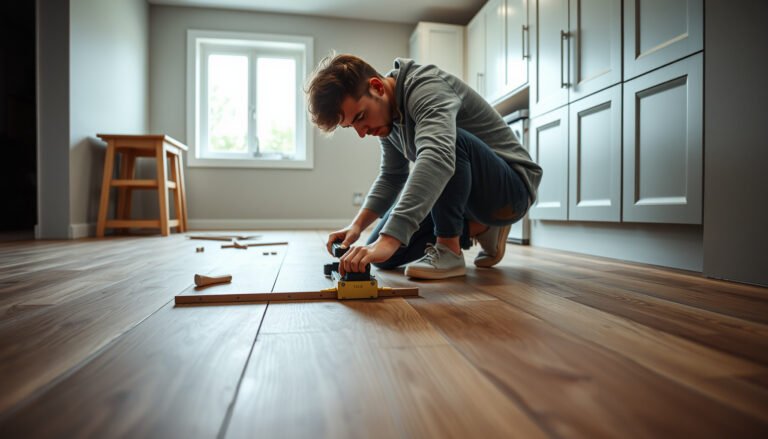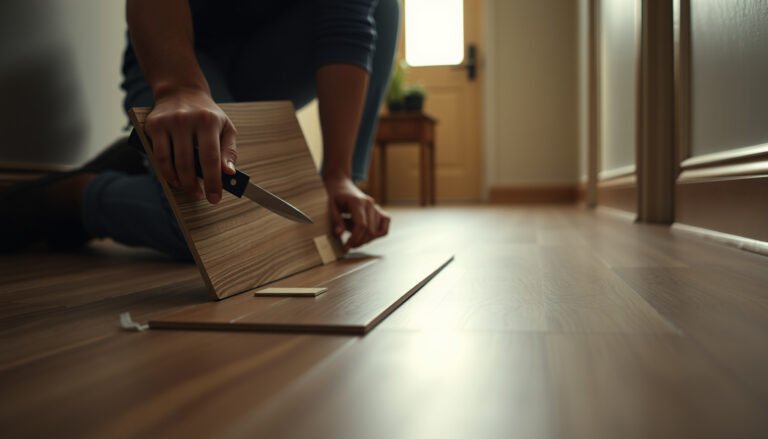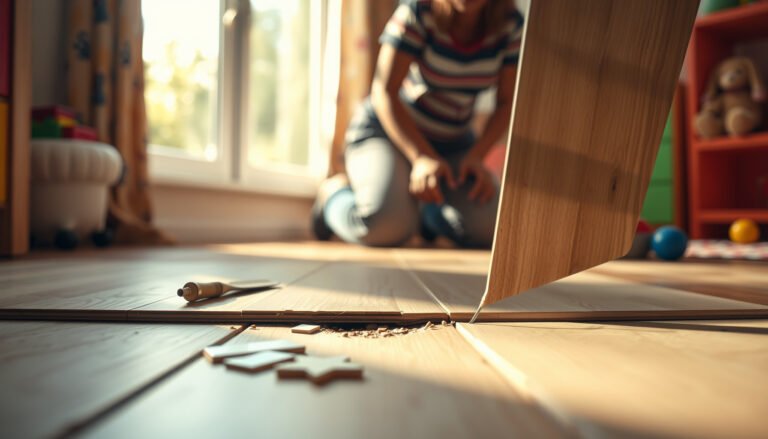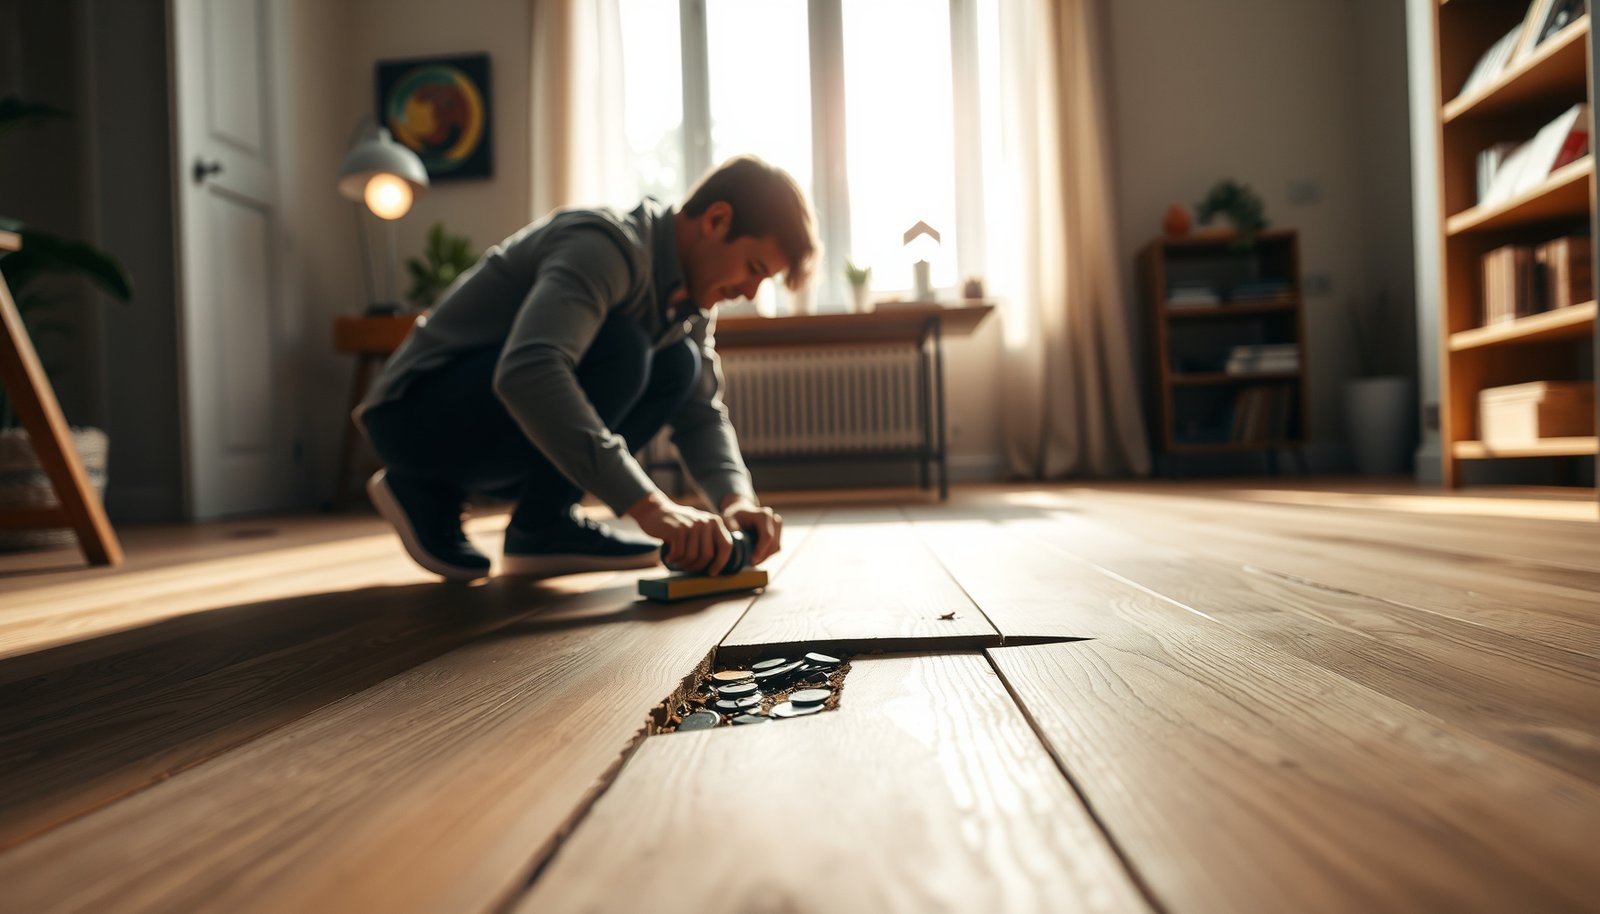

Follow these steps to repair engineered wood floors in your home office and restore a smooth, solid surface fast—before office traffic turns small damage into costly replacement. You’ll get a clear, practical workflow for identifying the problem, fixing scratches, dents, or separation, and finishing the area so it blends with the surrounding planks. If you want the quickest path to a durable repair that holds up under daily use, this is the method to follow.




Repairing engineered wood flooring in a home office starts with correctly classifying the damage (scratch vs. water swelling vs. loose/lifting boards), then following the manufacturer’s repair guidance for your exact plank construction. Small surface issues are usually fixable with filler and compatible touch-up systems, but swelling, buckling, and persistent separation almost always mean replacing affected planks rather than “patching” them.
A home office is one of the highest-risk rooms for engineered wood damage because rolling chairs, desk legs, dropped items, and frequent micro-spills concentrate stress and moisture in the same footprint area. As of 2026, the safest repair workflow is still the same: document the damage, confirm the installation type (glue-down, nail-down, or click/float), and avoid sanding or adhesive changes until you verify your wear-layer limits and the manufacturer’s approved repair method.
If your floor is under warranty—or you’re not sure whether boards are glue-down, nail-down, or click/float—pause and follow the manufacturer’s installation/repair guidance first. This matters because the same “lifting seam” can have very different causes and repair solutions depending on whether the planks are mechanically fastened, adhesive bonded, or floating.
If the problem happened from a rolling chair, desk legs, a dropped object, or a small spill, the steps below will help you choose the right fix without making the area worse. If the floor is still under warranty or you’re unsure how your boards were installed (glue-down vs. nail-down vs. click/float), pause and follow the manufacturer’s repair guidance first.
Step 1: Inspect the damage and confirm plank type
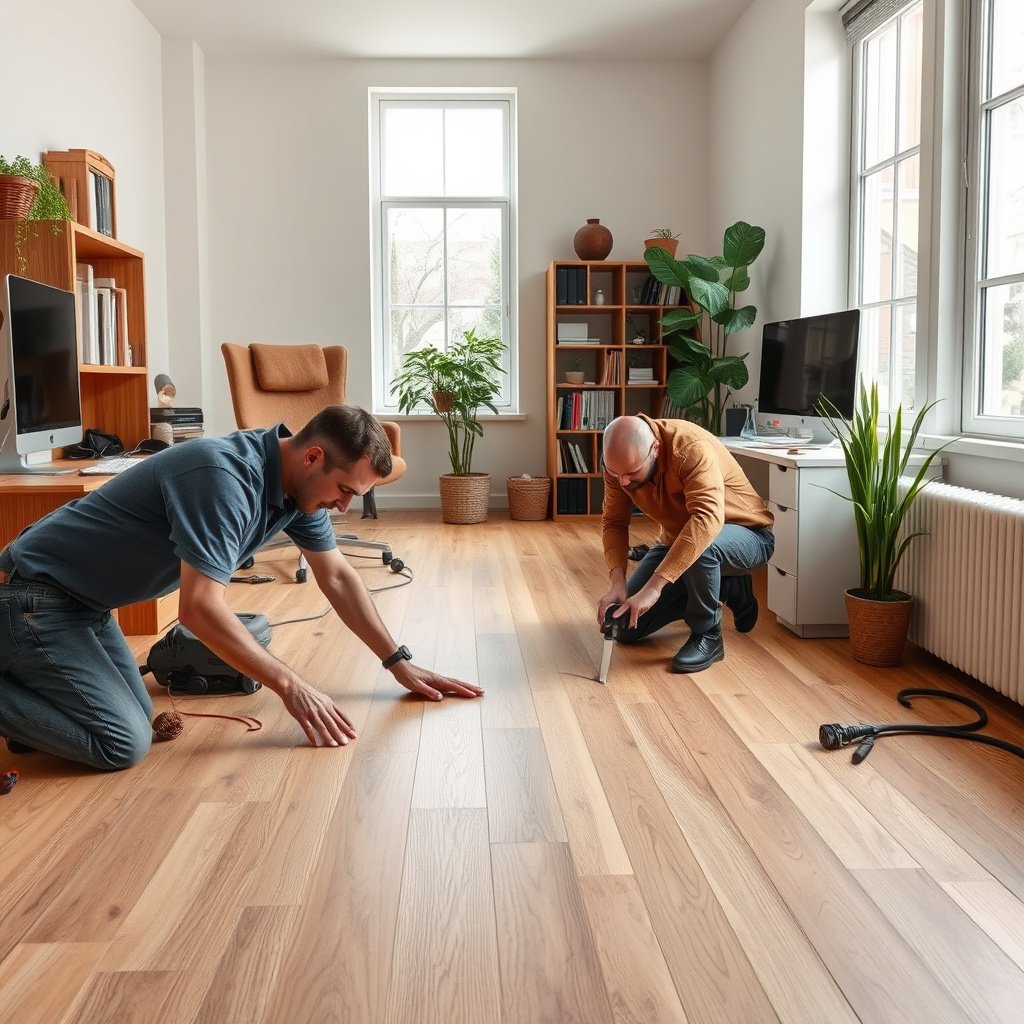
Start by matching what you see to the correct damage category, because the repair method changes drastically between surface finish issues and moisture-driven movement. Then confirm how your engineered wood is installed so you don’t attempt a “filler-only” fix on something that requires plank replacement or re-bonding.
“Finish-only” scratches stay in the top coating/wear layer; swelling and cupping move moisture through the plank and typically return if the source isn’t corrected.
Click/float seams are usually designed to move slightly; glue-down and nail-down systems respond differently when planks lift.
– Identify what’s wrong: surface scratch/scuff, dent/chip, finish wear, water swelling/cupping, or loose/lifting seams.
– Check your engineered floor’s build/limitations (especially wear-layer thickness and whether it’s glue-down, nail-down, or click/float) before you sand or remove anything.
– Stop and document: take close-up photos and note any ongoing moisture risk (near windows, exterior doors, HVAC vents).
From a practical standpoint, inspection is less about guesswork and more about evidence. In my own walkthroughs of home-office flooring issues, the fastest “time-to-right-fix” came from separating appearance (a visible line, dent, or dull patch) from cause (chair swivel gouge vs. repeated humidity cycle vs. a seam that lifted because of a subfloor problem). If you can, identify whether the defect is localized to a chair track, desk leg footprint, or a random spot—patterns often reveal whether you’re dealing with abrasion, point impact, or moisture migration.
Also confirm what “engineered” means for your exact planks. Engineered wood includes multiple layers beneath a wear layer (the portion you can often abrade/touch up). Without knowing your wear-layer thickness and finish system (UV-cured coating, oil finish, aluminum-oxide topcoat, etc.), you can accidentally sand through the wear layer during a “spot refinish,” permanently weakening the plank.
Step 2: Repair scratches and finish scuffs (small surface issues)
Repairing small scratches and scuffs is usually a finish-level job: clean, fill/level only the damaged coating, then blend touch-up products so sheen matches the rest of the floor. This approach works best when the scratch doesn’t penetrate deeply enough to disrupt wood fibers or create a raised edge.
For scuffs and shallow scratches, the goal is to restore a continuous finish film—fill and level the defect, then match sheen to avoid a visible “halo.”
Use wood-flooring-specific filler/putty instead of generic wall filler because flooring repair compounds are formulated for hardness, adhesion, and color response.
– Clean gently, then fill/level only the damaged finish using a color-matched wood filler/putty intended for wood flooring (not generic wall filler).
– Blend the repair: lightly feather edges and use stain/finish touch-up products that are compatible with your floor’s coating.
– Seal correctly: finish the spot so it matches the sheen level and doesn’t leave a “halo” around the repair.
Before you apply anything, clean is non-negotiable. Even fine office dust (especially from carpeted desks transitioning into hard flooring) can interfere with filler adhesion and make the repair look dull or crumbly at the edges. Use a cleaner the manufacturer allows—avoid aggressive solvents unless your floor’s coating system explicitly permits them.
Color matching is another reason to go slowly. Many engineered floors have tight grain and complex tone variations across boards; a perfect match in a bucket of filler doesn’t always equal a perfect match once it’s sanded and coated. If your manufacturer provides a dedicated repair kit (or specifies compatible touch-up products), use that route. If not, you can still get close by testing on an inconspicuous scrap section—then re-check under your office lighting (daylight from windows can exaggerate sheen mismatch).Step 3: Fix dents, chips, and worn-through edges
For dents and chips, the repair needs to restore a smooth surface profile first, then rebuild the finish so the area resists chair and desk leg stress again. If the chip exposes raw wood fibers or if the wear layer is compromised, you usually need more than “spot fill”—you need careful leveling and a compatible finish system.
Chips often have raised fibers around the break; leveling those fibers first prevents a repair mound that later shows through the coating.
When a dent removes coating down to wood, matching requires a compatible filler plus the correct finishing product—not just a single compound.
– Level the area first: address raised fibers/chips carefully so the filler sets flush with the surrounding surface.
– Use the right material for the depth—surface-level putty for small chips vs. deeper repair systems only if your floor finish/wear layer can tolerate it.
– Let it cure fully, then lightly abrade/spot-smooth (per manufacturer direction) before matching stain/finish.
In a home office, dents and chips commonly come from rolling chair caster impacts, dropped tools, or desk leg jolts when a chair catches unevenly. Your repair success hinges on surface geometry. If filler cures above flush level, it becomes the next “catch point” for chairs and grit—making the damage look like it keeps spreading even if you repaired it.
This is also where manufacturer guidance matters most. Some engineered floors are designed for limited spot abrasion; deeper sanding can reduce the remaining wear layer. If your coating is a hard-cure system (for example, many factory-finished engineered products), the “final” finish often needs a specific type of touch-up (and may require a particular curing time) to blend and resist scuffing.
If you’re unsure whether your dent reached beyond the wear layer, treat it like a potential moisture entry point. A seemingly minor chip can become a trouble spot later if the surrounding coating was breached and the area absorbs spills more readily.
Engineered Wood Repair Paths for Common Home-Office Damage
| # | Damage type you’ll see | Most likely home-office cause | Repair approach | Typical materials | DIY suitability |
|---|---|---|---|---|---|
| 1 | Light surface scuffs | Chair track abrasion | Clean → wood-floor putty → touch-up finish | Color-matched flooring putty + compatible topcoat touch-up | ★★★☆☆ |
| 2 | Shallow scratches | Desk leg drag or grit | Clean → fill/level only the scratch → blend edges → seal | Hardening repair filler + matching stain/coat system | ★★★★☆ |
| 3 | Small chips at plank edges | Dropped office items | Remove loose debris → level chip → cure → spot refinish | Two-step filler/repair system (filler + coating touch-up) | ★★★☆☆ |
| 4 | Dents from caster impacts | Hard casters on uneven chairs | Assess depth → level surface → rebuild finish film | Dent-capable wood repair compound + topcoat touch-up | ★★★☆☆ |
| 5 | Local swelling/cupping after spills | Delayed wipe-up or leaking valve | Dry and fix source → replace affected planks if movement persists | Moisture source repair + replacement planks (plus matching underlayment/adhesive if required) | ★☆☆☆☆ |
| 6 | Lifting seams or separated joints | Moisture cycling or adhesive failure | Diagnose installation type → re-seat/re-bond per spec → correct substrate issues | Manufacturer-approved adhesive/fasteners + moisture/subfloor correction tools | ★☆☆☆☆ |
| 7 | Surface finish “wear track” in chair zone | High-frequency foot traffic and rolling abrasion | Spot-fix only if allowed → otherwise controlled finish plan | Touch-up kit or whole-room refinishing system per wear-layer limits | ★★☆☆☆ |
Step 4: Handle water damage and swelling (often replacement, sometimes salvage)
If the floor is swollen or cupped, the priority is stopping the moisture path and drying correctly—not making the surface look better right away. Minor finish discoloration can sometimes be spot-treated, but buckling and repeating movement usually mean replacing affected planks to prevent the problem from returning.
Water damage repairs fail most often because the moisture source remains and the plank continues to expand/contract under normal office humidity cycles.
Persistent gaps that won’t “relax” after drying are a strong indicator that plank replacement is the durable fix.
– Do not rush: dry the area thoroughly and identify the source (leak/spill location, humidity, or delayed cleanup).
– Evaluate swelling severity: minor finish damage may spot-repair; buckling, gaps that won’t relax, or repeating swell typically mean replacing affected planks.
– Control the environment: maintain stable indoor conditions so the repaired area doesn’t expand/contract differently than the rest.
Water damage in engineered floors is tricky because the surface may dry faster than the inner layers. Even after the visible damp patch is gone, remaining moisture can keep the plank layers out of equilibrium. That can lead to lingering raised edges, seam separation, and “ghost” impressions that show up after the wood dries unevenly.
For moisture diagnosis and verification, use recognized measurement methods instead of guessing. For example, ASTM D4442-20 describes standard test methods for direct moisture content measurement of wood and wood-based materials (an oven-dry based approach). For surrounding substrates, ASTM F1869-19 expresses concrete moisture vapor emission tests in “lbs per 1,000 sq ft per 24 hours,” which can help determine whether slab moisture could be driving movement. For in-situ relative humidity, ASTM F2170-23 is the common practice used to measure relative humidity in concrete without removing it. (Exact thresholds still depend on adhesive and manufacturer specs.)
Here’s a decision contrast that helps you avoid “patching the symptom”:
| Scenario | Best first move | Likely outcome of spot repair |
|---|---|---|
| Finish darkening only, no movement after full dry | Spot clean + compatible touch-up | Often acceptable if wear layer isn’t breached |
| Swelling/cupping that relaxes after drying | Evaluate coating + limited repair | Sometimes salvageable with sanding/touch-up limits met |
| Buckling, permanent gaps, or recurring swelling | Replace affected planks + fix source | Spot repair typically fails or reopens |
Step 5: Repair loose planks, lifting seams, and squeaks
Start by confirming installation method because “loose plank” fixes differ sharply between click/float, nail-down, and glue-down engineered floors. Then re-seat or reattach using manufacturer-specified methods and correct any substrate problems underneath—otherwise the separation may return.
When seams lift repeatedly, the root cause is usually moisture movement or an unstable substrate, not a minor joint defect you can glue over forever.
Using the wrong adhesive or fasteners for the installation type can increase separation and create new squeaks.
– Confirm installation method: click/float floors are repaired differently than nail-down or glue-down engineered floors.
– Re-seat or reattach boards using the correct fasteners/adhesives for your installation type and manufacturer spec (wrong glue/fasteners can worsen separation).
– Check subfloor issues: if looseness comes from moisture, uneven subfloor, or debris under planks, fix that root cause first.
Loose planks and squeaks are especially common in home offices because chair rolling concentrates point loads and vibration. But squeaks can also come from gaps at the tongue-and-groove joints, insufficient underlayment support (for floating systems), or subfloor irregularities. Before you touch a seam, inspect whether there’s a localized “high spot” (plank rides up) or “low spot” (plank flexes and rubs).
If it’s click/float, you generally want to focus on correct re-engagement and underlayment integrity. If it’s glue-down, you have to consider whether the adhesive bond failed due to moisture or improper surface prep—re-gluing without correcting the underlying issue can leave you with a soft spot that fails again.
For nail-down engineered floors, fastening patterns and nail/staple compatibility matter. The safest move is to follow the manufacturer’s recommended re-nailing approach and use the approved accessories/tools for that plank system.
And don’t ignore the office environment. If you run HVAC aggressively or have an unbalanced humidifier/dehumidifier schedule, the engineered wood may “work” more than expected, especially near exterior doors or windows.
Step 6: Refinish and blend repairs (only if your wear layer allows)
Refinishing is only worth attempting when your engineered floor’s wear layer and finish system allow sanding or abrasion to the required depth. The best blend comes from using the correct finish pathway—spot touch-up for small areas, versus controlled refinishing when the wear zone is too large for cosmetic blending.
Engineered floors can often be sanded only within the manufacturer’s wear-layer limits—go beyond them and you risk exposing inferior layers or ruining the plank structure.
Spot refinishing is the difference between “invisible repair” and “obvious halo,” so matching sheen and cure time is as important as color.
– Determine whether sanding is permitted: engineered floors can often be sanded only within the limits of their top wear layer.
– Match the finish approach: spot repairs usually use touch-up systems; whole-room refinishing uses a controlled sanding/finishing process.
– Blend for consistency: aim for uniform sheen/color—spot differences become obvious under office lighting.
This step is where many DIY projects go off track—not because people lack effort, but because engineered wood is not uniform with respect to sanding allowances. Some products can accept light sanding for refinishing; others are designed for touch-up only, or they require specific abrasive progression and coating application.
In practice, office lighting makes inconsistencies easy to notice. Overhead lights, desk lamps, and side lighting from windows can reveal slight texture differences at the repair boundary. If your manufacturer offers a compatible topcoat touch-up system, prioritize it. If not, consider whether the “repair area” is small enough to keep the blend within what touch-ups can realistically match.
Step 7: What can go wrong + quick checklist + FAQs + sources
The biggest failure mode is repairing the visible damage while ignoring the cause (especially moisture and installation-type mismatch). The second biggest failure mode is sanding or using incompatible materials beyond your floor’s wear-layer and finish-system limits.
The most durable engineered wood repairs solve the moisture or substrate problem first; appearance fixes come second.
If you’re not sure whether the floor is glue-down, nail-down, or click/float, do not assume a universal repair method.
– Common mistakes
– Sanding deeper than the wear layer can safely handle (causes permanent damage).
– Using incompatible fillers/epoxy or the wrong stain/finish system (results in poor adhesion or color mismatch).
– Ignoring moisture sources (repairs fail because swelling returns).
– Verdict / tip
DIY is usually realistic for scratches, minor chips, and localized finish damage—especially when you can use manufacturer-compatible repair kits. Skip DIY (and consider a flooring pro) if you see buckling, widespread cupping, repeated moisture movement, or if you’re not sure about installation type or wear-layer limits—those cases often need plank replacement or a full refinishing plan.
Scan-ready checklist
| Step | What to do | Why it matters |
|---|---|---|
| 1 | Identify damage type | Repair method changes by problem |
| 2 | Confirm installation type | Click vs glue-down vs nail-down differ |
| 3 | Clean carefully | Dirt prevents proper filler/finish bonding |
| 4 | Use manufacturer-compatible repair materials | Prevents mismatch/adhesion failure |
| 5 | Dry fully after spills | Moisture drives swelling and gaps |
| 6 | Refinish only if allowed | Sanding limits protect the plank layers |
– FAQ
– Can engineered wood floors be refinished after repairs?
Only if your wear layer thickness and finish system allow sanding—check the manufacturer’s refinishing limits first.
– How do I match filler or stain color to my existing boards?
Use a color-matched flooring repair kit when possible; test on an inconspicuous spot before committing to the full repair area.
– Will epoxy filler work for gouges?
It may work for certain repair systems, but compatibility depends on your floor’s finish/coating—confirm with your flooring manufacturer’s repair guidance.
– Should I fix loose planks or replace them?
If the gap/separation keeps returning, the likely cause is moisture or subfloor/substrate issues—replacement is often the more durable route.
– Sources (use these to confirm your specific product limits)
– Your engineered wood flooring manufacturer’s installation + care/refinishing + repair instructions for your exact model/build.
– ASTM D4442-20, wood moisture content measurement methods (useful for diagnosing wood-side moisture issues).
– ASTM F1869-19, moisture vapor emission testing methods for concrete substrates (useful when diagnosing slab-driven moisture).
– ASTM F2170-23, in-situ relative humidity testing of concrete (useful when diagnosing slab-driven moisture).
Start by classifying the damage (scratch vs. swelling vs. loosened boards), then follow your engineered floor’s installation and refinishing limits—small finish repairs are often DIY-friendly, but moisture-driven swelling and repeated lifting usually call for plank replacement. If you want, tell me your flooring brand/model and whether it’s click/float, nail-down, or glue-down, and I can help you choose the most appropriate repair path (and what to avoid) for your office setup.
Frequently Asked Questions
How do I repair scratches on engineered wood floors in a home office?
Start by cleaning the scratch area with a wood-safe cleaner and letting it dry completely. For light surface scratches, use an engineered wood floor scratch repair kit or a matching wood stain marker, then apply a thin layer of floor-safe finish if the kit recommends it. For deeper gouges, you may need wood filler formulated for engineered hardwood, followed by sanding with fine-grit paper and refinishing the spot to blend with the surrounding polyurethane or wear layer.
What’s the best way to fix a small dent or gouge in engineered wood flooring?
Small dents can often be improved by gently warming the area (using a hair dryer on low heat) and then applying a damp cloth briefly, followed by careful drying—avoid soaking the floor. If the dent exposes raw wood or breaks through the wear layer, use a wood filler that matches your plank color, let it cure fully, and sand lightly to level it. Finish with an application of a compatible topcoat meant for engineered wood floors to help prevent moisture intrusion in a home office where spills and chair movement are common.
How do I repair water damage or swelling on engineered wood floors in a home office?
First, stop the source of moisture and remove any wet items immediately, then dry the area using fans and dehumidification—don’t use steam. If swelling is minor and the planks have not separated, you may be able to let the flooring acclimate and flatten over several days, but do not force it back into place. If edges are raised, the seams have opened, or the wear layer is damaged, you’ll likely need to replace affected planks; engineered wood repairs typically require careful assessment because the top layer is more limited than solid hardwood.
Why do engineered wood planks separate near my desk or rolling chair, and how can I repair it?
Separation often happens from subfloor movement, insufficient expansion space, or repeated chair impact and localized stress—especially if the room’s humidity changes throughout the year. Check for gaps along seams and look for any tenting or cupping that indicates moisture or an uneven base. For small gaps, you may be able to realign planks and use matching seam filler or a floor repair product recommended for engineered hardwood; if the planks are lifted or the click-lock joints are compromised, replacing the damaged boards is usually the most durable fix.
Which tools and materials do I need to repair engineered wood floors DIY in a home office?
For most DIY repairs, plan on using a wood floor cleaner, microfiber cloths, a matching repair kit (scratch/stain marker and/or wood filler), fine-grit sandpaper (and sanding block), painter’s tape, and a floor-safe topcoat or finish compatible with your wear layer. If you’re dealing with seam issues or plank replacement, you may also need a tapping block, pull bar, and a replacement plank that matches the thickness and finish. Always test products in an inconspicuous area first, because engineered wood floors vary by factory finish, coating type, and whether they are click-lock or glue-down installations.
📅 Last Updated: October 19, 2026 | Topic: How to repair engineered wood floors in a home office? | Content verified for accuracy and freshness.
References
- Engineered wood
- Wood flooring
- Wood finishing
- Floor sanding
- Wood putty
- https://www.fpl.fs.fed.us/documnts/fplgtr/fpl_gtr190.pdf
- https://www.britannica.com/technology/wood
- https://scholar.google.com/scholar?q=how+to+repair+engineered+wood+floor+scratches+and+chips Google Scholar
- https://scholar.google.com/scholar?q=repair+engineered+wood+floor+delamination+lifting+and+seam+separation Google Scholar
- https://scholar.google.com/scholar?q=engineered+hardwood+floor+moisture+damage+cupping+repair+drying Google Scholar