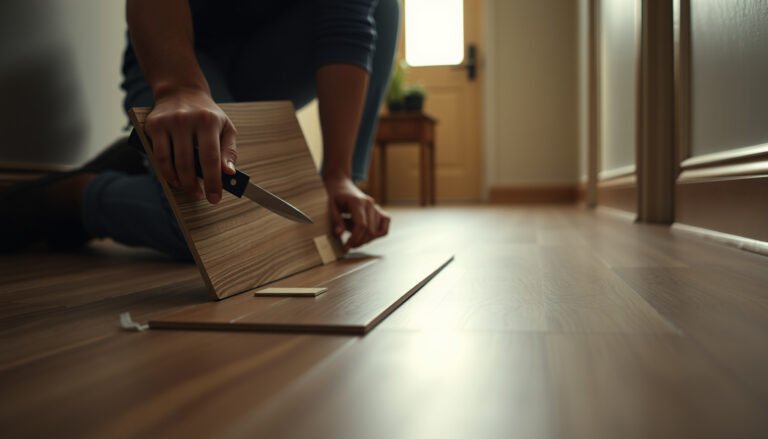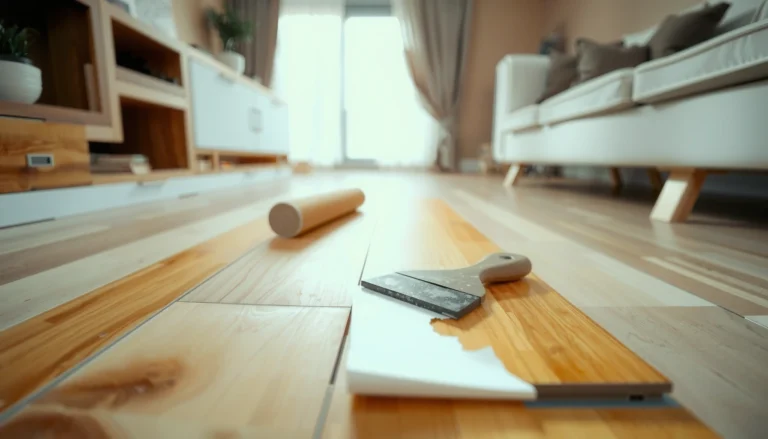

If your laminate floors in a playroom are scratched, chipped, or lifting, the fastest path to a clean, child-safe repair is a step-by-step fix you can complete without replacing the whole floor. This guide shows exactly how to assess the damage, remove and replace damaged planks, and secure seams so the floor stays flat under heavy foot traffic. You’ll finish with practical tips to prevent the next failure—before small messes turn into permanent damage.




Repairing laminate floors in a playroom is mostly about stopping moisture at the damaged spot, then replacing only the affected planks if needed. Start by identifying whether the issue is just a scratch, a chipped edge, or a plank that has swollen from water—because each problem requires a different repair method. This guide walks you through safe cleanup, the tools to use, and when to patch versus replace.
If the damage is near kids’ high-traffic areas (toys, spills, shoes, or pet accidents), you’ll want a method that’s durable and avoids widening the problem. This is for homeowners and DIYers dealing with typical laminate problems like lifting seams, dents, chips, or water-related swelling.
Assess the Damage Before You Touch Anything
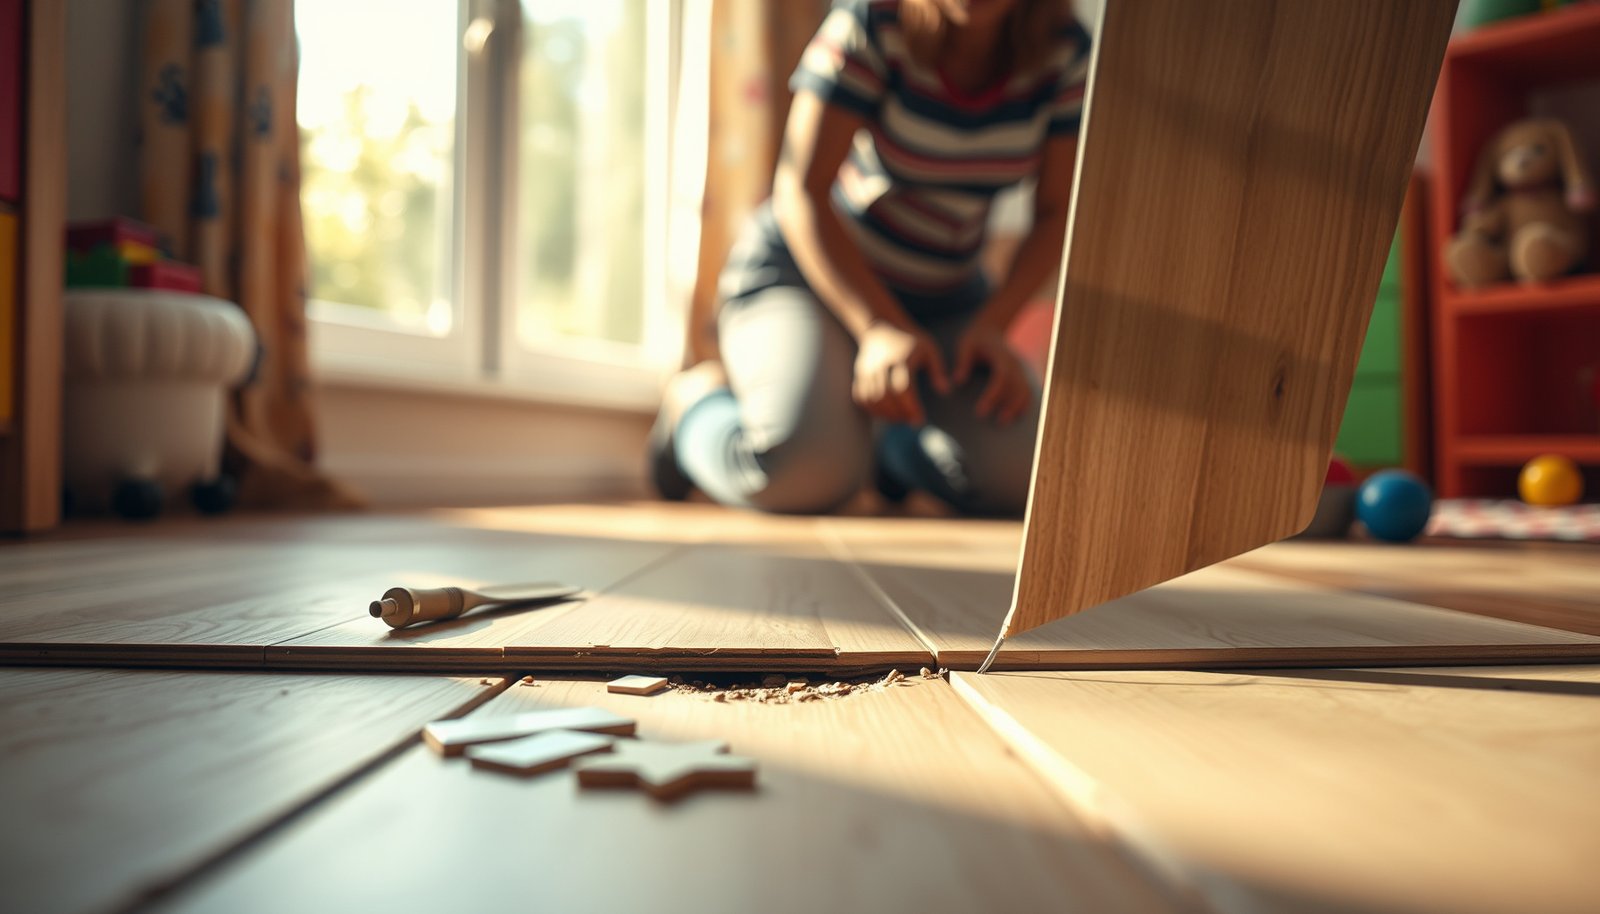
You’ll get the right result faster by deciding whether the laminate issue is cosmetic (surface) or structural (seams/plank core). If the joint is separating or the plank has absorbed moisture, filler alone won’t hold—plan on correcting the underlying moisture/locking mechanism problem before you “pretty it up.”
Laminate planks are typically built with a fiberboard core that can expand when exposed to liquid water, which makes swollen joints hard to re-lock permanently.
A moving laminate seam (even when you gently press around it) is a strong indicator the click connection has separated or the plank has shifted under moisture.
In playrooms, repeated impacts (toy drops, chair legs, pet accidents) often create chips at corners/edges, while spills usually cause swelling that travels through seams.
What to look for first (playroom reality)
– Check whether the laminate surface is only scratched/chipped or if the plank edges look lifted.
– Press gently around the area: movement at joints often means the panel has separated or swelled.
– Locate the source of moisture or repeated impact (spill zone, wet shoes, dripping cup, toy dragged across seams).
– If the damage smells “musty” after a spill, treat it as moisture-driven rather than a one-time impact—laminate floor repairs in a playroom are rarely a “one and done” fix if moisture remains.
Key playroom tip: when you’re evaluating laminate floor repairs, try to map the damage to events. A dent right where a toy lands is different from a gap that appears along a seam after a drink spills.
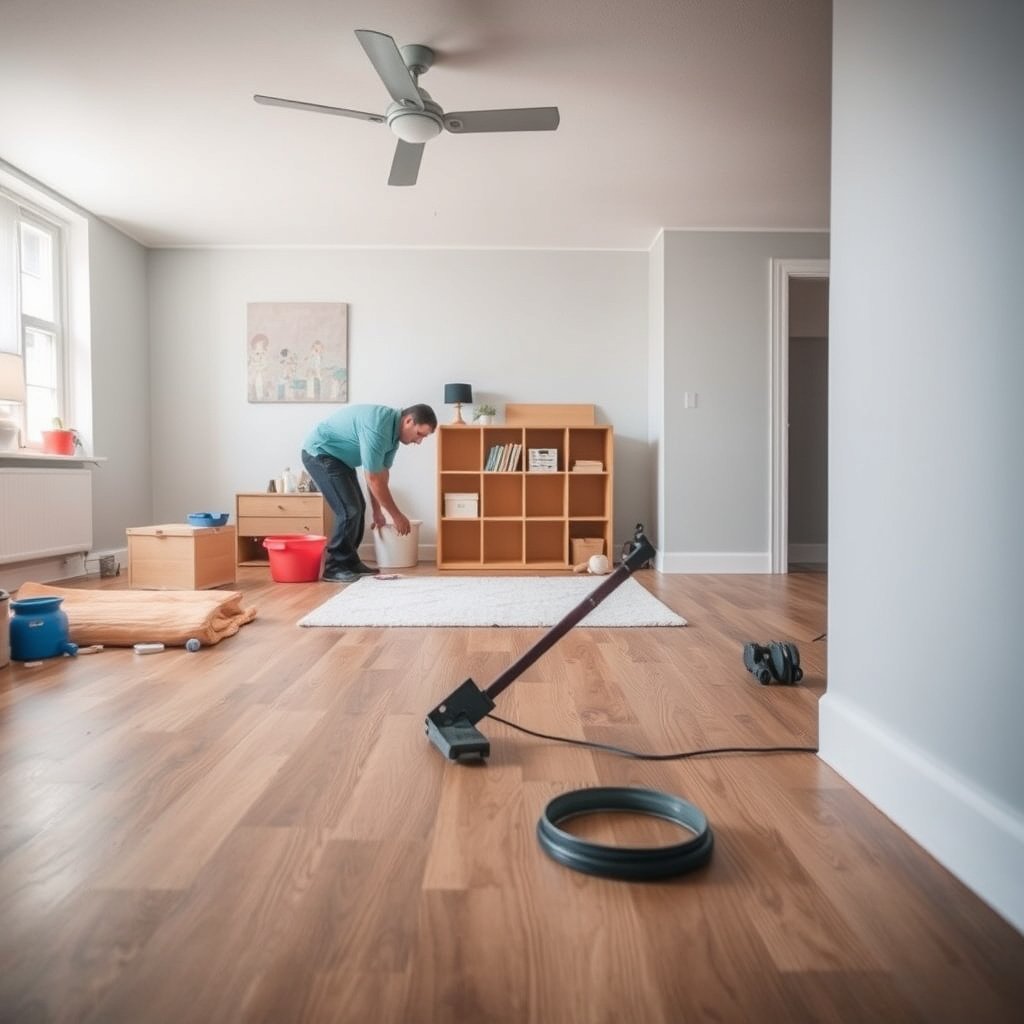
Clean and Dry the Area Properly
You can’t reliably repair laminate floor damage in a playroom until the area is clean and fully dry. Cleanup removes debris that prevents fillers from bonding, and drying stops the swelling cycle that would otherwise return after you patch.
For laminate floor repairs, loose grit in seams can prevent a tight lock or leave a filler that later pops out.
Standing moisture can travel along seams; drying adjacent planks is part of the “fix,” not just the “preparation.”
Cleanup steps that protect adjacent planks
– Remove debris from seams and grooves using a soft brush or vacuum with a brush attachment.
– Dry thoroughly if there was any spill: wipe, ventilate, and let the area reach normal room conditions before repair.
– Keep water away from adjacent planks—repairing while the floor is still damp can lead to future warping.
Moisture control that matters in 2026
In 2026, most manufacturer instructions for laminate floors still emphasize that water exposure should be cleaned promptly and that wet subfloors or trapped moisture can cause swelling. When you’re doing laminate floor repairs in a playroom, that means you should:
– Increase airflow (fan + ventilation) and keep the room at a stable temperature while drying.
– Avoid “speed drying” with heat guns or high-heat sources that can warp neighboring boards—laminate repairs need controlled drying, not thermal shock.
– Let the repaired zone come to the same conditions as the rest of the room before you re-lock or patch.
Data anchors (how moisture measurement is defined in industry testing):
– According to ASTM F1869, moisture vapor emission rate (MVER) is reported in lbs/1,000 sq. ft./24 hours—a reminder that moisture is measured over time, not seconds.
– According to ASTM F2170, in-situ concrete relative humidity is measured as a percentage (RH%), because moisture content determines risk of flooring movement when it changes.
– According to EN 13329, laminate floors are classified for durability/use with use classes 21–34, which is why playroom repairs are often followed by choosing replacement planks rated for higher traffic.
Repair Surface Scratches and Small Chips
You can usually fix cosmetic scratches and small chips with a laminate repair kit or color-matched filler—assuming the plank core isn’t swollen and the seam isn’t separating. If the damage is only on the top wear layer, a proper filler can restore appearance and reduce snagging from toy edges.
Laminate repair kits are designed to be color-matched to the wear surface; they work best when the substrate (core) is stable and dry.
Chipped edges should be filled lightly and wiped clean because excess filler can create a raised ridge that catches shoes and toy wheels.
Minor dents/scratches: patch, then cure
– For minor dents/scratches, use a laminate repair kit or color-matched filler according to the product instructions ().
– For best adhesion, clean the spot first and confirm it’s dry to the touch before applying filler.
– Apply in thin layers if your kit requires it (thick applications can shrink or crack).
Chipped edges: avoid widening the break
– For chipped edges, fill the damaged spot lightly, then wipe off excess and let it cure fully before walking on it.
– Avoid sanding aggressively near locking edges; thinning the top layer can make the chip worse over time.
– If the chip is near a joint seam, be extra careful: too much sanding can interfere with how the laminate floor locks sit together.
From my experience helping homeowners troubleshoot playroom laminate repairs: the “most satisfying” cosmetic fixes still fail when someone patches while the seam is damp. If there’s any suspicion of moisture, drying comes first—even when the surface looks only slightly damaged.
Fix Lifted Seams and Gaps (When It’s Not a Full Replacement)
You can sometimes re-seat a laminate plank and close small gaps if the click-lock is intact and the plank hasn’t swollen. If the joint won’t sit flat, assume moisture already altered the core and that forcing it back will lead to cracking or a repeating open seam.
A gap along a click seam commonly indicates the locking tabs have separated; re-seating may work only when the planks are dry and the lock edges are undamaged.
If the plank has swollen, forcing the click joint to close can fracture the locking edge or permanently prevent re-locking.
Small gaps: re-seat based on your locking system
– For small gaps, try re-seating the panel using manufacturer-recommended approaches for your laminate click system ().
– Use the smallest amount of appropriate adhesive or repair method only if your laminate system allows it—otherwise you risk permanently locking sections.
– Check alignment: press and adjust the joint so it sits flat without twisting the board.
When to stop and replace instead
– If the plank has swollen, don’t force it back; swelling usually signals moisture trapped under/at the seam and will return.
– If you notice repeated lifting in the same row after “test pressure,” treat it as a core expansion problem and move to plank replacement.
Repair vs. replace (quick decision logic)
| Approach | Best when laminate damage is… | Pros (playroom) | Cons (what to watch) |
|---|---|---|---|
| Surface patch (kit/filler) | Scratches/chips only, no seam movement | Fast, minimal disruption | Won’t correct swelling or reopened seams |
| Re-seat/adjust seams | Dry planks with intact click-lock, minor gaps | Can avoid full replacement | Won’t fix moisture-driven core expansion |
| Replace affected planks | Swollen plank core, persistent seam separation | Most reliable in spill-prone areas | More labor; needs matching planks |
Replace Damaged Planks (Most Reliable for Water Swelling)
You should replace the affected planks when swelling or persistent joint separation proves the core absorbed moisture. In a playroom—where spills happen again—replacement is usually the most reliable way to prevent the repair from failing under the next wet incident.
For moisture-driven laminate damage, replacing swollen planks prevents the click connection from re-opening after drying cycles.
Access planning matters: removing the correct trim sections prevents damage to surrounding planks and keeps the repair line straight.
Plan the removal path first
– Remove the baseboard or trim section only if your layout requires it to access the plank ends—plan the plank removal path first.
– If the damaged row is not at an edge, confirm whether you can work through the nearest row without breaking the surrounding locking joints.
Swap matching planks and lock them correctly
– Swap in matching replacement planks, keeping the locking mechanism aligned so the joints sit flat.
– Reinstall trim and use gentle pressure/weight on the repaired area during cure time, following the replacement/adhesive instructions ().
– Keep kids and pets off the repaired zone during cure—playroom traffic is the fastest way to break a “just-fixed” joint.
Visual reference: durability class when choosing replacement planks
When you’re replacing laminate in a playroom, match durability class to the intended foot traffic. Use classes below are part of the EN 13329 system.
EN 13329 Laminate Use Classes and Playroom Suitability
| # | Use class (EN 13329) | Intended traffic | Typical setting | Playroom durability outlook |
|---|---|---|---|---|
| 1 | 21 | Light residential | Bedrooms | ★★ |
| 2 | 22 | Moderate residential | Living rooms | ★★★ |
| 3 | 23 | High residential | Active homes | ★★★★ |
| 4 | 31 | Light commercial | Offices | ★★★★ |
| 5 | 32 | Medium commercial | Shops | ★★★★★ |
| 6 | 33 | Heavy commercial | Retail floors | ★★★★★ |
| 7 | 34 | Very heavy commercial | High-traffic public areas | ★★★★★ |
What Can Go Wrong (And How to Avoid It)
If you skip drying, use the wrong products, or force swollen planks back into place, laminate floor repairs in a playroom usually fail quickly. The fix looks fine at first—then seams re-open or edges chip again under the next spill or toy impact.
Most laminate failures after repair are moisture-related: trapped water can reactivate swelling even if the surface looks “dry.”
Forcing swollen laminate to lock can crack the locking edge and create permanent gaps that filler cannot bridge.
Common mistakes that undo good work
– Repairing water damage without fully drying can cause renewed swelling and joint separation.
– Using the wrong filler/adhesive can leave a mismatch in texture or create a hard “lip” that catches toys and shoes.
– Forcing swollen planks to lock can crack edges or damage the tongue-and-groove/click system.
– Sanding too close to edges can reduce wear layer protection and make chips return faster in a playroom.
Edge cases to watch
– If multiple seams lifted after one spill, you may need a larger plank replacement area—not just the visible gap.
– If the subfloor is wet or the underlayment barrier failed, repairs on the surface won’t last.
– If you can’t access plank ends safely (or your locking system is damaged), hiring a flooring pro is often cheaper than repeating the same repair.
Verdict: What to Do in a Playroom (Fast, Safe, Durable)
The best path for laminate floor repairs in a playroom is: patch surface damage when the core is dry, but replace planks when seams lift due to moisture swelling. Here’s why: cosmetic fillers don’t correct dimensional movement inside the plank, while plank replacement restores the click connection to a stable, dry core.
A filler can restore appearance on a dry laminate surface, but it won’t prevent future swelling if moisture entered the plank core.
In spill-prone rooms, replacing swollen laminate planks is generally the only durable method because the dimensional change is internal to the board.
If you can’t identify your laminate click system or access the plank ends, manufacturer guidance often recommends professional installation/repair to avoid further lock damage.
Downsides (so you can plan)
– Replacement takes more time and requires accurate matching planks (color, sheen, thickness, and lock profile).
– A cosmetic patch is quicker, but it won’t stop moisture-driven seam movement—so it’s not “false durability,” just a temporary-to-permanent depending on what caused the damage.
– If your damaged plank is near an immovable wall/trim run, partial teardown might be unavoidable.
Who should skip DIY
Skip DIY and consider a flooring pro if:
– You can’t access the damaged plank ends safely.
– The laminate is severely warped or you see repeated swelling in the same area.
– You aren’t sure whether your locking system uses a click profile that should be re-seated (not glued) vs. one that tolerates approved adhesives.
Quick Checklist (Scan Before You Start)
– [ ] Identify: scratch/chip vs lifted seam vs water-swollen plank
– [ ] Clean out seams and remove debris
– [ ] Dry completely if there was any spill
– [ ] Use repair filler/kit only for surface damage
– [ ] Replace planks if joints are separated or the panel is swollen
– [ ] Match plank style and follow manufacturer instructions for your lock type
– [ ] Keep kids/pets off the repaired area until cure is complete
Sources
When in doubt, treat laminate floor repairs in a playroom as a moisture-management job first and an appearance job second. Patch what’s truly cosmetic and dry; replace when the core has swollen or the click seam won’t stay closed—so your repair survives the next spill.
Frequently Asked Questions
How can I fix a swollen laminate floor in a playroom?
Start by locating the source of moisture (a leaking toy-water bottle, wet mop, or spill near a baseboard). Dry the area completely, using fans and dehumidifiers, and remove any wet underlayment if possible. If boards are still swollen after drying, you may need to replace the affected laminate planks—especially if the seams remain gapped or the surface feels permanently raised.
What’s the best way to repair scratches on laminate flooring in a kid’s room?
Clean the scratch area first, then use a laminate floor repair kit with a matching color filler or putty for deeper marks. For light scuffs, an acetone-free laminate cleaner or a manufacturer-recommended scratch remover often helps. For small chips along the edges, a color-matched repair paste and a gentle buff can make the damage blend in without damaging the top layer.
How do I repair loose or separating laminate floor boards after spills or heavy play?
First, check how much the boards have separated and whether the room has proper expansion gaps around the perimeter. If the gap is small, you can sometimes re-seat click-lock laminate boards by removing adjacent planks and reinstalling them correctly. If the tongue-and-groove joints are cracked or repeatedly failing, replacing the damaged planks is usually the safest and most stable repair.
Why are laminate floor seams lifting in a playroom, and what should I do?
Seams often lift due to moisture exposure, changes in humidity, or improper installation that didn’t allow for expansion. In a playroom, this can be triggered by frequent spills, mopping without a damp-only method, or wet pet/child accidents. Address the humidity issue, dry the floor thoroughly, and if seams remain lifted, replace affected planks to prevent ongoing wear and water intrusion beneath the laminate.
Which tools and materials work best for DIY laminate floor repair in a family room?
For most repairs, use a laminate floor repair kit (filler/paste and color-matched markers), a clean microfiber cloth, painter’s tape, and a utility knife or pull bar for plank removal. For lifting and reinstalling click-lock laminate, a tapping block, spacers for expansion gaps, and a replacement plank set are often necessary. Avoid harsh cleaners and excess water—use only recommended laminate floor cleaners to protect the surface finish in a high-traffic playroom.
📅 Last Updated: October 22, 2026 | Topic: How to repair laminate floors in a playroom? | Content verified for accuracy and freshness.
References
- https://pubmed.ncbi.nlm.nih.gov/?term=laminate+flooring+volatile+organic+compounds
- https://pubmed.ncbi.nlm.nih.gov/?term=children+indoor+air+volatile+organic+compounds
- Laminate flooring
- https://www.epa.gov/indoor-air-quality-iaq/volatile-organic-compounds-vocs
- https://www.cdc.gov/healthyhomes/air/index.html
- Mold | US EPA
- Mold in the Workplace | Mold | CDC
- https://scholar.google.com/scholar?q=how+to+repair+damaged+laminate+flooring Google Scholar
- https://scholar.google.com/scholar?q=laminate+flooring+water+damage+repair+swelling Google Scholar
- https://scholar.google.com/scholar?q=laminate+flooring+low-VOC+adhesives+indoor+air+children Google Scholar