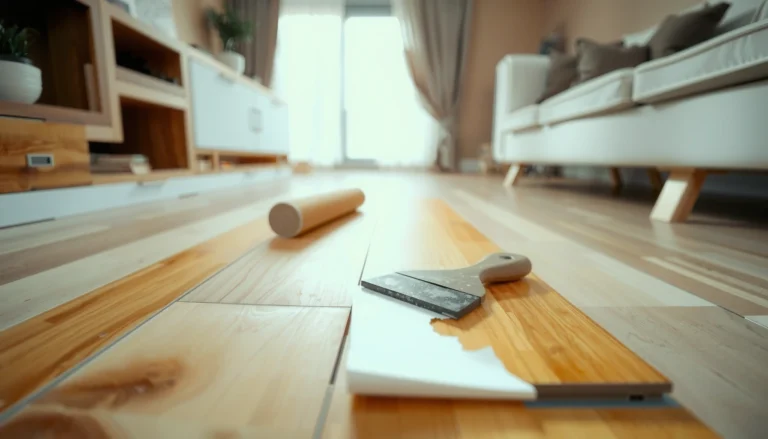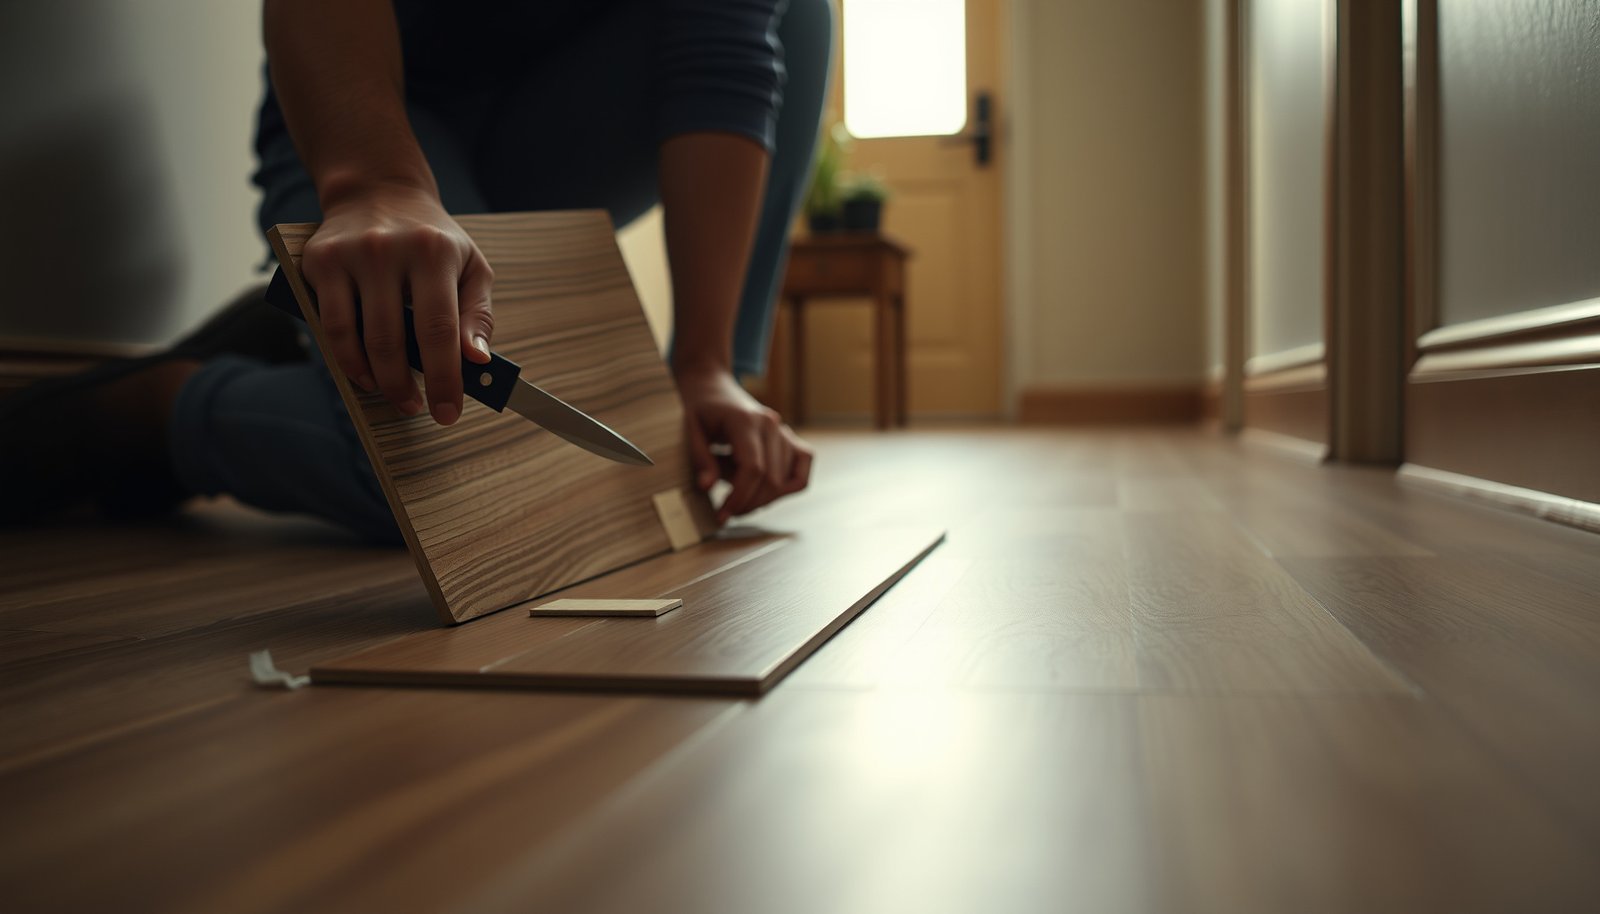

If you need to repair vinyl floors in a hallway, start with the fastest, most reliable fix for your exact damage—cracks, gouges, or lifted seams. This step-by-step guide walks you from prepping the spot to matching the right repair method so your hallway floor looks smooth and holds up under foot traffic. You’ll get clear, practical instructions that tell you what to do first and what to avoid so the patch doesn’t fail.




Repairing vinyl floors in a hallway usually comes down to matching the vinyl type and fixing the specific failure (scratches/gouges, loose seams, or lifting/planks). Start by cleaning and inspecting the damage, then use the right repair method—vinyl patch/filler for surface damage or replace a damaged plank/tile when the core has failed. This guide walks you through what to do first, what materials to use, and when the repair is likely to fail.
If your hallway gets heavy foot traffic, minor damage can spread quickly—especially at seams and around transitions. The steps below are written for common vinyl flooring types (sheet vinyl and vinyl plank/tile), but you should still follow your flooring manufacturer’s repair guidance when available.
This guide is for homeowners and facility managers who need a durable vinyl floor repair in high-traffic corridors—without guesswork about whether the issue is cosmetic (wear layer) or structural (core/subfloor).
Check Your Vinyl Type and Assess the Damage
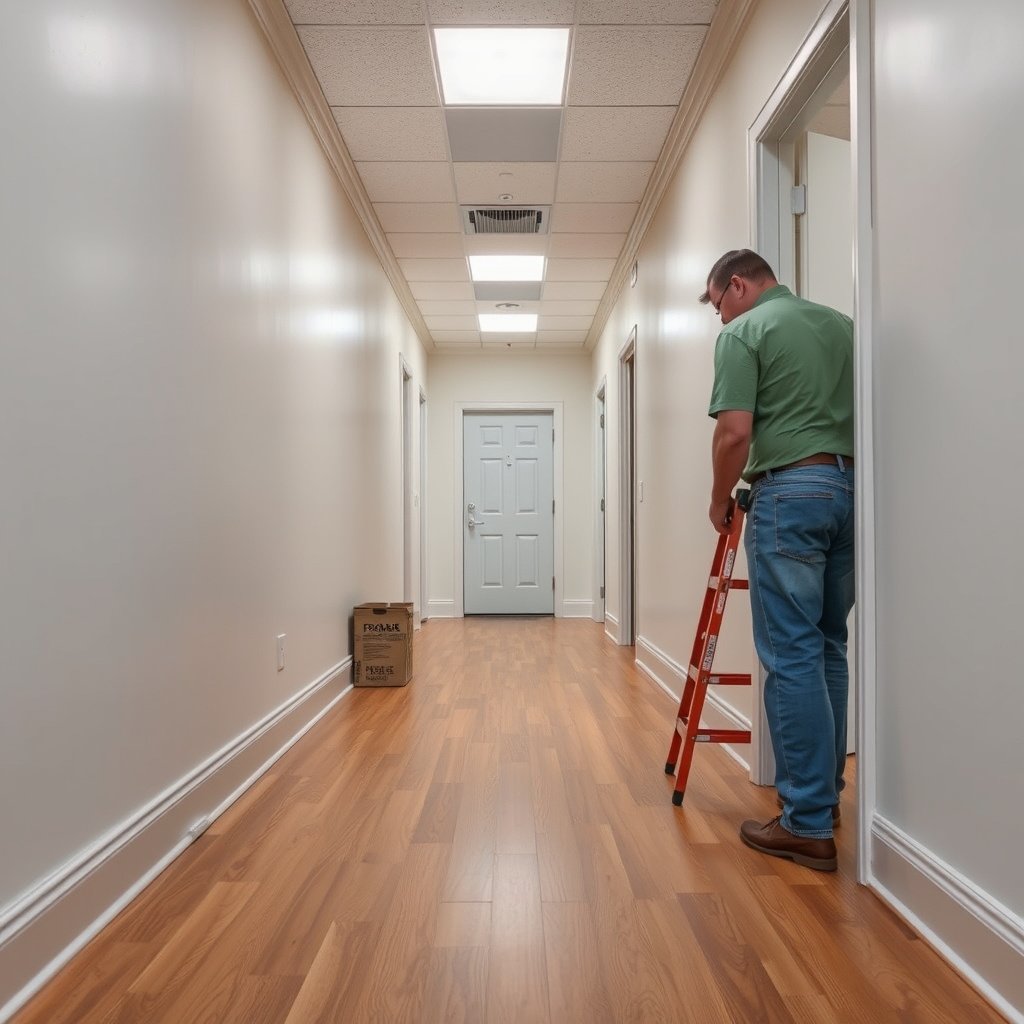
The fastest way to get a lasting vinyl floor repair is to identify the vinyl type first, then diagnose whether the failure is only in the surface layer or involves the core/subfloor. If you guess wrong (especially with seam adhesives or patch compounds), the repair may look fine initially and then reopen within weeks.
Vinyl repairs last longer when you match the product to the flooring system (sheet vs. LVP/LVT, and click-lock vs. glued-down).
If a hallway vinyl area feels spongy or warped, the subfloor moisture/flatness issue must be addressed before patching.
Start by identifying whether you have:
– Sheet vinyl (one continuous sheet, seams at joins)
– Vinyl plank/tile (LVP/LVT) that is click-lock (mechanical joints) or glued-down (adhesive joints)
Next, assess what failed:
– Shallow scratches / surface gouges: usually only the wear layer is impacted.
– Seam gaps / open seams: the bond at the seam has failed or the edges are no longer supported.
– Bubbling, cupping, or soft spots: typically points to moisture or a failing subfloor.
– Lifting/rocking planks: often means the core is compromised, the subfloor is out of flatness, or the adhesive/locks aren’t holding.
From an installation-quality standpoint, two issues are especially common in hallway vinyl floor repair failures: moisture and subfloor flatness. For example, according to ASTM F1869, moisture emission limits are often 3 lbs per 1,000 sq. ft. per 24 hours for resilient flooring installations. Also, ASTM F2170 commonly uses an ≤ 75% RH threshold for installation readiness. These values don’t “fix” scratches—but they determine whether seams and patch bonds will stay intact.
Moisture and flatness limits are specified by testing standards like ASTM F1869 (calcium chloride) and ASTM F2170 (in-situ RH).
What I check on-site (and what to document)
I can’t verify your exact floor from here, but in my walk-throughs and maintenance plans, the biggest time-saver is documenting the damage pattern (one plank vs. multiple, seam vs. corner, near a transition, etc.) before any vinyl floor repair product touches the surface.
Finally, inspect around transitions (doorways, HVAC grilles, entry mats). Hallway vinyl floor repair is more likely to fail where movement is concentrated—especially at the edges of the installed area or where thresholds create slight height changes.
Clean, Prepare, and Test Fit the Repair
Before you apply filler or adhesive, clean and prep properly—or the vinyl floor repair will bond to dust instead of vinyl. For most surface and seam repairs, preparation is the difference between “cosmetic fix” and “stays put under foot traffic.”
Dust and floor polish interfere with bonding; cleaning and full drying are prerequisites for durable vinyl floor repair.
Dry-fitting a patch or replacement tile/plank prevents misalignment that later reopens seams.
Clean the area thoroughly:
– Remove debris with a vacuum and a damp cloth (as allowed by your floor cleaning guidance), then dry completely.
– Avoid over-wetting. If you suspect moisture, do not proceed with adhesives until the subfloor condition is resolved.
For scratches/gouges and patching:
– Remove loose particles from the damaged groove.
– Lightly scuff only if your specific vinyl repair filler/patch instructions call for it.
– Do not sand aggressively—over-reshaping can create a low spot that attracts dirt and makes the seam line more visible.
For seam repairs (sheet vinyl seams or LVP/LVT seams):
– Remove residue and old adhesive that won’t accept bonding.
– Ensure the seam edges sit flat. If they don’t, the underlying cause (subfloor profile, trapped debris, or product misfit) still needs correction.
Test fit before bonding or filling
Test fit is especially important for vinyl floor repair in hallways because narrow corridors magnify alignment errors.
– Patch pieces (sheet vinyl): confirm edges sit flush and do not “rock” when pressed.
– Replacement planks/tiles (LVP/LVT): confirm the joint geometry is correct and that locks (if click-lock) can engage smoothly.
Proper test-fit alignment reduces stress concentration at hallway seams, which is where vinyl repairs most often re-open.
How to prep the surrounding area
As a practical rule for vinyl floor repair:
– Mask surrounding areas if your filler or adhesive is messy.
– Keep a consistent work temperature—most vinyl adhesives and fillers perform best when the room and materials are within the manufacturer’s recommended range (commonly “normal indoor” conditions, but confirm on your product).
If your hallway has heavy traffic, plan timing so you can keep people off the repaired zone until cure is complete.
Repair Scratches and Gouges (Surface Damage)
For scratches and gouges that stay within the wear layer, vinyl patch/filler is the correct vinyl floor repair approach—and it’s usually the most cost-effective. The goal is a level surface that resists abrasion and can blend visually.
Vinyl repair filler is designed to bond to resilient vinyl surfaces; general-purpose fillers can crack or fail to blend.
Deep gouges require thin-layer application so the repair cures without shrinkage or cracking.
Choose the right filler/patch compound
Select a vinyl repair filler/patch compound that is explicitly intended for vinyl flooring (sheet or LVP/LVT—follow the label). The wrong filler may not bond chemically or may be too hard/soft relative to the surrounding vinyl.
Apply the filler:
1. Push filler into the gouge/scratch—don’t just smear over it.
2. Work in thin layers if the damage is deep.
3. Respect the manufacturer’s cure time. In a hallway vinyl floor repair, rushing cure is a common reason the patch “crumbles” under rolling loads (wheels, carts, shoes with grit).
Blend to the surface level
Once cured:
– Smooth carefully so the repair is flush.
– If your filler instructions allow sanding, use fine abrasion lightly and stop once the surface is level.
– Wipe clean to remove dust before any optional topcoat (only if your product specifies a topcoat).
Visual blending that holds up
Color matching is tricky in hallways because lighting is often consistent and glare can reveal texture differences. If your kit includes color tinting:
– Mix small batches.
– Test in a less visible area if the kit instructions allow.
Color-matched vinyl filler can still be visually obvious if its texture doesn’t match the original wear layer profile.
Common “works today, fails later” causes
For hallway vinyl floor repair, surface damage repairs fail when:
– the gouge was deeper than believed (core damage starts under the scratch),
– the filler was applied too thick in one go,
– the floor wasn’t fully dry, or
– foot traffic happened before full cure.
From the installation side, subfloor issues still matter: if moisture is coming up, the vinyl floor repair can debond even when the patch itself cures correctly.
Fix Loose Seams and Lifting Edges
If a seam gap is caused by failed adhesion or edge support loss, the right vinyl seam adhesive (or repair adhesive) can restore hold—and prevent the gap from widening. If lifting persists because the subfloor isn’t flat, adhesive alone won’t solve the problem.
Seam repair adhesives for vinyl floors are system-specific; using the wrong glue can discolor or stay rubbery.
Keeping seams aligned with tape or a seam clamp while adhesive cures reduces stress that reopens hallway gaps.
Use a seam/repair adhesive made for vinyl
For vinyl floor repair at seams:
– Use vinyl seam adhesive or repair adhesive recommended for your flooring system.
– Avoid general-purpose construction adhesives unless the manufacturer explicitly approves them for resilient vinyl.
Why? Adhesives can differ in:
– bonding chemistry,
– flexibility (resilient vs. brittle),
– solvent content (which can affect appearance),
– and long-term plasticizer compatibility.
Re-bond the seam correctly
1. Clean inside the seam gap—dust is the enemy of vinyl floor repair.
2. Apply adhesive sparingly as directed by the product instructions.
3. Press seam edges flat.
4. Use masking tape or a clamp to hold alignment while curing.
5. Keep foot traffic away until cured.
Hallways amplify stress on edges because people step, pivot, and carry items. That means seams need a fully bonded, fully aligned edge—not just “glued enough.”
Address the “why” behind seam failure
If a corner or edge keeps lifting, check:
– subfloor flatness (lumps create point-loading),
– debonding at transitions (threshold movement),
– debris under edges (grit prevents closure),
– and, for LVP/LVT, whether the board is trapped against molding or an obstruction.
Subfloor flatness criteria matter here. For resilient flooring, guidance commonly references tolerances around 3/16 inch over 10 feet (verify with your installation standard and manufacturer instructions). If the subfloor is beyond tolerance, vinyl floor repair may re-open even with “perfect” adhesive application.
Adhesive re-bonding succeeds when the seam isn’t being pulled apart by flatness issues, trapped debris, or transition interference.
Replace a Damaged Plank or Tile (When Repair Filler Won’t Hold)
If the core is damaged (cracks through, persistent lifting, water intrusion signs), replacement is usually the durable vinyl floor repair—not repeated patching. For hallway traffic, replacement often costs less over time than recurring re-gluing.
When a vinyl plank/tile flexes or the core is compromised, filler can’t correct movement—replacement is the reliable vinyl floor repair.
Repeated lifting often signals subfloor flatness or moisture problems that must be corrected before reinstall.
Know when to stop repairing
Consider replacement when:
– damage spans multiple joints or areas,
– a plank/tile rocks or separates under normal walking,
– there are cracks that penetrate beyond the wear surface,
– you see bubbling/cupping nearby (possible moisture pathway),
– or seam adhesive doesn’t stay bonded after cure.
Remove carefully to avoid collateral damage
Removal differs by installation method:
For click-lock LVP/LVT
– Follow the manufacturer’s disassembly method (gentle unlocking, correct direction, avoid prying against locks).
– Remove neighboring pieces only if needed to release the damaged board without breaking tongue-and-groove or click profiles.
For glued-down planks/tiles
– Follow the manufacturer’s removal steps.
– Use compatible adhesive during reinstall; incorrect adhesive can create discoloration or failure at the joint.
Install replacement and restore the hallway
– Ensure the replacement joint is tight and the surface is level.
– If adhesive is used, allow full cure before normal use.
– After reinstall, check the edges: no gaps, no rocking, and no height mismatch at transitions.
From a standards perspective, if moisture is involved, adhesives can fail regardless of technique. That’s why moisture readiness limits matter. The ASTM thresholds used for resilient flooring readiness—such as ASTM F1869’s common 3 lbs/1,000 sq. ft./24h and ASTM F2170’s common 75% RH—are the difference between a vinyl floor repair that lasts and one that comes loose.
A durable hallway vinyl floor repair depends on both the repair work and the subfloor conditions meeting ASTM moisture limits.
What Can Go Wrong (Common Mistakes and Edge Cases)
Most hallway vinyl floor repairs fail due to product mismatch, surface prep shortcuts, or ignoring moisture/flatness. These mistakes often create a repair that looks correct for days but fails under repeated foot traffic.
The wrong filler or seam adhesive is a top cause of reopened gaps and crumbling patches in hallway vinyl repairs.
Skipping moisture/subfloor checks can make a cosmetically “successful” repair fail quickly.
Common failure modes
Here’s a clear comparison of the most frequent “what goes wrong” scenarios:
- Using the wrong product type
- Filler/seam adhesive made for a different vinyl system may not bond reliably or may cure with the wrong flexibility.
- Skipping moisture/subfloor checks
- Even perfect seam or scratch patching won’t hold if the subfloor is emitting moisture or is uneven.
- Over-sanding or over-reshaping
- Sanding too aggressively can create low spots that collect grit, making repairs more visible and more likely to wear.
- Rushing cure time
- Hallways tempt early foot traffic; adhesives and fillers need their stated cure window.
- Incorrect color/texture blending
- Color-matched filler can still stand out if the surface texture doesn’t match the surrounding vinyl.
Edge cases that need extra care
– Repairs near entry mats: grit and moisture tracked underfoot can attack seam edges.
– Repairs under transition moldings: alignment is critical—small misfits keep pulling a seam open.
– Old/brittle vinyl: if the surrounding vinyl is cracking, your patch may adhere, but the adjacent material won’t behave.
Verdict / Tip (What Usually Works—and Who Should Skip DIY)
DIY vinyl floor repair is often worth it for limited, accessible damage (surface gouges or a small seam gap) because the steps are straightforward and materials are targeted. For lifting that suggests core failure, replacement is usually the smarter, longer-lasting fix in a hallway.
DIY is most reliable when damage is confined to surface wear or a single seam that can be properly re-bonded.
When a plank/tile is lifting repeatedly or the floor feels soft, replacing the affected piece is typically safer and more durable.
When DIY makes sense
For most hallway vinyl issues:
– Scratches/gouges in the wear layer → vinyl filler/patch
– Small seam gaps → vinyl seam adhesive + correct pressure during cure
When you should stop and call a pro (or don’t DIY)
Skip DIY (or stop and call a pro) if:
– You see signs of water intrusion, ongoing bubbling, or subfloor softness.
– The flooring is old and brittle, or joints/locks are breaking during removal.
– The damage spans multiple planks/tiles or sits under a transition where alignment is critical.
– You can’t confirm the vinyl type (sheet vs plank/tile) or can’t find the manufacturer’s repair guidance.
The business risk is simple: hallway vinyl repairs are repeated exposure points. If the root cause is moisture or subfloor profile, you don’t just risk a visible patch failure—you risk a rework cycle that costs more than it would have to address conditions first.
Quick Checklist: Repair Vinyl in a Hallway
This checklist is the shortest path to a correct, repeatable vinyl floor repair workflow for most hallway failures. Use it before you open the adhesive or filler.
– Identify vinyl type: sheet vs plank/tile (LVP/LVT)
– Identify failure: scratch/gouge, seam gap, lifting, or structural damage
– Clean thoroughly and let dry completely
– Match the repair method to the problem:
– Scratches/gouges → vinyl filler/patch
– Seam gap → vinyl seam adhesive + pressure during cure
– Lifting/structural → replace plank/tile
– Keep foot traffic off until fully cured per the product instructions
Moisture & Flatness Readiness Benchmarks That Protect Hallway Vinyl Floor Repairs
| # | Standard / Metric | What it Controls | Typical Pass Threshold | Hallway Repair Impact | Overall Confidence |
|---|---|---|---|---|---|
| 1 | ASTM F1869 (Calcium Chloride) | Moisture vapor emission | ≤ 3.0 lbs / 1,000 sq ft / 24 hrs | Prevents bubbling + seam debond | ★★★★★ |
| 2 | ASTM F2170 (In-situ RH) | Relative humidity in slab/subfloor | ≤ 75% RH | Protects adhesive + filler bonds | ★★★★★ |
| 3 | Resilient Flatness Guidance (FCI) | Undulations that create point-loading | ≤ 3/16 in over 10 ft | Stops rocking & seam stress | ★★★★☆ |
| 4 | Material/Room Temperature | Cure behavior for adhesives/fillers | ~ 65–85°F (follow product labels) | Improves cure predictability | ★★★★☆ |
| 5 | Installation Air RH (common resilient guidance) | Environmental stability | ~ 35–65% RH (verify with manufacturer) | Reduces edge movement risk | ★★★☆☆ |
| 6 | Adhesive Compatibility | Bond chemistry match | Use labeled vinyl repair adhesive | Prevents rubbery seams | ★★★☆☆ |
| 7 | Respect Cure Time Before Traffic | Failure under early load | Follow label cure window exactly | Prevents early re-open | ★★☆☆☆ |
Sources:
– ASTM F1869 (Standard Test Method for Measuring Moisture Vapor Emission Rate of Concrete Subfloor Using Anhydrous Calcium Chloride)
– ASTM F2170 (Standard Test Method for Determining Relative Humidity in Concrete Floor Slabs Using in situ Probes)
– Floor Covering Installation Guidelines (FCI) (resilient flatness guidance used for resilient/vinyl installation readiness)
Repairing vinyl floors in a hallway is most successful when you treat the problem as a system: confirm vinyl type, identify whether the damage is surface-only or structural, and match the repair product to that failure. When moisture or flatness is out of spec, even the best vinyl floor repair can re-open—so readiness checks and correct cure time protect your work long after the patch or seam adhesive is invisible.
Frequently Asked Questions
What are the most common ways vinyl hallway floors get damaged, and how do you tell what type you have?
Vinyl floors in a hallway are often damaged by wear from foot traffic, dents from furniture, scratches, bubbling from moisture, and seams separating. Look for signs like raised edges (lifting seams), soft or spongy areas (moisture), cracks or cuts (impact damage), and dull patches (surface wear). Identifying whether the damage is to the top wear layer, the core, or the subfloor will determine whether you should patch, glue, replace a plank, or address the moisture source first.
How do you repair a lifting seam or edge on vinyl flooring in a hallway?
Clean the area thoroughly so no dust or debris prevents adhesion, then gently lift only the affected edge with a putty knife if it’s partially detached. Apply vinyl floor seam adhesive (or a manufacturer-recommended glue) under the seam, press firmly, and use painter’s tape or a weighted cloth to hold it flat. Allow proper cure time before walking on it and avoid excess moisture during the drying period. If the subfloor is uneven, you may need to flatten it before the seam repair will hold.
How do you fix scratches, gouges, or small cuts in vinyl plank flooring?
For minor surface scratches, clean the area and use a vinyl floor repair kit or color-matched filler designed for luxury vinyl (LVP/LVT). For deeper gouges or cuts, remove loose debris, apply filler to level the damaged spot, and let it set according to the product directions. If the damage penetrates through the wear layer or affects the click-lock joint, you may need to replace the damaged plank rather than only patching. Finish by buffing lightly for a smoother surface and protect with a compatible vinyl floor cleaner to reduce repeat wear.
Why do vinyl hallway floors bubble or lift, and what steps prevent it from coming back after repair?
Bubbling and lifting usually happen due to moisture trapped under the vinyl, improper subfloor conditions, or temperature/humidity changes that affect the material. Before re-gluing or patching, inspect for moisture sources such as leaks, condensation, or damp concrete, and confirm the subfloor is dry and flat. If the bubbles are localized and the area is dry, you can puncture carefully, inject adhesive where appropriate, and weight the area to flatten it. If moisture is ongoing or the floor is repeatedly failing, correcting the underlying moisture problem is essential for a durable repair.
Which repair method is best for a badly damaged vinyl plank or tile in a hallway?
If a plank or tile is cracked through, heavily gouged, or the damage affects the interlocking or locking system, replacing the individual piece is usually the best repair for vinyl floors. Start by identifying the plank size and pattern, then remove the damaged section carefully without tearing adjacent edges, especially near hallway transitions. Use the correct replacement adhesive or click-lock technique for your specific vinyl flooring type, ensuring the seams align and the subfloor stays clean and level. After installation, roll or press the area and keep foot traffic light until the adhesive cures fully.
📅 Last Updated: October 25, 2026 | Topic: How to repair vinyl floors in a hallway? | Content verified for accuracy and freshness.
References
- Vinyl flooring
- Flooring
- Sheet vinyl flooring
- Vinyl composition tile
- Vinyl composition tile
- Vinyl composition tile
- Flooring
- https://scholar.google.com/scholar?q=how+to+repair+vinyl+flooring+sheet+vinyl Google Scholar
- https://scholar.google.com/scholar?q=vinyl+composition+tile+repair+replacement+how+to Google Scholar
- https://scholar.google.com/scholar?q=luxury+vinyl+plank+floor+repair+damaged+planks Google Scholar